



A black cat pauses beneath a crescent moon. A raven watches from a curling branch. Two elegant profiles face each other inside an oval frame, but one wears a witch's hat and the other has the sharp little smile of a vampire.
That is the charm of DIY Halloween silhouettes. They feel spooky without being loud or cartoonish. With black paper, careful cuts, and a pale background, you can make decorations that look at home beside old books, tarnished frames, and dried flowers. If that quiet, elegant mood appeals to you, explore these cozy gothic craft ideas for Halloween too.
The look is often called Victorian, although silhouette portraiture began earlier. Profile portraits and cut-paper scenes were already popular in the late 18th and early 19th centuries. Their dark shapes, decorative frames, and keepsake quality now fit naturally with the antique Halloween style many crafters love.
You do not need to copy a historical piece exactly. Borrow the strongest ideas: clear outlines, fine details, dramatic contrast, and just enough mystery.
What Makes a Halloween Silhouette Look Victorian?
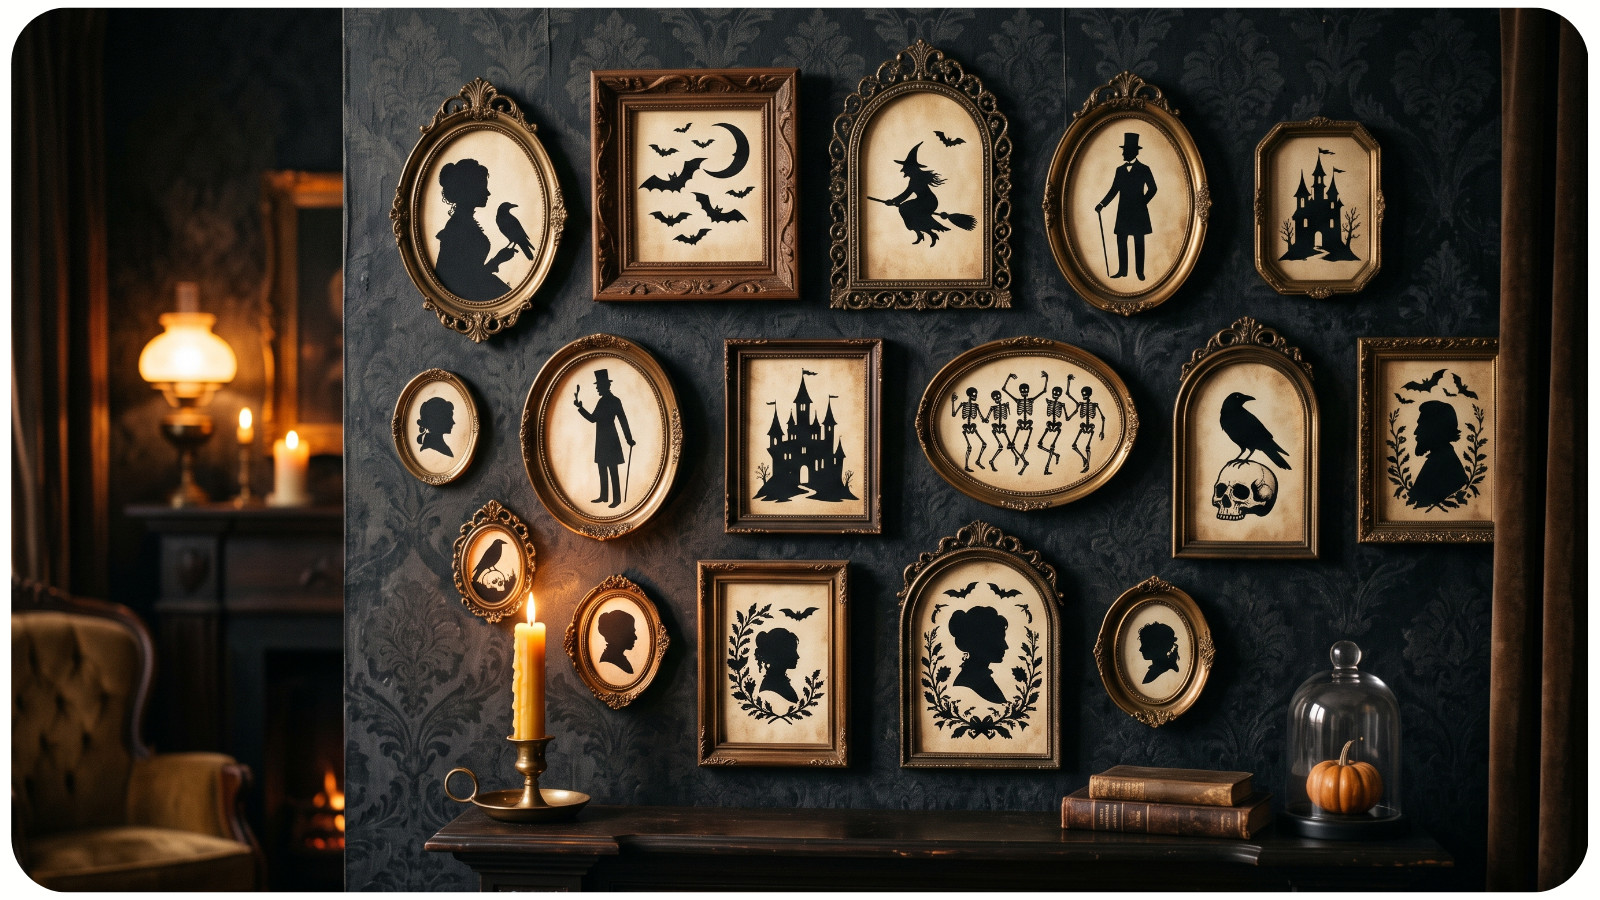
The secret is not simply using black paper. A convincing Victorian-inspired silhouette often combines a few visual choices:
• Side-facing profiles, full figures, or small narrative scenes
• Oval, arched, or ornate frames
• Familiar shapes with restrained gothic details
• Black or deep charcoal paper on cream, parchment, or faded gray
• Fine lines around hair, lace, feathers, branches, and leaves
• Simple compositions that remain readable at a glance
Historic silhouettes appeared in several forms. Some were painted, some were cut from dark paper and mounted on a light surface, and others were made by cutting a profile-shaped opening from pale paper and placing dark paper behind it. Research published by the American Institute for Conservation describes both cut-out and hollow-cut methods, as well as busts, full figures, and group scenes.
For a first Halloween project, the cut-out method is straightforward: cut the main shape from dark paper and mount it on a contrasting background.
Supplies for DIY Halloween Paper Silhouettes
Paper cutting is easier when the sheet holds a clean point but still bends slightly under your fingers. For most hand-cut projects, start with smooth paper or light cardstock around 90 to 160 gsm. Choose the lighter end for tiny details and the heavier end for bold shapes, then test one small curve before cutting the full design.
You will need:
• Black or deep charcoal paper
• Cream, ivory, muted gray, or faded orange cardstock for backgrounds
• Small, sharp scissors for simple outer shapes
• A precision craft knife for fine interior cuts
• A self-healing cutting mat
• A pencil or white transfer pencil
• A small amount of paper-safe glue
• Tracing paper or printer paper for templates
• Frames, ribbon, removable wall tabs, or black thread for display
Choose matte paper for an antique look. Glossy black paper feels more theatrical and works well for bats, potion bottles, or party decorations. For more material inspiration, see this introduction to the art of paper crafting.
If children are joining the project, give them rounded scissors and bold shapes without tiny interior cuts. A precision knife should be used only by an adult or an experienced older crafter, following the tool manufacturer's directions.
Six Victorian-Inspired Halloween Silhouette Ideas
Choose one project that suits your time and cutting confidence. Bold outer shapes are easiest, while portraits and small interior details reward a slower pace.
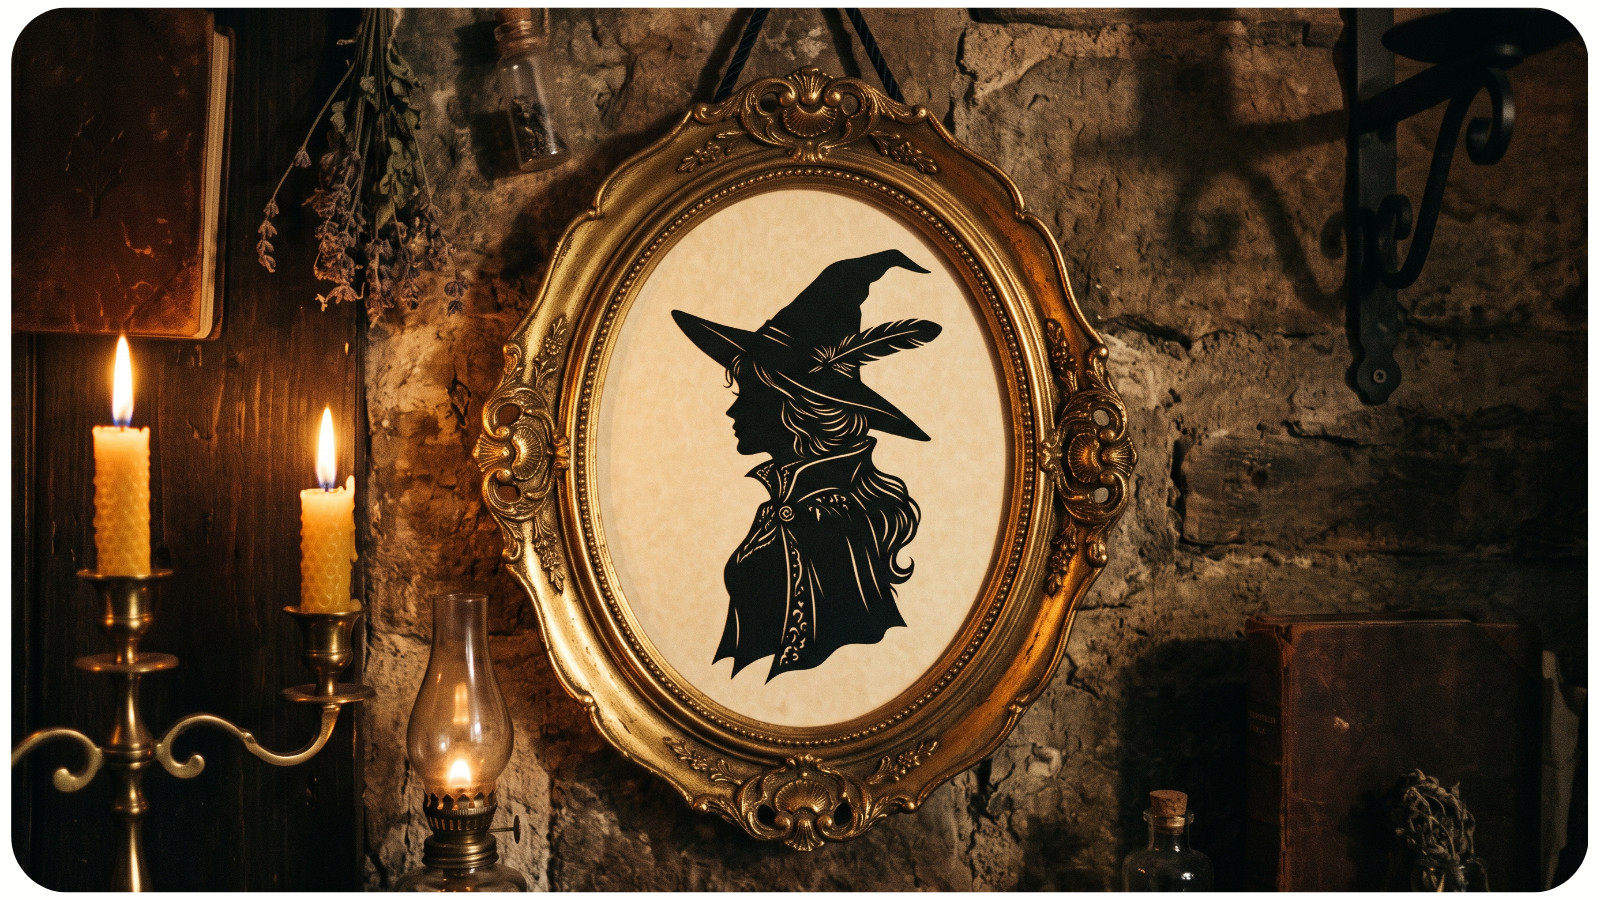
1. A Witch Portrait for an Antique Frame
Begin with a classic side profile, then add one Halloween detail: a pointed hat, a spider-shaped hairpin, or a raven feather.
Keep the neck and shoulders connected in one solid shape. Mount the portrait on warm ivory paper in an oval frame. A thin gold border makes it look like a curious family heirloom.
2. A Haunted House Window Scene
Cut a tall house with a steep roof, narrow chimneys, and bare trees. Remove a few window shapes so the pale background shows through. For extra depth, place translucent vellum behind the openings and add a battery-operated LED light behind the finished piece.
Keep the house readable from across the room. A strong roofline, windows, chimney, and branches create more atmosphere than dozens of fragile details.
3. A Raven and Moon Mantel Picture
A raven works beautifully in silhouette art because its beak, head, wings, and tail create a strong outline. Place the bird on a curved branch and cut a large crescent moon from the background rather than from the raven itself.
Add oak leaves or curling vines to soften the shape. Use faded gray paper for a quiet gothic look or deep orange for bolder contrast.
4. A Cabinet of Curious Creatures
Create specimen cards featuring a moth, bat, spider, snake, and beetle. Cut one black creature for each cream card, then add a playful handwritten label such as “Midnight Moth” or “Garden Spider No. 13.”
Arrange the cards in a grid or inside a shallow shadow box. Keeping every card the same size will make the display feel polished.
5. A Dancing Skeleton Garland
Victorian-inspired does not have to mean serious. Draw small skeletons in different poses and simplify the bones into connected shapes. A top hat or long skirt can suggest a whole character without tiny anatomical details.
For repeating figures, fold only a few layers of lightweight paper at a time. Leave a bridge between the figures for a paper chain, or cut separate pieces and attach them to black thread.
6. Spooky Place Cards for a Halloween Dinner
For place cards, try a sitting cat, a hand holding a rose, a crow perched on a key, or a cameo portrait with tiny vampire fangs.
Mount each cutout on a folded cream card and add the guest's name. One clear shape per card will look more elegant than an overfilled miniature scene.
How to Design a Silhouette That Is Easy to Cut
A good paper-cutting design works as one connected shape. Before cutting, fill your drawing with a dark pencil or marker. If an important detail disappears when the image becomes solid black, change the outline.
1. Choose one main subject. A cat, house, raven, portrait, or moth gives the eye a clear place to land.
2. Exaggerate recognizable features. Make a witch's hat taller, a raven's beak sharper, or a haunted roof more crooked.
3. Connect thin areas. Widen ankles, stems, fingers, and narrow branches so they do not tear.
4. Limit interior openings. Two or three well-placed cutouts can suggest lace, windows, ribs, or moonlight.
5. Test the design at full size. A detail that looks clear on a screen may be too small to cut from paper.
If you are using a printed template, reverse it before tracing it onto the back of the black paper. After cutting, flip the paper over. The clean front will face outward without visible pencil marks.
A Simple Paper-Cutting Method for Beginners
Cut interior openings first while the surrounding paper still gives the design support. Turn the paper as you work instead of forcing your wrist around each curve. Short, controlled cuts usually create smoother edges than one long cut.
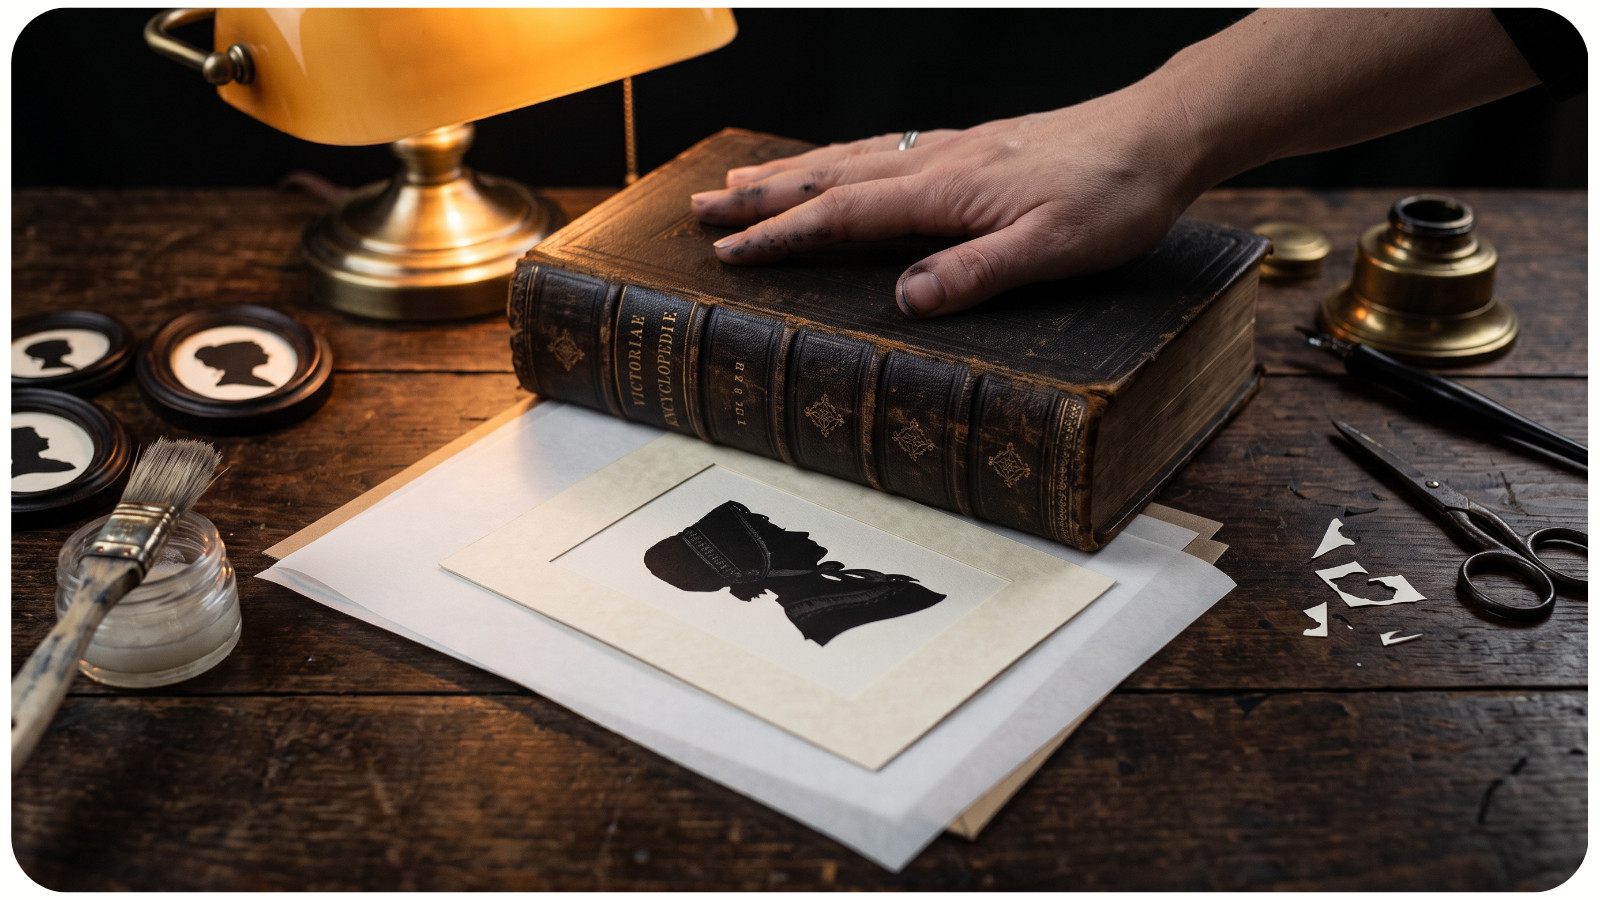
Next, cut the outer outline. Test its position on the background before gluing. Apply glue lightly, especially around narrow points, to help prevent wrinkles and shiny marks.
Place a clean release sheet or a piece of parchment paper over the mounted silhouette, then press it beneath a book while the glue dries. Follow the adhesive manufacturer's drying directions.
How to Add an Aged Halloween Look
Create an antique mood with warm cream paper instead of bright white. Add a thin ink border, a faded botanical pattern, or a soft watercolor wash before mounting the silhouette.
A narrow gold oval suits a portrait. Gray paper and a pale moon work for a haunted house. On specimen cards, repeat one lettering style and leave plenty of empty space. For more color ideas beyond basic orange and black, use this guide to modern fall color palettes.
Do not burn the paper edges or place the decoration near an open flame. The National Fire Protection Association advises keeping candles away from anything that can burn. Use battery-operated LED candles for a glow without an exposed flame.
Where to Display Your Halloween Silhouette Art
Group framed portraits above a desk, lean a raven picture against old books, or place specimen cards in a glass-front cabinet. Window silhouettes look dramatic after sunset when the room behind them is softly lit.
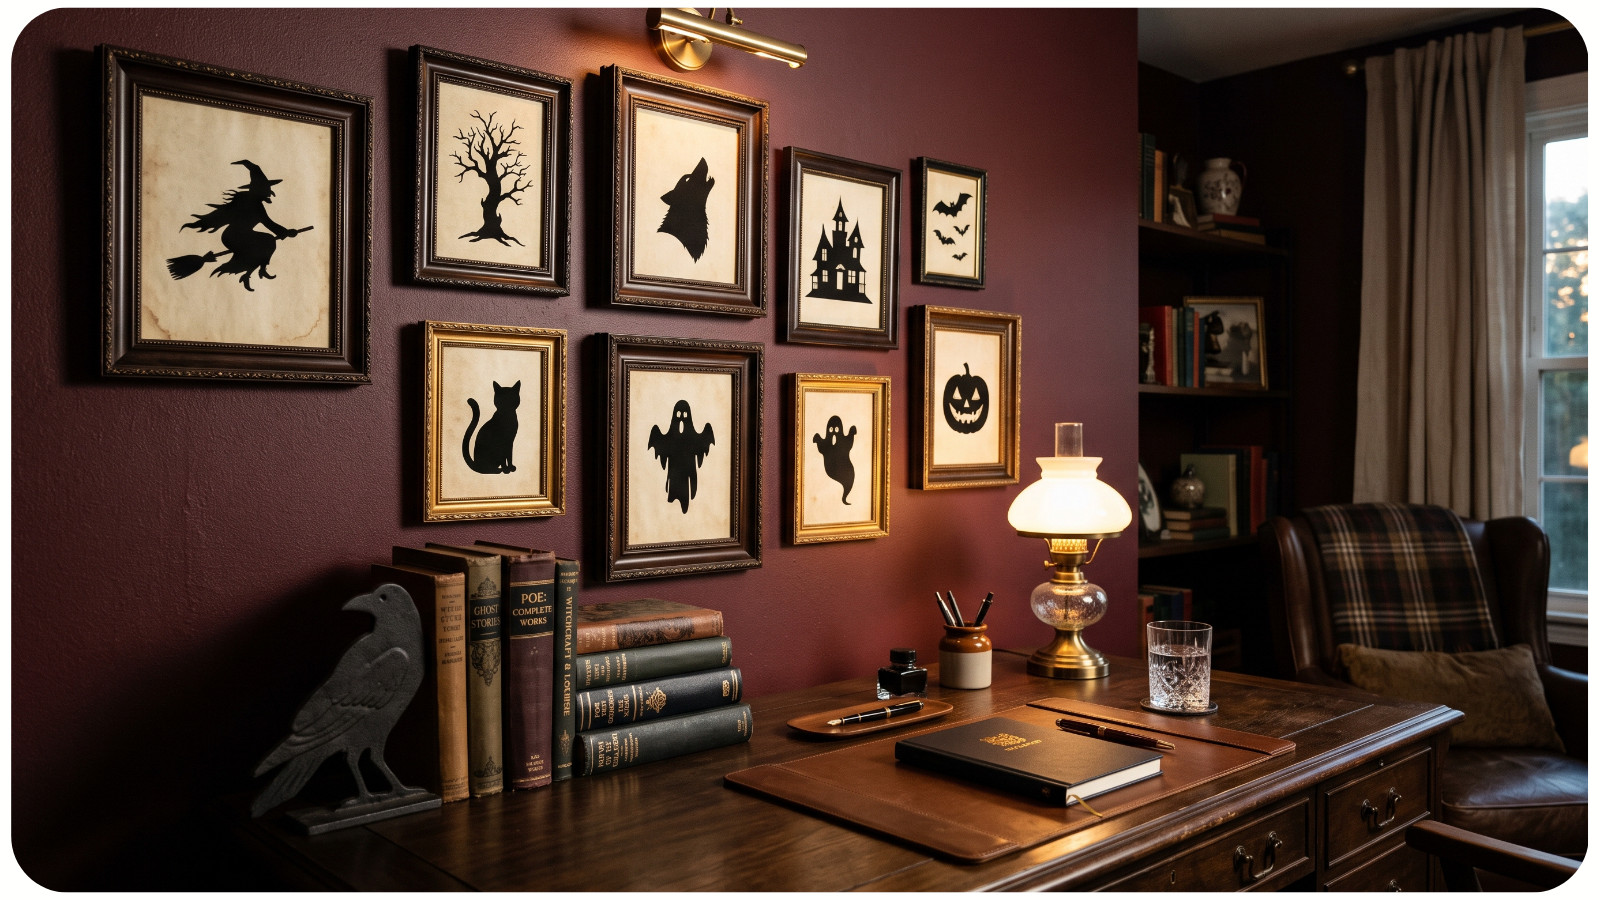
Mix sizes by surrounding one large haunted house with smaller portraits and insects. Repeating black, cream, and one muted accent color will unite the collection.
When Halloween is over, place each piece between clean sheets of paper in a flat folder. Keep delicate points from rubbing against other decorations.
If you want a second seasonal project with the same cozy-spooky mood, browse these Halloween cross-stitch patterns.
Frequently Asked Questions About Halloween Silhouettes
What paper is best for silhouette cutting?
Smooth matte paper or light cardstock around 90 to 160 gsm works well for most DIY Halloween silhouettes. Use thinner paper for delicate details and slightly heavier paper for bold shapes. Always make a test cut first.
Can I make paper silhouettes without a craft knife?
Yes. Make a tiny starter snip and use small, sharp scissors for interior spaces, or choose a bold design with no interior cutouts.
How do I make a portrait silhouette from a photo?
Choose a clear side-profile photo. Trace the forehead, nose, lips, chin, neck, and shoulders. Fill the shape in black and simplify any areas that would be difficult to cut.
What are the best Halloween shapes for beginners?
Bats, cats, crescent moons, ravens, potion bottles, and simple haunted houses have recognizable outlines. Begin with a design about the size of your hand.
Can I use a cutting machine for these projects?
Yes. A digital cutting machine can handle garlands, place cards, and detailed window scenes. Keep narrow connections sturdy, choose settings that match your paper, and make a test cut before using the final sheet.
Let the Shadow Tell the Story
The most effective Halloween silhouette is not necessarily the most complicated one. A crooked roof, a sharp profile, or a single bird on a branch can suggest an entire story. That restraint gives Victorian-inspired paper cutting its eerie elegance.
Start with one sheet of black paper and one shape you instantly recognize. Once it is framed against cream paper, even a simple cutout begins to look as if it has been waiting in an old drawer for someone to find it.