


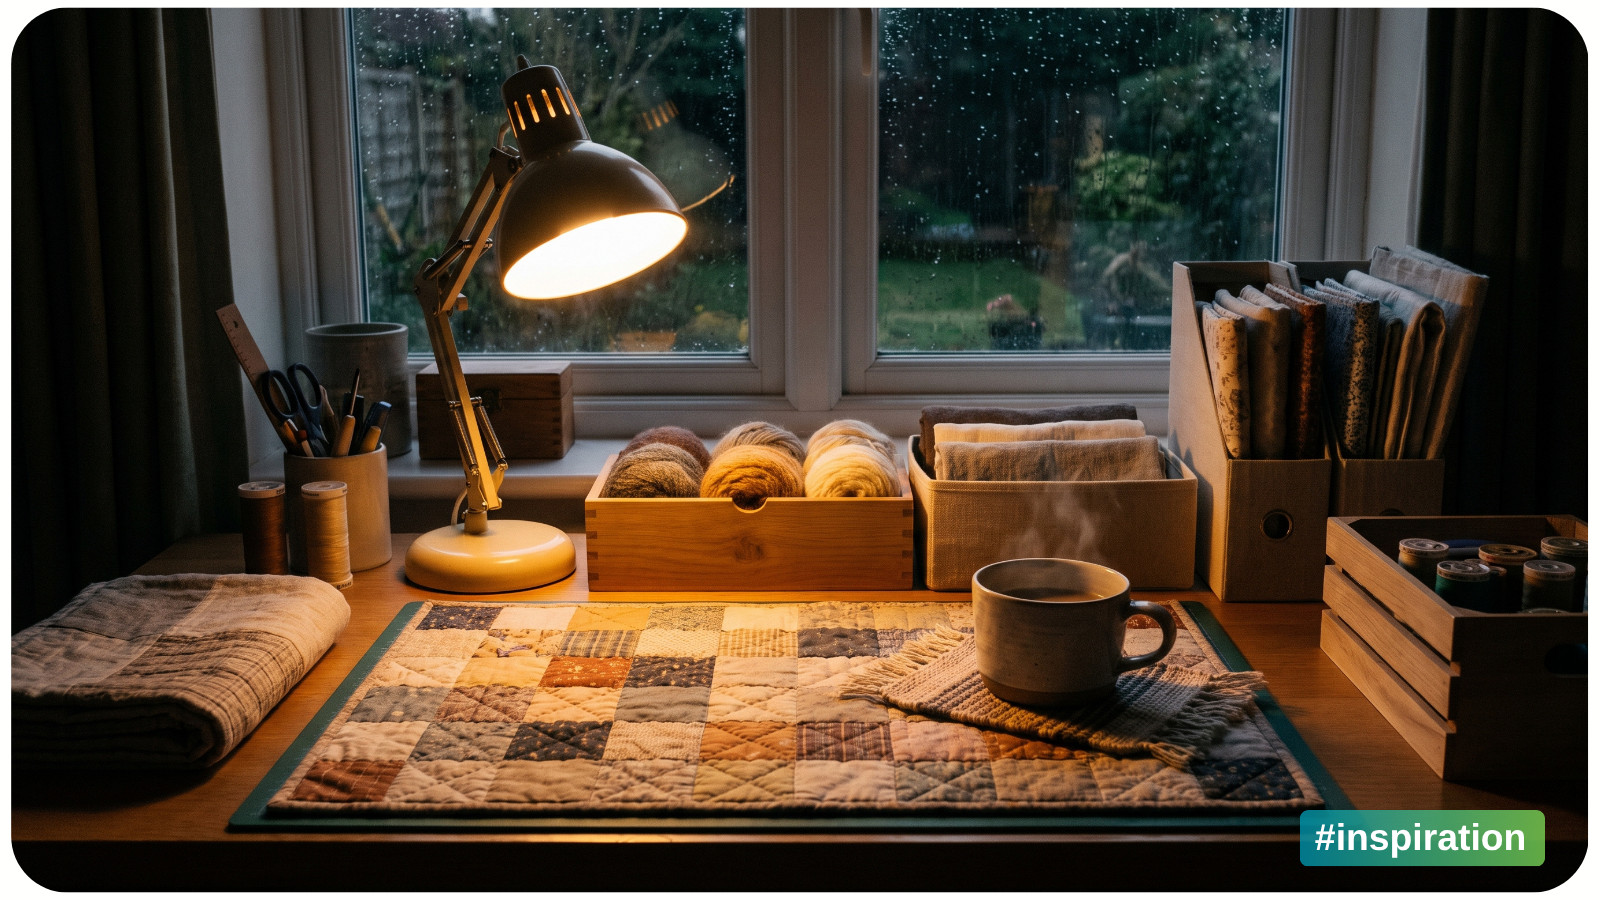
A cozy workspace doesn’t need to look perfectly styled or require a full shopping-cart makeover. Often, the nicest desks are built slowly: a soft place for your mug, a container for loose scissors, and a handmade detail that makes sitting down feel more inviting.
These projects combine decoration with everyday usefulness, and most adapt easily to materials you already have. Pick one that solves a real annoyance, then make it suit your space. For more inspiration, explore these handmade ideas for a cozier home.
Before starting, choose a loose visual direction: warm neutrals, cheerful pastels, dark cottage-inspired colors, or bright scraps from other projects. Repeating two or three colors will make mismatched handmade pieces feel intentional.
1. Sew a Soft Patchwork Desk Mat
A fabric desk mat instantly softens a hard tabletop and creates a defined zone for writing, sketching, or working on a laptop. Patchwork makes it especially useful for small fabric leftovers that are too pretty to throw away.
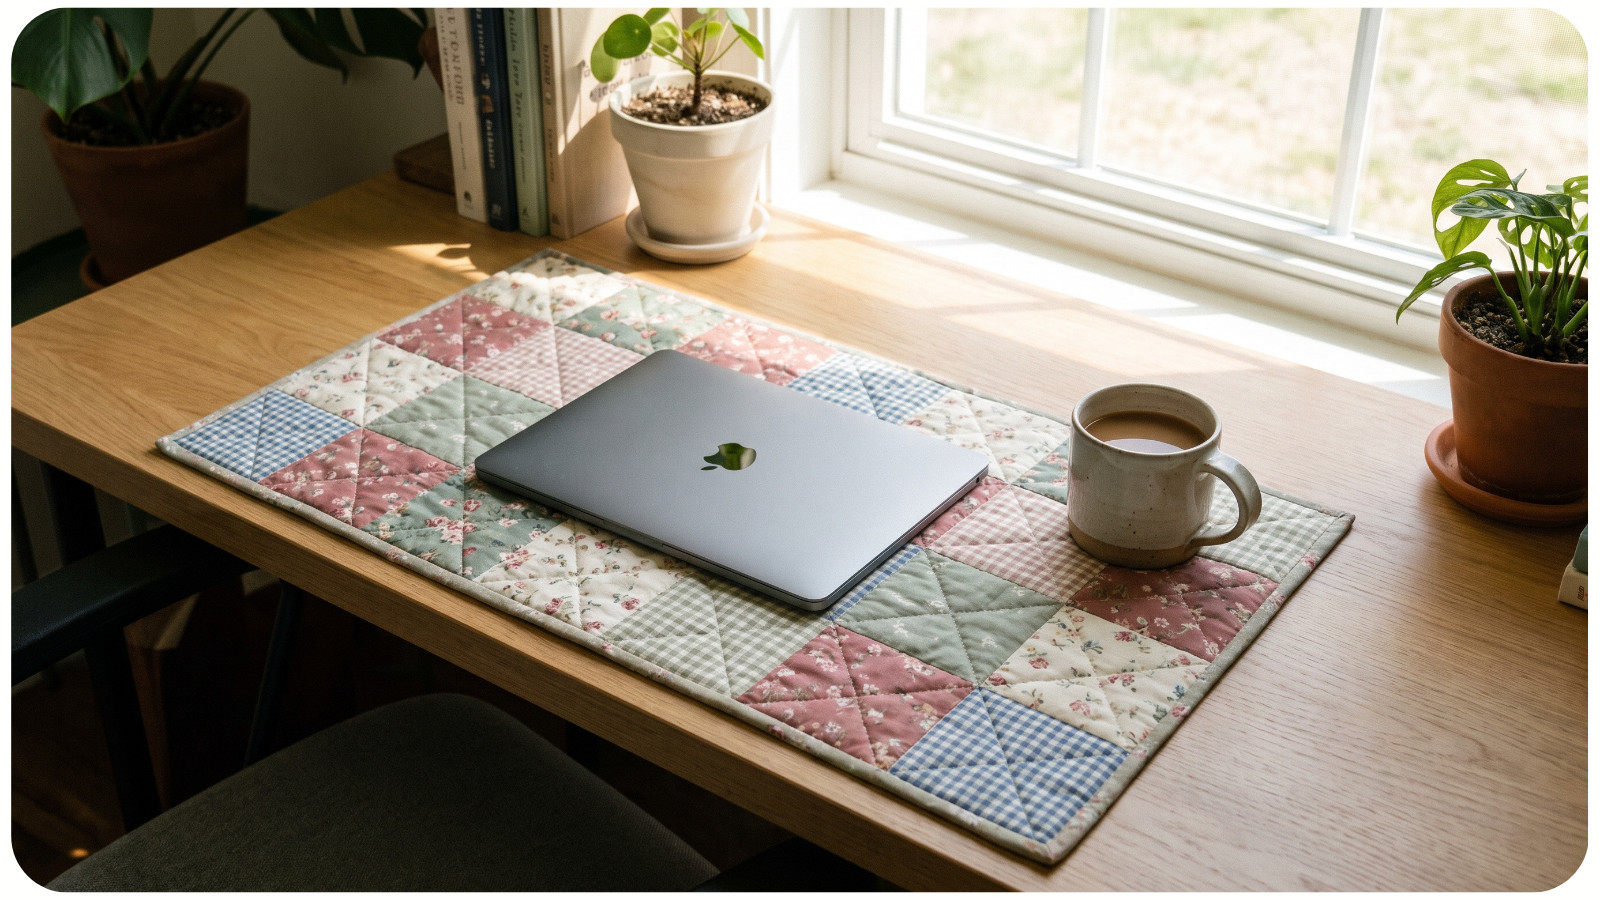
Sew cotton squares or rectangles into a panel, then add thin batting and a backing. Bind the edges, or turn and topstitch them. If you don’t sew, attach fabric pieces to sturdy felt with washable fabric adhesive.
Choose flat seams and avoid bulky trims where your wrist or computer will rest. Muted florals feel soft and vintage, while gingham, stripes, and solids create a cleaner modern look. Slightly imperfect patchwork only adds charm.
2. Make an Embroidered Mug Rug
A mug rug is somewhere between a coaster and a miniature quilt - large enough for a drink and a small snack, but compact enough to live on a busy craft table. It’s also an easy place to try a decorative technique without committing to a large project.
Layer two cotton pieces around thin batting. Add a small embroidered motif, quilt a few lines, or stitch around a printed shape. Even a simple running stitch can look intentional. For more options, see how to customize embroidery patterns to fit your style.
Choose washable materials because tea, coffee, and paint water rarely respect boundaries. Repeat a color from your desk mat for a coordinated set, or make several patterns to rotate with the seasons.
3. Shape an Air-Dry Clay Trinket Dish
Needles, paper clips, stitch markers, erasers, and jewelry have a talent for disappearing under everything else. A shallow clay dish gives those tiny objects a designated landing place while adding a handmade sculptural detail to the desk.
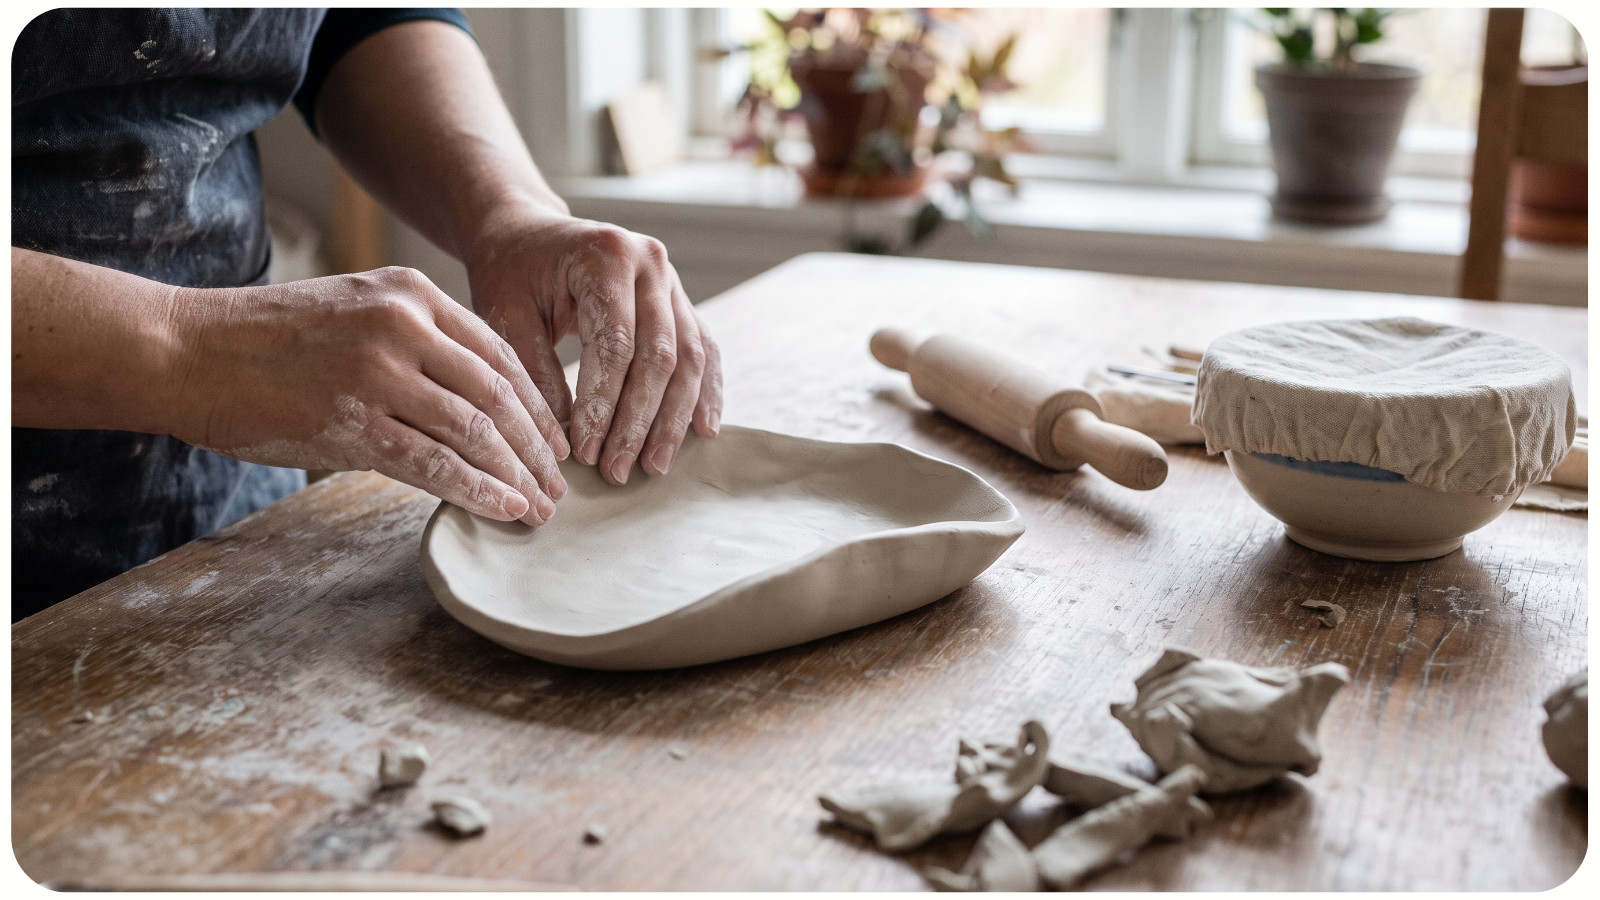
Roll air-dry clay evenly, cut a circle or organic shape, and curve the edges upward over a small bowl. Once dry, sand rough areas and paint a rim, checks, tiny flowers, or a color block. A clear water-based sealer makes the surface easier to wipe.
Keep the dish shallow so you can see inside. One larger tray works for everyday items, while tiny dishes can separate needles, clips, and beads. Drying usually takes longer than the actual making, so this is an easy project to complete in short stages.
4. Turn a Plain Container Into a Pressed-Flower Pencil Cup
An empty tin or clean glass jar can become a surprisingly polished pencil cup with a little paper, paint, or botanical detail. Pressed flowers are lovely for a delicate cottage-style desk, but small leaves and flat petals work best because they’re easier to seal smoothly.
Cover the container with paint or handmade paper. Attach fully dried flowers with decoupage medium, then seal them. You can also use book pages, fabric, wallpaper, or diamond-painting drills. These creative uses for leftover diamonds offer more upcycling ideas.
Wrap any sharp metal rim and add felt underneath to prevent scratches. Colored pencils may suit a tall jar, while crochet hooks or brushes are easier to browse in shorter containers.
5. Build a Small Wooden Tool Caddy
A desktop caddy is ideal for supplies that need to move with you. Carry it from the craft table to the couch, then return the whole collection without gathering every tool separately.
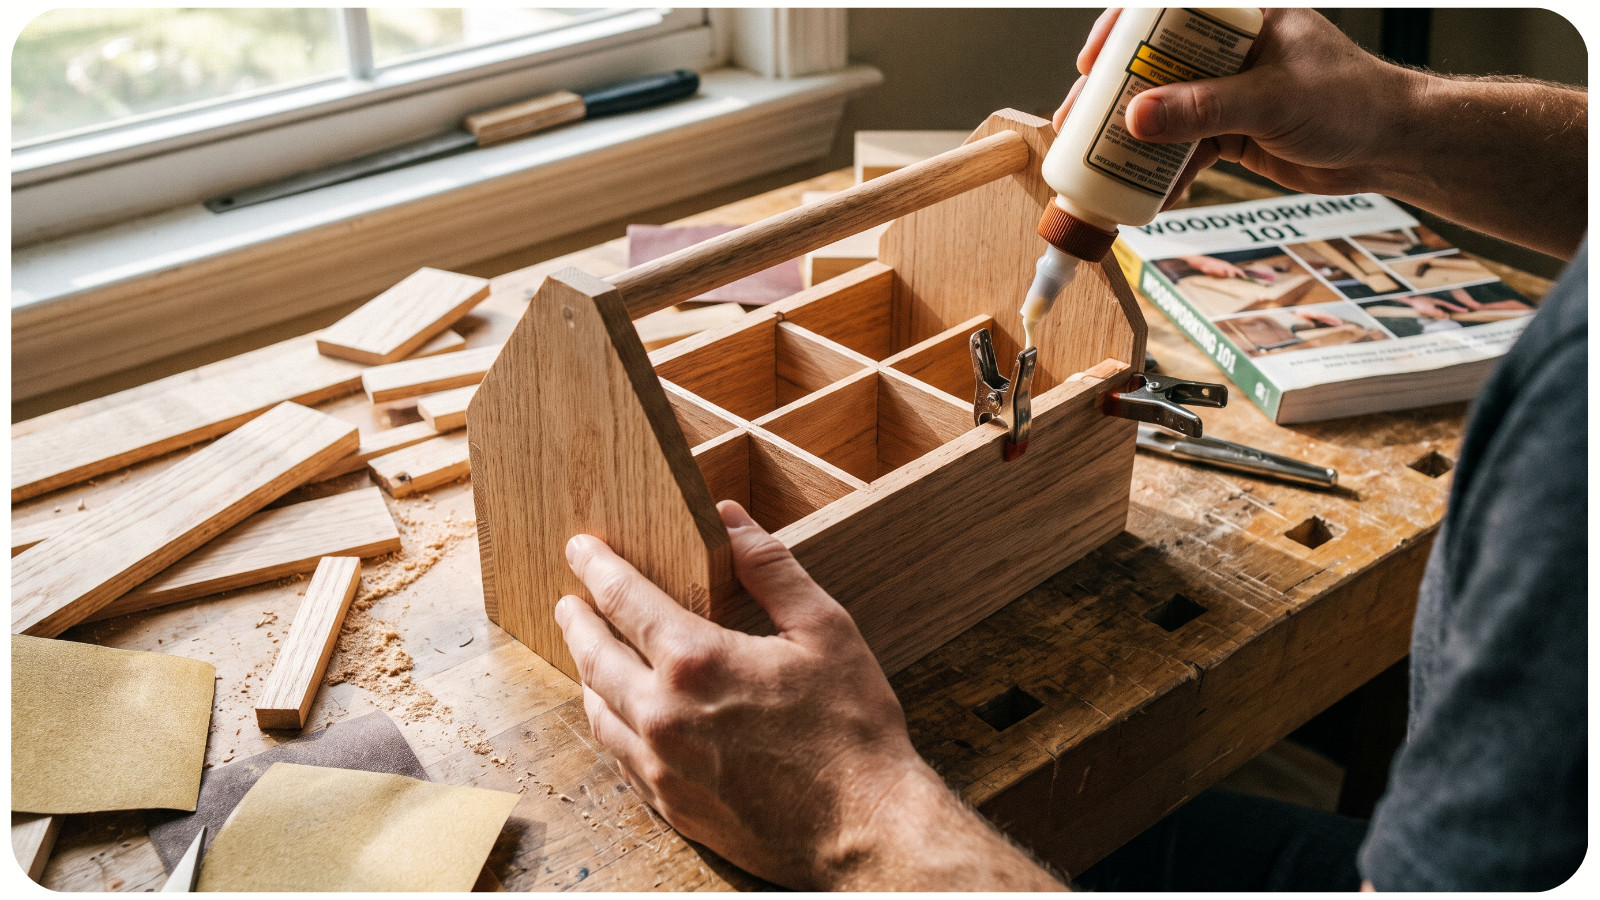
Assemble a divided box from precut craft wood, repurpose an unfinished crate, or update a thrifted utensil holder. Sand it, then add paint, stain, or a clear matte coat. A leather or cotton-webbing handle makes it easier to lift.
Avoid too many tiny compartments. Measure your scissors, rulers, thread cards, or brushes and design around them. Useful objects that fit comfortably beat decorative slots that fit nothing. These cross-stitch organization ideas can help with the rest.
6. Create a Fabric-Covered Corkboard
A small corkboard keeps inspiration visible without letting reference cards, color swatches, and notes spread across the whole desk. Covering it with fabric makes it feel more like wall decor than office equipment.
Cut linen, canvas, or cotton a few inches larger than the cork surface. Pull it evenly around the edges and secure it at the back with a staple gun or strong adhesive. Leave the front simple, add a few lengths of ribbon for tucking in paper, or paint the frame in a color used elsewhere in the room.
For a calm display, pin only current materials: one reference image, a short project list, and a favorite swatch or postcard. The open space is part of the design. Clear the board when a project ends so it becomes a fresh starting point.
7. Stitch an Embroidery-Hoop Pocket Organizer
An embroidery hoop can hold more than fabric under tension. With one extra folded layer, it becomes a wall pocket for scissors, pens, rulers, or the current project’s loose supplies.
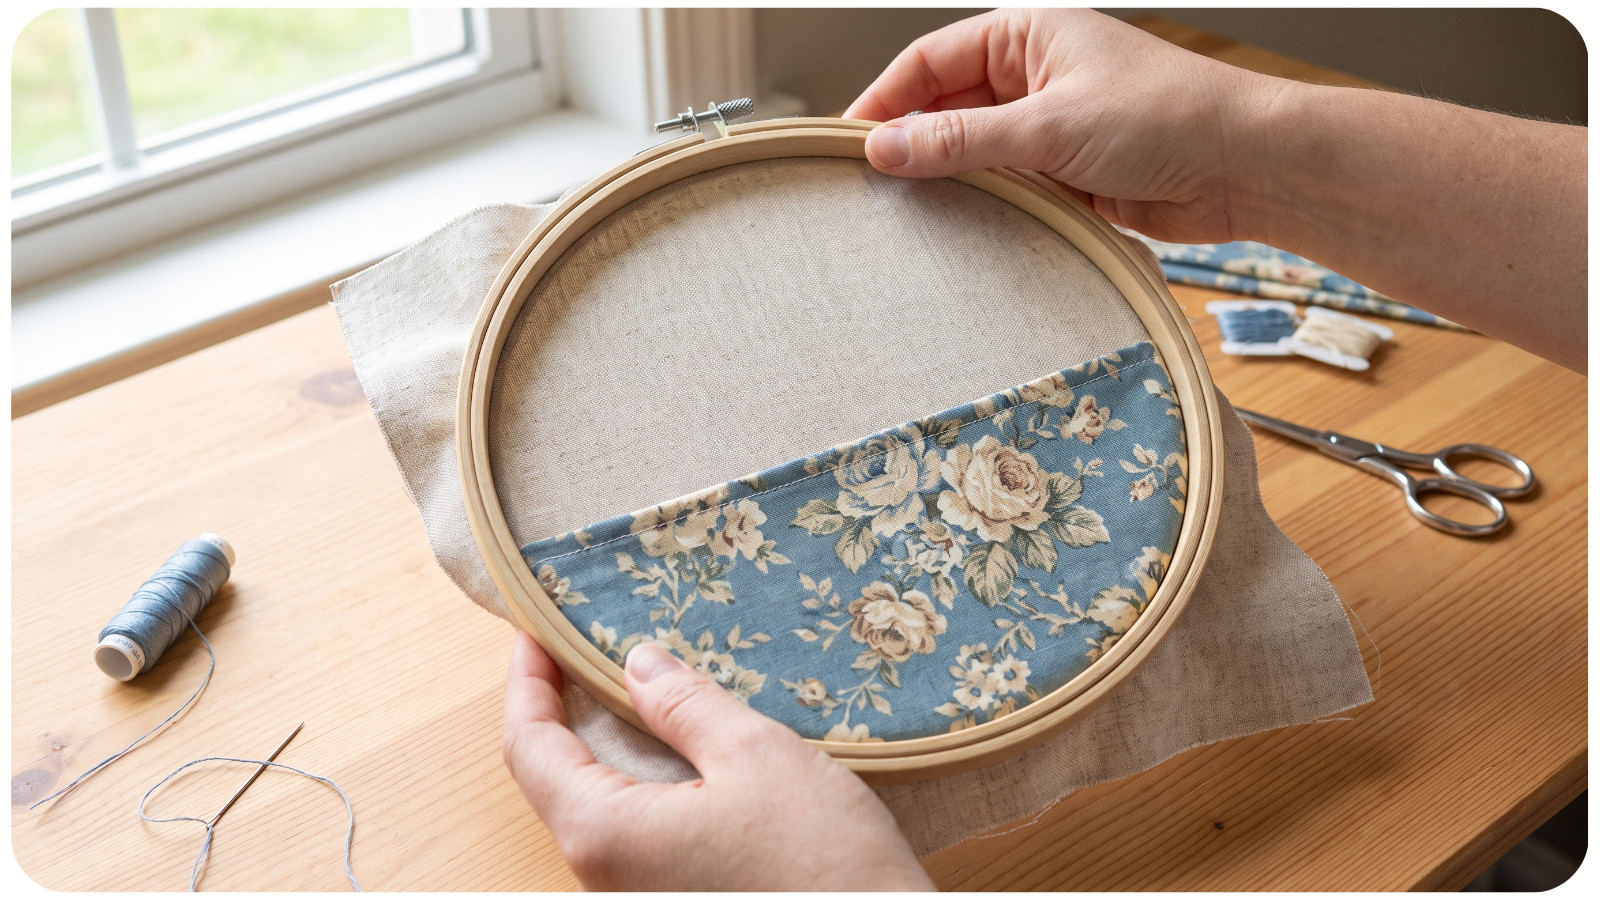
Place sturdy fabric over the inner hoop. Fold a second piece in half across the lower portion, then tighten the outer hoop around both layers. Trim and secure the back. Add embroidery before assembly if you want a motif above the pocket.
A single hoop is a sweet accent; two or three can organize different tools without occupying the table. They’re best for lightweight supplies you want to see and reach quickly.
8. Decorate Stackable Storage Boxes With Paper or Fabric
Practical storage becomes part of the room when the boxes share a color story. Shoebox-size containers, photo boxes, and small drawer units can all be updated with wrapping paper, wallpaper samples, fabric remnants, or a coat of matte paint.
Cover only the lids for a quick update, or wrap each box completely. Repeat one material across different sizes, then add cardstock tags. For changing contents, use metal label holders or removable clips.
This is especially satisfying when supplies live in branded packaging or mismatched cartons. You don’t need to disguise everything: a few coordinated boxes among plain baskets and jars can calm the whole area.
9. Make Beaded Cable Ties and Cord Labels
Charging cables aren’t usually the coziest part of a desk, but a few handmade details can make them easier to manage. Soft cord ties made from elastic, ribbon, or fabric scraps keep extra length bundled, while beads help identify similar chargers.
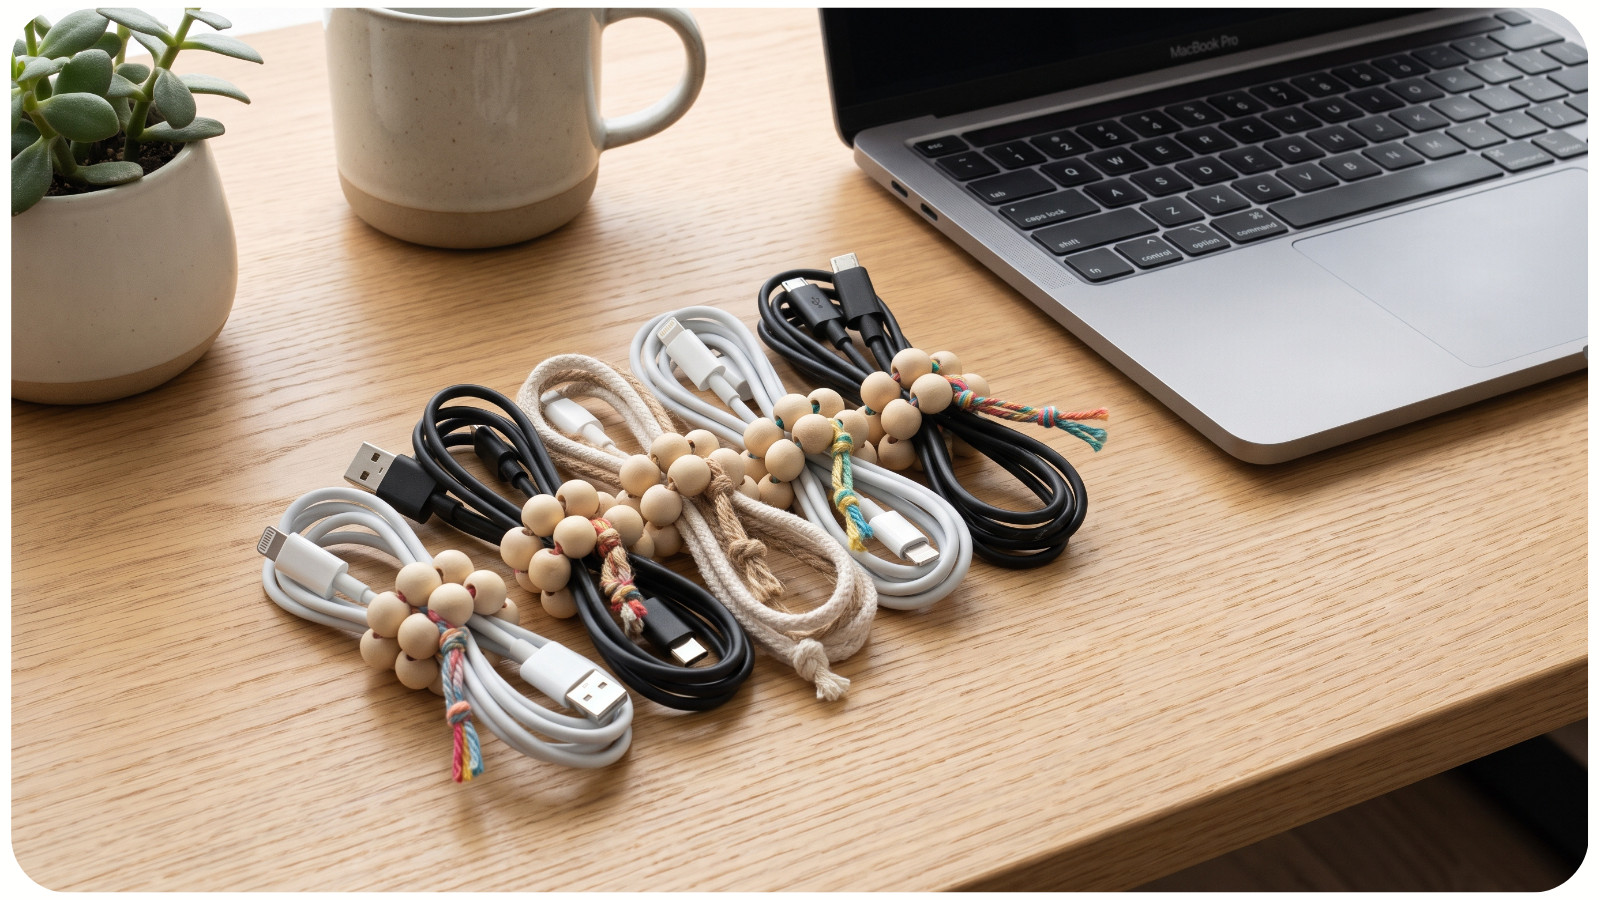
Sew a button to one end of a short felt strip and cut a buttonhole at the other. Or loop elastic cord around the cable bundle and secure it over a large wooden bead.
Avoid bulky pieces near plugs or bending cables tightly. Natural wood beads suit a warm neutral setup, while colorful knots add a playful note. If you use alphabet beads, choose short labels rather than long words so the tie stays light and flexible.
10. Craft a Mini Paper Garland for the Wall or Shelf
Once the practical pieces are in place, a small paper garland adds personality without taking up valuable work surface. Unlike a large wall installation, it can hang along a shelf edge, across a pinboard, or beneath a small piece of art.
Cut repeated shapes from cardstock, painted paper, old calendars, or scraps. Try leaves, circles, stars, pennants, or arches. Machine-stitch them with space between each piece, or glue paired shapes around cotton thread.
Keep the garland short and use colors already on the desk so it doesn’t become visual clutter. Try florals for spring, rust and ochre for fall, or cream and gold for winter.
Let Your Workspace Grow One Project at a Time
The most inviting desk isn’t necessarily the one with the most accessories. It’s the one where the things you use have a comfortable place to land - and where a few details make you happy to return.
Start with the project that fixes one small problem. If loose tools are taking over, make the caddy. If the surface feels cold and temporary, try the desk mat or mug rug. If everything functions well but lacks personality, add the trinket dish or paper garland. Over time, those useful handmade pieces will create a workspace that feels collected, personal, and genuinely yours - and can help make crafting feel less like another task.