


MASTERING RESIN ART
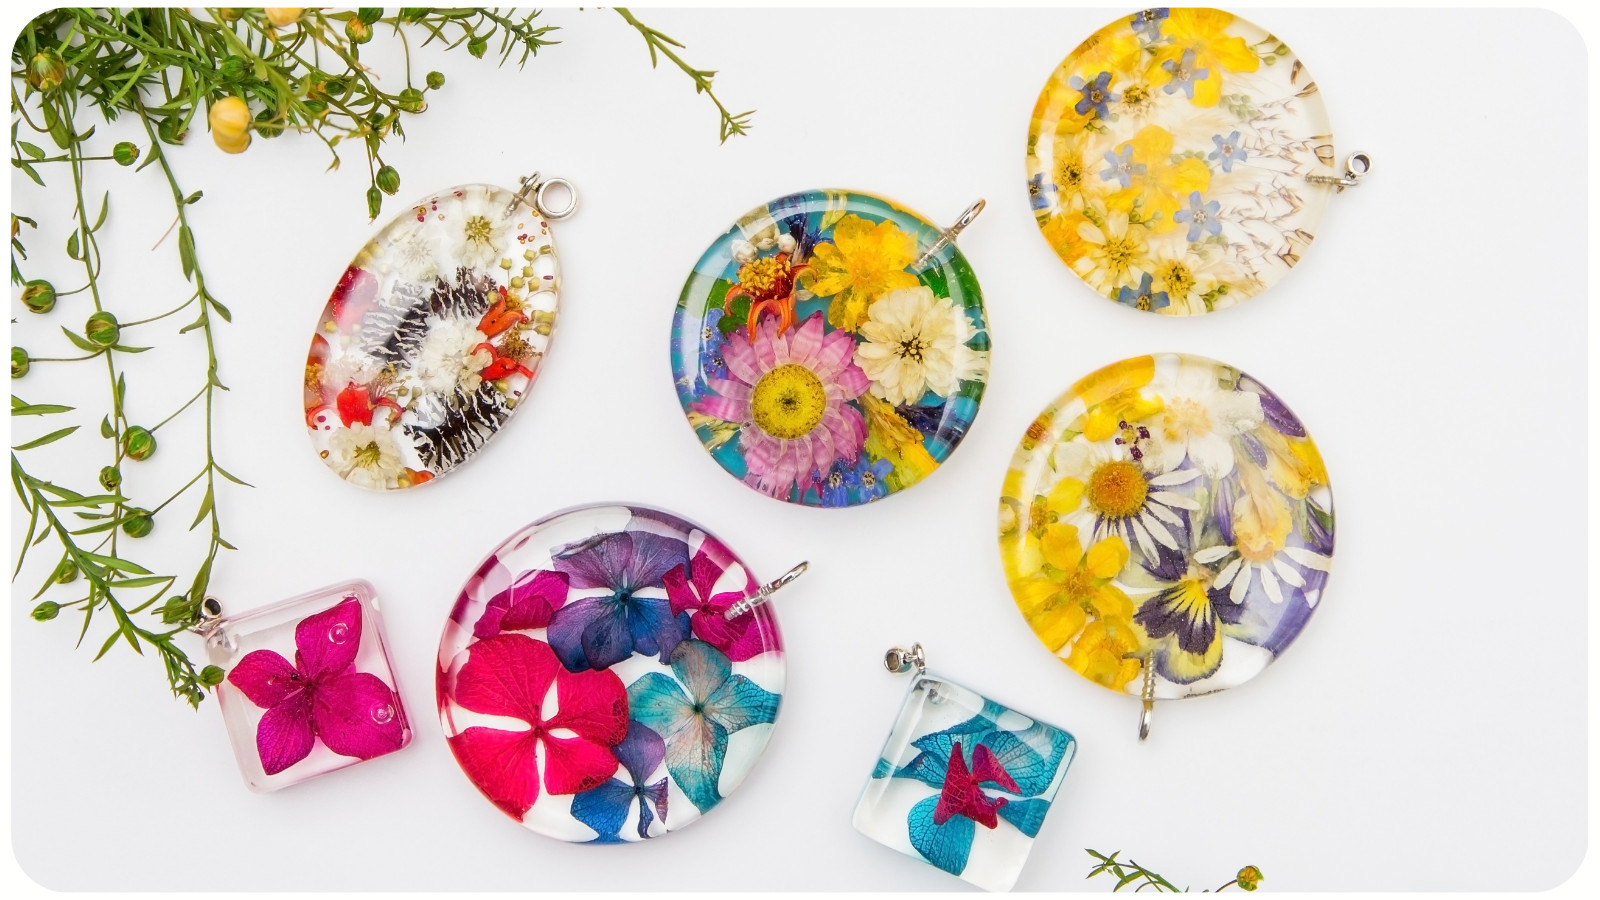
Resin art has exploded in popularity, allowing crafters to create beautiful, glossy, and durable pieces. However, mastering this craft requires attention to detail and the right techniques.
Choosing the Right Type of Resin
- Epoxy resin: Best for beginners; has a longer working time and a clear finish.
- Polyester resin: Cures faster but has a strong odor and requires a catalyst.
- UV resin: Hardens quickly under UV light, ideal for small jewelry projects.
Techniques for Layering and Embedding Objects
- Pour resin in thin layers to avoid overheating and create a depth effect.
- Embed dried flowers, gold flakes, or small objects for stunning designs.
- Experiment with alcohol inks and mica powders for unique color effects.
Tips for Avoiding Bubbles and Imperfections
- Mix resin slowly to prevent air bubbles.
- Use a heat gun or torch to remove surface bubbles.
- Let the resin sit for a few minutes before pouring to allow air to escape.
WOOD BURNING (PYROGRAPHY) FOR STUNNING DESIGNS
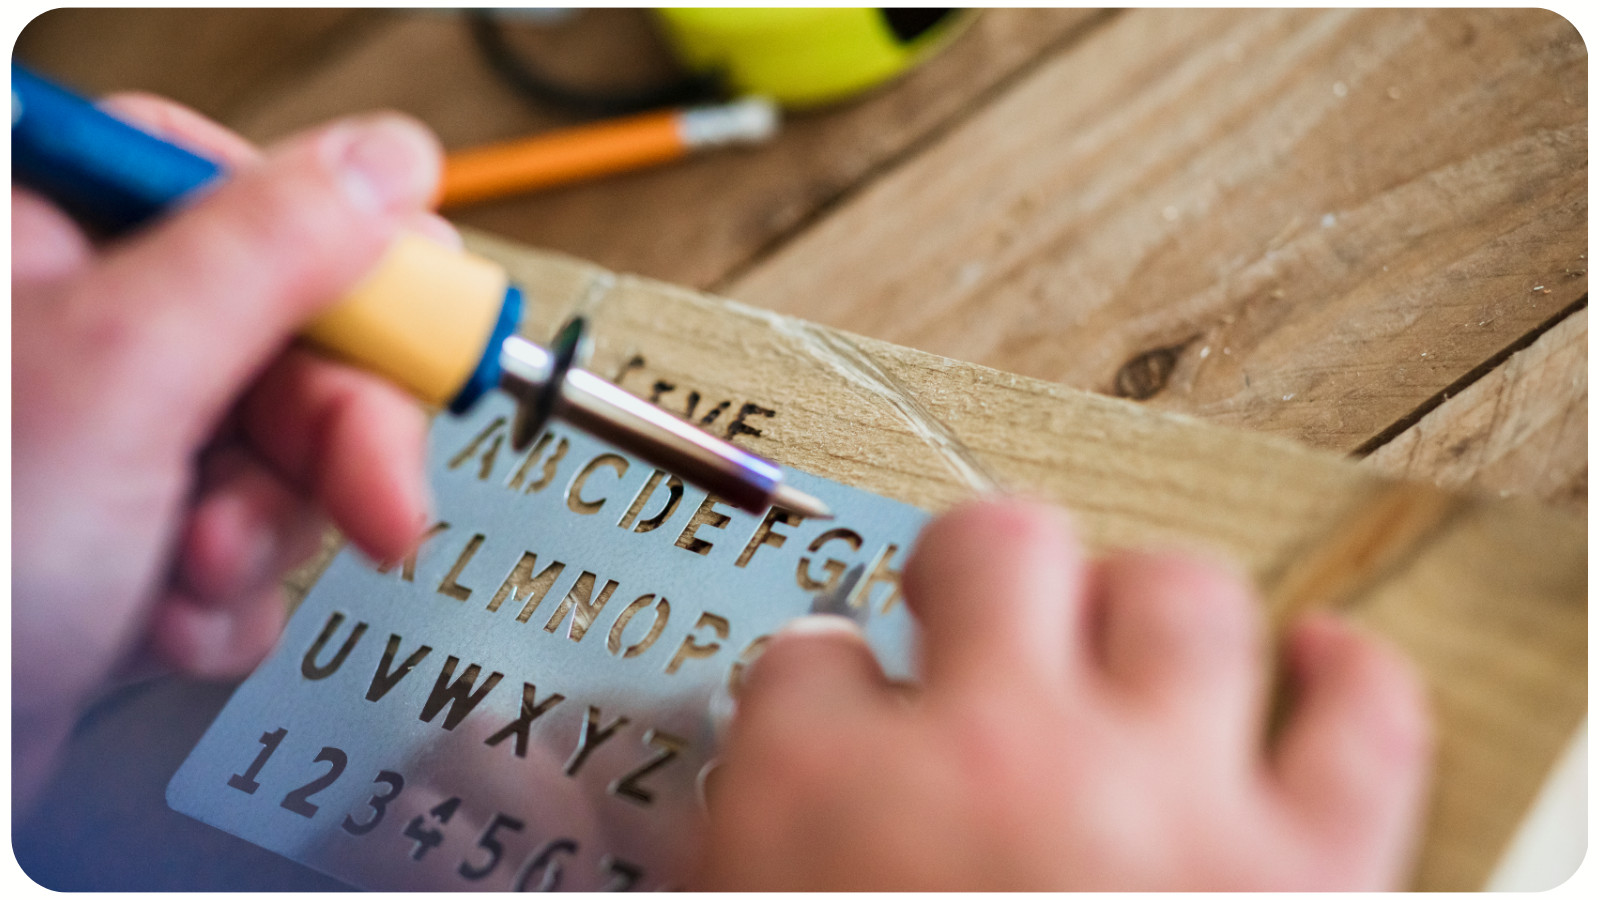
Pyrography, or wood burning, is a fantastic way to add intricate designs to wooden surfaces. This advanced technique requires precision, patience, and the right tools.
Essential Tools and Materials
- Wood burning pen: Choose one with adjustable heat settings for better control.
- Wood types: Soft woods like pine and basswood are easier to burn.
- Shading tips: Different nibs create various effects and textures.
Techniques for Shading and Detailing
- Layering strokes: Build up shading gradually for a realistic effect.
- Hatching and cross-hatching: Create depth and contrast.
- Blending techniques: Use light pressure for smooth transitions between shades.
Safety Precautions When Working with Pyrography
- Work in a well-ventilated area to avoid inhaling fumes.
- Use heat-resistant gloves to protect your hands.
- Keep a fire extinguisher nearby as a safety measure.
3D PAPER CRAFTING FOR INTRICATE DESIGNS
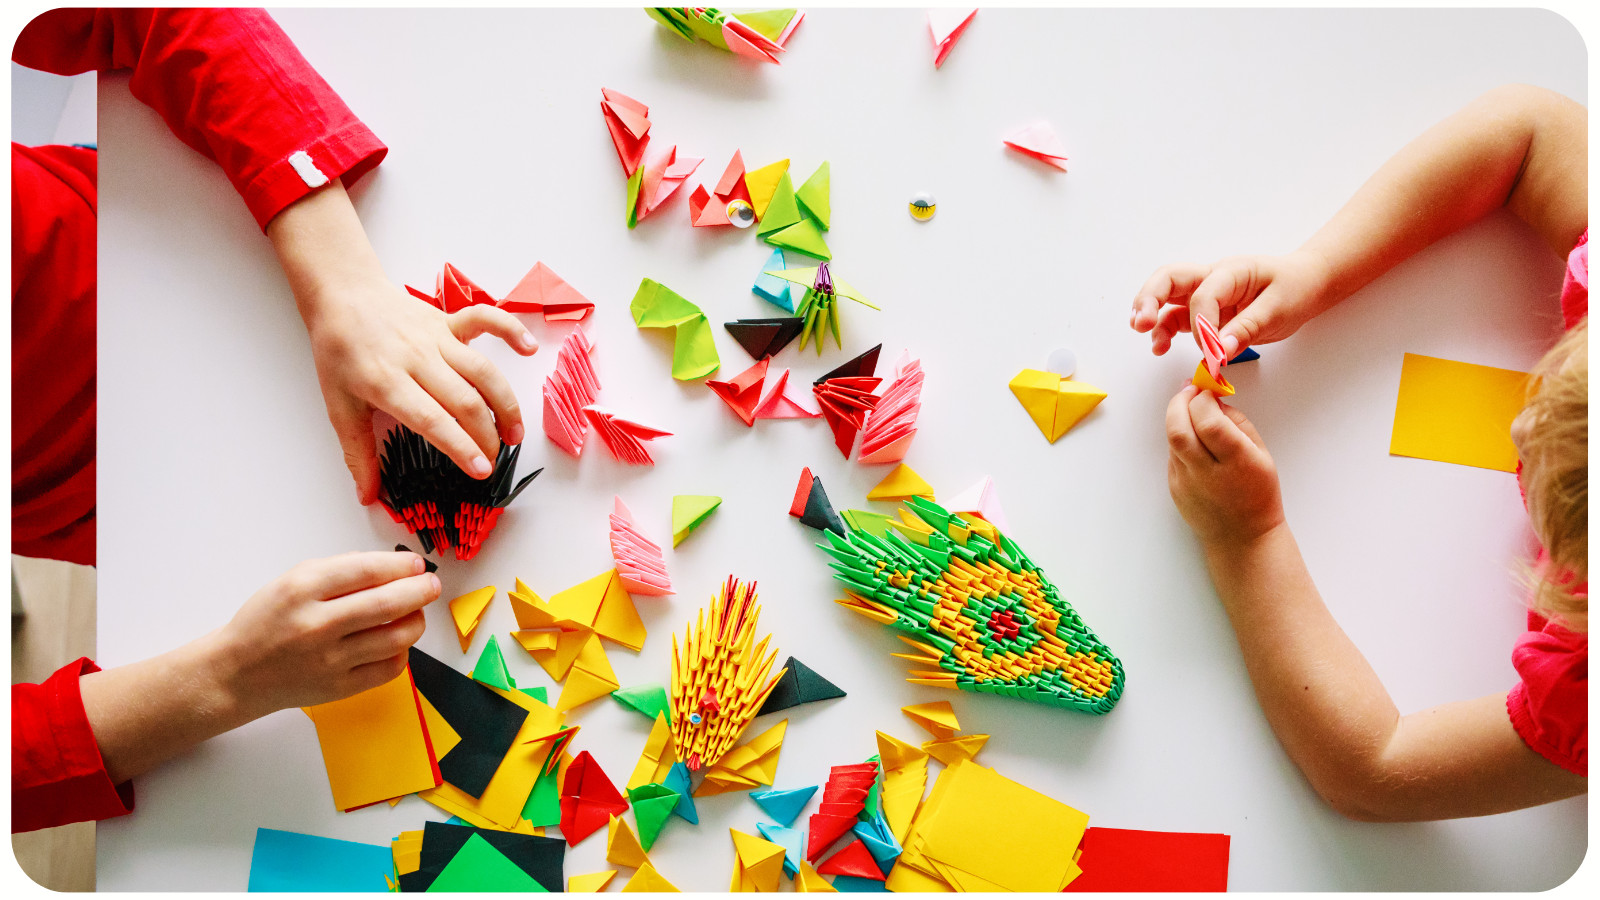
3D paper crafting goes beyond traditional origami and allows crafters to create detailed, multi-layered designs.
Tools and Materials Needed
- Precision cutting tools: X-Acto knives and laser cutters work best.
- High-quality cardstock: Ensures durability and sharp edges.
- Adhesives: Use glue that dries clear to maintain a clean look.
Creating Layered Paper Art
- Design multiple layers of paper to create depth.
- Use a cutting machine like Cricut for precision.
- Layer different colors to enhance the final piece.
Advanced Folding Techniques
- Kirigami: Combines cutting and folding for intricate patterns.
- Quilling: Rolling and shaping strips of paper for decorative elements.
- Pop-up designs: Adding 3D effects to cards and books.
EPOXY RESIN WOODWORKING FOR UNIQUE CREATIONS
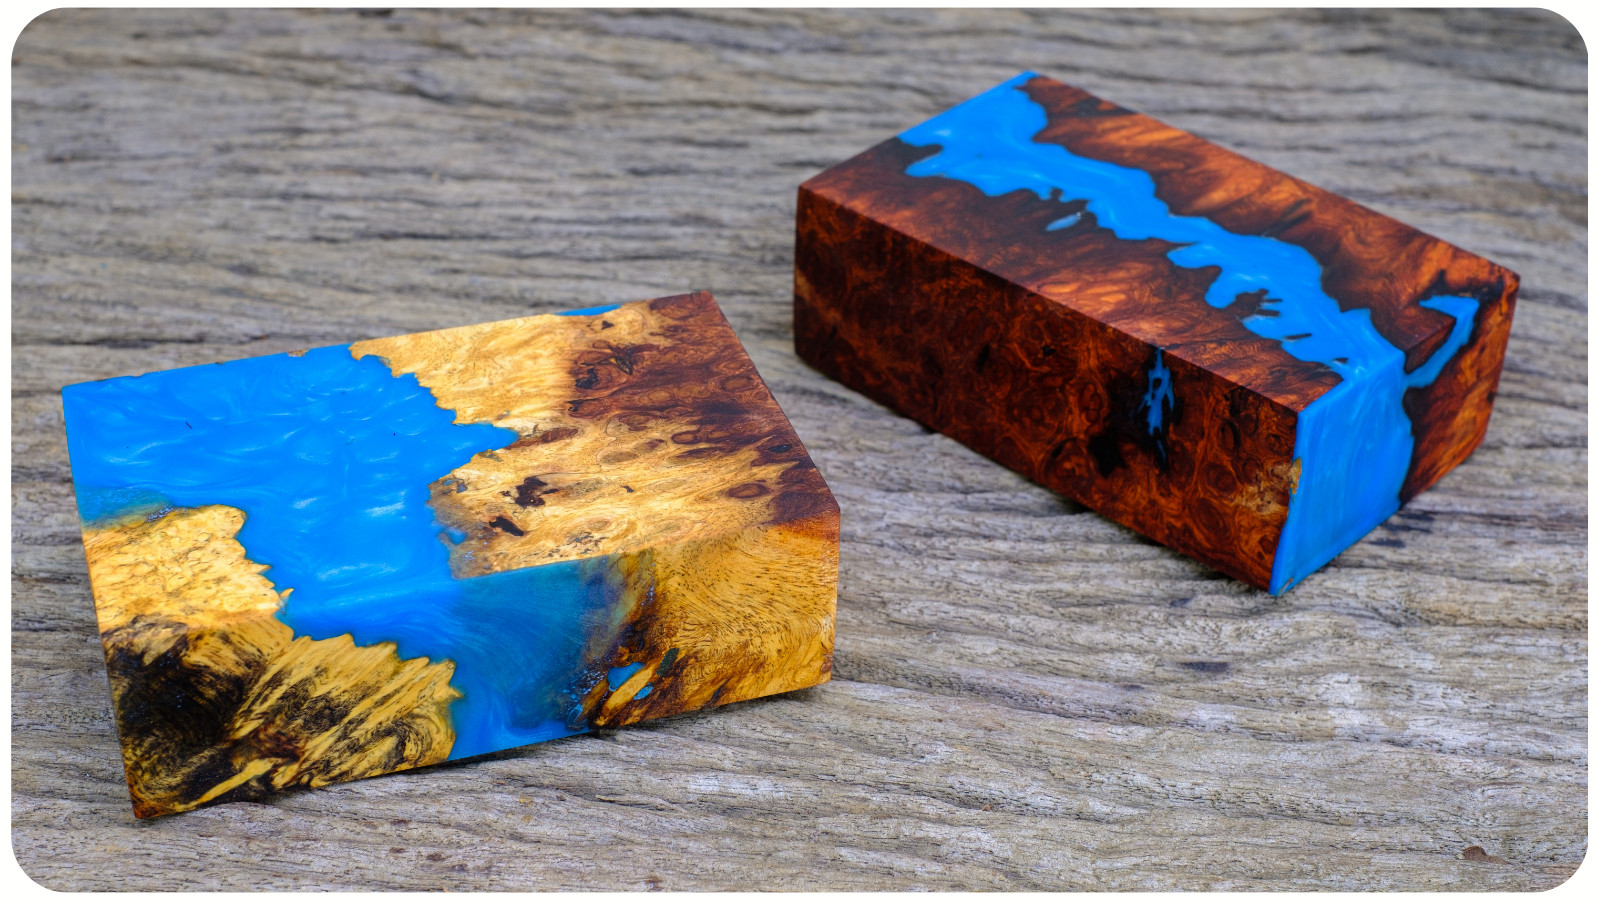
Combining wood with epoxy resin opens the door to stunning furniture and decor pieces.
Choosing the Right Wood and Epoxy Combination
- Hardwoods like oak or walnut create a sturdy base.
- Live edge slabs add a natural aesthetic.
- High-quality epoxy resin ensures a smooth, clear finish.
Creating River Tables and Decorative Pieces
- Use a mold to create a river effect in the wood.
- Experiment with pigments to mimic marble or ocean waves.
- Let epoxy cure slowly for a bubble-free finish.
Polishing and Finishing for a Professional Look
- Sand gradually from coarse to fine grit.
- Apply a clear coat or polish for added shine.
- Buff with a soft cloth to enhance the final appearance.
ADVANCED EMBROIDERY TECHNIQUES
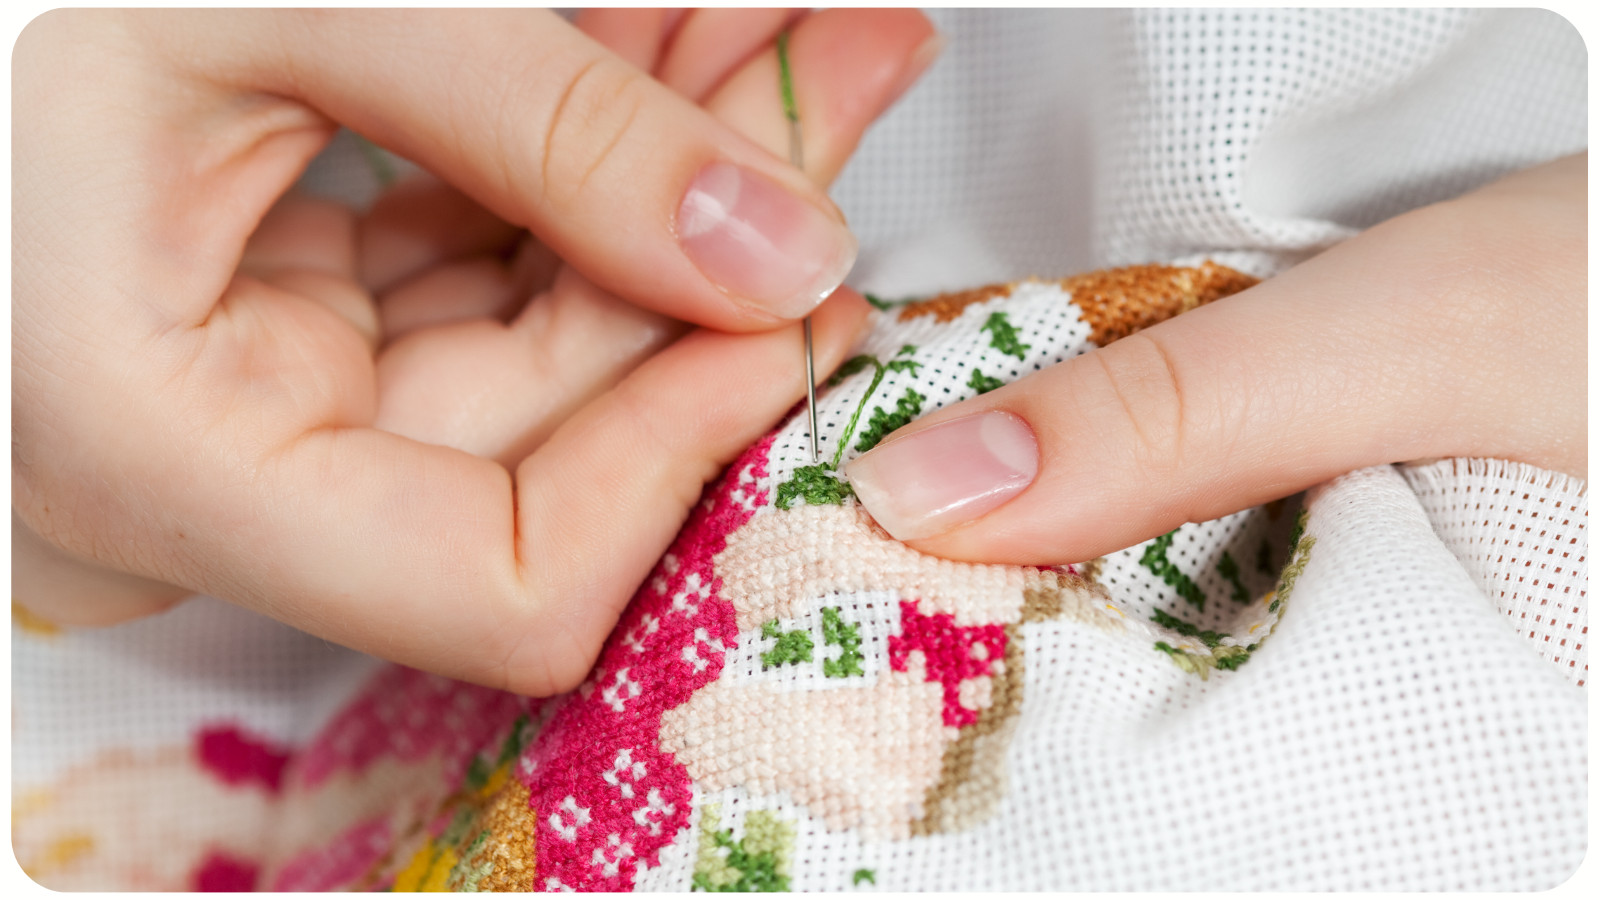
Embroidery has evolved from simple stitches to highly detailed and textured art. Advanced techniques can add dimension, depth, and unique textures to your work.
Goldwork, Stumpwork, and Ribbon Embroidery
- Goldwork embroidery: Uses metallic threads to create a luxurious effect.
- Stumpwork: Incorporates raised elements, giving a 3D appearance.
- Ribbon embroidery: Uses silk ribbons for a soft, floral effect.
Blending Colors with Thread Shading
- Use long and short stitches to blend colors smoothly.
- Select thread colors that transition gradually for a natural gradient.
- Adjust stitch angles to mimic light and shadow effects.
Adding Texture and Depth to Embroidery
- French knots and bullion knots add raised details.
- Couching allows thicker threads or cords to be attached with smaller stitches.
- Layering different stitches creates a more textured, artistic look.
LEATHER CRAFTING BEYOND THE BASICS
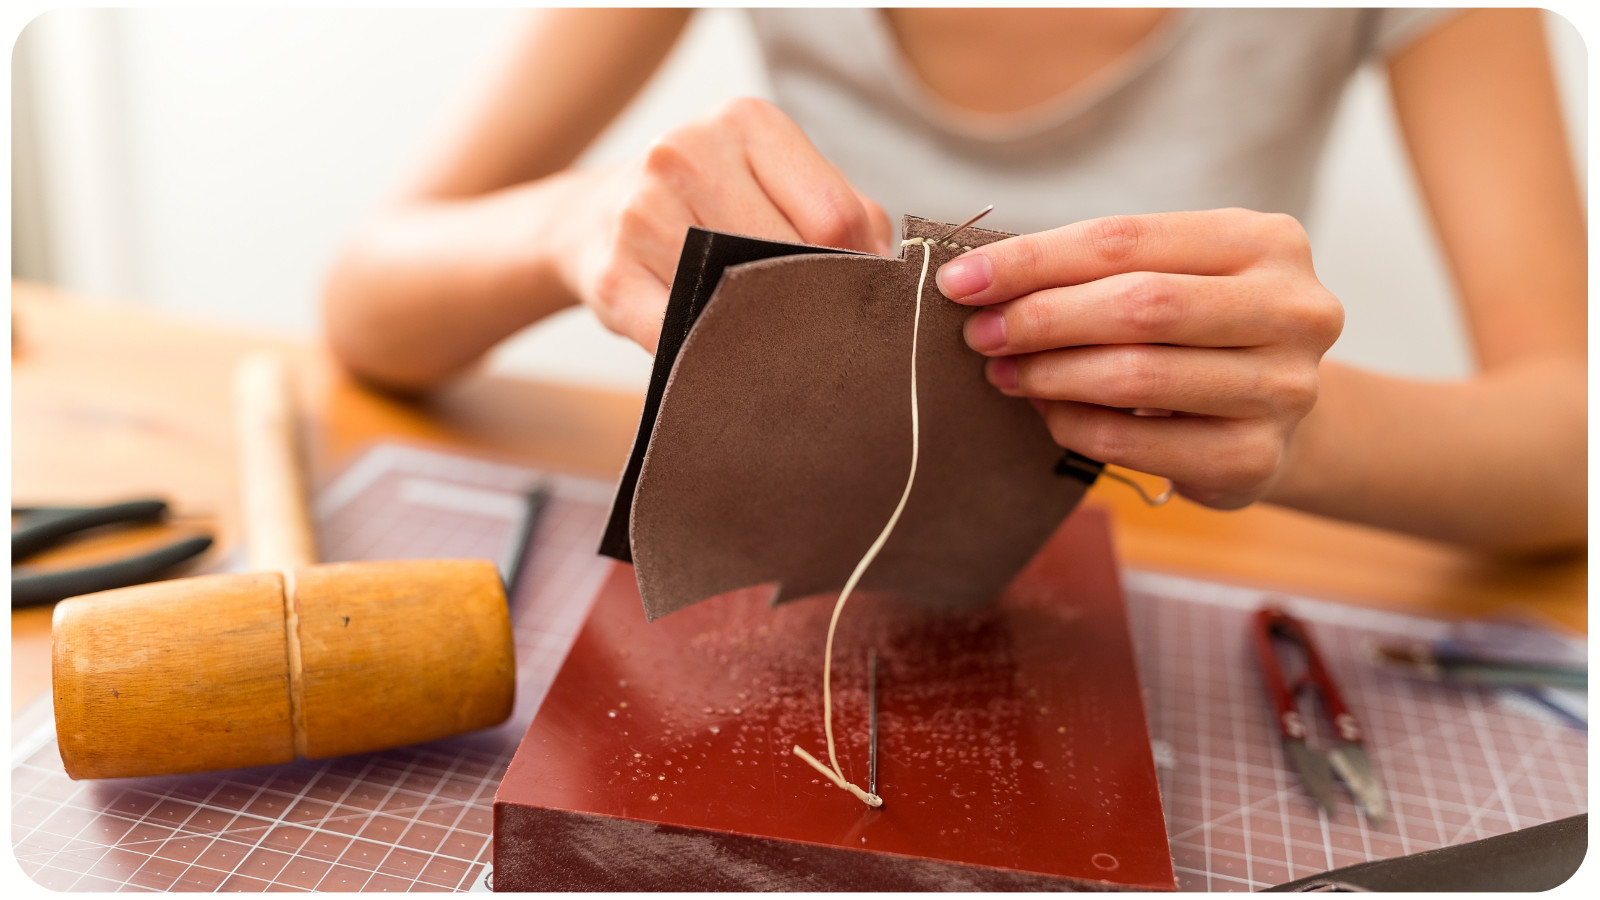
Leather crafting requires precision, and mastering advanced techniques can elevate your handmade wallets, belts, and accessories.
Tooling and Embossing Techniques
- Use stamps, swivel knives, and bevelers to carve intricate designs.
- Dampen leather slightly before tooling for cleaner impressions.
- Combine embossing with dyeing for a dramatic effect.
Dyeing and Finishing Leather for a Professional Look
- Alcohol-based dyes penetrate deeper for rich colors.
- Apply multiple layers to build depth and even tones.
- Finish with beeswax or acrylic resolene for durability and shine.
Hand-Stitching vs. Machine Stitching
- Saddle stitching (hand-stitching) is stronger than machine stitching.
- Use waxed thread and diamond chisels for neat holes.
- Burnishing edges with a slicker gives a polished, high-end look.
METAL STAMPING AND ETCHING FOR PERSONALIZED CRAFTS
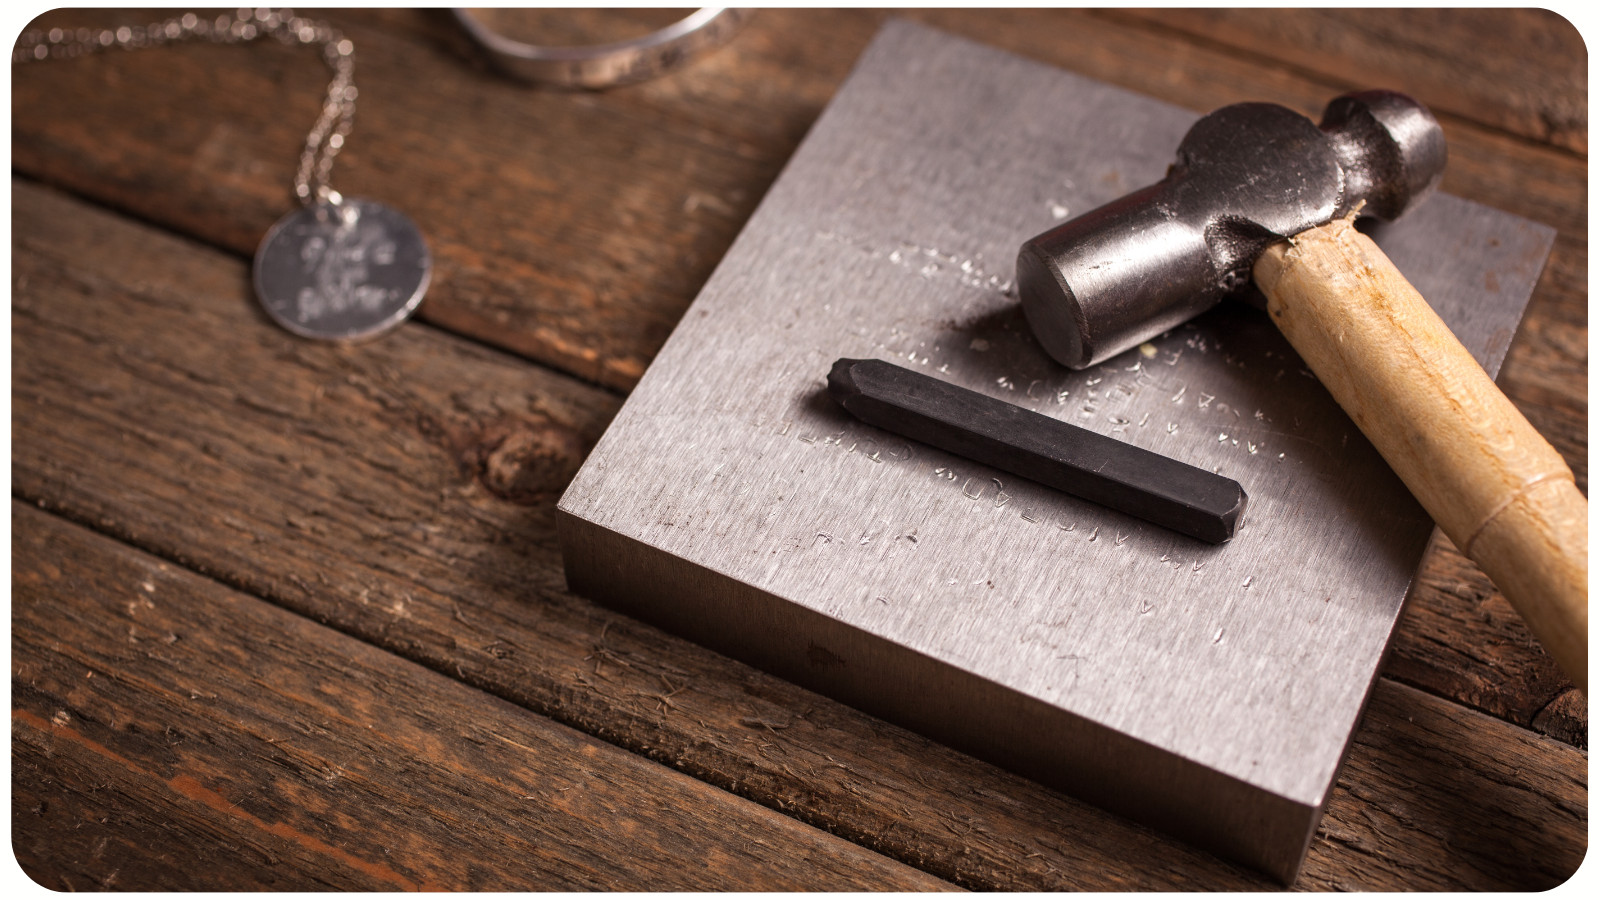
Metalworking may seem intimidating, but with the right techniques, you can create custom jewelry, tags, and decorative items.
Tools and Techniques for Stamping Metal
- Use metal blanks made of brass, aluminum, or sterling silver.
- Steel letter stamps and hammers allow for precision.
- Practice aligning letters and symbols before working on the final piece.
Creating Intricate Designs with Etching
- Acid etching allows for detailed, permanent designs.
- Masking techniques (using nail polish or tape) help control the etched areas.
- Neutralize acid after etching to prevent continued corrosion.
Finishing Touches for a Polished Look
- Use fine-grit sandpaper or steel wool to smooth edges.
- Oxidizing agents (like liver of sulfur) enhance stamped designs.
- Apply a clear protective coat to prevent tarnishing.
CONCLUSION
Crafting is more than just a hobby—it’s an evolving skill set that can lead to professional-quality creations. By mastering advanced techniques like resin art, pyrography, embroidery, and leather crafting, you can take your DIY projects to a whole new level.
Whether you’re creating personalized gifts, home decor, or even selling your crafts, refining these skills will set you apart. The key is practice, patience, and a willingness to experiment. So, grab your tools, dive in, and start crafting like a pro!