



Diamond painting looks simple at first: pick up a drill, place it on the canvas, repeat, and watch the image sparkle into life. But beginners often hear advice that sounds convincing yet causes frustration later – crooked rows, popping drills, wax issues, or a finished piece that does not last as expected.
Let’s clear up the most common diamond painting myths with technical, beginner-friendly explanations so you can build better habits from your very first canvas. Whether you are working on a small starter kit or a detailed Awesome Pattern Studio design for home decor, accuracy matters.
TOOLS LIST
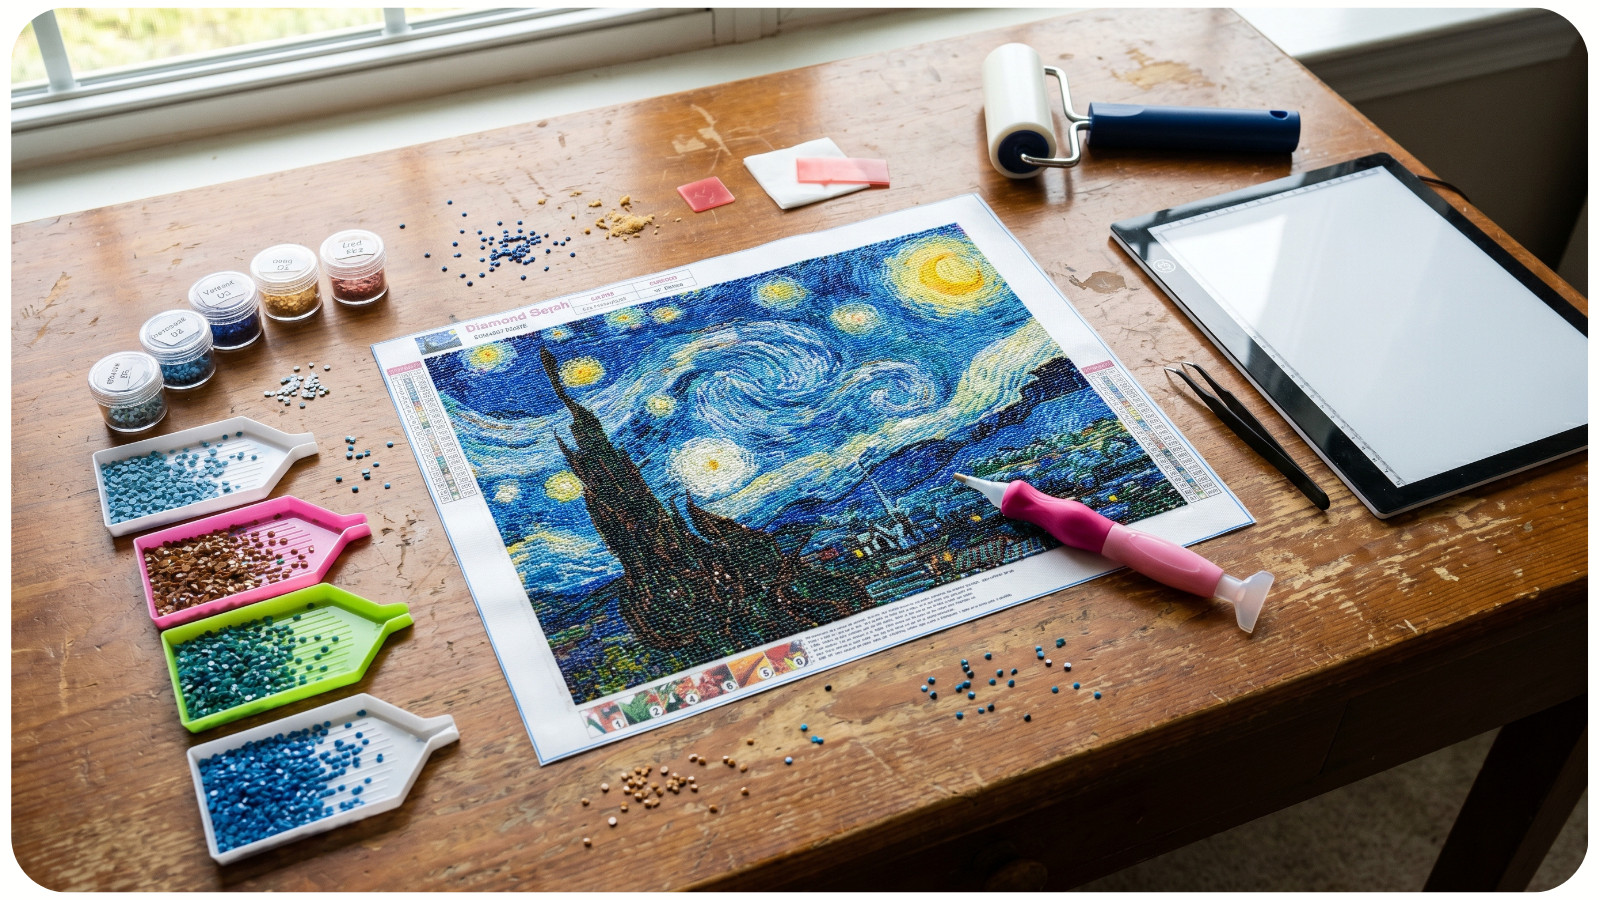
- Diamond painting canvas;
- Resin or acrylic drills;
- Diamond painting pen;
- Pink wax or putty;
- Drill tray;
- Tweezers;
- Light pad;
- Release paper or parchment paper;
- Roller or brayer;
- Storage containers;
- Straightener tool;
- Optional sealant.
MYTH 1: “ALL DIAMOND PAINTING KITS ARE BASICALLY THE SAME”
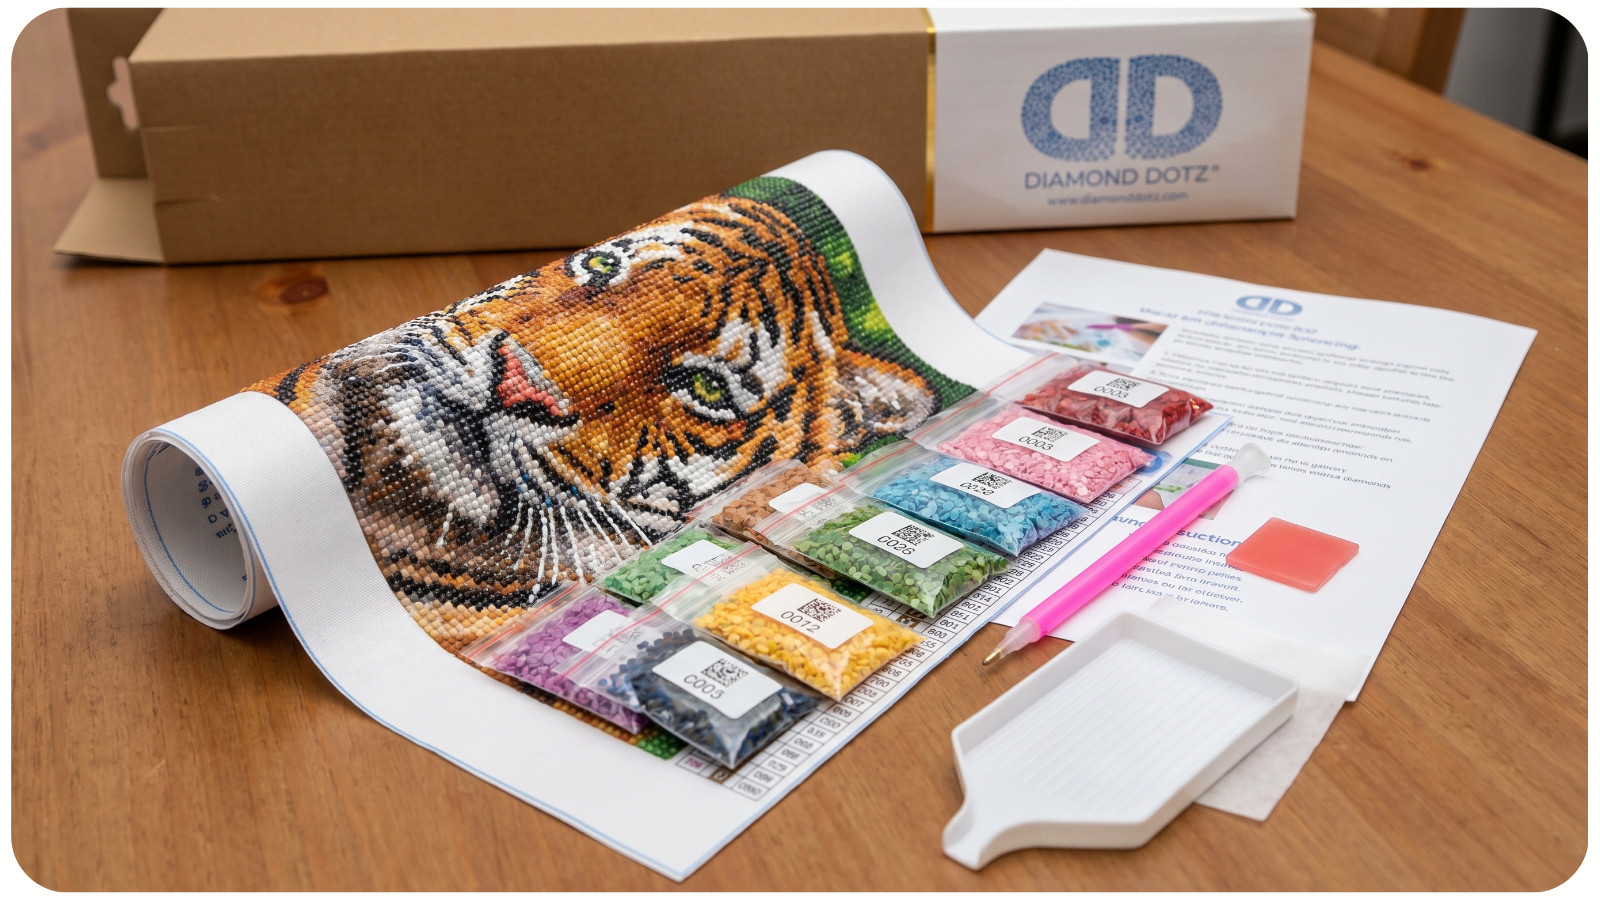
Not true. The quality of a kit affects almost every part of the experience.
A high-quality canvas should have clear symbols, strong adhesive, accurate color mapping, and a durable printed surface. Poor-quality canvases may have blurry symbols, weak glue, mismatched colors, or adhesive that dries out before the project is finished.
The drills also matter. Resin drills are usually more uniform and glossy than cheaper acrylic drills. Consistent drill size helps rows line up properly, especially in square diamond painting where precision is more important.
Beginners often blame themselves for messy results, but sometimes the kit is the problem. Choosing a well-designed pattern from a trusted source like Awesome Pattern Studio can make the process smoother and the final artwork more polished.
MYTH 2: “ROUND DRILLS ARE FOR BEGINNERS AND SQUARE DRILLS ARE FOR EXPERTS ONLY”
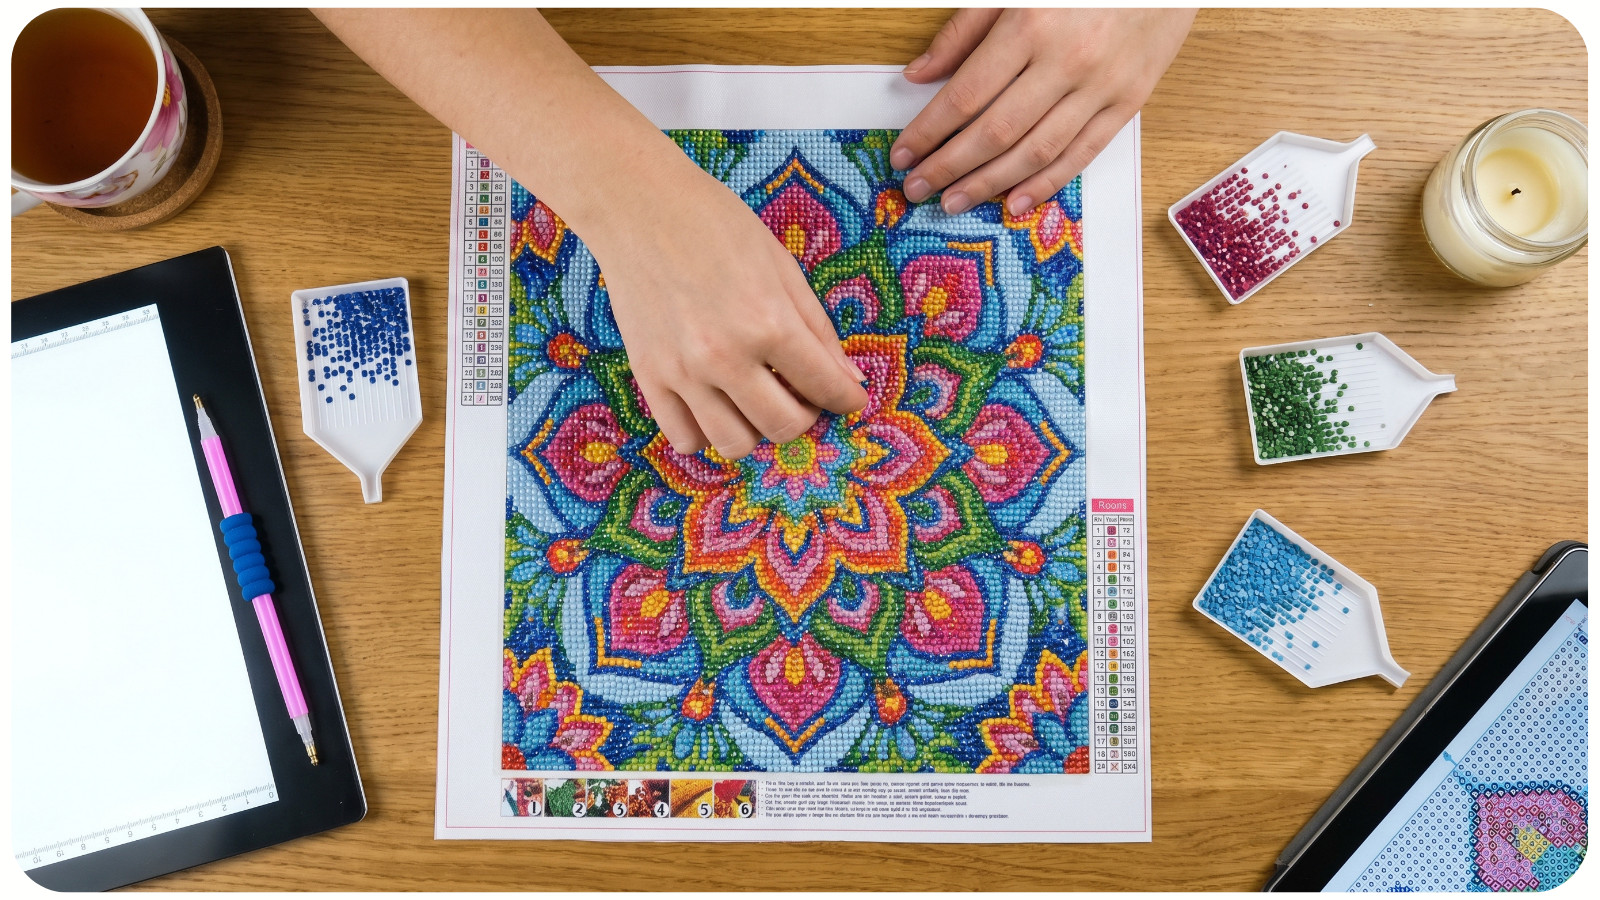
This is partly true, but too simple. Round drills are easier to place because they do not need perfect edge-to-edge alignment. They leave tiny gaps between drills, which can make small mistakes less noticeable. This makes them beginner-friendly and relaxing.
Square drills create a fuller mosaic effect because the drills fit closely together. They require more accuracy because crooked placement can affect nearby rows. However, beginners can absolutely use square drills if they work slowly, use a light pad, and straighten sections as they go.
The better rule is this: choose round drills for a softer, easier start and square drills for sharper detail and a more complete tiled look.
MYTH 3: “MORE COLORS ALWAYS MEAN A BETTER FINISHED IMAGE”
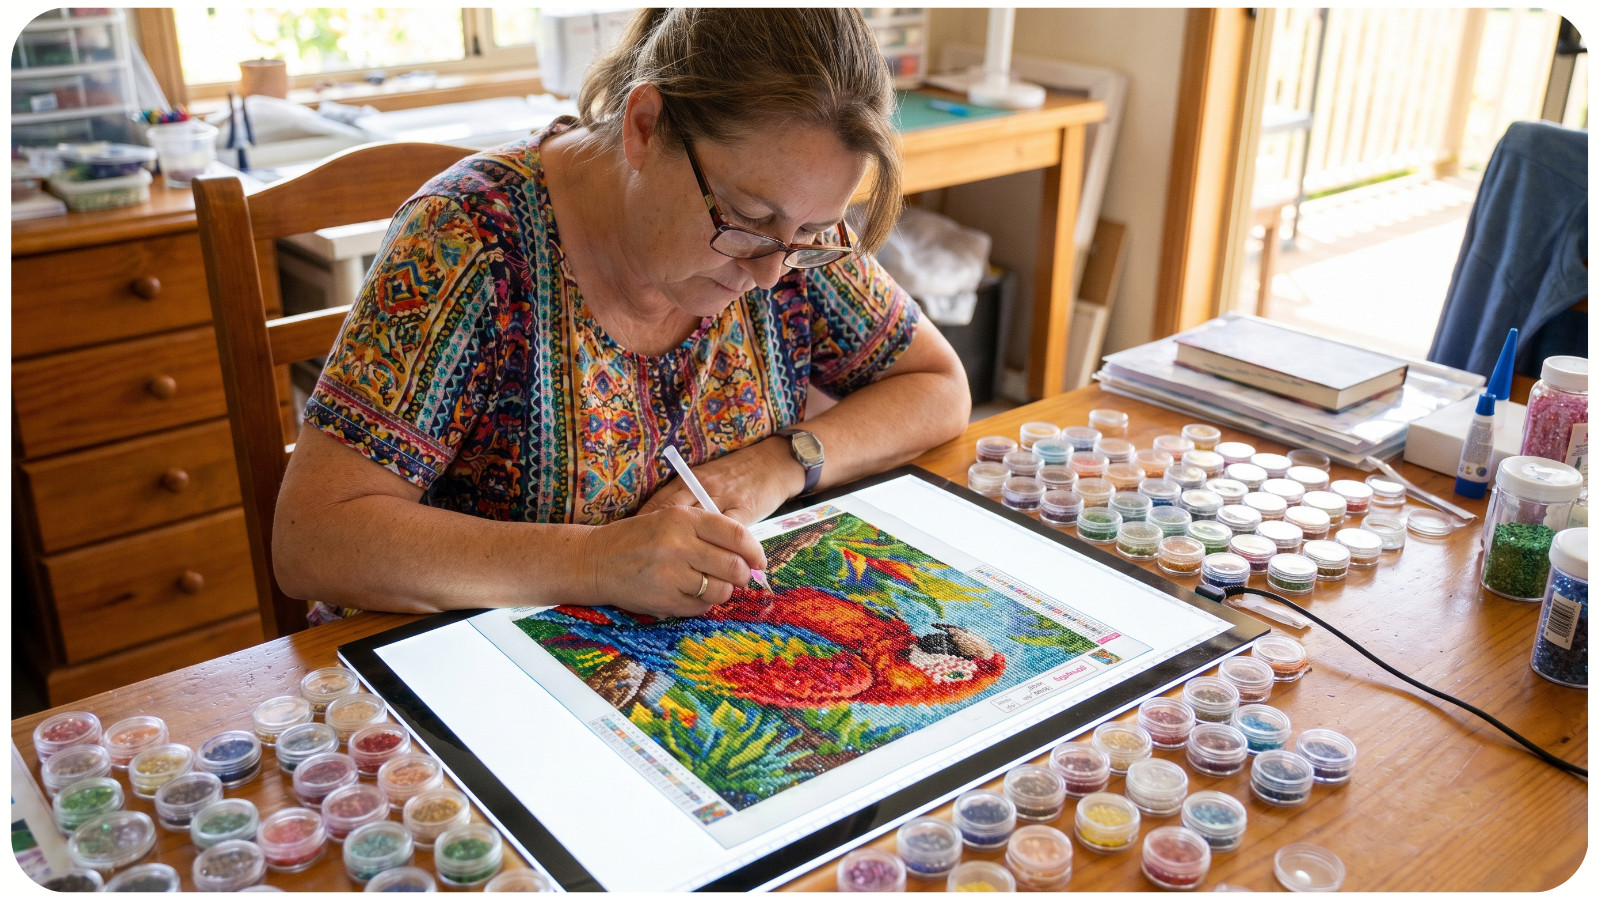
Not always. More drill colors can improve shading, gradients, and realism, especially in portraits, animals, landscapes, and detailed artwork. However, the pattern must be properly charted. A canvas with too many poorly chosen colors can look noisy or muddy instead of detailed.
Good diamond painting design depends on color accuracy, contrast, symbol clarity, and image size. A small canvas with too many colors may become crowded and hard to read. A larger canvas gives complex color transitions more room to breathe.
For beginners, it is better to choose a design with clear contrast and a manageable color count rather than assuming that more colors automatically equal higher quality.
MYTH 4: “IF DRILLS POP, YOU JUST NEED TO PRESS HARDER”
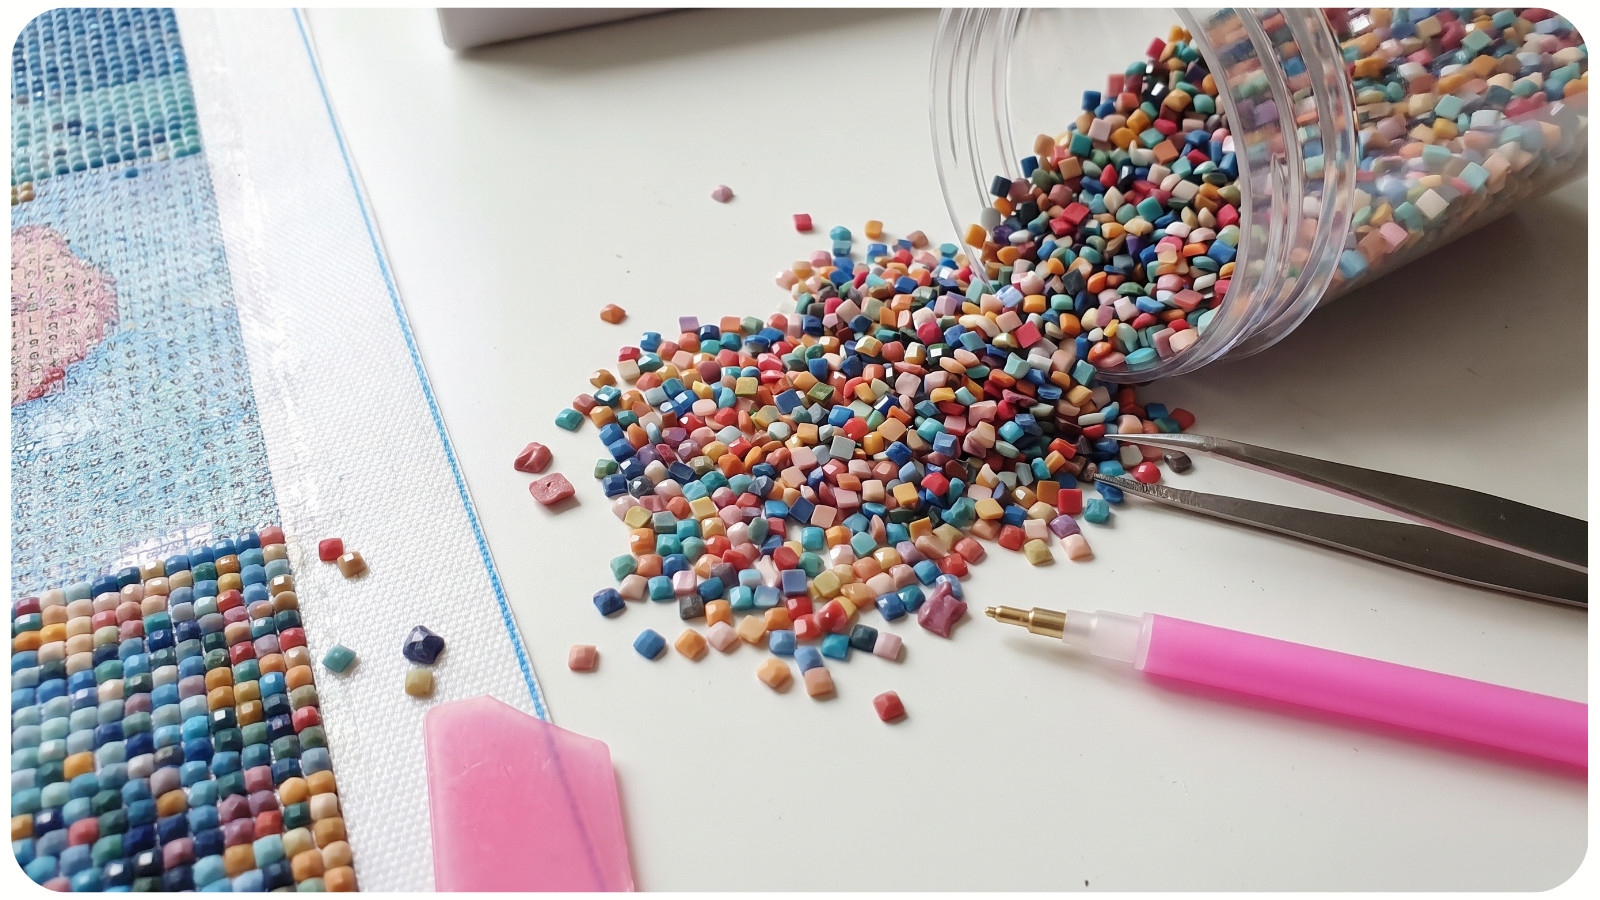
Pressing can help temporarily, but popping drills usually have a specific cause.
Common reasons include:
- Drills placed too tightly together;
- Warped or uneven drills;
- Weak canvas adhesive;
- Dust, lint, or oil on the sticky surface;
- Square drills slightly misaligned;
- Canvas creases affecting the glue layer.
A roller can secure drills after each section, but it will not fix poor spacing or defective drills. If square drills are popping, check whether rows are too compressed. Use a straightener tool to gently create even alignment.
If the canvas has creases, flatten it before working. Place it under heavy books or carefully roll it in the opposite direction. Never aggressively fold the adhesive area, because that can damage the glue.
MYTH 5: “A LIGHT PAD IS OPTIONAL AND DOES NOT AFFECT ACCURACY”
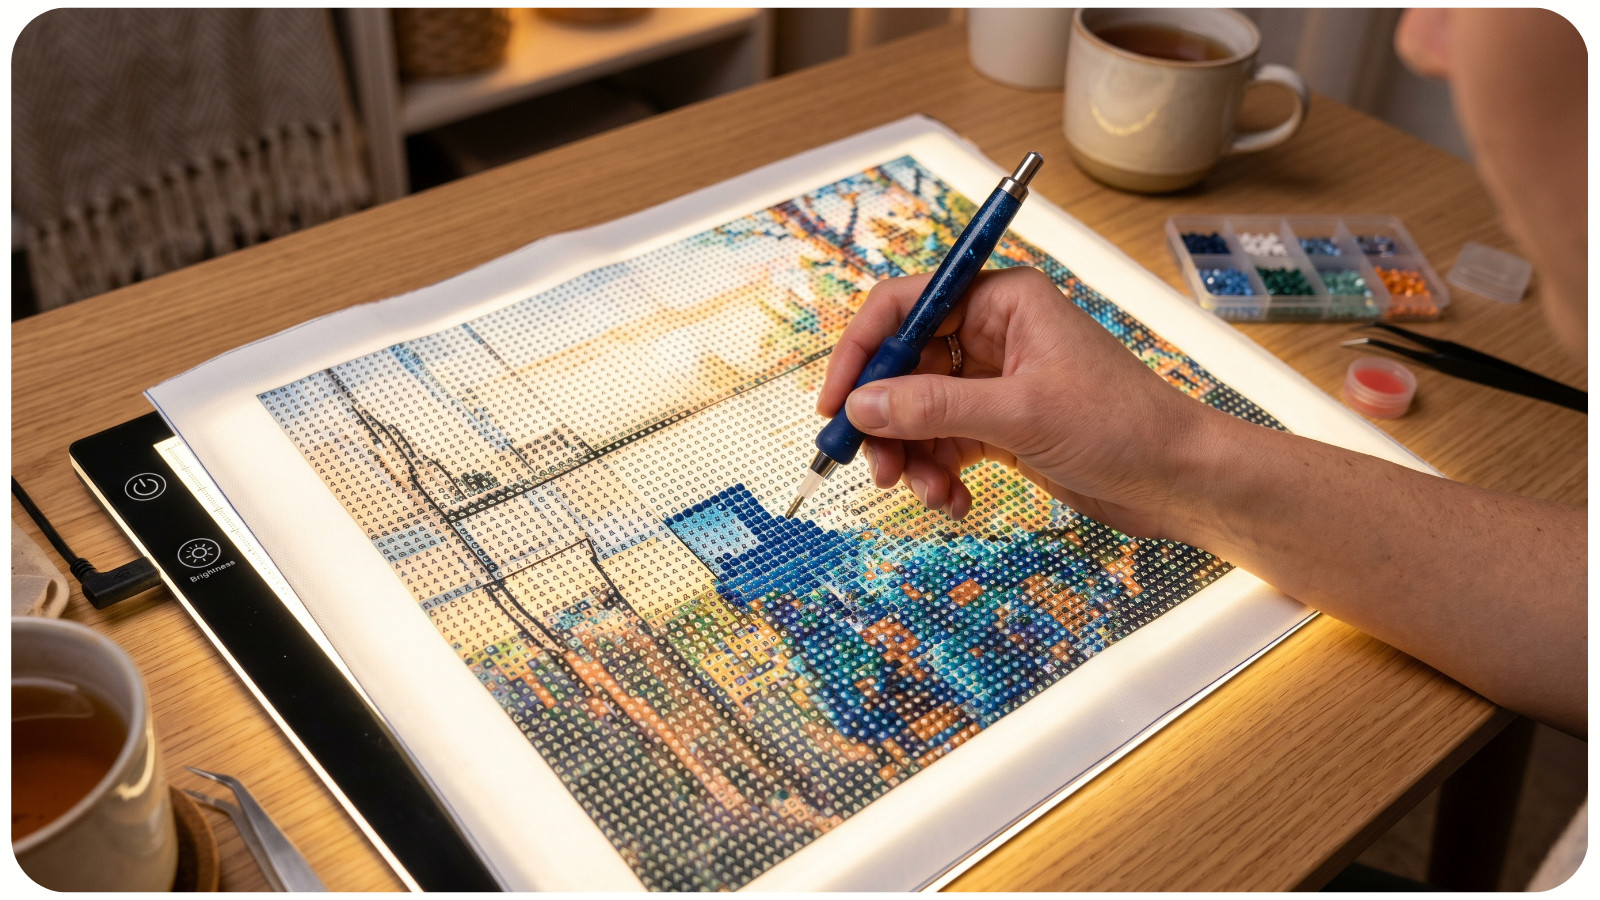
A light pad is optional, but it can significantly improve accuracy.
Many beginner mistakes happen because symbols are difficult to read, especially on dark areas, confetti-heavy sections, or canvases with similar symbols. A light pad illuminates the canvas from underneath, making symbols clearer and reducing eye strain.
This is especially useful for:
- Dark color blocks;
- Similar symbols, such as B, 8, S, and 5;
- Highly detailed patterns;
- Evening crafting sessions;
- Square drill alignment.
A light pad does not replace careful placement, but it helps you see exactly where each drill belongs.
MYTH 6: “PINK WAX IS BAD IF IT STOPS WORKING QUICKLY”
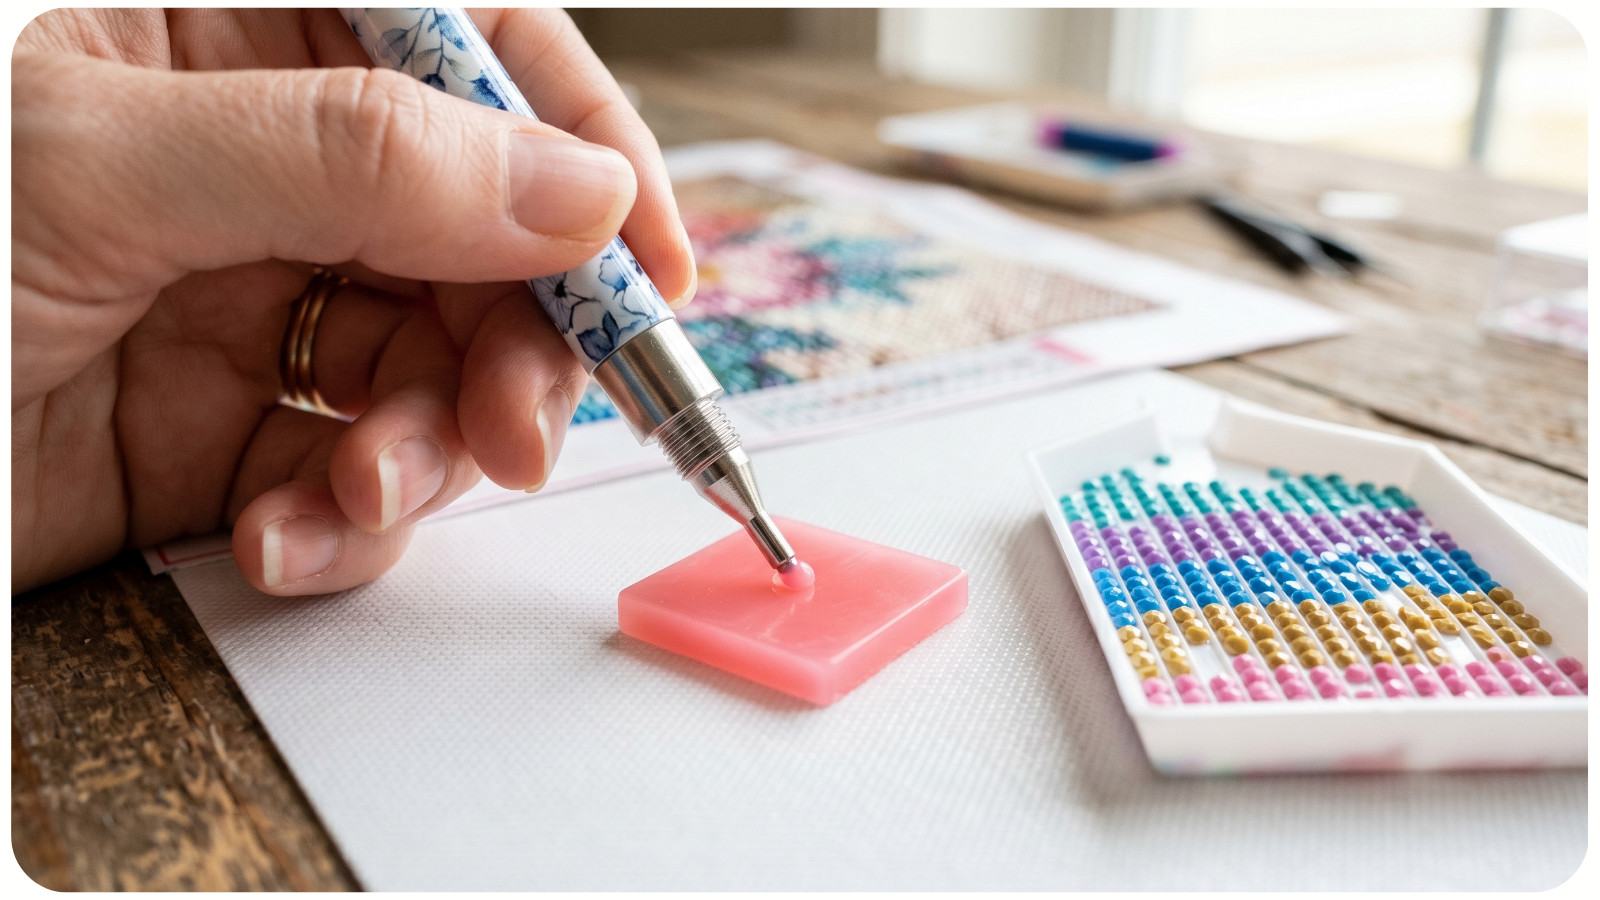
Pink wax is not bad, but it has limits.
Wax performance depends on pressure, humidity, drill type, and how often you refill your pen. If your pen stops picking up drills, the wax may be dirty, dried out, or pushed too deeply into the pen tip.
Avoid stabbing the wax too hard. Gently press the pen tip into the wax, then remove excess wax if it spreads onto the drills. Too much wax can leave residue on the drill surface, reducing sparkle.
Some crafters prefer putty or glue dots for longer sessions, but pink wax is perfectly fine for beginners. The key is proper loading and regular maintenance.
MYTH 7: “EVERY FINISHED DIAMOND PAINTING MUST BE SEALED”
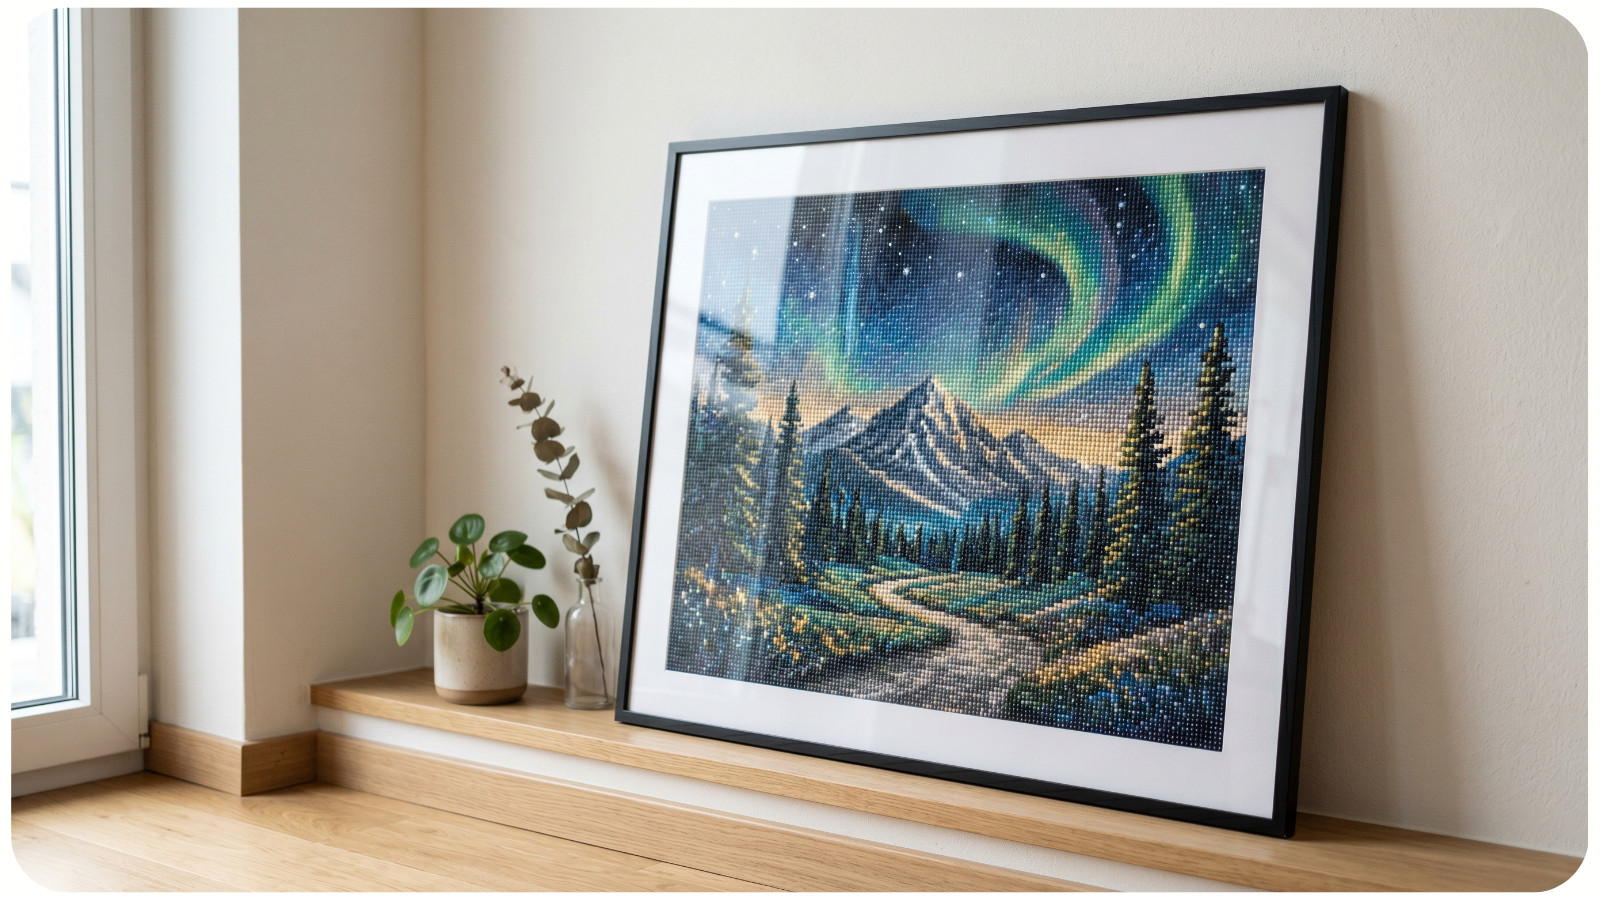
Not every project needs sealing.
A well-made canvas with strong adhesive can hold drills securely without sealant, especially if the piece is framed behind glass. Sealing is more useful when the artwork will be exposed to dust, humidity, handling, or open-air display.
However, sealing changes the finish. Some sealants reduce sparkle slightly, especially if applied too thickly or unevenly. Brush-on sealers can provide stronger coverage, while spray sealers are lighter but may not lock drills as firmly.
Before sealing, always roll the finished canvas gently, remove lint, and test the sealant if possible. For special Awesome Pattern Studio designs intended as long-term decor, sealing may be worth considering, but it should be done carefully.
FINAL THOUGHTS
Diamond painting is relaxing, satisfying, and wonderfully beginner-friendly, but good technique makes a big difference. Understanding your canvas, drills, adhesive, tools, and finishing options helps you avoid common problems before they start.
The biggest myth of all is that diamond painting is “just sticking gems on a canvas.” In reality, it is a detailed craft that rewards patience, accuracy, and smart setup.