


Some handmade projects work a quiet magic trick. They look polished and far beyond beginner level, yet the process is built from a few simple steps repeated with care.
That makes them especially satisfying as first projects. The secret is choosing one where the materials, pattern, or finishing method does part of the visual work for you.
These eight ideas are approachable even if your supplies fit inside one small drawer. Some take an afternoon; others suit a few relaxed evenings. All can earn a surprised, “You made that?”
1. A Small Cross-Stitch Hoop With a Bold, Modern Motif
Cross-stitch can look remarkably intricate because every tiny X contributes to a larger image. But you don’t need to begin with a sprawling landscape or a pattern containing dozens of thread colors. A compact motif with a strong silhouette can be just as striking.
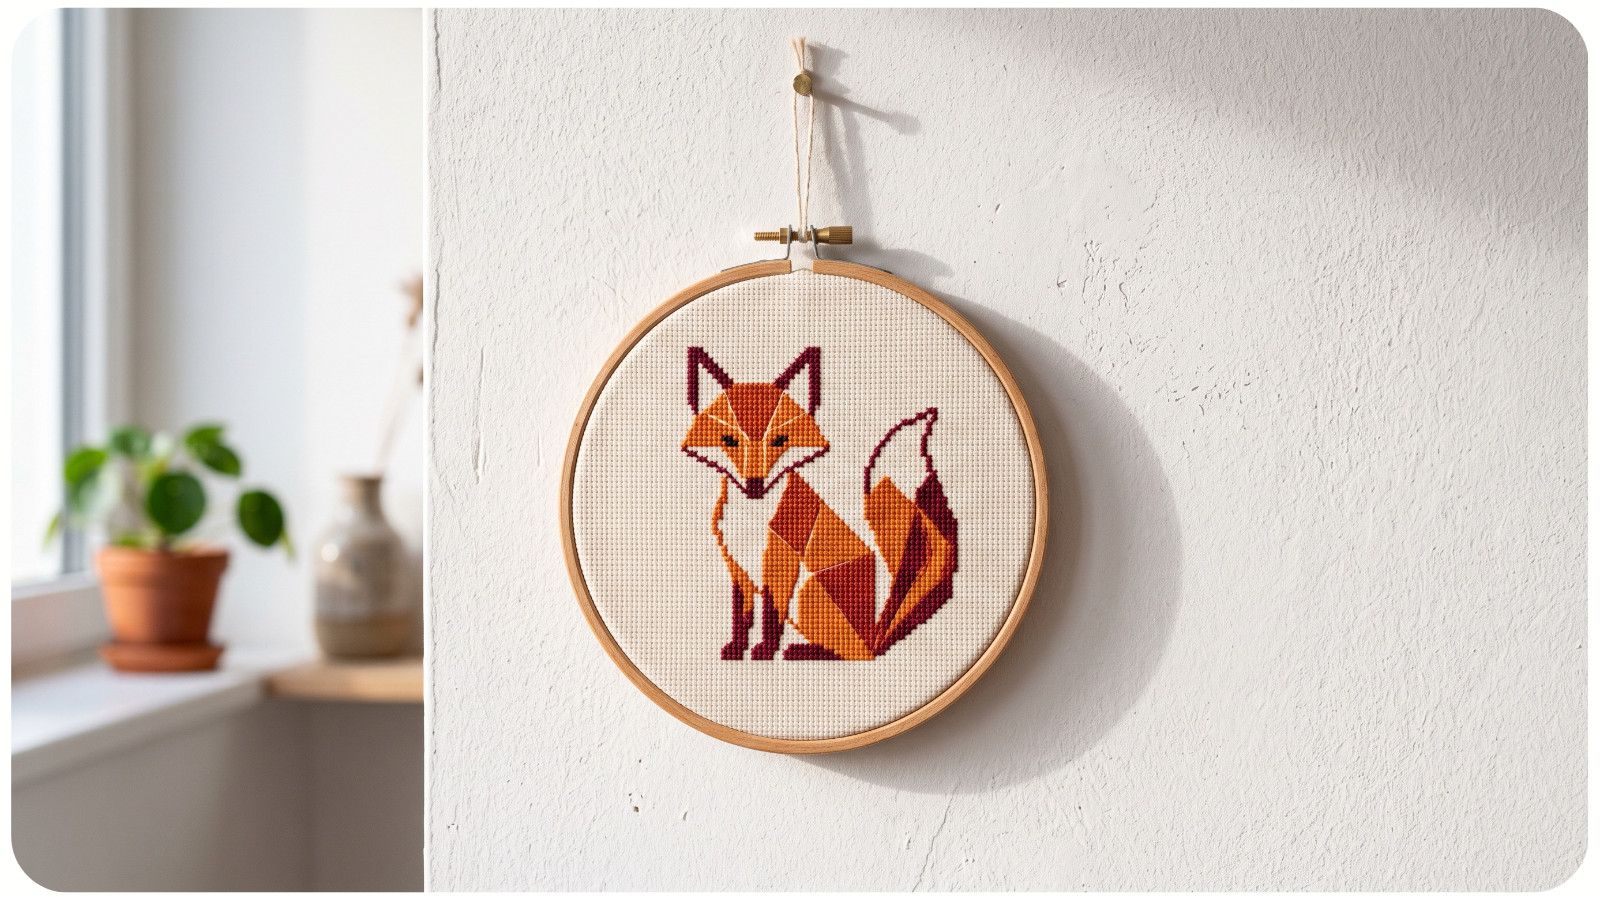
Think of a moth, mushroom, wildflower, or geometric animal worked in three to six colors. Clear color blocks are easier to follow than scattered single stitches. The grid does the measuring, so the main skill is placing each X in the correct square. If this is your first chart, this guide to cross-stitch patterns for beginners can help you choose a manageable design.
The hoop itself can become the frame. Center the finished fabric, tighten the outer ring, secure the excess at the back, and the piece is ready to hang. Dark fabric with pale thread or a limited jewel-toned palette can make a small design feel especially polished. For more help creating a cohesive palette, see the beginner’s guide to cross-stitch threads and color combinations.
Start with a motif that fits comfortably inside a four- or five-inch hoop. The smaller scale gives you a realistic finish line while you learn how to read a chart and keep your stitches consistent.
2. Diamond-Painted Coasters That Catch the Light
Diamond painting has an immediate advantage when you want maximum sparkle with a gentle learning curve. The adhesive surface already shows where each resin piece belongs, and the basic motion - pick up, place, repeat - takes only a few minutes to understand.
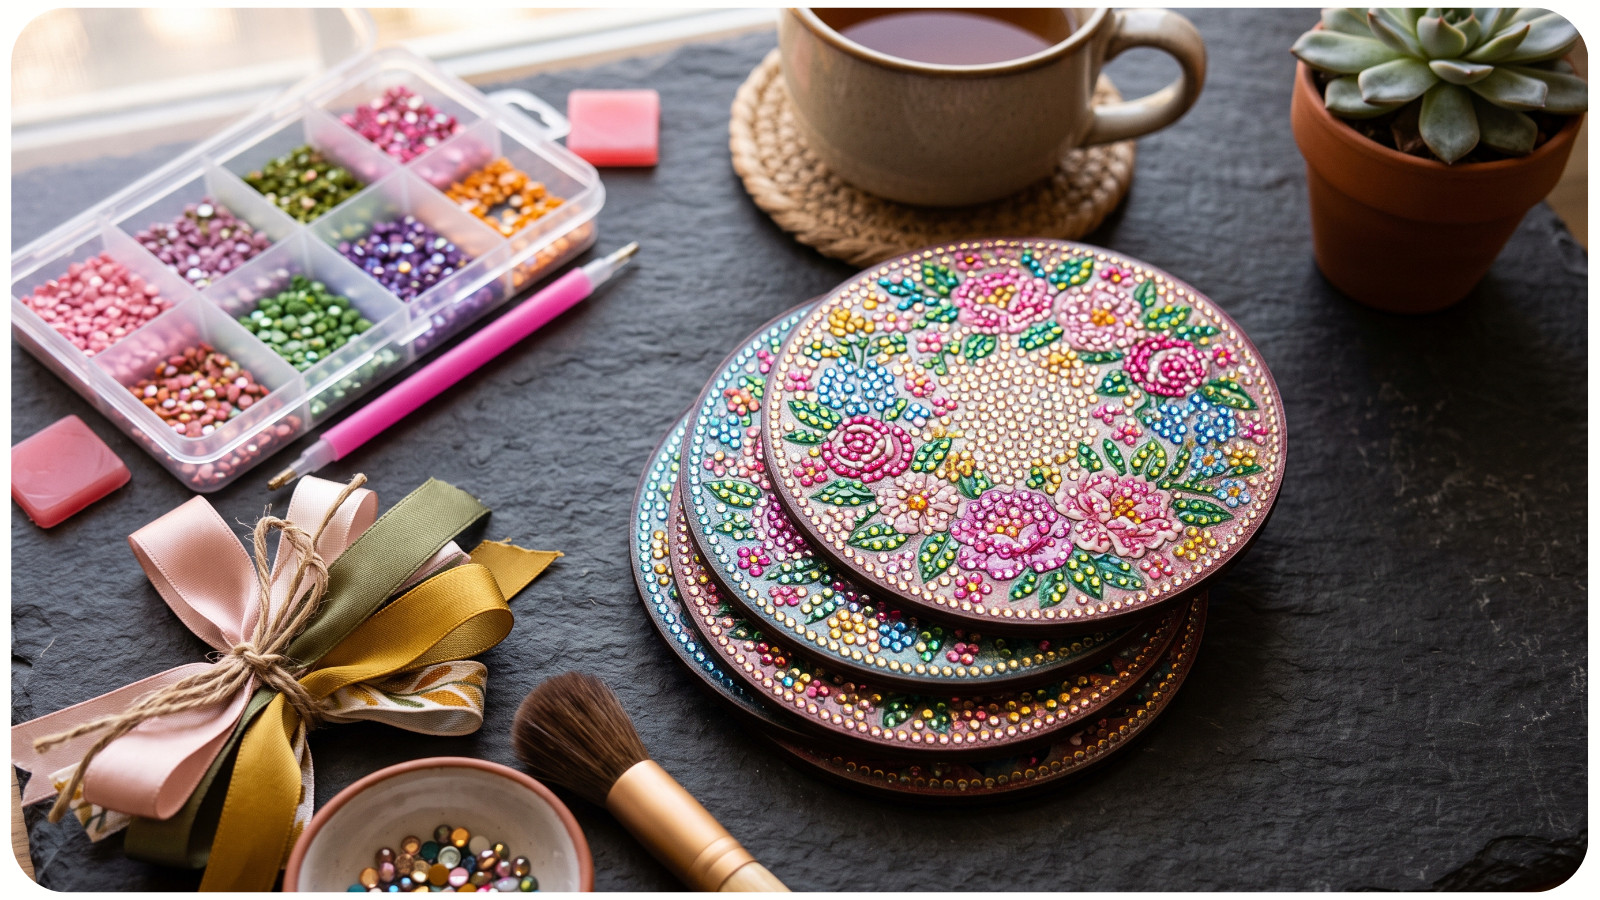
Coasters are a friendly starting point because each one is small and self-contained. Mandalas, florals, and mosaics look elaborate once the faceted pieces reflect the light, even when the design is simple.
Choose a set with a firm base and a limited number of colors. Work one coaster at a time, exposing only the section you’re using so the remaining adhesive stays clean. A shallow tray and labeled containers keep the pieces organized. The same principles apply to larger projects, and this guide to choosing a diamond painting kit for your skill level can help when you’re ready to size up.
The finished set feels coordinated and gift-ready without requiring advanced technique. Add a simple ribbon or place the coasters in a small box, and you have a handmade present that looks far more time-consuming than it was.
3. A Pressed-Flower Floating Frame
This project gets its beauty from the flowers themselves. Fern tips, tiny daisies, delicate leaves, and flat petals already contain variations in line and color that would be difficult to reproduce by hand. Your job is mostly composition.
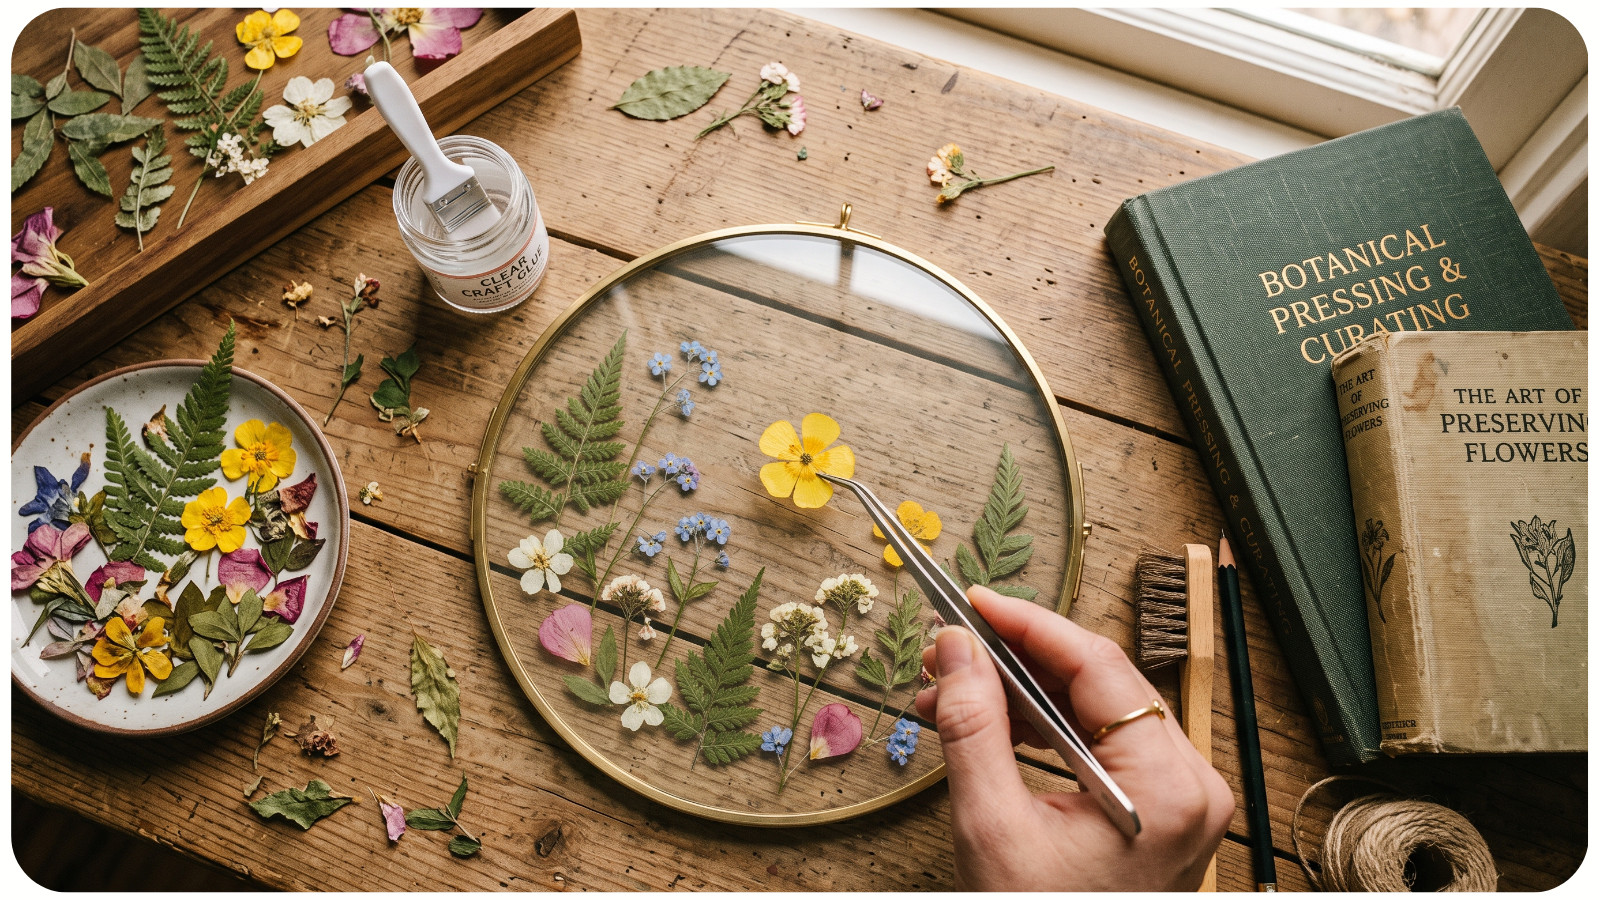
Press fresh botanicals between absorbent sheets inside a heavy book, or use pre-pressed flowers to begin immediately. Once completely dry, arrange them between two clear panels in a floating frame. Tweezers help with small stems, while tiny dots of clear-drying glue hold stubborn pieces.
Leave open space around each element. A curved stem with two or three blossoms often looks more sophisticated than a crowded collection. Test the arrangement on plain paper first, then transfer one piece at a time.
The result can resemble botanical artwork from a carefully curated shop, but there’s no drawing, painting, or complicated equipment involved.
4. A Marbled Air-Dry Clay Trinket Dish
Marbling is wonderfully forgiving: the irregular swirls are the design. Combine two or three small pieces of air-dry clay in colors that work well together, twist them lightly, then roll the clay into a smooth slab. The key is to stop mixing before the colors blend into one flat shade.
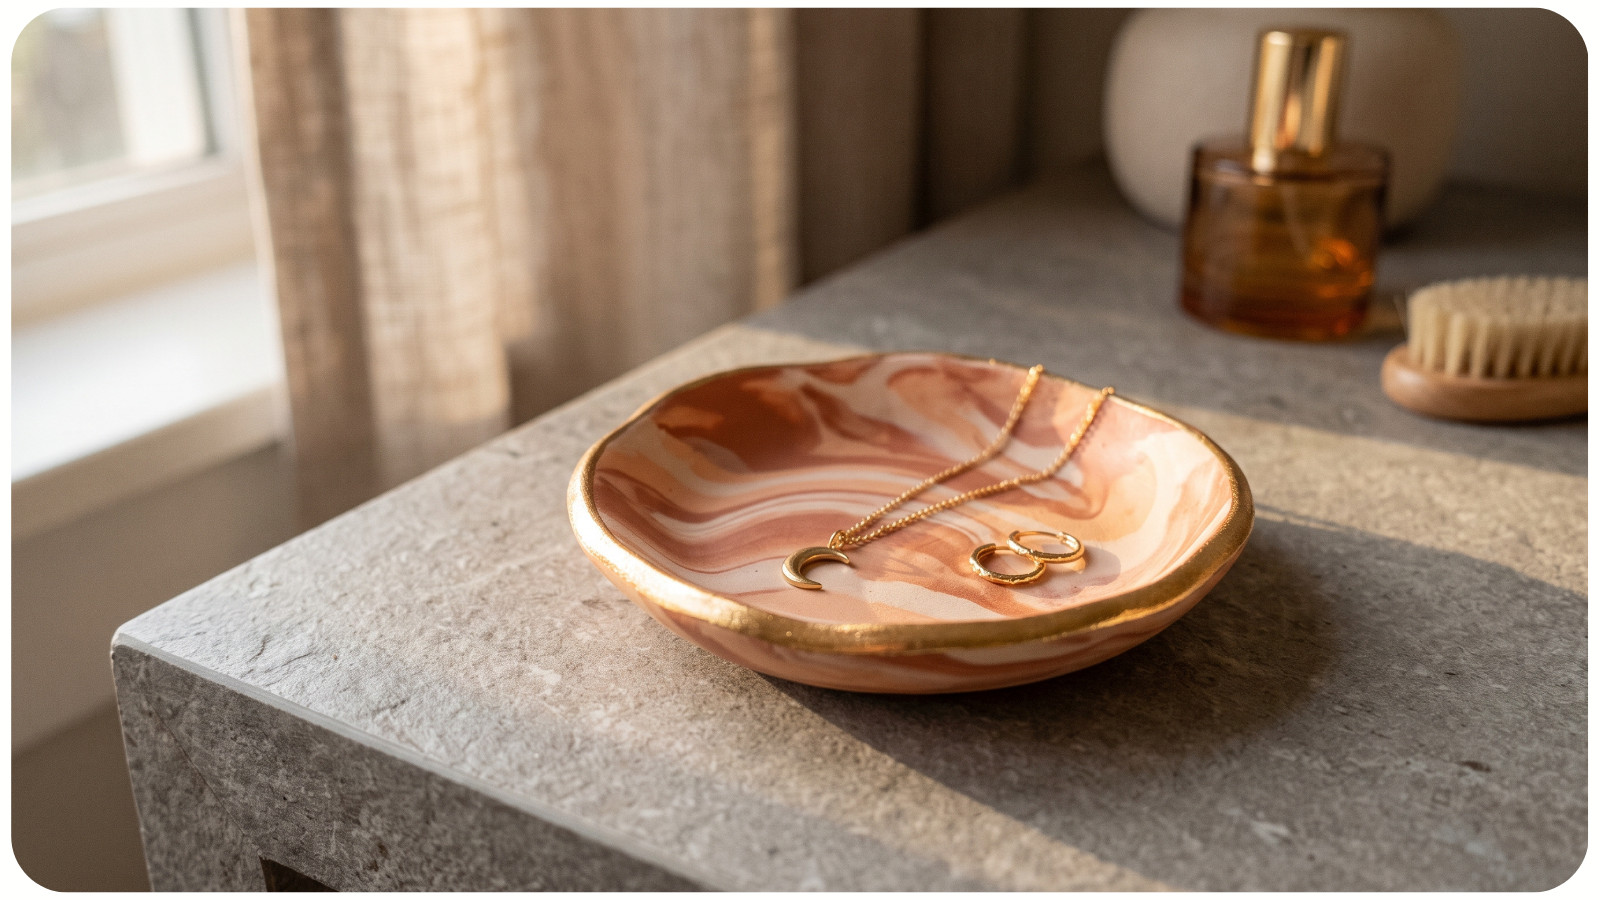
Cut a circle with a jar lid or cutter, then shape it over the bottom of a small bowl. After it dries according to the manufacturer’s instructions, smooth rough edges with fine sandpaper. A painted metallic rim adds a crisp finish, while a compatible clear sealer offers light protection.
You aren’t trying to sculpt a realistic object or make every dish identical. Slightly uneven edges and one-of-a-kind patterns are part of the appeal.
Use the finished piece for rings, stitch markers, paper clips, or other dry trinkets rather than food unless every material you choose is specifically labeled food-safe.
5. An Embroidered Line-Art Tote Bag
A plain canvas tote can become a custom accessory with one continuous outline and a single color of embroidery floss. Botanical sprigs, a sleepy cat, a face in profile, or a simple hand-drawn heart all work beautifully in this style.
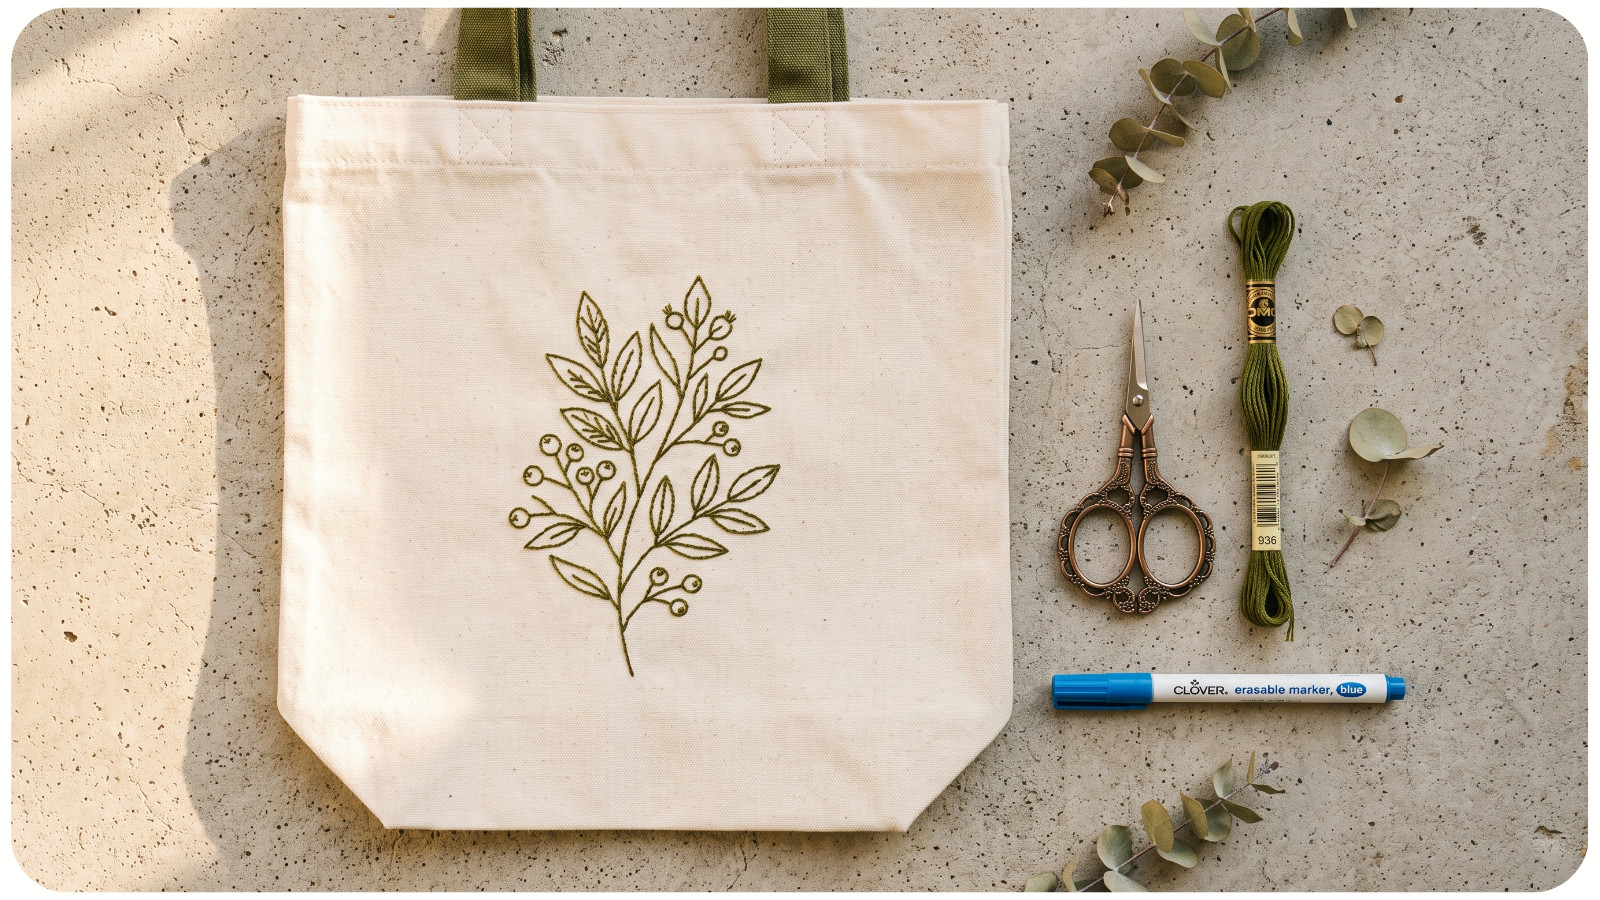
Transfer the design with a removable fabric marker, then follow the line using backstitch. That may sound too simple to produce an impressive result, but the contrast between minimal artwork and textured thread gives the finished bag a clean, intentional look.
Keep your first design around pocket size and place it where the bag can lie flat. A small hoop maintains even tension. Use shorter stitches around curves and slightly longer ones along straight sections.
Choose thread close to the fabric color for a subtle, boutique-style finish or use one vivid shade for a graphic effect. Since there are no complex fills or color changes, most of your attention can go toward making the outline relaxed and even.
6. A No-Sew Fabric-Covered Journal
Beautiful fabric can transform an ordinary notebook without sewing. Choose medium-weight cotton with a small print; block-printed flowers, tiny stars, or abstract shapes hide minor alignment imperfections well.
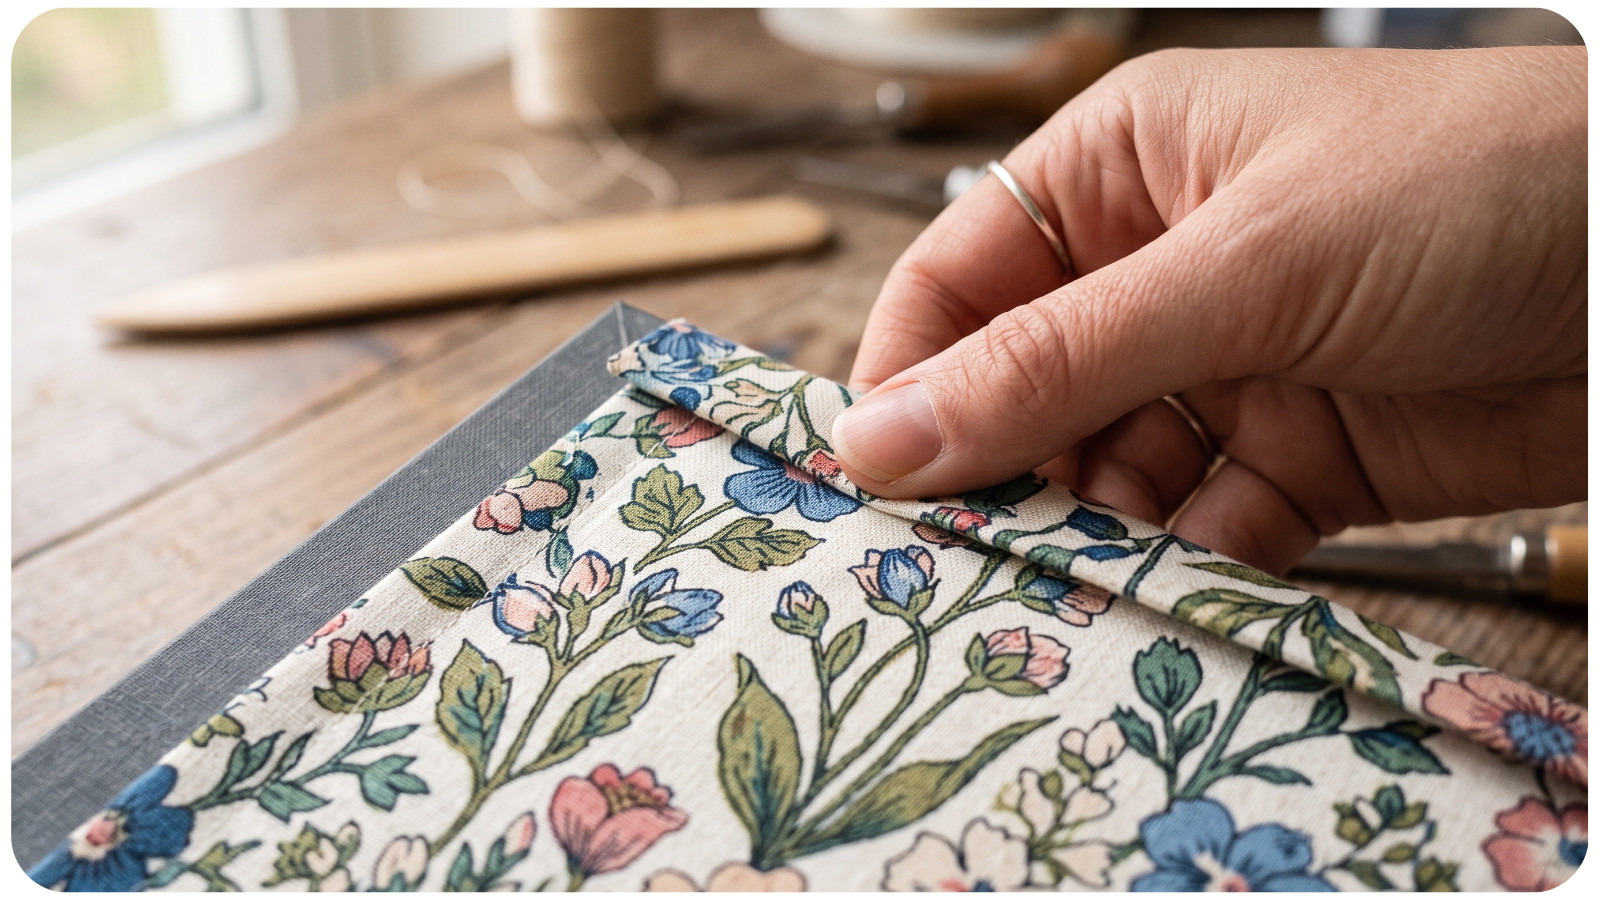
Cut the fabric a little larger than the open journal, then attach it with an adhesive suitable for both paper and fabric. Smooth from the center outward to prevent wrinkles. Fold the extra material over the cover edges, trimming the corners to reduce bulk, and conceal the raw folds inside with decorative paper panels.
One striking fabric, a coordinating endpaper, and perhaps a ribbon bookmark are enough. If the print has a clear direction, check its orientation before gluing so your flowers don’t grow upside down.
The completed journal makes a thoughtful gift, especially when paired with a handwritten note on the first page. It also offers the satisfying feeling of bookbinding without requiring specialist tools or a stitched spine.
7. A Punch-Needle Mini Wall Hanging
Punch needle creates plush loops quickly, so even basic shapes gain noticeable texture. A rainbow, checkerboard, arch, flower, or abstract landscape made from a handful of bold sections can look like a tiny piece of fiber art.
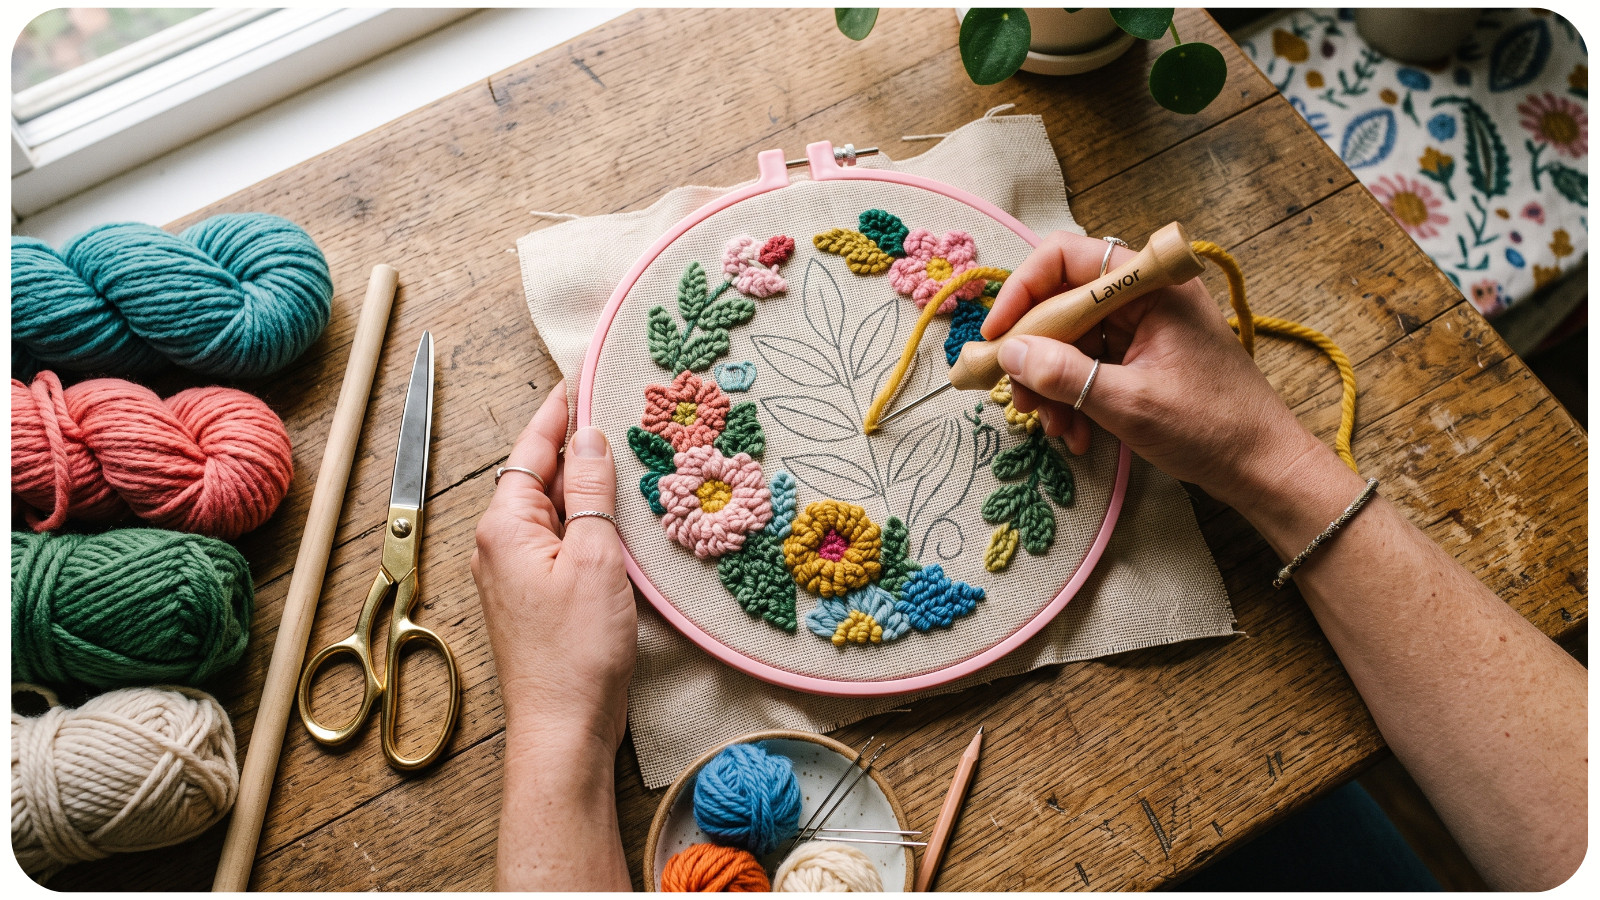
For the easiest start, use a kit whose punch needle, fabric, yarn, and pattern are designed to work together. Once the fabric is drum-tight in the hoop, push the threaded tool through the surface and move along the pattern in small steps.
Simple shapes are an advantage. Texture softens edges and gives color blocks depth, so there’s no need for miniature details. Warm neutrals with one bright accent feel contemporary; contrasting colors create a playful result.
Display the finished work in its hoop, or attach it to a small wooden dowel with a cord for hanging. The fiber-rich surface makes the piece seem complex even though the design underneath may be little more than a few curved lines.
8. Layered Paper Art in a Shadow Box
Layered paper art creates depth through spacing rather than difficult cutting. Begin with a simple scene that can be separated into three or four silhouettes: rolling hills, ocean waves, a forest, an arched window, or a row of rooftops.
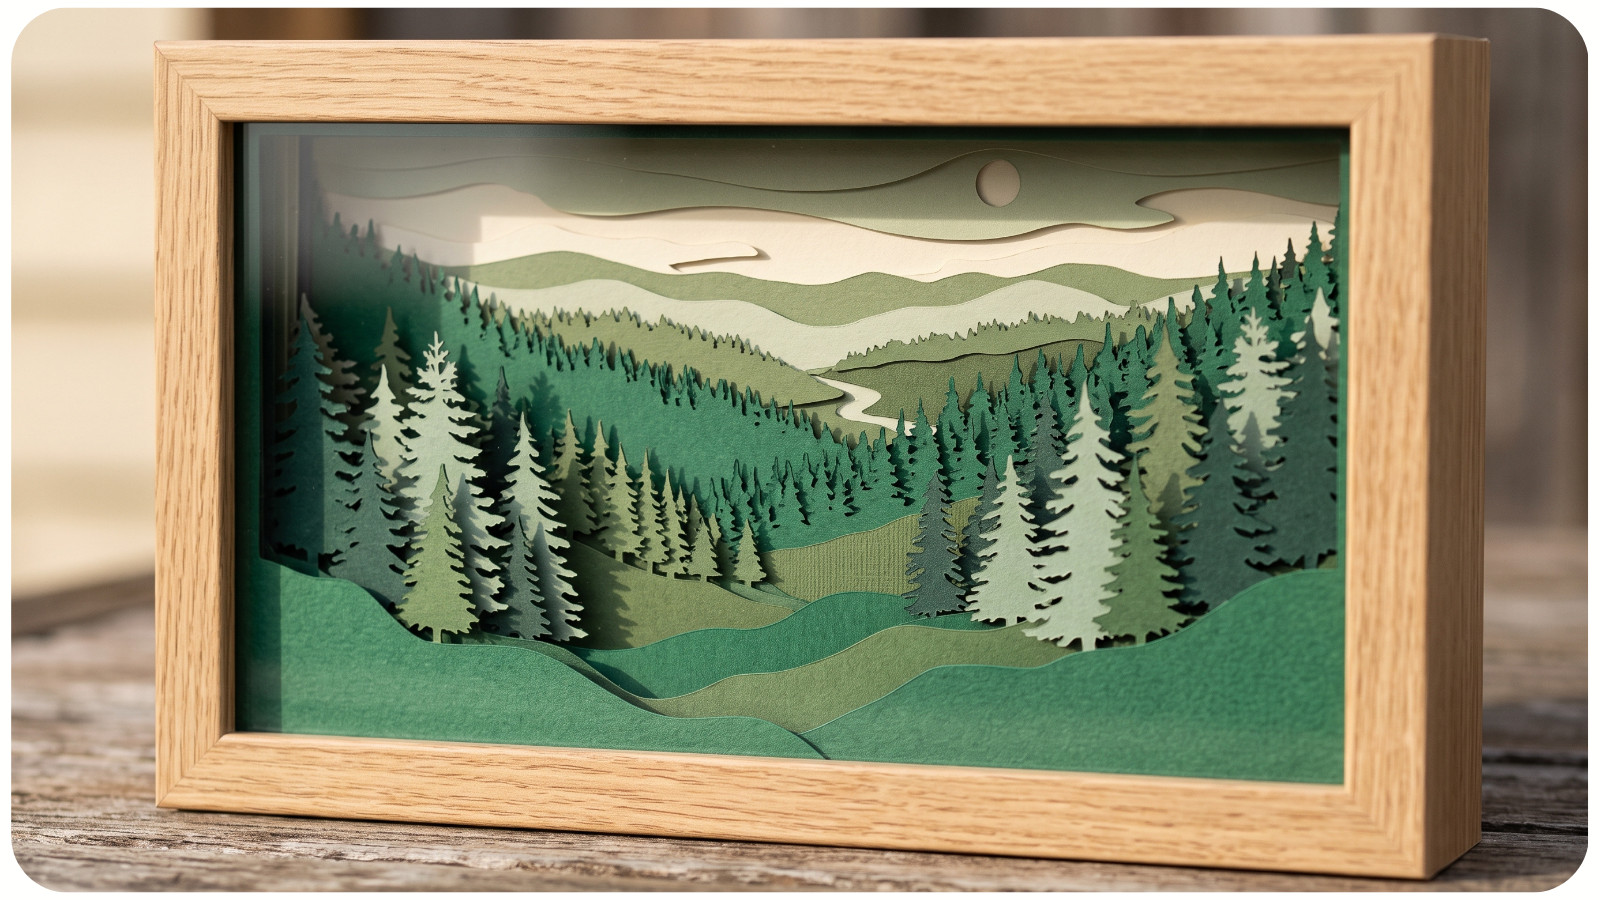
Cut each layer from sturdy paper using scissors or a craft knife on a protected surface. Broad curves and clean outlines often create the strongest effect. Foam tape between the layers casts real shadows and makes the flat scene appear dimensional.
Shift gradually from dark colors in front to light ones in back, or use neighboring shades of one color. A controlled palette ties the composition together, while a shadow-box frame hides the construction and turns it into wall art.
Before cutting your best paper, test the layers with inexpensive cardstock. You’ll quickly see whether the horizon lines overlap well and where a tree, moon, or sun might add a focal point.
Let the Project Carry Some of the Difficulty
A first project doesn’t have to look basic. Beginner-friendly crafts can use structure to make success easier: a grid aligns stitches, faceted resin adds sparkle, marbled clay creates pattern, and layered materials supply depth.
Choose the idea whose process sounds pleasant, not merely the one whose result looks most ambitious. If you enjoy the rhythm of placing tiny pieces, try diamond painting. If color and texture catch your eye, reach for punch needle or clay. If you want something personal and useful, begin with the tote or journal. Still undecided? A beginner’s guide to choosing your first creative hobby can help you compare the experience as well as the finished result.
Keep the first version small. A finished coaster, hoop, dish, or shadow box teaches you more than an enormous project waiting indefinitely in a supply basket. Sometimes the most impressive thing about a handmade piece is that you enjoyed making it enough to finish.