



That gold star looked simple on the chart. Now the thread is twisting, the end is fraying, and you have spent more time threading the needle than making stitches.
Cross-stitching with metallic thread gets easier when you adjust your setup to the thread. Use short lengths, give the thread enough room in the needle's eye, and pause when it starts to twist. Just as important, check whether your metallic is stranded floss, a braid, or a fine blending filament. They need different handling.
This guide covers metallic floss, braid, and blending filament, with practical fixes for fraying and tangles.
Why Metallic Thread Frays and Tangles
Metallic embroidery threads have different constructions and finishes. Some are more prone to unraveling than others. Repeated passes through fabric, crowded stitches, and a tight or damaged needle eye can wear the thread. Long lengths make more passes through the fabric before they are used up.
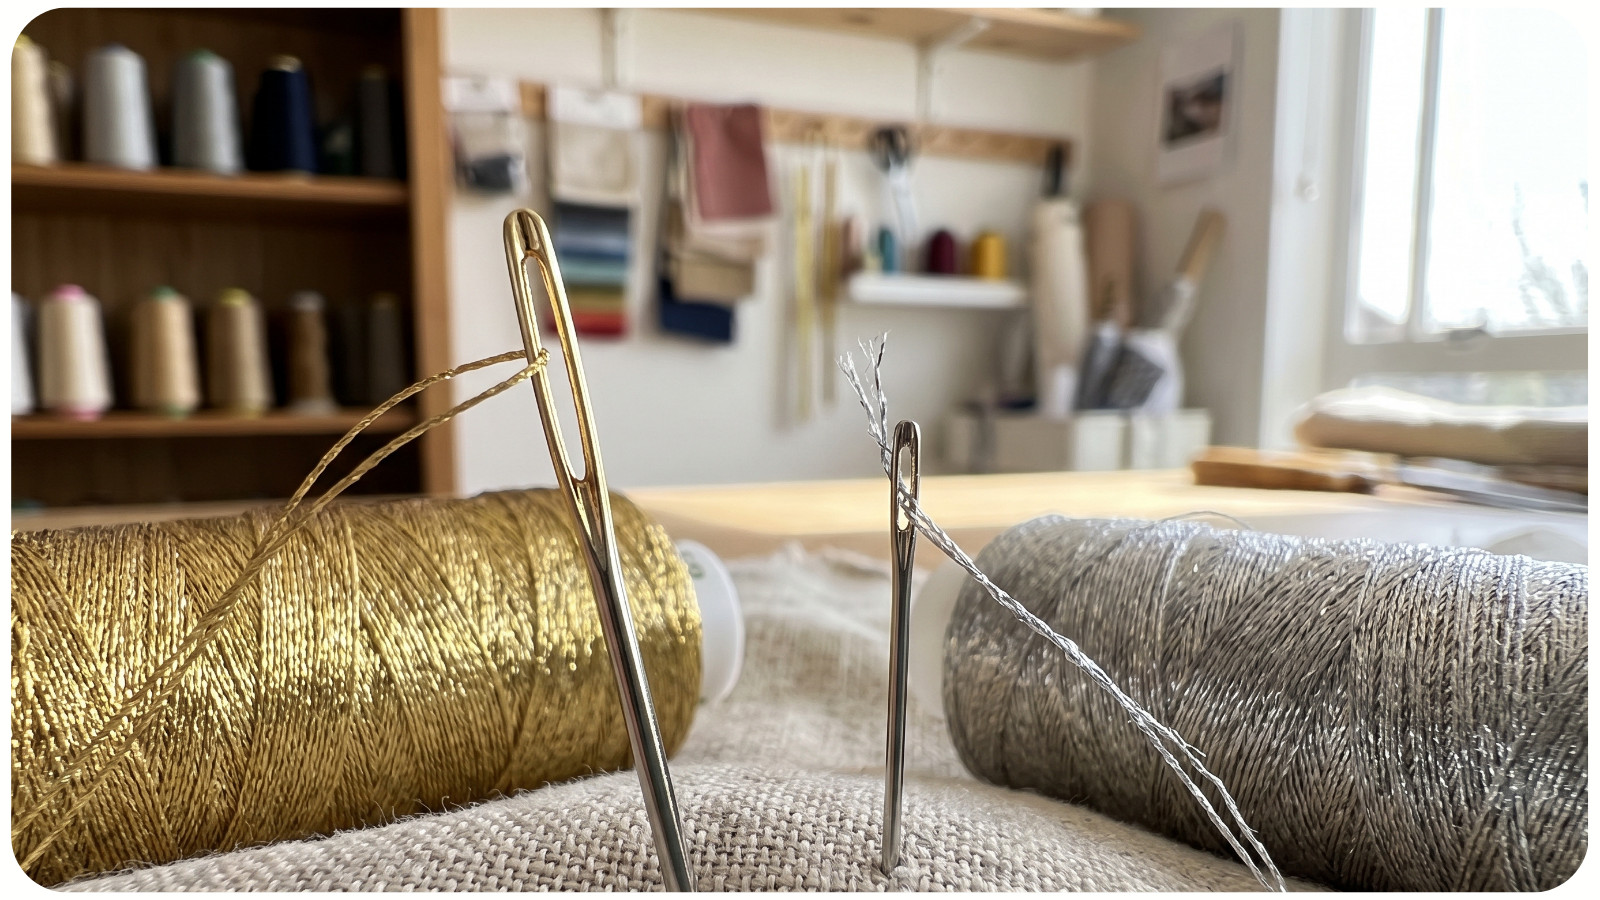
Kreinik's guidance explains that both thread construction and the needle affect fraying. Even colors within one range can behave differently. Kreinik's explanation of thread fraying covers these differences.
Choose the Right Metallic Thread for Cross-Stitch
Read the chart's thread key before opening your skein or spool. A color number alone does not tell you the thread's thickness or how to use it.
Metallic Thread Types at a Glance | ||
Thread type | How to handle it | Effect in your stitching |
|---|---|---|
DMC Light Effects stranded floss | Separate the six strands and use the number the chart specifies | Metallic shades can provide a bold sparkle |
DMC Diamant | Use the thread intact; it is non-divisible | Shiny stitches without separating strands |
Kreinik metallic braid | Use the braid intact; choose the size specified | A more solid metallic effect than fine filament |
Kreinik Blending Filament | Use alone or alongside cotton, following the chart | A light shimmer rather than dense coverage |
DMC Light Effects separates into six strands. DMC Diamant is a non-divisible thread. Do not pull either a braid or Diamant apart to imitate cotton floss.
Kreinik Very Fine #4 Braid is intended for cross-stitch, including 16- and 18-count Aida. It can also give lighter coverage on 14-count Aida. This does not make it a direct replacement for every metallic listed in a pattern.
Before substituting, stitch a small sample on your project fabric. Check coverage, shine, and the ease of pulling through shared holes. Our cross-stitch fabric count guide explains how fabric count affects stitch size and coverage.
How Long Should Metallic Thread Be?
Long cotton floss may suit your usual stitching routine. Metallic floss often needs a shorter working length.
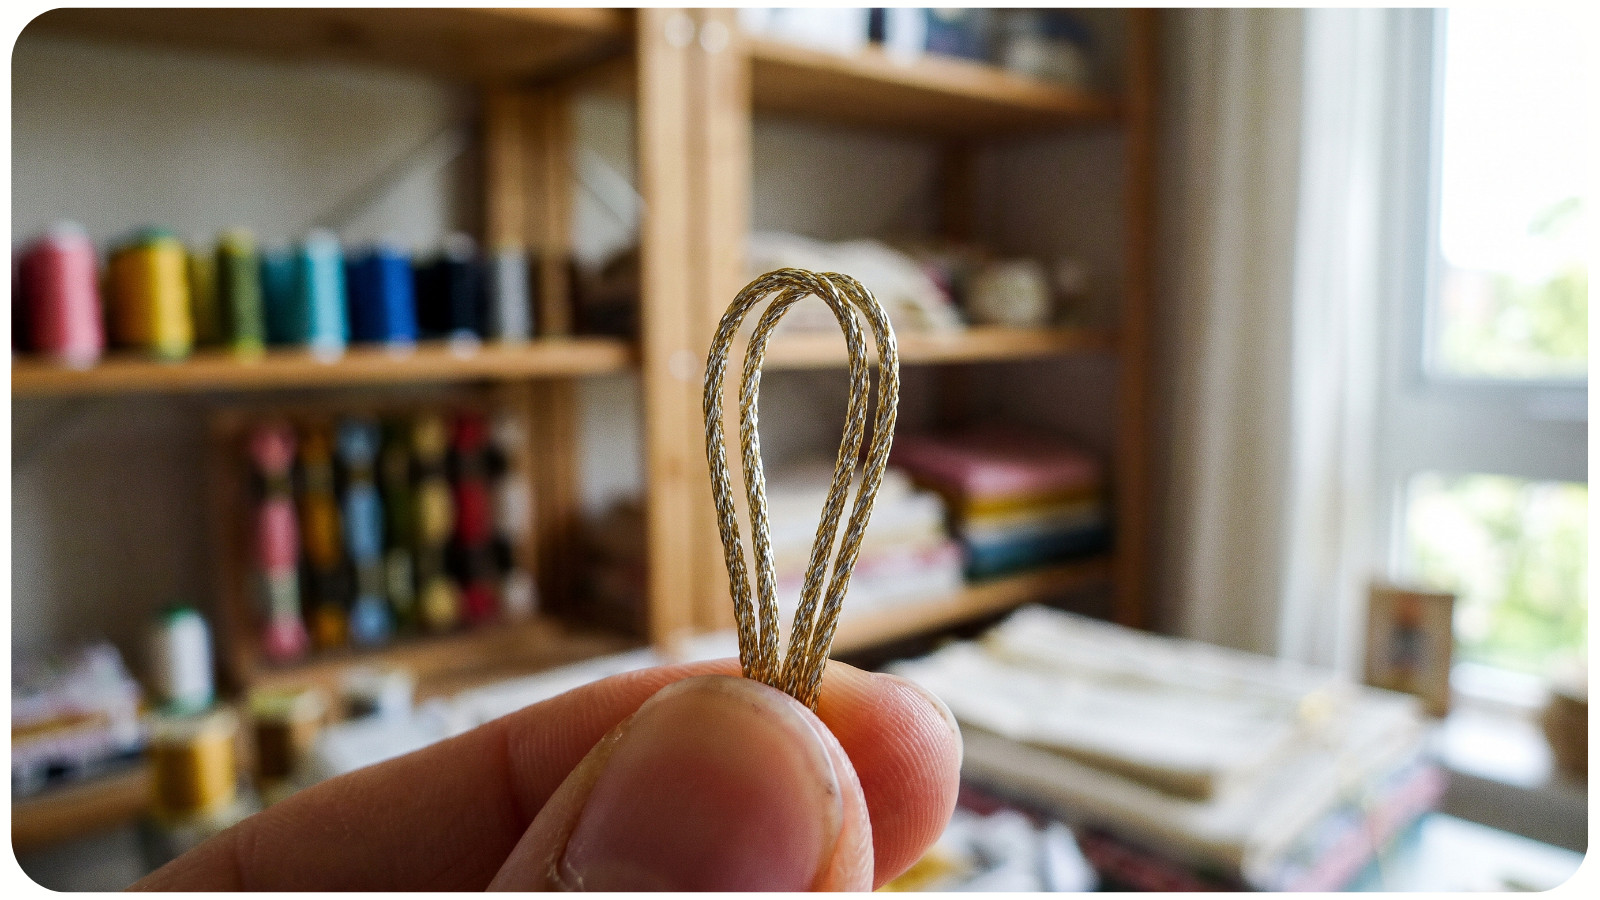
DMC recommends lengths under 12 inches for Light Effects to help prevent fraying. For a first trial, cut about 10 inches, or 25 cm. That is a starting point, not a rule for every metallic thread.
For other products, follow the maker's instructions. Shorten the length if it becomes worn before you can finish it.
With stranded floss, separate only the strands you need. Count the lengths that pass through the fabric: one strand folded in half gives two working strands. Keep non-divisible threads intact, and do not double them unless the chart calls for it.
Choose a Needle for Metallic Cross-Stitch
For ordinary full crosses through existing fabric holes, use a blunt tapestry needle with a smooth eye. The threaded needle should pass without force, and the eye should not pinch the thread.
Kreinik recommends a size 22 or 24 tapestry needle for its Very Fine #4 Braid. Treat that as guidance for this product, rather than a universal needle size for metallics.
If a fresh length frays near the eye, check the needle before changing everything else. Try a new needle, then assess whether the eye has enough room. Choose an eye that accommodates the thread without a needle so thick that it leaves stretched holes.
Make a Small Practice Patch
Use a scrap of the same fabric as your project. A patch of five crosses across and five rows down is enough to compare the setup.
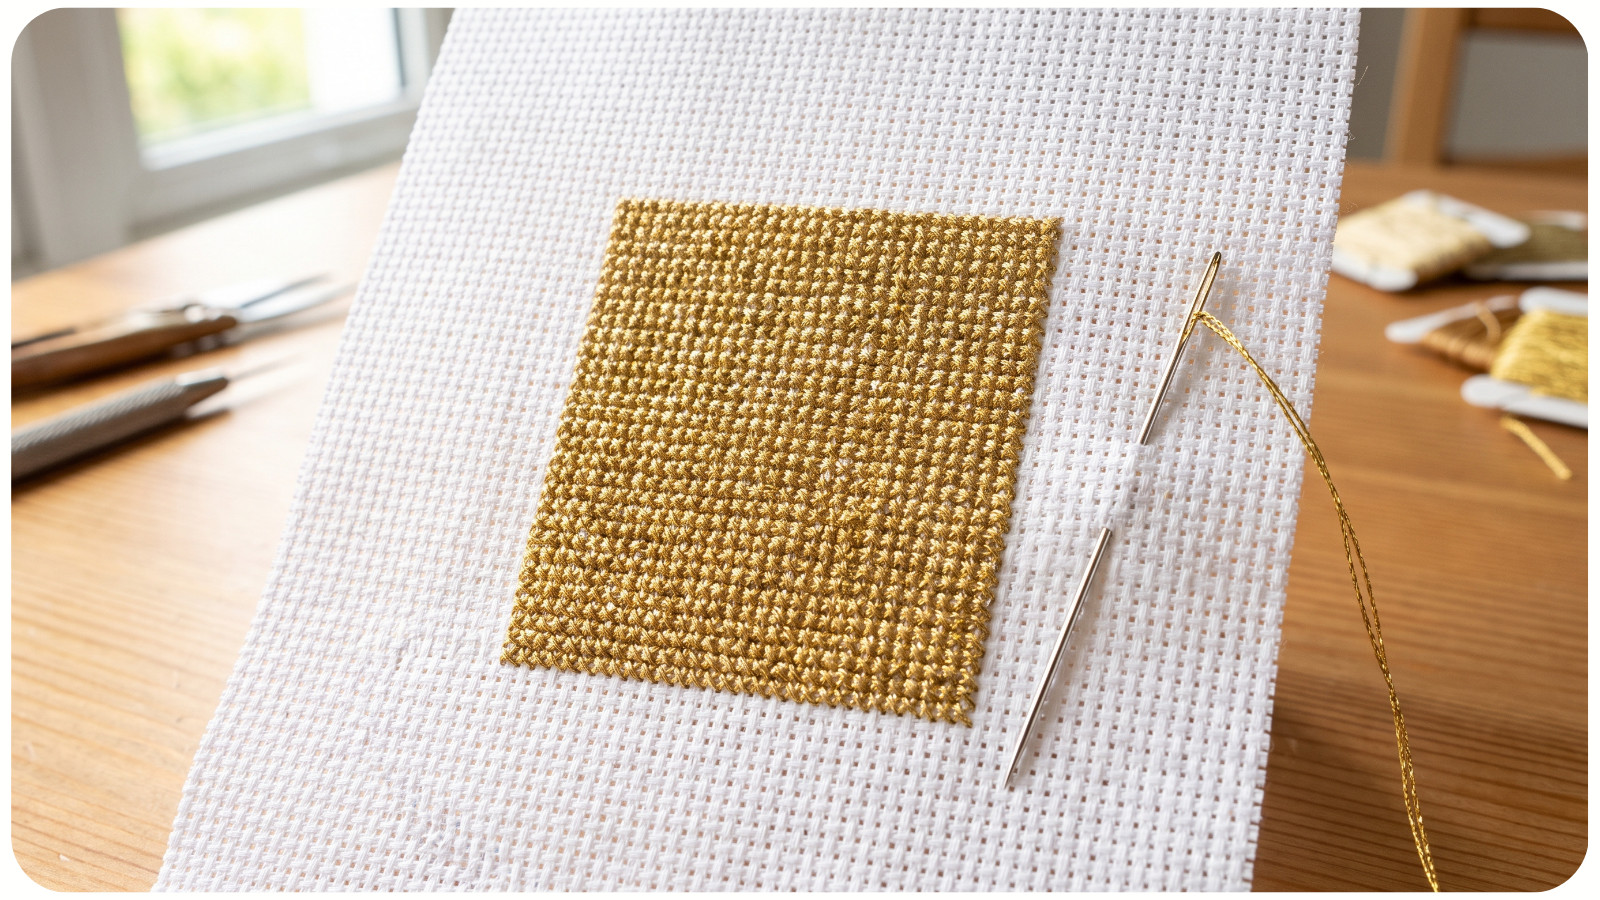
1. Read the chart's thread type and strand count.
2. Prepare one short length and thread the needle.
3. Secure the starting tail on the back.
4. Stitch a short row, keeping the top legs in the same direction.
5. Examine the front and back before continuing.
Look for distinct crosses, flat fabric, and thread that still looks intact. Check the shine from a few angles. If the holes feel crowded, review the specified thread and strand count before adding more coverage.
Change one thing at a time so you can see which adjustment helps.
Start and Finish Metallic Thread Securely
Metallic floss can be springy, so give its tails a secure path under stitches on the back.
To start, leave a tail on the back along the route your next stitches will take. Hold it in place and work the first stitches over it. To finish, slide the needle under several nearby stitch backs without piercing their threads. Studio Koekoek's metallic floss guide suggests burying both tails under at least five stitches for Light Effects.
Leave enough working thread to finish comfortably. Check that the tail stays put with a gentle tug, then trim the excess without cutting nearby stitches. Avoid dragging a thick metallic through a tightly packed area just to hide the end.
Keep the Thread Untwisted and the Stitches Relaxed
When the loose thread begins curling around itself, pause. Hold the work up and let the threaded needle hang freely so the twist can unwind. Resume once the length hangs more smoothly.
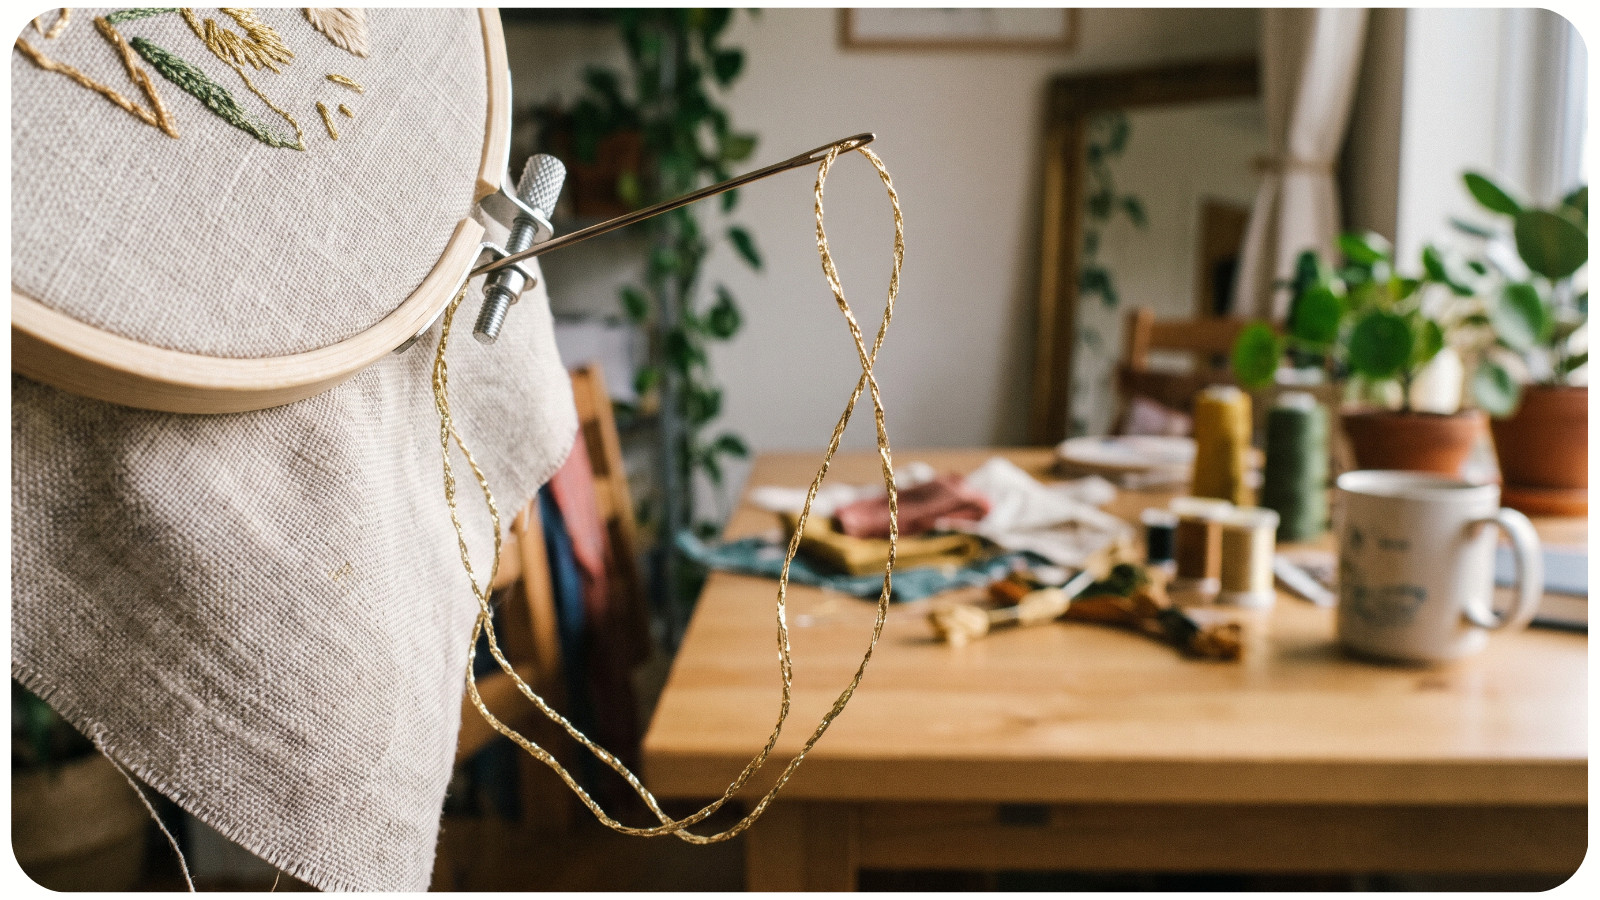
Pull each stitch through steadily. Stop when it rests against the fabric. If you feel resistance, check for a loop on the back or a crowded hole before pulling harder.
Keep the needle from piercing an existing metallic stitch. Splitting the thread can damage the finish and make the next pass harder.
Try completing each cross or working a short row of lower legs before returning with the upper legs. Choose the method that gives you better control. Keep every top leg facing the same way.
Use Blending Filament for a Softer Shimmer
Blending filament adds sparkle without making every stitch look solid gold or silver. Kreinik's instructions describe using it alone or with cotton floss; a common combination is two cotton strands plus one filament strand.
Follow your pattern first. When designing your own accents, test that combination on a scrap rather than assuming it will fit every fabric count.
Keep the cotton and filament aligned as you stitch. If one forms a loose loop, stop and adjust it before tightening the stitch. Some filament colors have a very fine supporting thread. Kreinik recommends leaving that support in place.
Should You Use Thread Conditioner?
Thread conditioner is optional and depends on the product. It should not replace checking the needle, shortening the thread, or correcting a crowded hole.
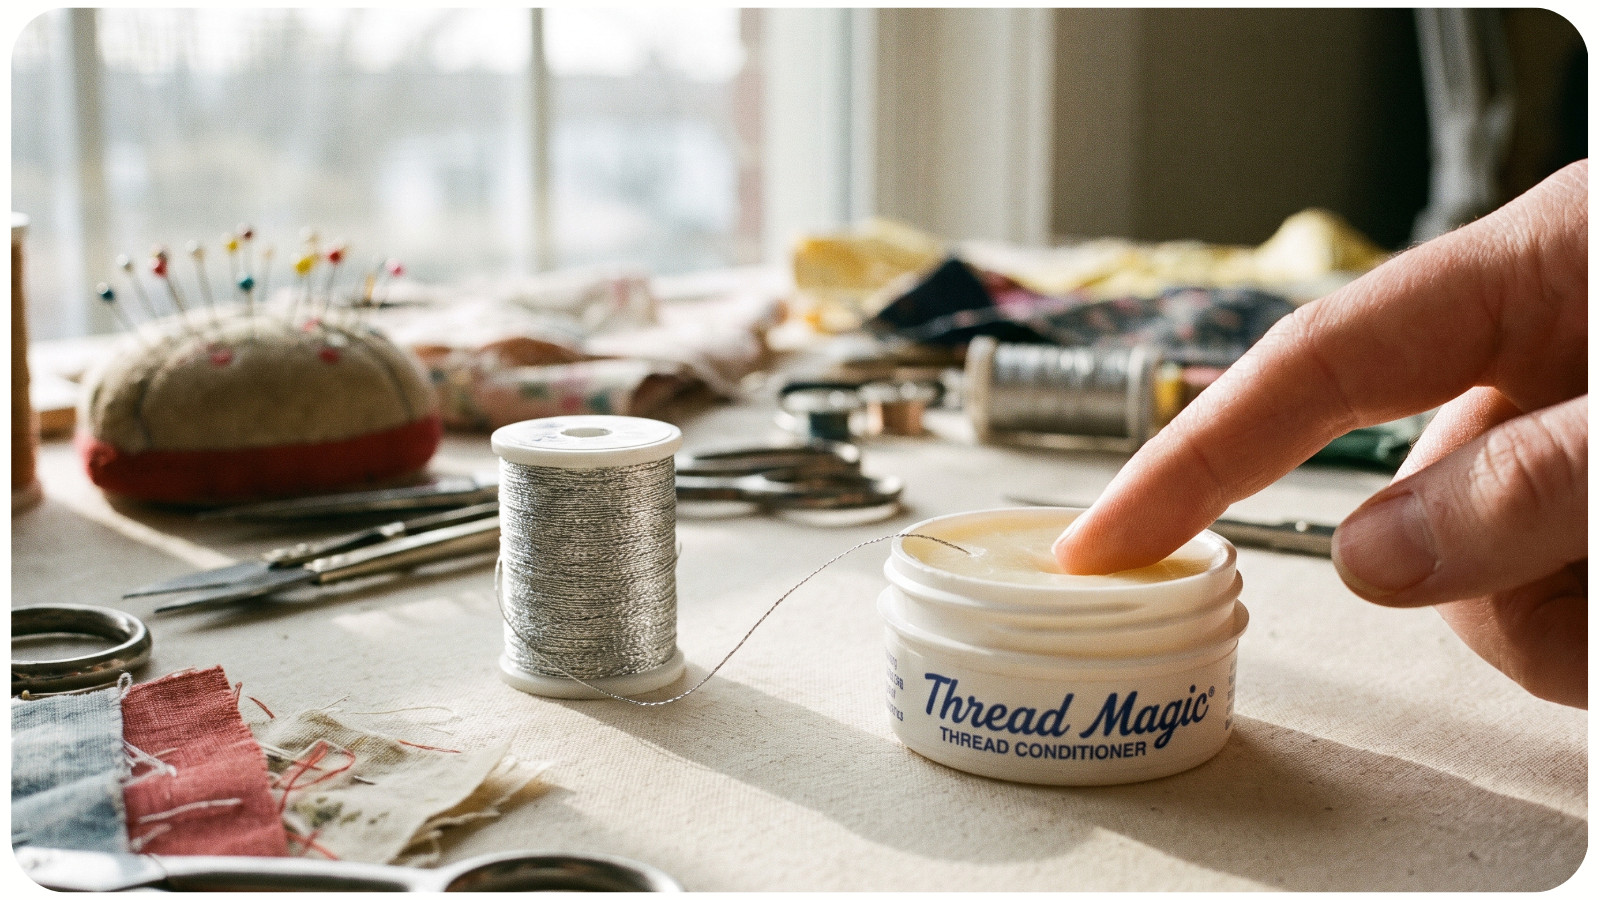
Kreinik mentions Thread Magic for reducing static, particularly when a stitcher removes the filament's supporting thread. Its main advice is to leave that support in place. Conditioner compatibility still depends on the thread.
Check the thread maker's advice before applying a conditioner. If you try one, use a small amount on a spare length and stitch a sample. Compare the shine and feel before treating the thread for your project.
Fix Common Metallic Thread Problems
Metallic Thread Troubleshooting | ||
Problem | What to check | What to try |
|---|---|---|
Fraying near the needle | Tight eye, damaged needle, or worn thread | Replace the needle and start with a shorter fresh length |
Loose thread coils into loops | Twist building up | Let the needle hang and unwind before continuing |
Needle catches in a shared hole | Crowded strands or a pierced stitch | Guide existing stitches aside and use the open hole |
Thread forms a knot | A loop tightened during pulling | Stop pulling and loosen the loop gently |
Crosses look bulky | Wrong thread size or doubled thread | Recheck the chart and sample the correct setup |
If a knot will not loosen, undo the last stitches gently until you reach intact thread. Secure that end if enough remains, then restart with a fresh length. Replace damaged stitches rather than pulling worn thread smooth. See our guide to cross-stitch knots and practical fixes for more help.
Metallic Cross-Stitch FAQ
Can I replace metallic thread with cotton floss?
Yes, if you are comfortable changing the effect. Choose a suitable cotton color and test its coverage. Cotton will remove the metallic sparkle, though some cotton floss has a soft sheen. Details intended to catch the light will look different.
Can I wash and iron cross-stitch with metallic thread?
Check every material's care instructions, including the fabric and any other threads. Kreinik lists Very Fine #4 Braid as washable but recommends testing a sample because some colors may bleed. It also advises using a pressing cloth and keeping the iron off the metallic thread itself. Follow the most restrictive care instructions for the whole piece.
Is a large metallic area a good first project?
For a first attempt, choose a small accent such as a star, ornament detail, or short border. A small section lets you learn the thread before committing to many rows. Our holiday ornament tutorial can help you finish a small stitched motif.
Your Next Metallic Section: A Simple Routine
Check the thread type and strand count, cut a short length, and test the needle on your fabric. Secure the tail, stitch steadily, and pause when the thread coils. Finish while enough unworn thread remains to tuck away.
Start with one small detail. Once that feels comfortable, use the same setup for the next section and let the sparkle build a few stitches at a time.