



A pressed-leaf lantern turns a clear jar into a softly glowing fall decoration. For this beginner-friendly project, you will wrap the outside with one layer of tissue paper, attach a few dried leaves, and place an LED tea light inside. The hands-on work fits an autumn evening when the leaves are already pressed. The adhesive may need to dry longer, so plan to light the finished jar only after the coating is fully dry.
Use a battery-operated LED light only. Tissue, dried leaves, and adhesive do not belong near a real flame. Keep the lantern indoors, away from heaters and places where it could be knocked over.
Supplies for One Pressed-Leaf Lantern
• One clean, clear glass jar with smooth sides and an opening wide enough for the LED light
• Two or three small, completely dry pressed leaves, plus one spare
• Plain white or cream tissue paper to cover the jar's outside in one layer
• Water-based decoupage medium suitable for glass
• One battery-operated LED tea light that fits easily inside
• A soft brush, scissors, a dry cloth, and scrap paper for the work surface
• Optional: tweezers for fragile leaves
Choose a jar with a plain surface if you are new to decoupage. Raised lettering makes tissue harder to smooth, while steep curves make leaves lift. Leave the rim, inside, and base undecorated. You do not need a lid.
If you only have fresh leaves tonight, make the tissue-covered jar now and add leaves on another day. Fresh leaves can hold moisture under the coating.
How to Press Leaves for a Lantern
Choose small, fairly flat leaves. Brush off loose dirt and let any surface moisture dry. Place each leaf between sheets of absorbent paper, then put it inside a heavy book with extra paper protecting the pages. Add weight and keep the book in a dry place. Check after several days and replace paper that feels damp.
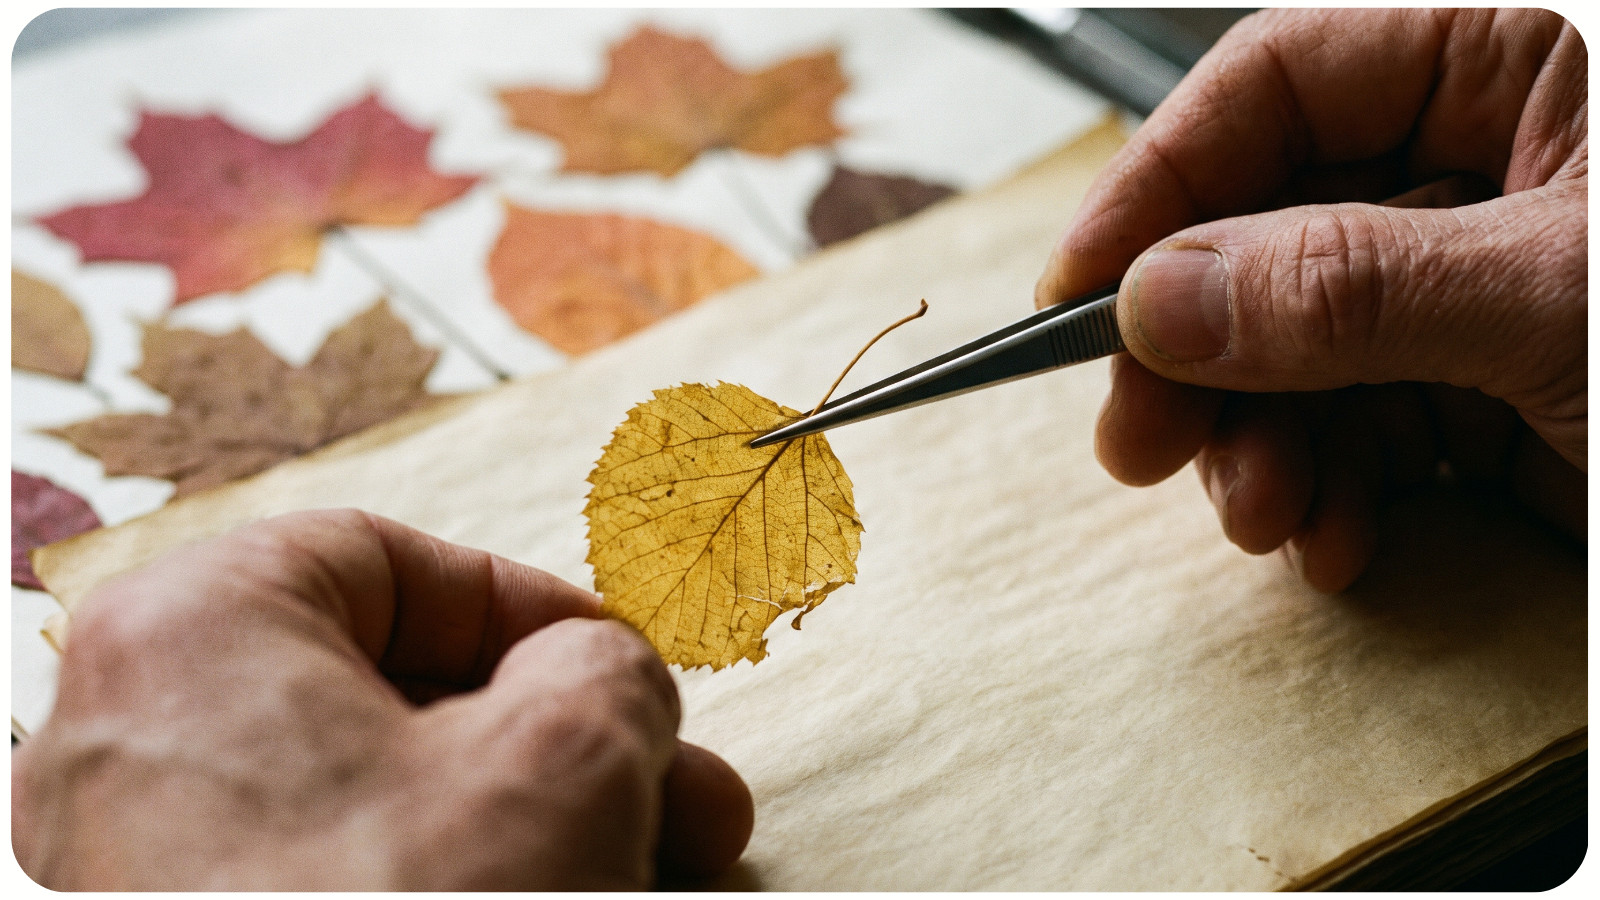
There is no single drying time for every leaf. Thick stems and humid rooms slow the process. Before using a leaf, check that it feels dry throughout and has no soft, damp patches. Hold brittle leaves by the stem or use tweezers. For a project you want to start tonight, use leaves you pressed earlier.
How to Make a Pressed-Leaf Lantern in a Glass Jar
Step 1: Clean the Jar and Arrange the Leaves
Wash, rinse, and thoroughly dry the jar. Wipe fingerprints and grease from its outside. Hold the leaves against the glass without glue to test the layout. Place one leaf at the front, turn a smaller one to the side, and leave clear space between them. You can set the unlit LED inside now to see how the arrangement looks.
Check: Each leaf should sit mostly flat. If a thick stem stands away from the curved glass, choose a smaller or thinner leaf instead of forcing it down.
Step 2: Apply One Thin Tissue-Paper Layer
Cut a tissue-paper strip from just above the base to just below the rim, long enough to wrap around the jar with a small overlap. Brush a thin coat of decoupage medium onto one small area of the outside glass. Lay the tissue on that area and smooth it very gently. Continue around the jar in short sections. Avoid pulling or rubbing wet tissue.
If a small tear appears, cover it with a matching piece while the adhesive is wet. Keep the opening, interior, and base clear. Let the layer dry as directed on the medium's label before attaching leaves.
Check: The tissue is attached all the way around without loose flaps near the rim. Slight wrinkles add texture; an extra thick patch may make the finished light look dim.
Step 3: Attach the Dry Pressed Leaves
Brush a small amount of medium where the first leaf will sit. Place the leaf on the tissue and gently press from its center toward its edges. Add a little medium beneath an edge that lifts. Repeat with the other leaves. Handle them slowly because dried leaves can crack. Their colors may look darker once coated.
If a leaf breaks, lift the loose piece while the medium is still wet and use your spare. If its stem keeps lifting, move it to a flatter spot or choose another leaf. Avoid stacking many leaves, which will block more of the glow.
Step 4: Seal the Decorated Exterior
After the attached leaves have set, apply a light, even coat of medium to the outside, covering every leaf edge. Follow the label for any further coats and drying time. Leave the jar in a dry, ventilated place until the finish is no longer tacky. Do not assume a surface that feels dry has completed any longer curing period specified by the manufacturer.
Check: Inspect the edges gently. If one lifts, add a little medium beneath it and let that area dry again. Keep the LED out of the jar until the finish is dry.
Step 5: Add the LED Light
Place the LED tea light on the bare glass base inside the dry jar and turn it on. Rotate the lantern to find its best view. The tissue softens the light and the leaves appear as darker shapes. If the glow is too dim, use fewer leaves and less overlapping tissue on your next lantern. Never substitute a wax candle.
Easy Fixes for Common Problems
Wrinkled or torn tissue: Smooth only while the paper is wet and handle it lightly. Cover a small tear with a matching patch. Do not pull off an area that has already dried firmly.
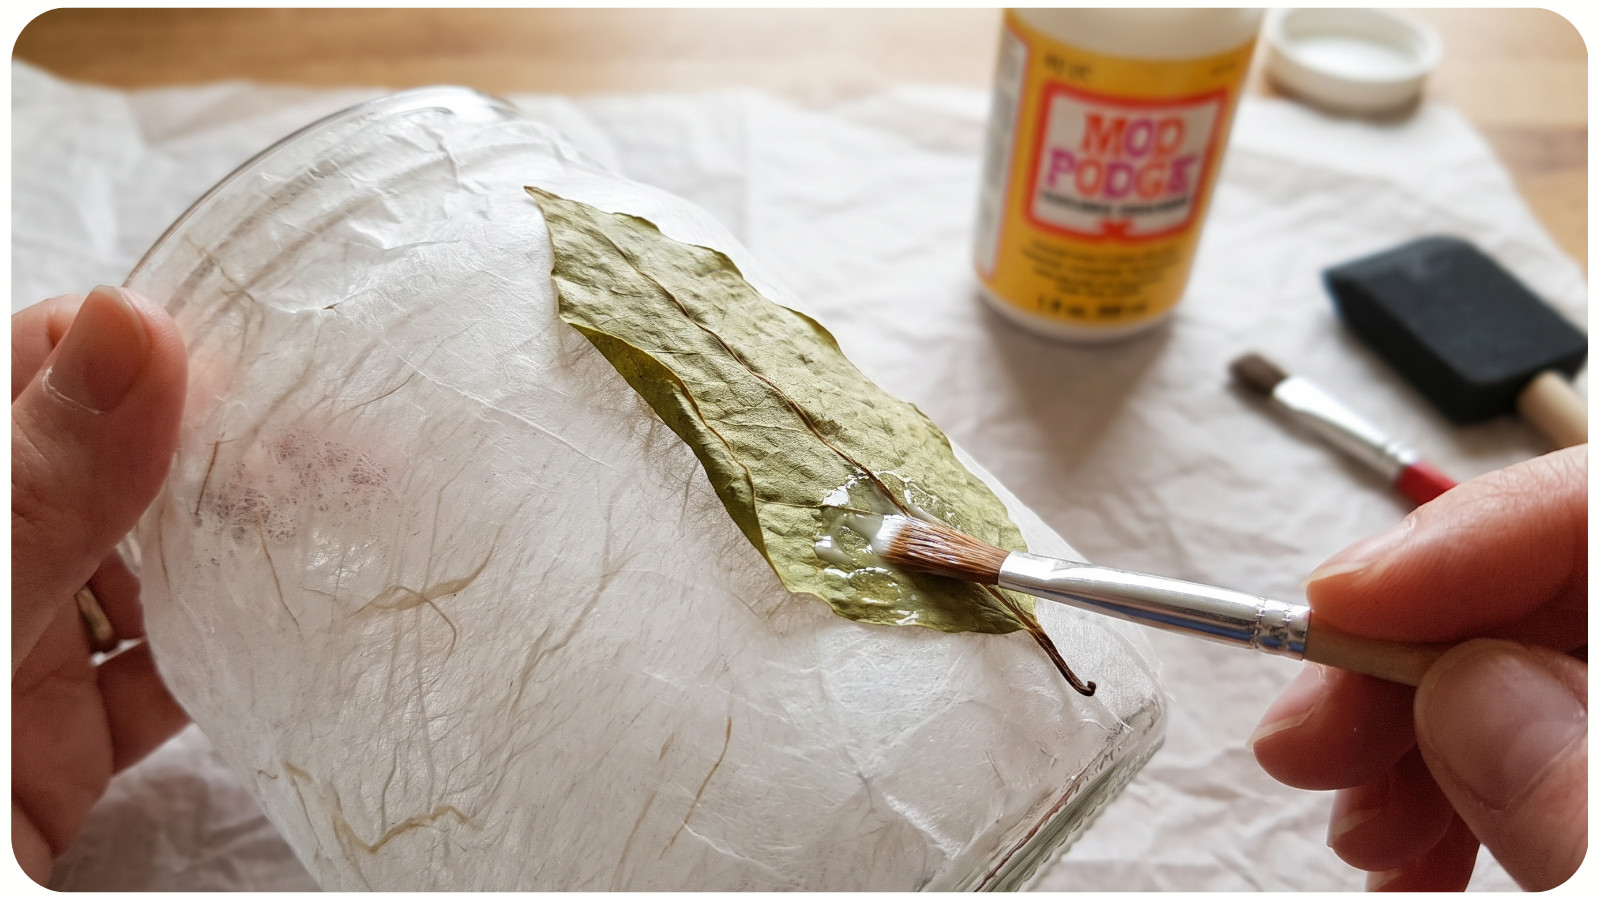
Leaves lifting at the edges: Check that they were fully dry and small enough for the jar's curve. Add a little medium under a lifted edge and let it dry. Switch leaves if a thick stem keeps springing up.
A cloudy or sticky finish: Follow the medium's label and allow more drying time before judging the appearance or handling the jar. Do not store two decorated jars touching while their surfaces are tacky.
Very little light showing through: Keep the tissue to one layer and leave gaps between the leaves. For another relaxed evening project, browse these slow craft ideas.
Display and Care
A green leaf with a golden edge can feel as autumnal as a bright orange one. For a small table display, make two jars with different leaf arrangements and matching pale tissue. Or give one larger leaf the whole front of a jar so its outline becomes the focal point at dusk.
Keep the lantern on a stable indoor surface. Dust it with a soft, dry cloth; do not soak or dishwash this decorative finish. Store it where the leaf details will not rub against other objects. Natural leaf colors may change over time, especially in strong sunlight. Switch off the LED when you are done and follow its battery instructions. If you want a few more small making sessions, the seven-day creativity reset offers a gentle next step.