



1. UNEVEN MEASUREMENTS
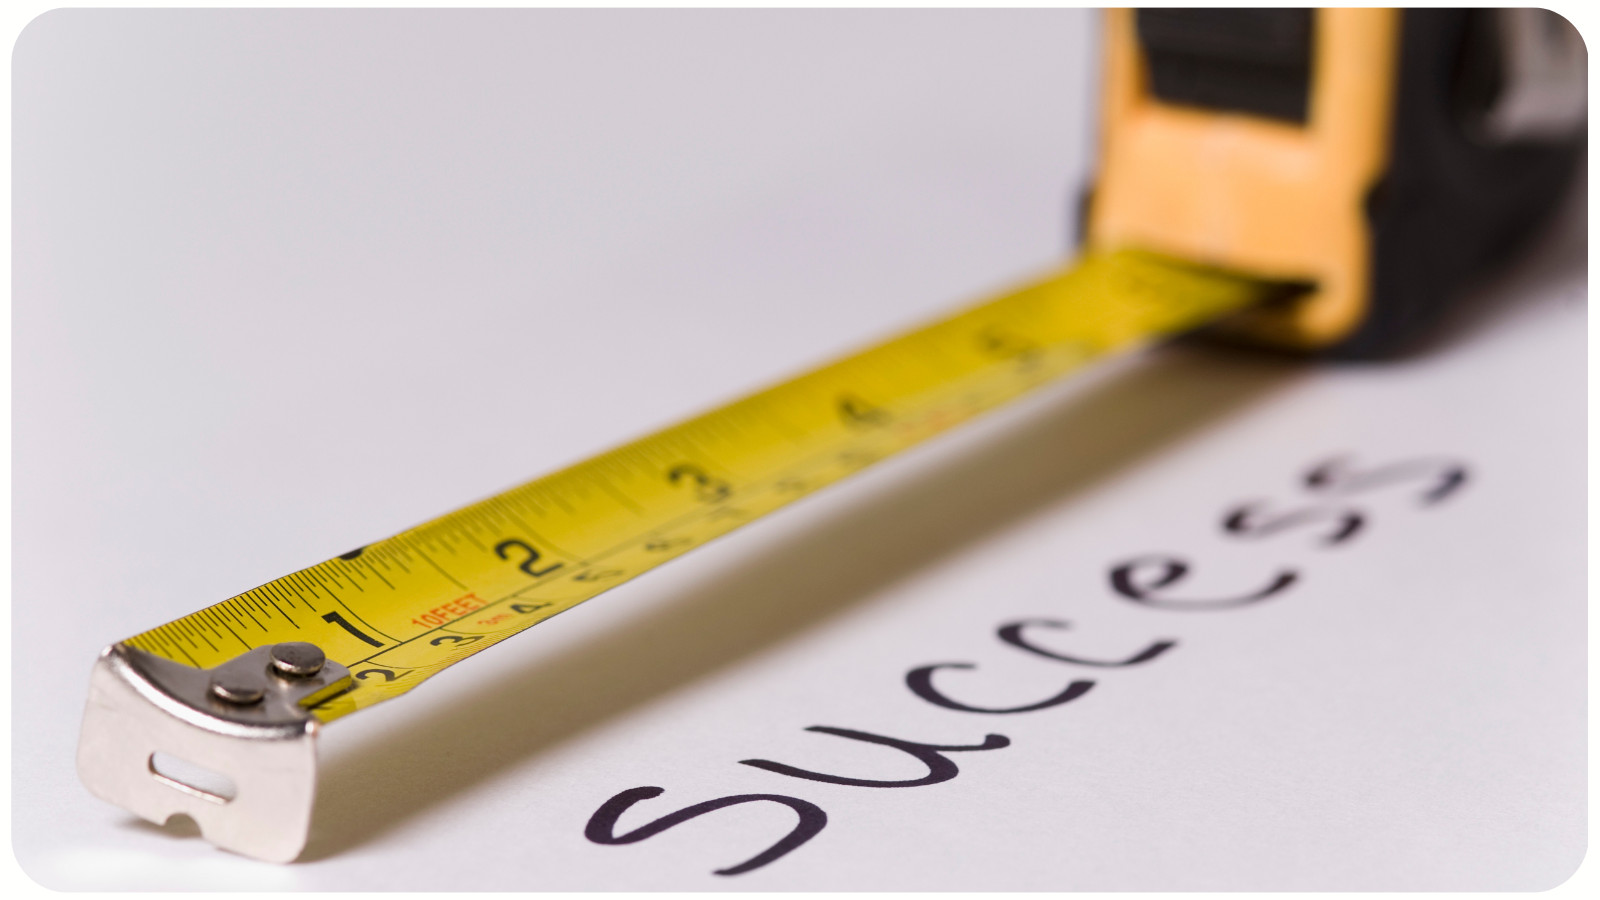
The Problem: One of the most common mistakes is uneven or incorrect measurements, leading to pieces that don’t fit together properly.
The Fix:
- Double-Check Before Cutting: Always measure twice before making any cuts.
- Use the Right Tools: Invest in high-quality rulers, measuring tapes, and templates. For sewing, use fabric rulers with clear markings.
- Mark Accurately: Use chalk, tailor’s pens, or masking tape to mark your measurements.
- Create a Mock-Up: For complex projects, consider making a prototype using inexpensive materials to verify dimensions.
Pro Tip: Using digital tools like a laser level or a cutting machine with measurement settings can enhance precision.
2. FRAYING EDGES OR WEAK SEAMS
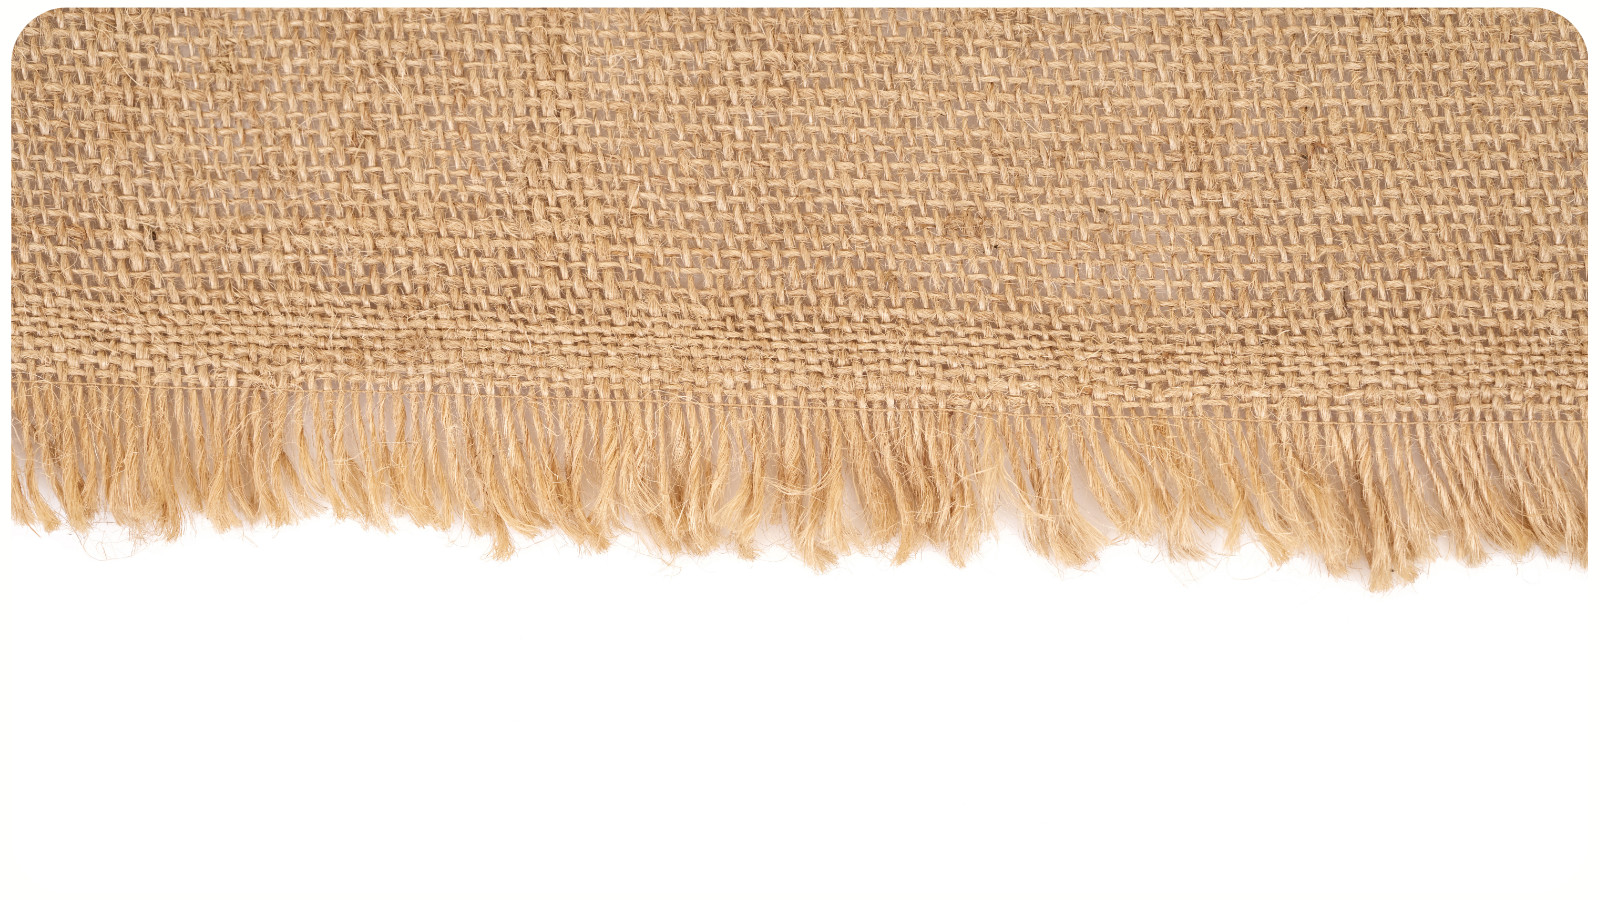
The Problem: Frayed fabric or weak seams can ruin the durability and appearance of your handmade piece.
The Fix:
- Finish the Edges: For fabric projects, use a serger, zig-zag stitch, or pinking shears to prevent fraying.
- Reinforce Seams: Add an extra line of stitching or backstitch at stress points to improve strength.
- Choose the Right Thread: Match your thread to your material’s weight and stretchiness for better performance.
Pro Tip: Ironing seams as you go not only strengthens them but also gives your project a polished look.
3. MISALIGNED PIECES

The Problem: Misaligned pieces often happen when joining sections of fabric, wood, or other materials, leading to a lopsided final product.
The Fix:
- Dry Fit First: Temporarily assemble the pieces without adhesive or stitching to check alignment.
- Pin or Clamp: For fabric, use pins or clips; for woodworking, use clamps to secure pieces before fastening.
- Work on a Flat Surface: Ensure your workspace is level to avoid accidental misalignment.
- Adjust Gradually: If pieces don’t fit, sand, trim, or adjust incrementally rather than making drastic changes.
Pro Tip: For detailed projects, create a template or guide to align pieces perfectly every time.
4. USING THE WRONG MATERIALS
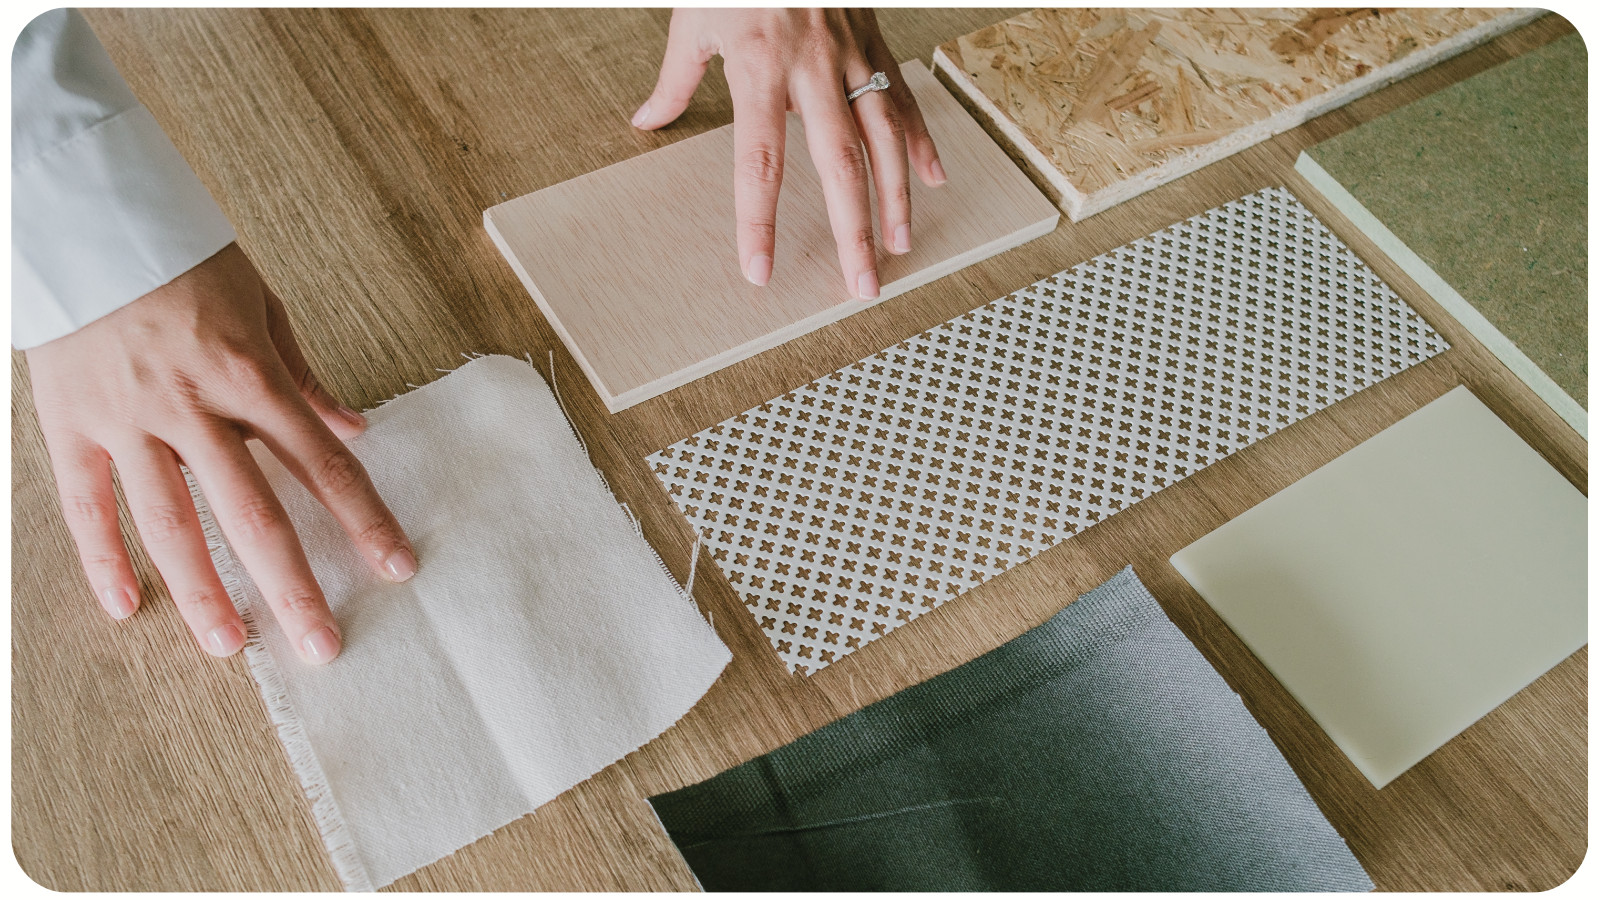
The Problem: Choosing unsuitable materials can affect the quality, durability, or aesthetics of your handmade project.
The Fix:
- Research Beforehand: Understand the properties of the materials you’re using. For instance, know which types of wood are best for outdoor projects or which fabrics stretch.
- Test Small Samples: If you’re unsure, test materials on a small scale to see how they perform.
- Match Tools to Materials: Use the right tools (e.g., fine needles for delicate fabrics, sharp blades for hard materials).
Pro Tip: When buying materials, consult with staff at craft or hardware stores—they often have valuable insights.
5. INCONSISTENT FINISHES
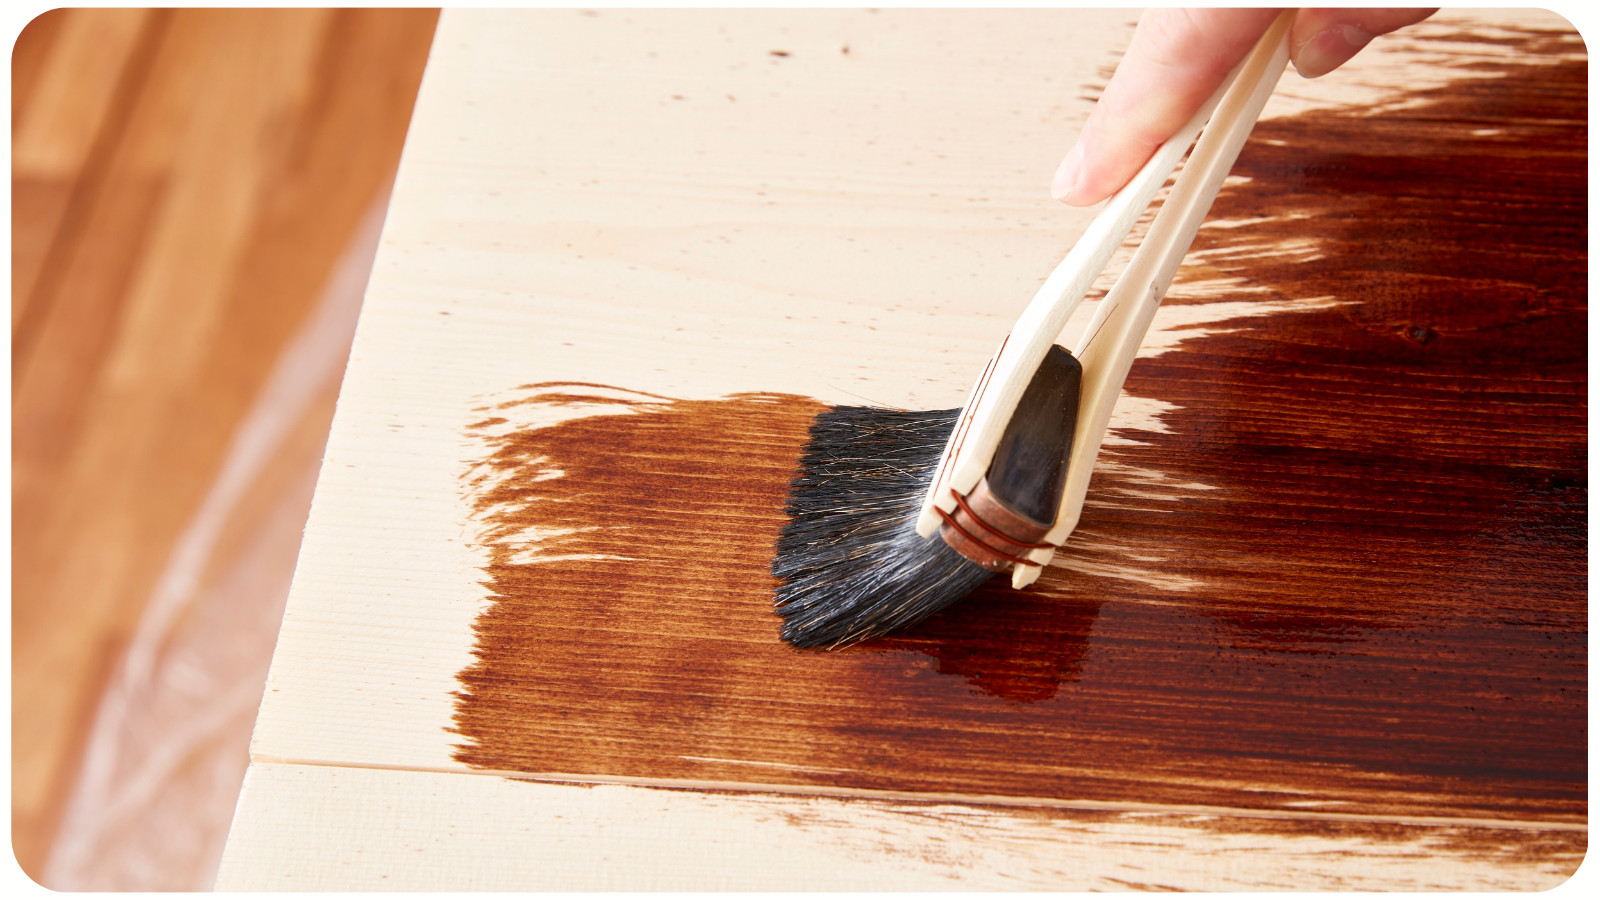
The Problem: An uneven paint job, varnish, or other finish can make a handmade project look less professional.
The Fix:
- Prepare Surfaces: Sand wood or clean fabric before applying any finish to ensure smoothness.
- Use Thin Coats: Apply paint, stain, or varnish in thin, even layers, letting each coat dry before adding the next.
- Follow Manufacturer Instructions: Read labels carefully to ensure proper application and drying times.
Pro Tip: Use high-quality brushes, rollers, or spray tools for a flawless finish. Cheap tools can leave streaks or brush marks.
6. RUSHING THROUGH STEPS

The Problem: Rushing often leads to careless mistakes, from cutting corners (literally) to skipping crucial steps.
The Fix:
- Plan Ahead: Create a step-by-step plan or checklist before starting.
- Take Breaks: Fatigue can lead to mistakes. Work in short, focused sessions instead of pushing through.
- Practice Patience: Allow time for glue, paint, or other materials to set properly before moving on.
Pro Tip: Set realistic timelines for your projects. If it’s a gift, start well in advance to avoid last-minute stress.
7. COLOR OR TEXTURE MISMATCHES

The Problem: Color clashing or mismatched textures can detract from the overall aesthetic of your handmade piece.
The Fix:
- Test Before Committing: Test paints, stains, or fabrics together to see how they look.
- Use Color Theory: Choose complementary or analogous colors for harmony.
- Experiment: Mix textures (e.g., smooth and rough) deliberately for contrast.
Pro Tip: Keep a color wheel or texture swatches handy to guide your decisions.
8. GLUE OR ADHESIVE MESSES
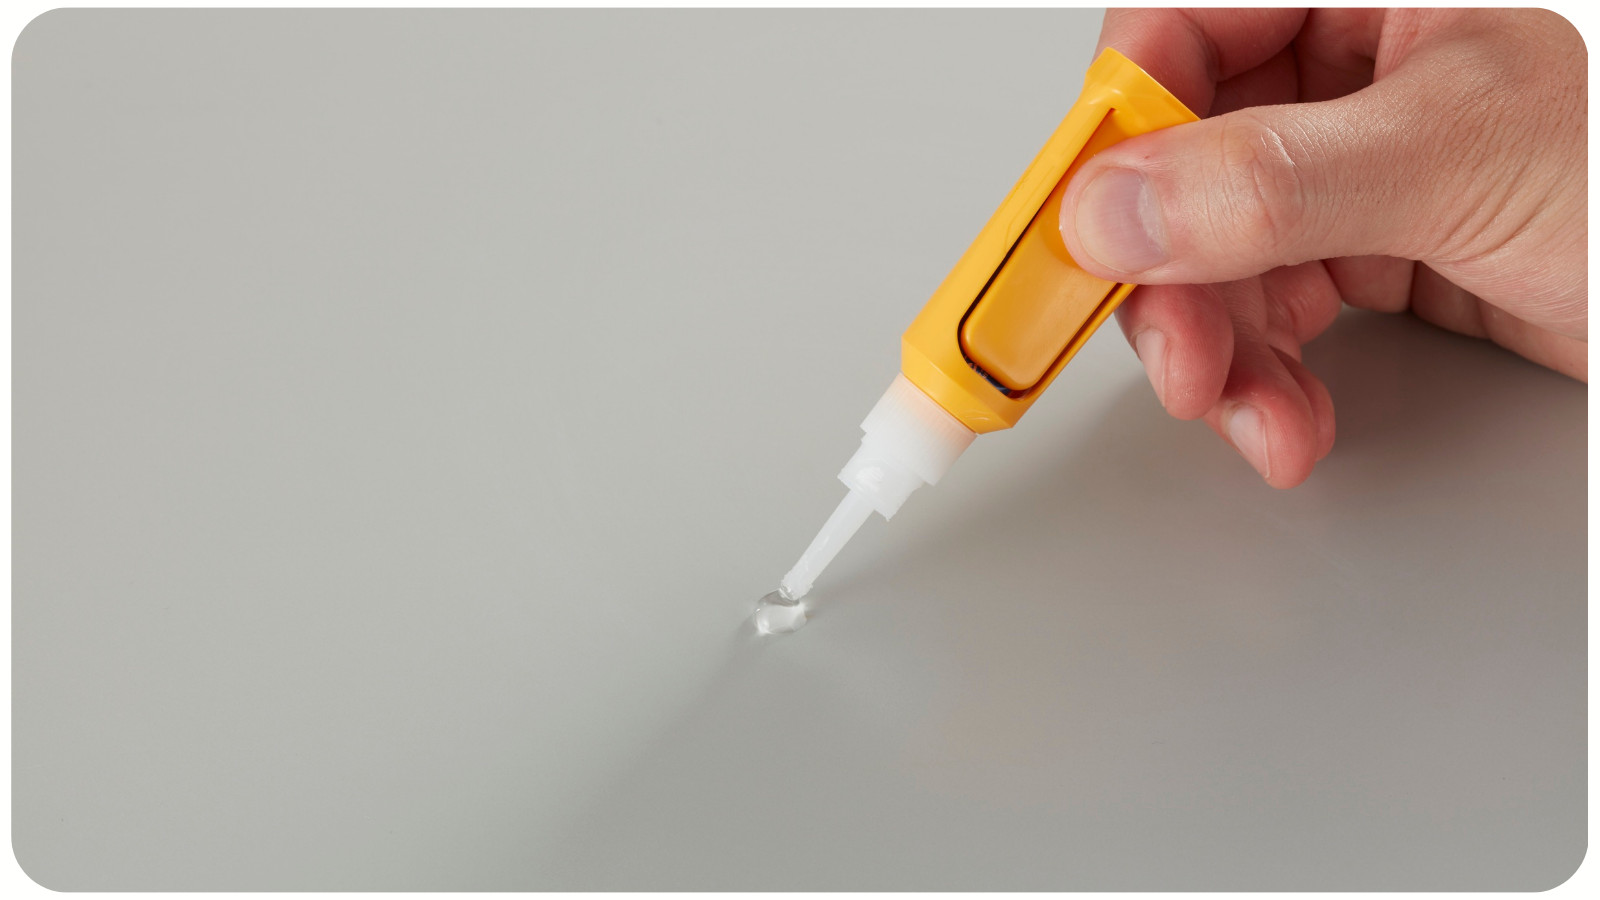
The Problem: Excess glue can seep out and create unsightly marks or weaken bonds.
The Fix:
- Use the Right Amount: Less is often more when it comes to adhesive. Use a small applicator for precision.
- Clean As You Go: Wipe away excess glue immediately with a damp cloth or sponge.
- Choose the Right Adhesive: Ensure your glue is appropriate for your materials (e.g., wood glue for wood, fabric glue for textiles).
Pro Tip: For intricate projects, consider using adhesive syringes or applicator tips for better control.
9. NOT FOLLOWING INSTRUCTIONS

The Problem: Skipping steps or improvising too much can lead to unintended outcomes.
The Fix:
- Read Thoroughly: Read through all instructions or patterns before starting.
- Ask for Clarification: If instructions aren’t clear, look for video tutorials or guides online.
- Adapt Carefully: If you’re making changes, plan them out instead of winging it.
Pro Tip: Join crafting communities or forums where you can ask for advice or share tips with fellow creators.
FINAL THOUGHTS
Handmade projects are a labor of love, and mistakes are part of the learning process. By addressing common errors and troubleshooting effectively, you can turn challenges into opportunities to improve your skills. Remember, every misstep teaches you something new—and that’s what makes handmade crafting so rewarding. Happy crafting!