


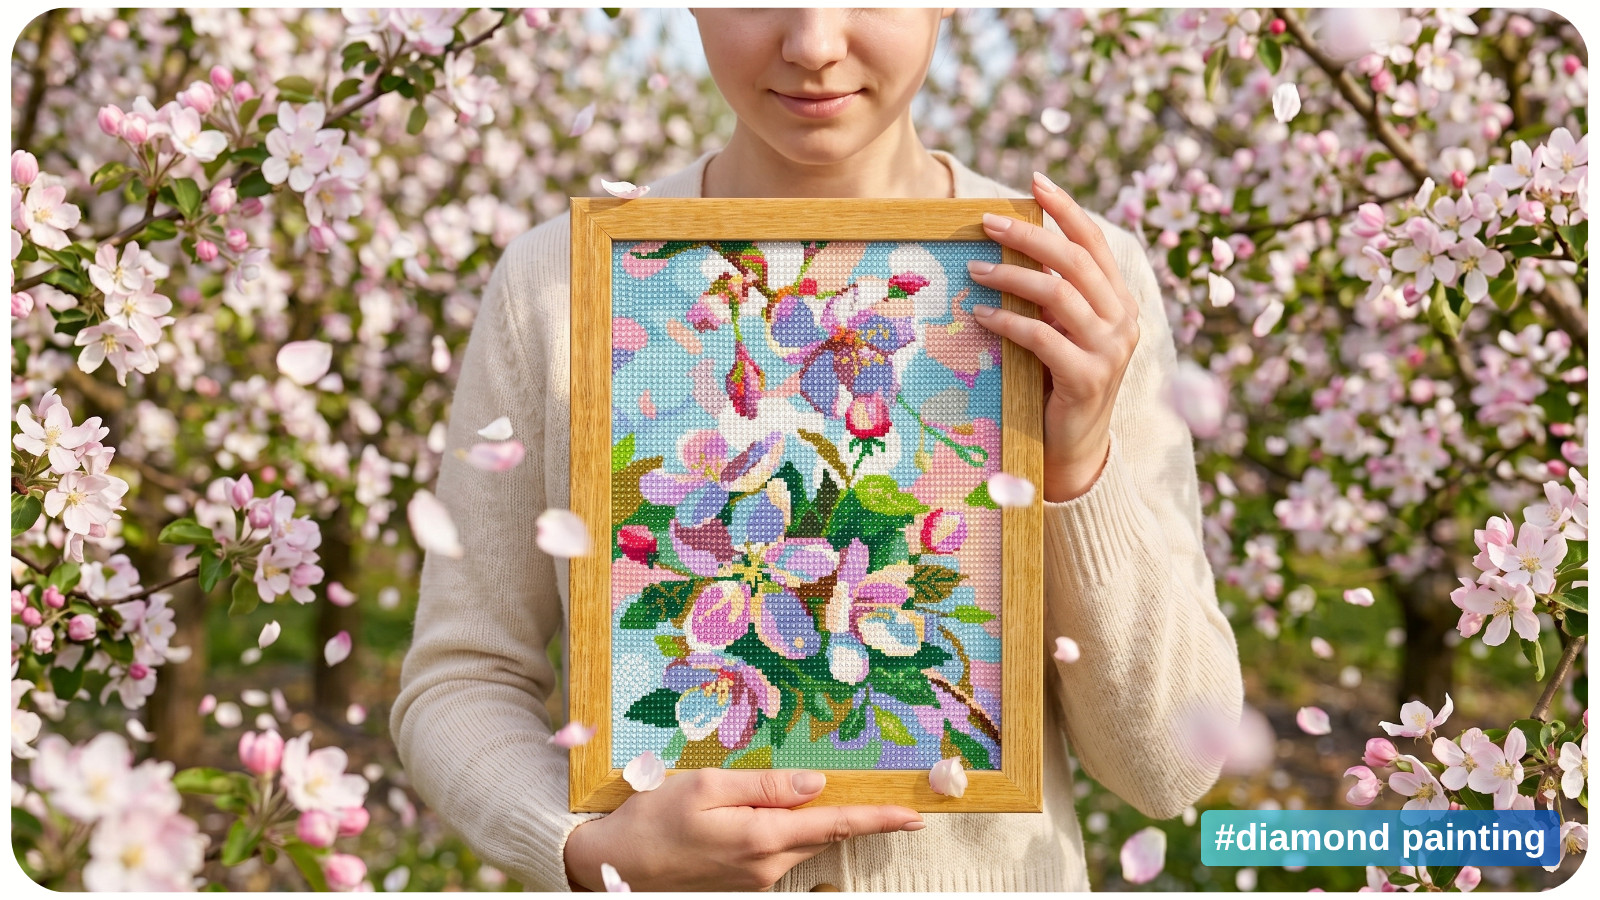
TOOLS & MATERIALS YOU’LL NEED
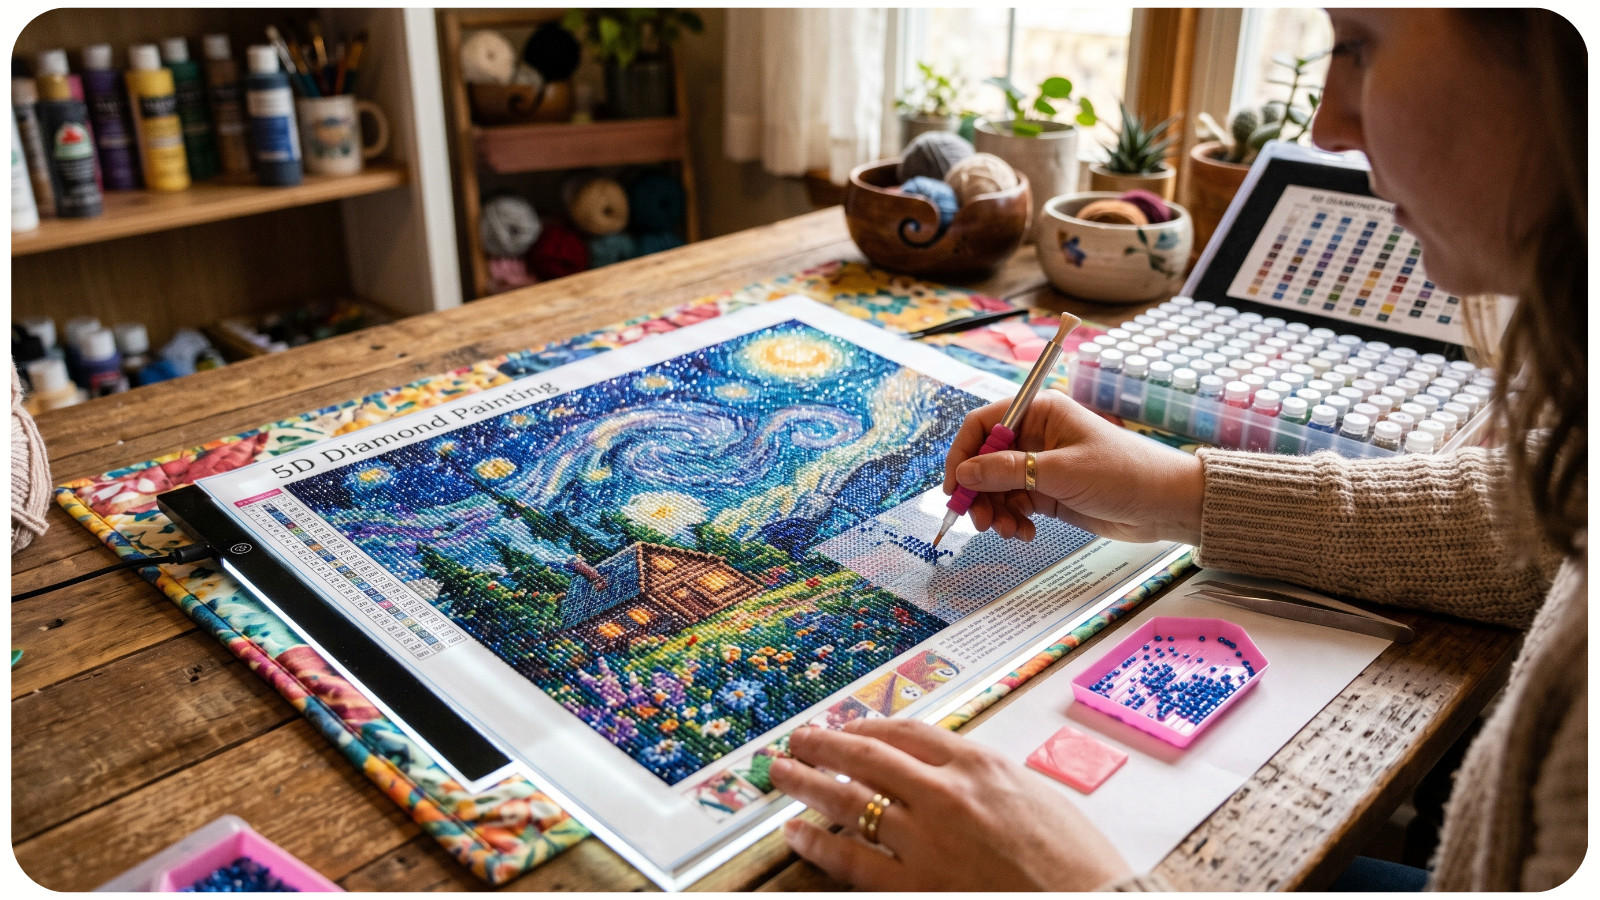
- Finished diamond painting canvas;
- Soft roller or heavy book;
- Microfiber cloth;
- Diamond painting sealer (brush-on or spray);
- Foam board or MDF backing;
- Double-sided mounting adhesive or spray adhesive;
- Craft knife or precision cutter;
- Frame (standard, floating, or shadow box);
- Measuring tape or ruler;
- Light pad (optional for inspection);
- Tweezers for drill correction;
- Pink wax and applicator pen for touch-ups.
WHY PROPER FINISHING MATTERS
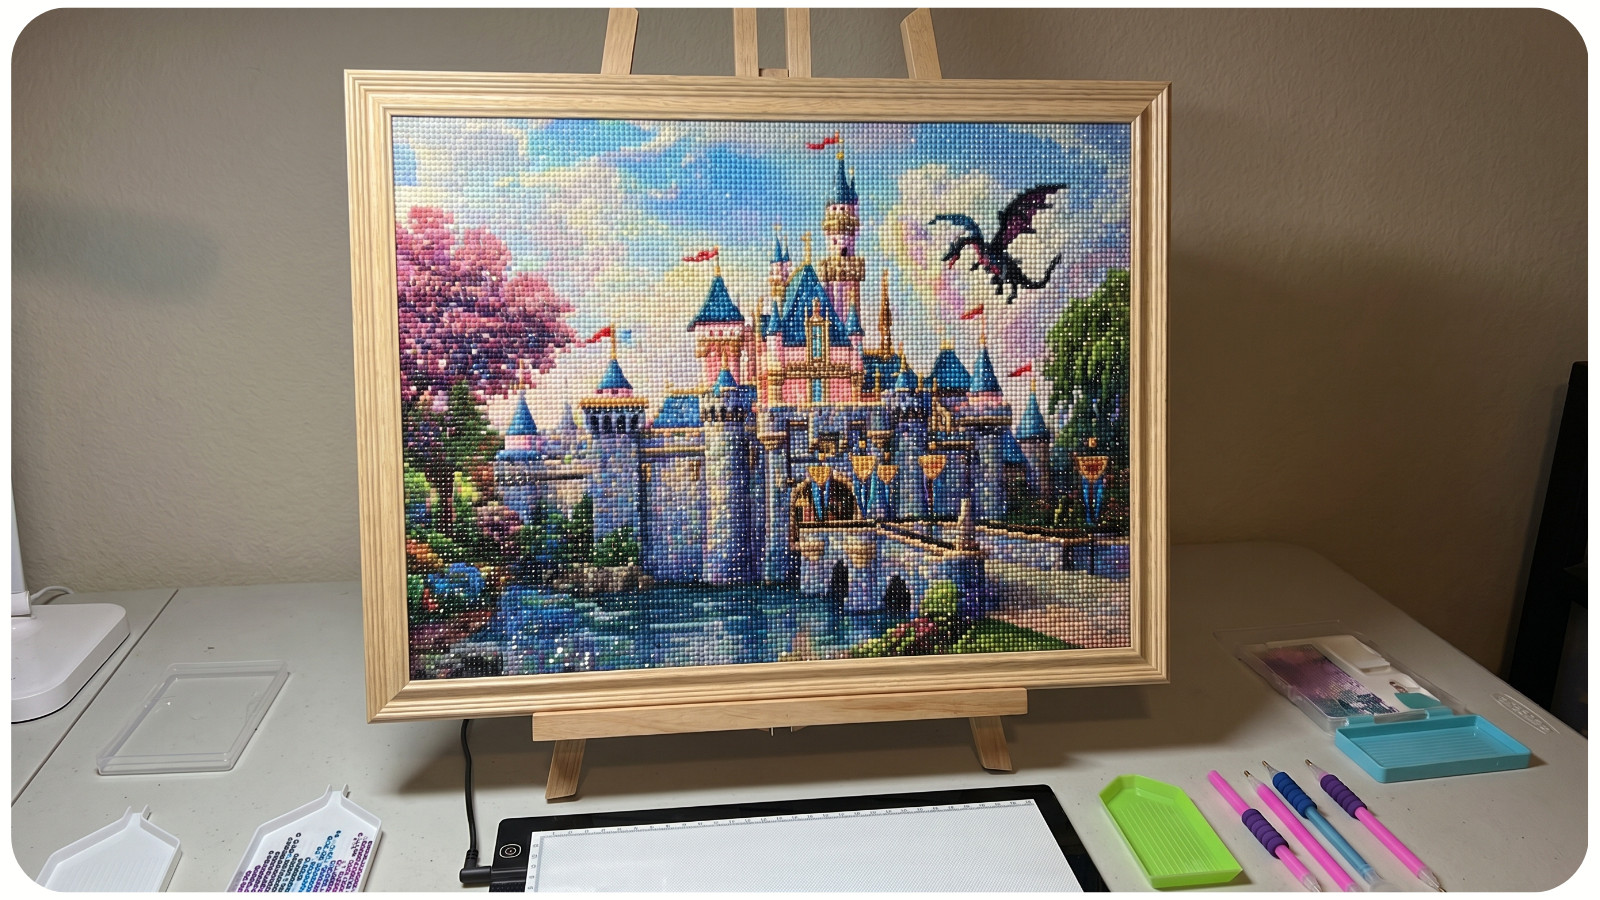
A completed diamond painting may look finished, but technically, the adhesive system remains vulnerable to dust, humidity, loose drills, and canvas warping. Without proper finishing, drills can begin lifting over time – especially in areas exposed to sunlight or fluctuating temperatures.
Professional finishing serves four critical purposes:
1. Secures the drills permanently;
2. Prevents canvas curling;
3. Protects against moisture and dust;
4. Creates a polished presentation suitable for display.
If you’ve invested dozens of relaxing hours placing drills on a detailed canvas, proper finishing ensures your artwork remains vibrant and stable for years.
STEP 1: INSPECT AND CORRECT THE SURFACE
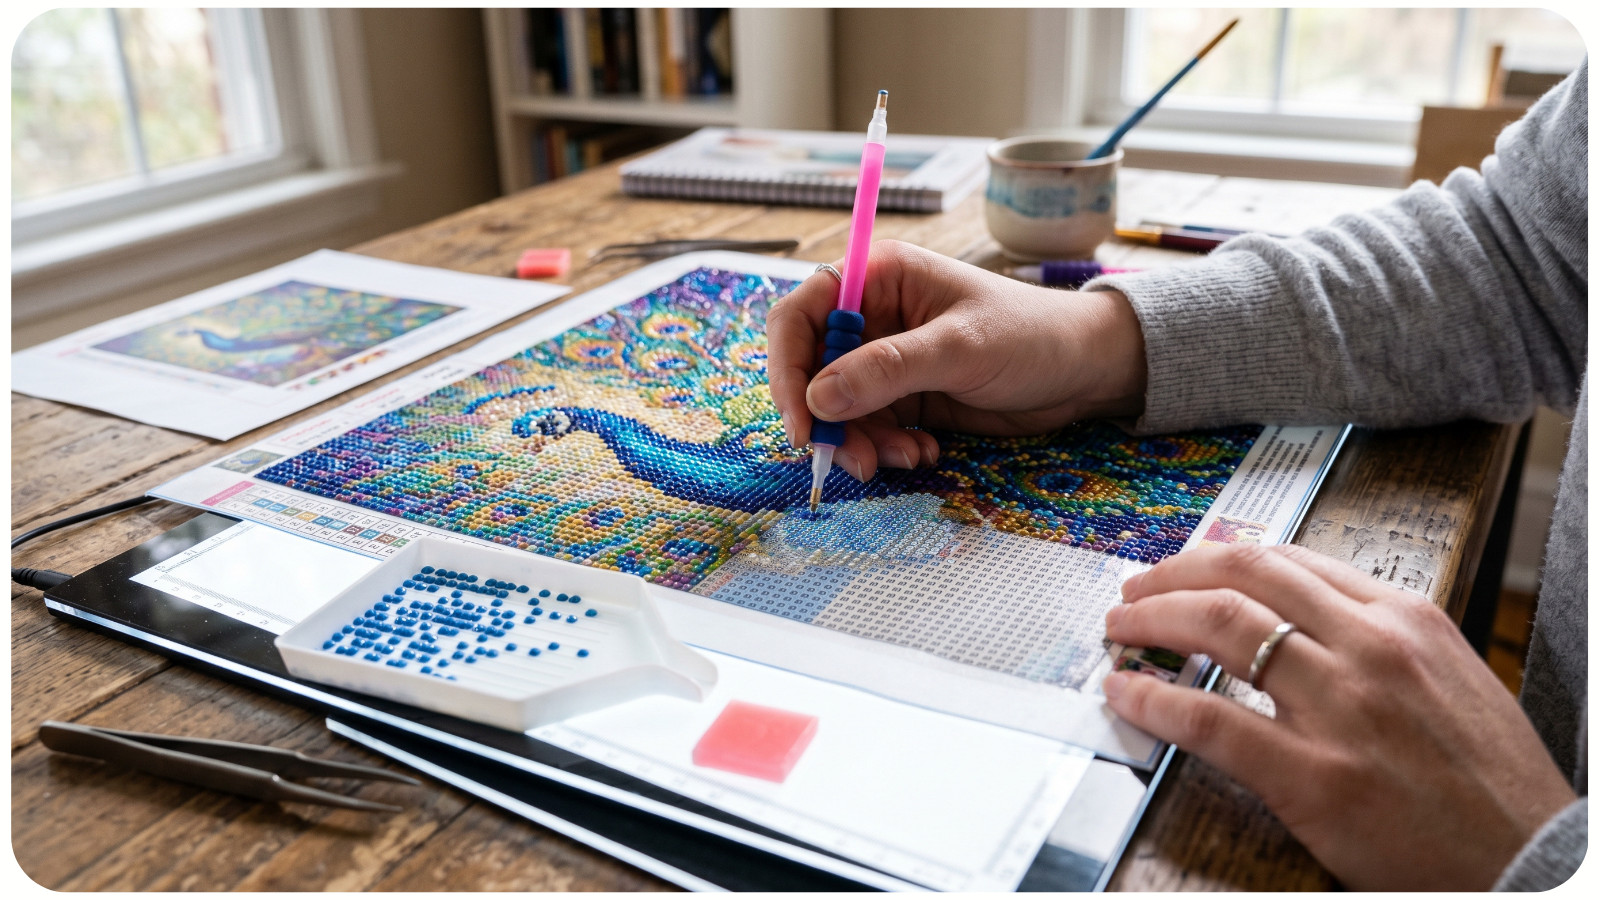
Before sealing or framing, inspect the entire canvas carefully under strong lighting.
Use a light pad or angled lamp to identify:
- Crooked drills;
- Missing drills;
- Raised or “popping” drills;
- Gaps between rows.
Fixing Popping Drills. Popping drills occur when tension builds between tightly packed resin pieces. This is especially common in square drill projects.
To correct the issue:
1. Remove the problematic drill with tweezers;
2. Check for excess adhesive or debris;
3. Re-seat the drill carefully;
4. Press surrounding drills into alignment.
A straightening tool or ruler can help maintain clean drill lines before final sealing.
STEP 2: FLATTEN THE CANVAS PROPERLY
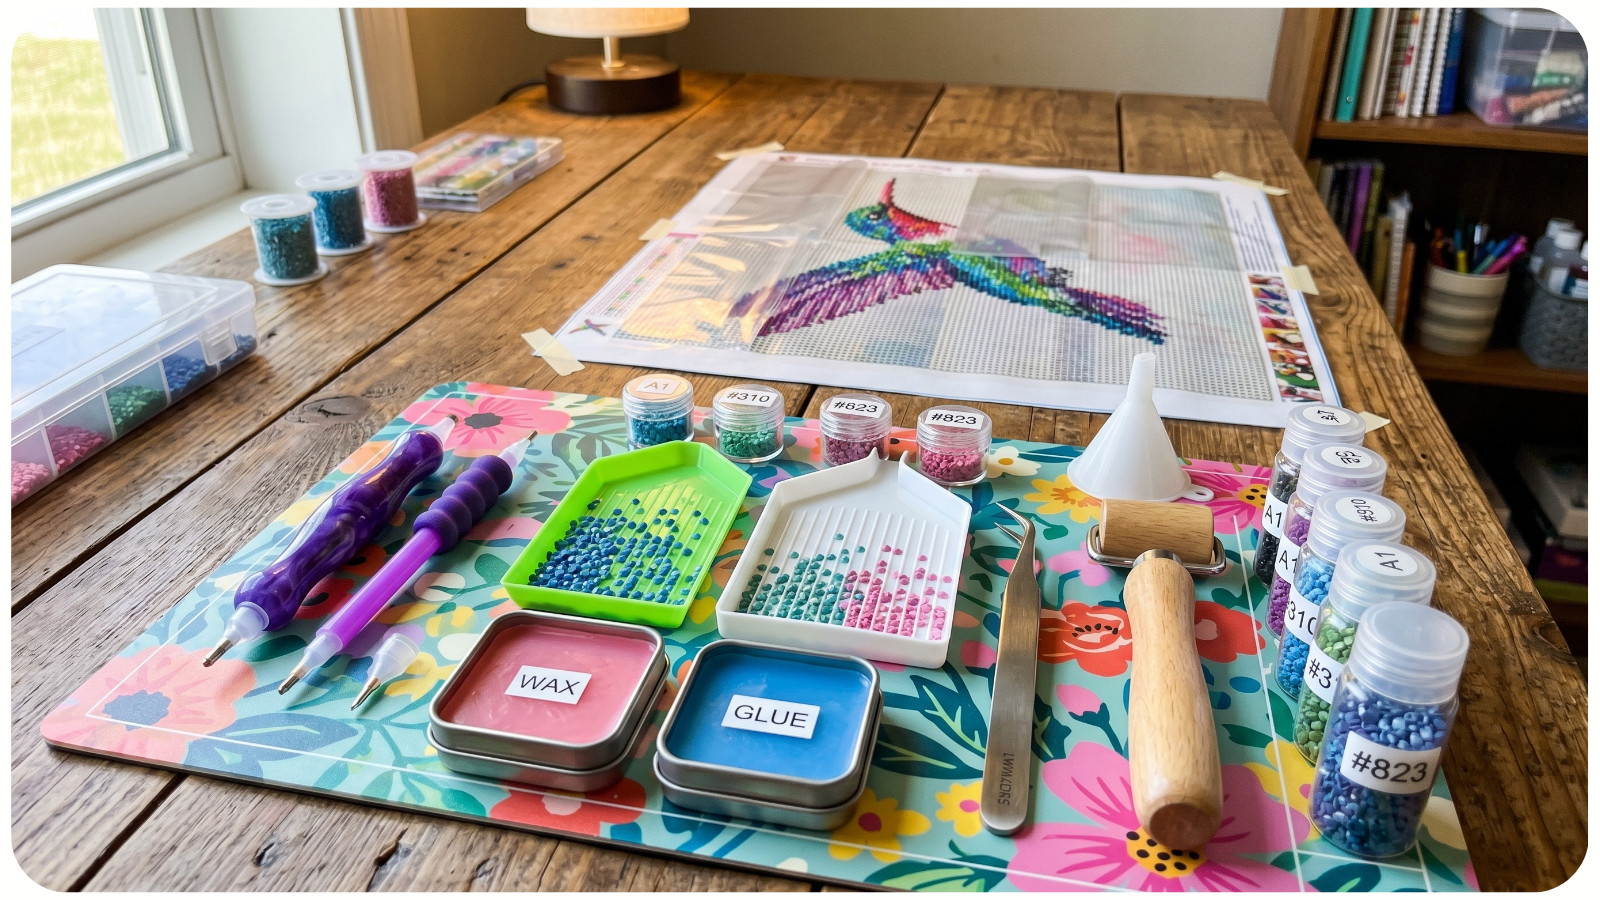
Diamond painting canvases often retain curvature from packaging. Framing a warped canvas can cause uneven tension and visible ripples.
Recommended Flattening Method: Place the finished canvas between two clean sheets of parchment paper or fabric.
Then:
- Lay heavy books evenly across the surface;
- Leave flattened for 24-48 hours;
- Alternatively, use a cold laminating roller.
Avoid applying direct heat with an iron. Excessive heat can soften adhesive layers and distort resin drills.
STEP 3: SEAL THE DIAMOND PAINTING
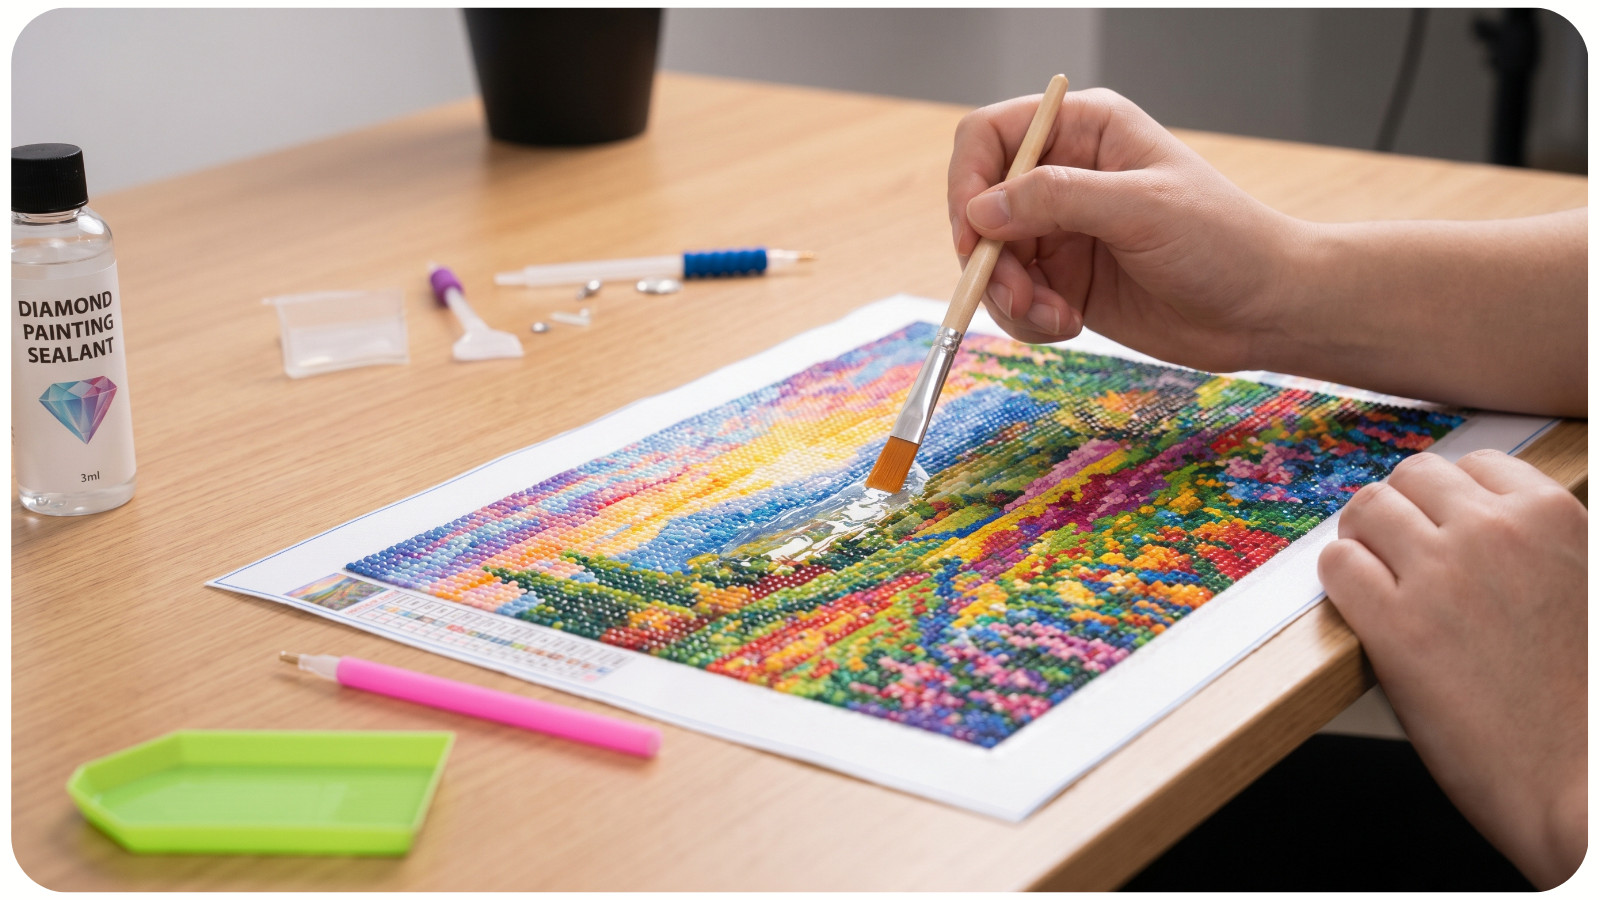
Sealing is one of the most debated topics in the diamond painting community. Technically, not every canvas requires sealing, especially high-quality kits with strong poured glue adhesives. However, sealing is strongly recommended for wall-mounted decor because it improves long-term durability.
Types of Sealers:
1. Brush-On Sealers.
Best for:
- Maximum drill retention;
- Full wall decor protection;
- Large projects.
Look for:
- Water-based, non-yellowing formulas;
- Flexible acrylic finish;
- Clear-drying properties.
Apply using a soft brush in thin, even coats.
2. Spray Sealers
Best for:
- Preserving maximum sparkle;
- Quick application;
- Smaller projects.
Use multiple light coats rather than one heavy application.
Important Technical Note: Over-sealing can dull drill facets and reduce the reflective “sparkle” effect that makes diamond painting visually satisfying.
For best results:
- Use minimal product;
- Allow full drying between coats;
- Test on a small corner first.
STEP 4: CHOOSE A MOUNTING METHOD
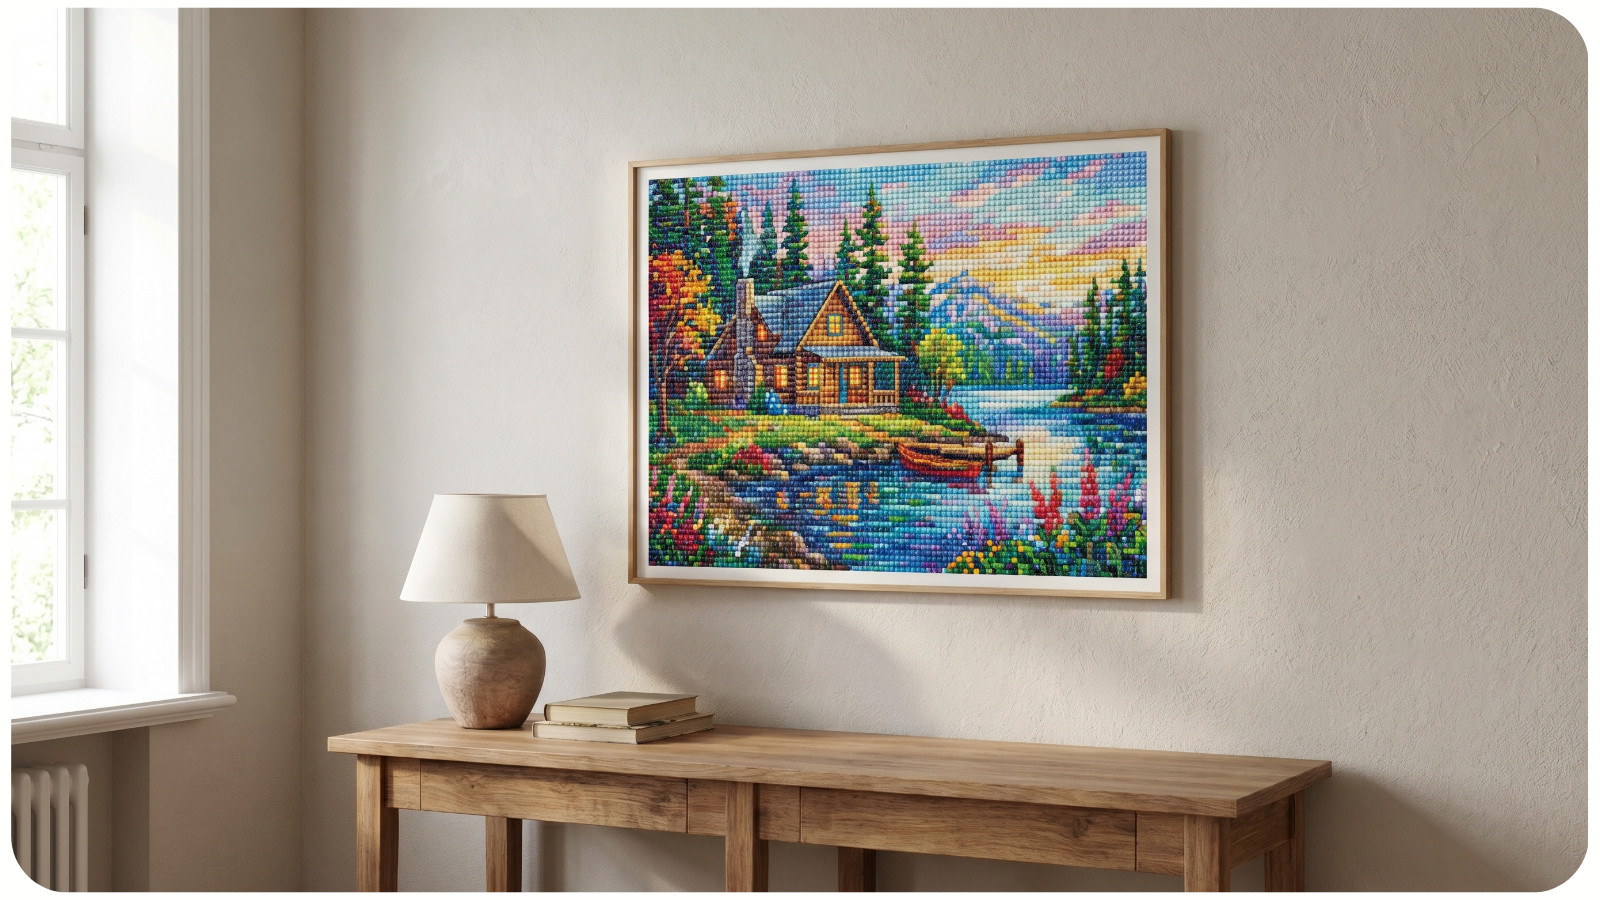
Proper mounting transforms flexible canvas into structured wall art.
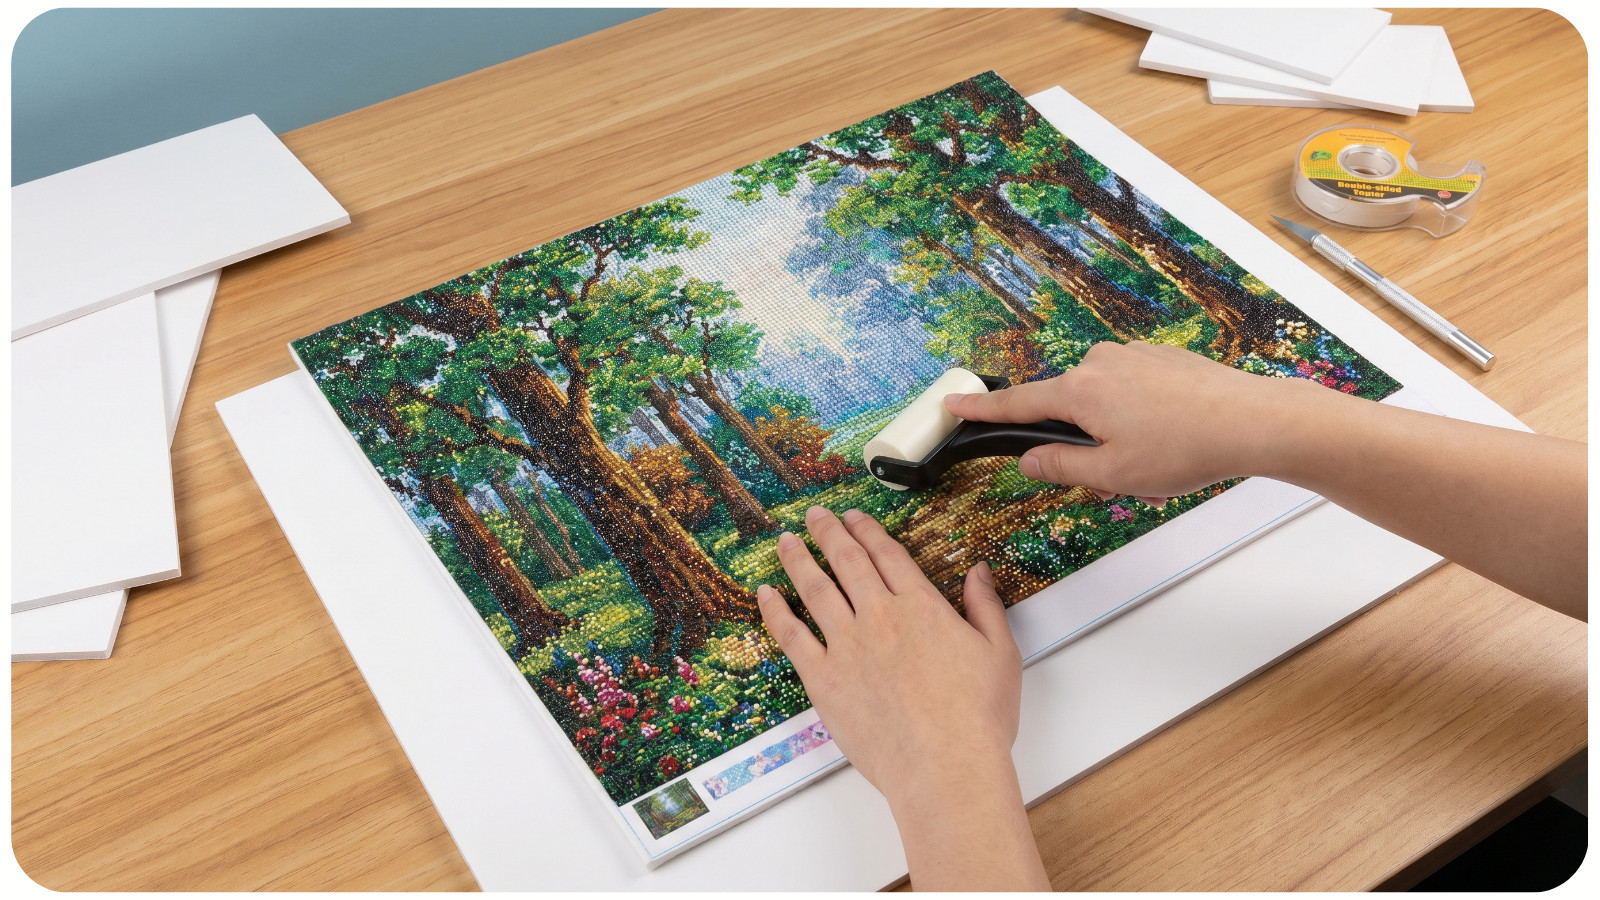
Option 1: Foam Board Mounting. This is one of the most reliable methods for lightweight display pieces.
Process:
1. Cut foam board to exact canvas dimensions
2. Apply archival spray adhesive evenly
3. Position canvas carefully from one edge outward
4. Smooth using a roller to eliminate air bubbles
Advantages:
- Lightweight;
- Affordable;
- Easy to frame.
Option 2: MDF or Wood Backing
Ideal for:
- Large diamond paintings;
- Heavy full-drill projects;
- Long-term durability.
MDF provides rigidity that prevents sagging over time. This method works especially well for oversized statement pieces from collections.
Option 3: Stretched Canvas Finish. Some crafters wrap diamond paintings around wooden stretcher bars similarly to traditional canvas art.
This creates:
- Modern gallery-style decor;
- Frameless presentation;
- Clean edge visibility.
However, this method requires extra border space and careful tension control to avoid drill separation near folded edges.
STEP 5: SELECT THE RIGHT FRAME
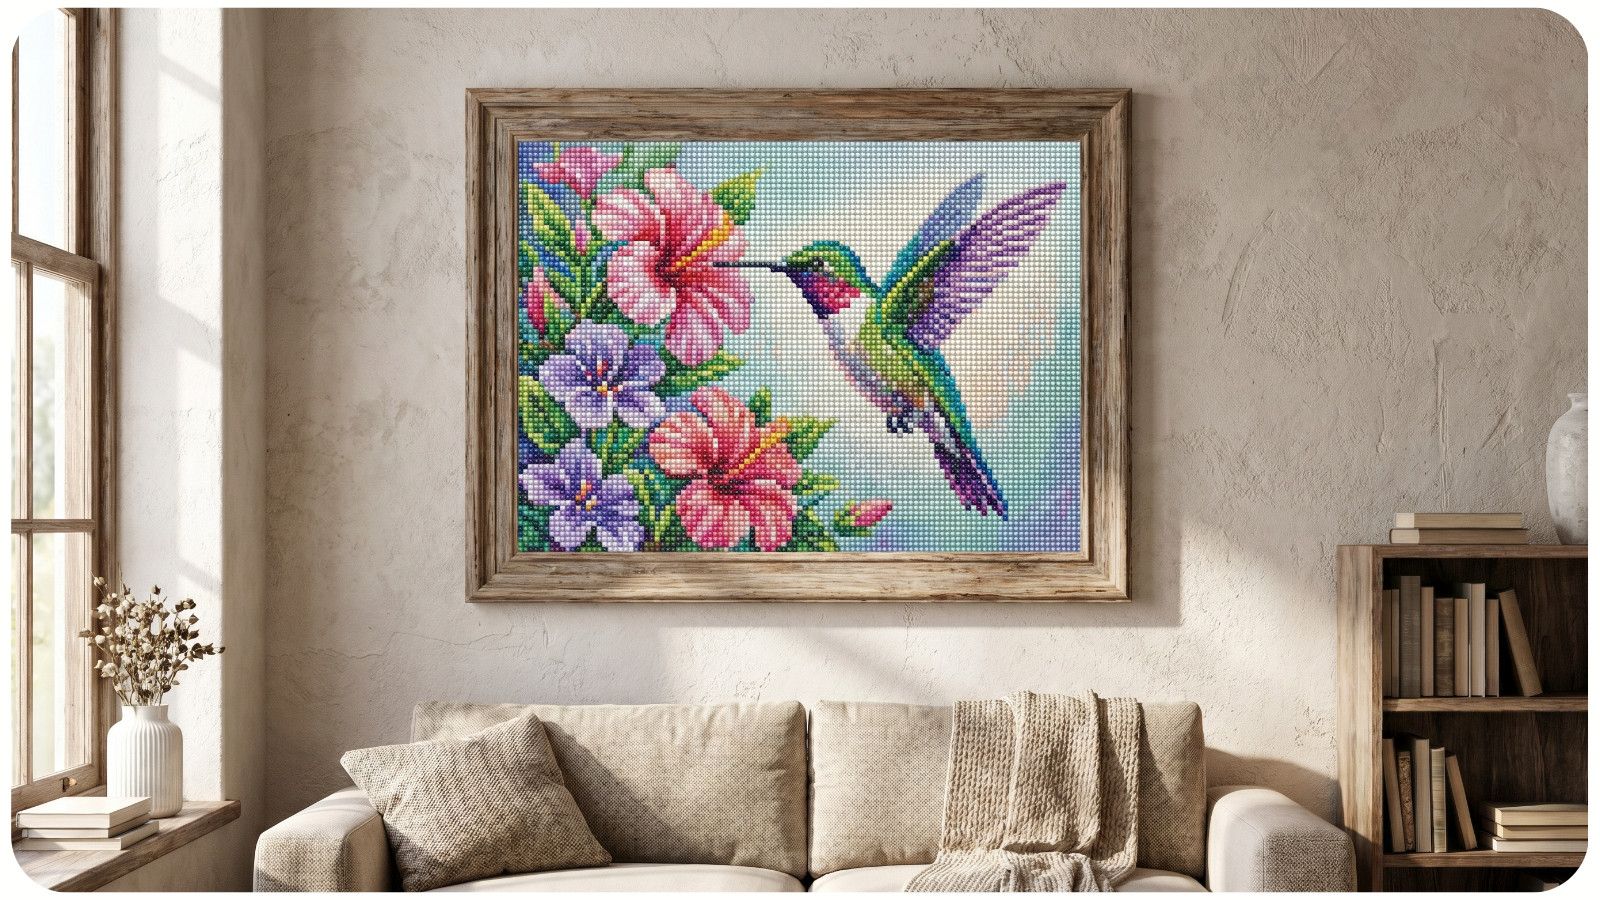
The frame dramatically affects both protection and visual impact.
Glass vs. No Glass
1. With Glass
Pros:
- Dust protection;
- Easier cleaning;
- UV shielding options.
Cons:
- Potential glare;
- Can compress drills if spacing is insufficient.
If using glass, ensure the frame includes enough depth to avoid pressure against the drill surface.
2. Without Glass
Pros:
- Maximum sparkle visibility;
- Better texture presentation.
Cons:
- More exposed to dust.
Many experienced diamond painters prefer no-glass framing for highly reflective projects.
Best Frame Styles
1. Floating Frames
Excellent for:
- Modern designs;
- Partial-drill canvases;
- Decorative borders.
2. Shadow Box Frames
Ideal for:
- Thick drill surfaces;
- Extra dimensional clearance;
- Premium presentation.
3. Standard Poster Frames
Good for:
- Budget-friendly display;
- Beginner projects;
- Lightweight mounted canvases.
STEP 6: PROTECT AGAINST ENVIRONMENTAL DAMAGE
Diamond paintings are sensitive to environmental conditions.
Avoid:
- Direct sunlight;
- High humidity;
- Heat vents;
- Bathrooms with steam exposure.
UV exposure can gradually fade printed canvas colors, while humidity may weaken adhesive bonds over time.
For valuable or large-scale pieces:
- Use UV-protective acrylic glazing;
- Maintain stable room temperature;
- Dust gently with microfiber cloths only.
Never use chemical cleaners directly on drills.
BEST ROOMS FOR DIAMOND PAINTING DISPLAY
Diamond art works especially well in:
- Craft rooms;
- Bedrooms;
- Hallways;
- Reading corners;
- Home offices.
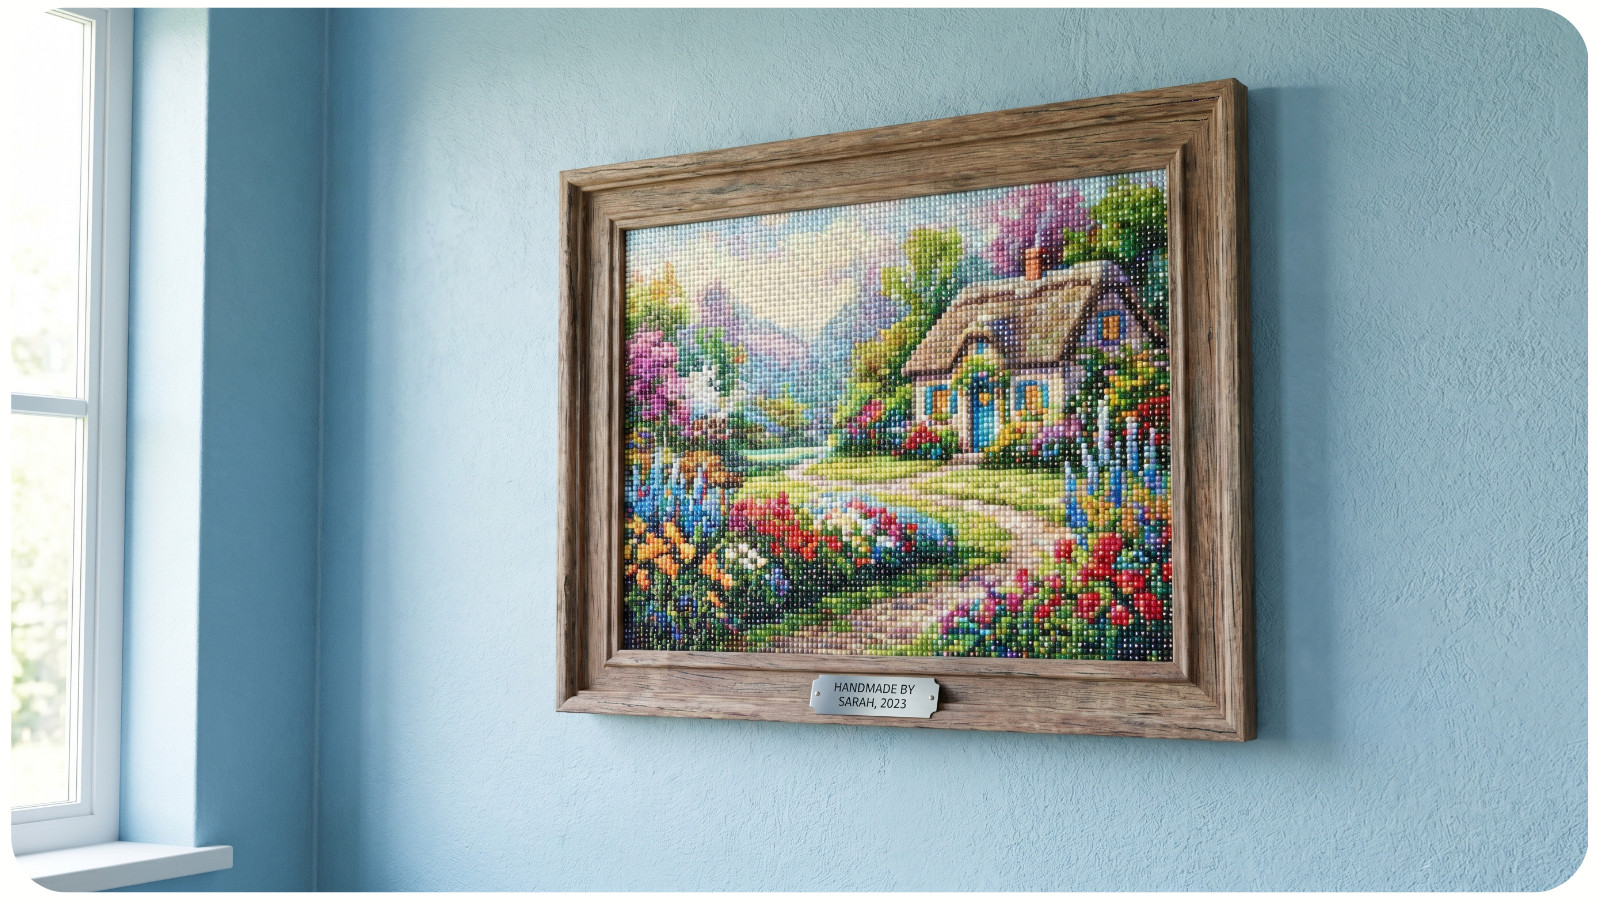
The reflective drills interact beautifully with ambient lighting, especially during evening hours. Large scenic or floral canvases from Awesome Pattern Studio collections can function as centerpiece decor in minimalist interiors, while smaller pieces work well as gallery-wall accents.
COMMON MISTAKES TO AVOID
1. Using Too Much Sealer. Heavy coatings reduce sparkle and may create cloudy residue.
2. Framing Without Flattening. This causes visible waves and poor corner alignment.
3. Using Weak Adhesives. Low-quality glue can fail over time, especially on large canvases.
4. Hanging Near Heat Sources. Heat accelerates adhesive degradation and may lead to popping drills.
5. Choosing Frames That Are Too Shallow. Compressed drills can loosen or crack under pressure.
FINAL THOUGHTS
Turning finished diamond art into wall decor is both a technical process and a creative reward. Careful sealing, stable mounting, and thoughtful framing ensure your canvas remains beautiful long after the final drill is placed.
Whether you prefer sleek floating frames, dramatic shadow boxes, or modern frameless mounting, the key is preserving both the structure and sparkle of the artwork. High-quality designs – especially detailed decorative canvases from Awesome Pattern Studio –deserve finishing techniques that showcase their brilliance professionally.
A properly displayed diamond painting becomes more than a hobby project; it becomes lasting home décor with texture, light, and personality.