


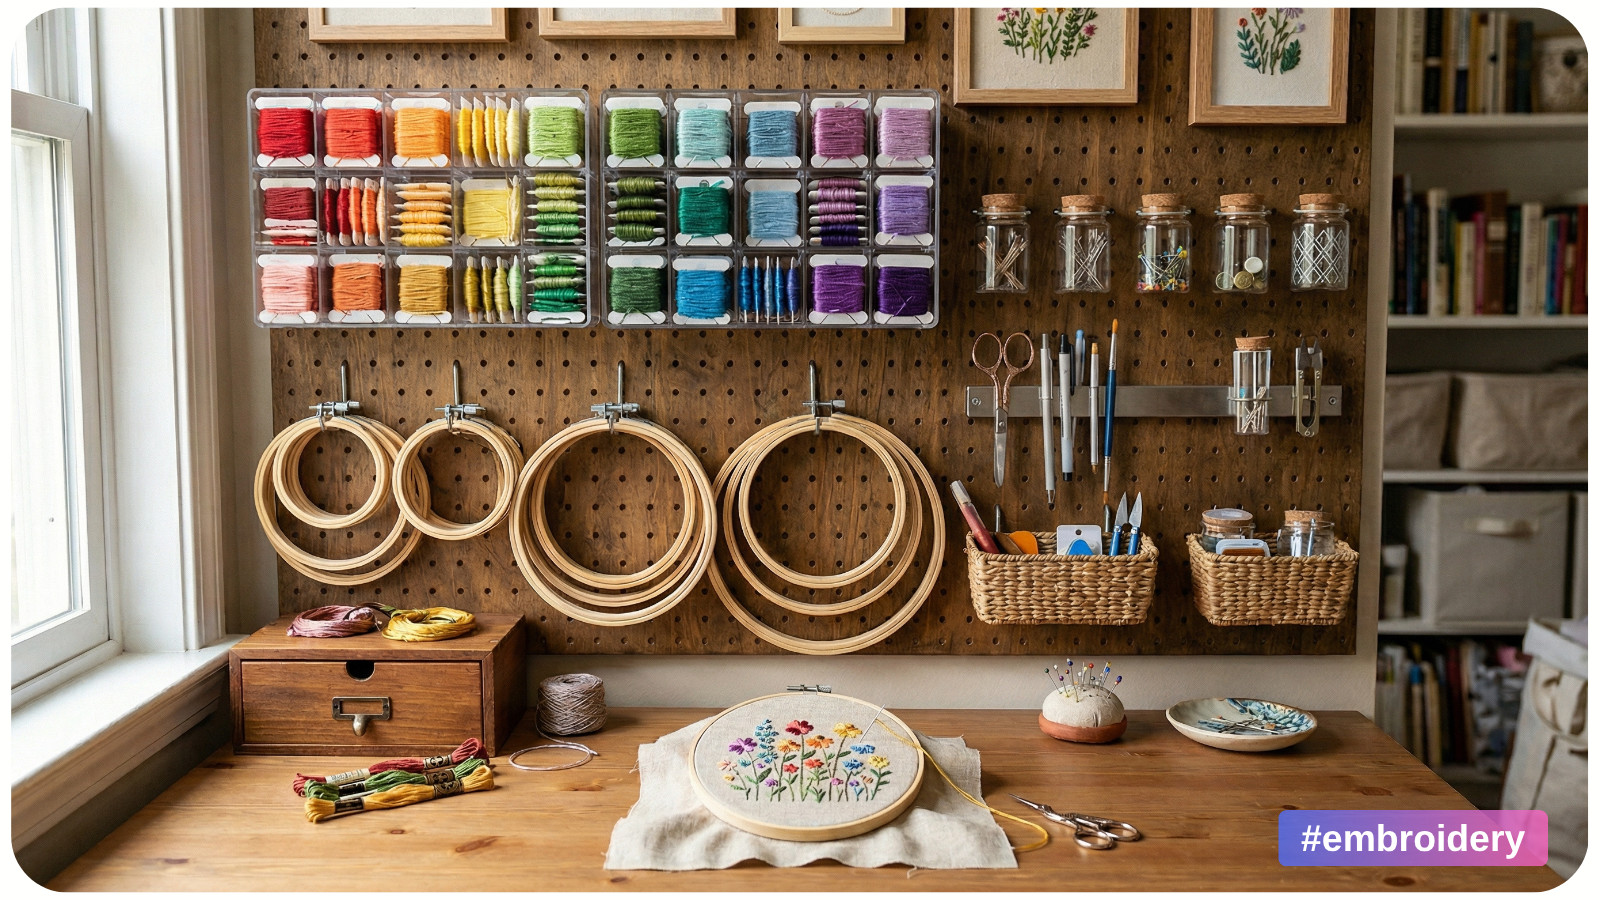
Embroidery is one of those crafts that can look wonderfully calm from the outside – soft floss, pretty hoops, delicate stitches – but the reality gets messy fast.
One minute you are planning elegant satin stitch petals and tiny french knots, and the next you are digging through a drawer looking for the right needle or trying to untangle six shades of dusty rose.
Good organization is not just about aesthetics. It protects your tools, preserves color quality, prevents damage to fabric and floss, and helps you move more confidently between projects.
When your materials are easy to see and easy to reach, your creative energy stays focused on stitching instead of searching.
START BY ORGANIZING BY FUNCTION, NOT JUST BY SIZE
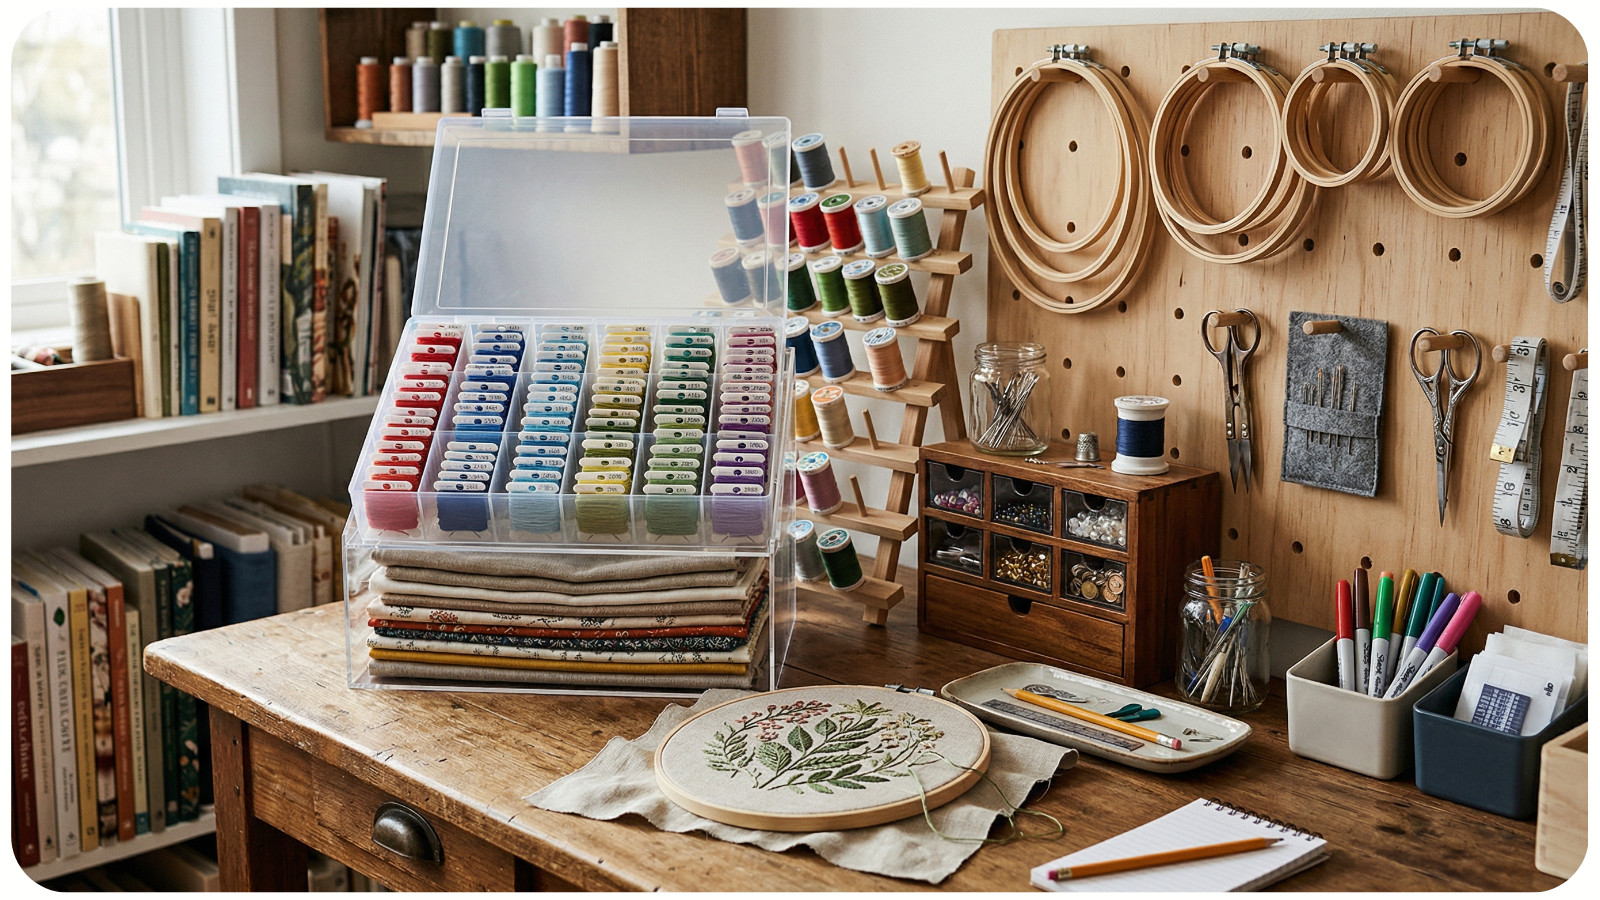
A common mistake is storing embroidery supplies wherever they fit. Hoops go in one box, floss in another, needles in a random tin, and fabric in a closet. That may seem fine at first, but it creates friction every time you begin a project.
Instead, organize by function. Keep the tools you use together in the order you actually work. For example, your current-project supplies might include a hoop, threaded needles, floss palette, small scissors, fabric marker, and pattern notes. These should live in one portable project kit or tray.
Your backup supplies can be stored separately. Extra hoops, unopened floss skeins, spare needles, and stabilizers do not need to sit in your daily workspace. This separation keeps your main area visually calm and prevents the “craft avalanche” effect that happens when everything is stored together.
HOW TO STORE EMBROIDERY HOOPS PROPERLY
Embroidery hoops seem sturdy, but they can warp, scratch, or pick up dust if tossed into a crowded bin. Wooden hoops especially benefit from careful storage, since moisture and pressure can affect their shape over time.
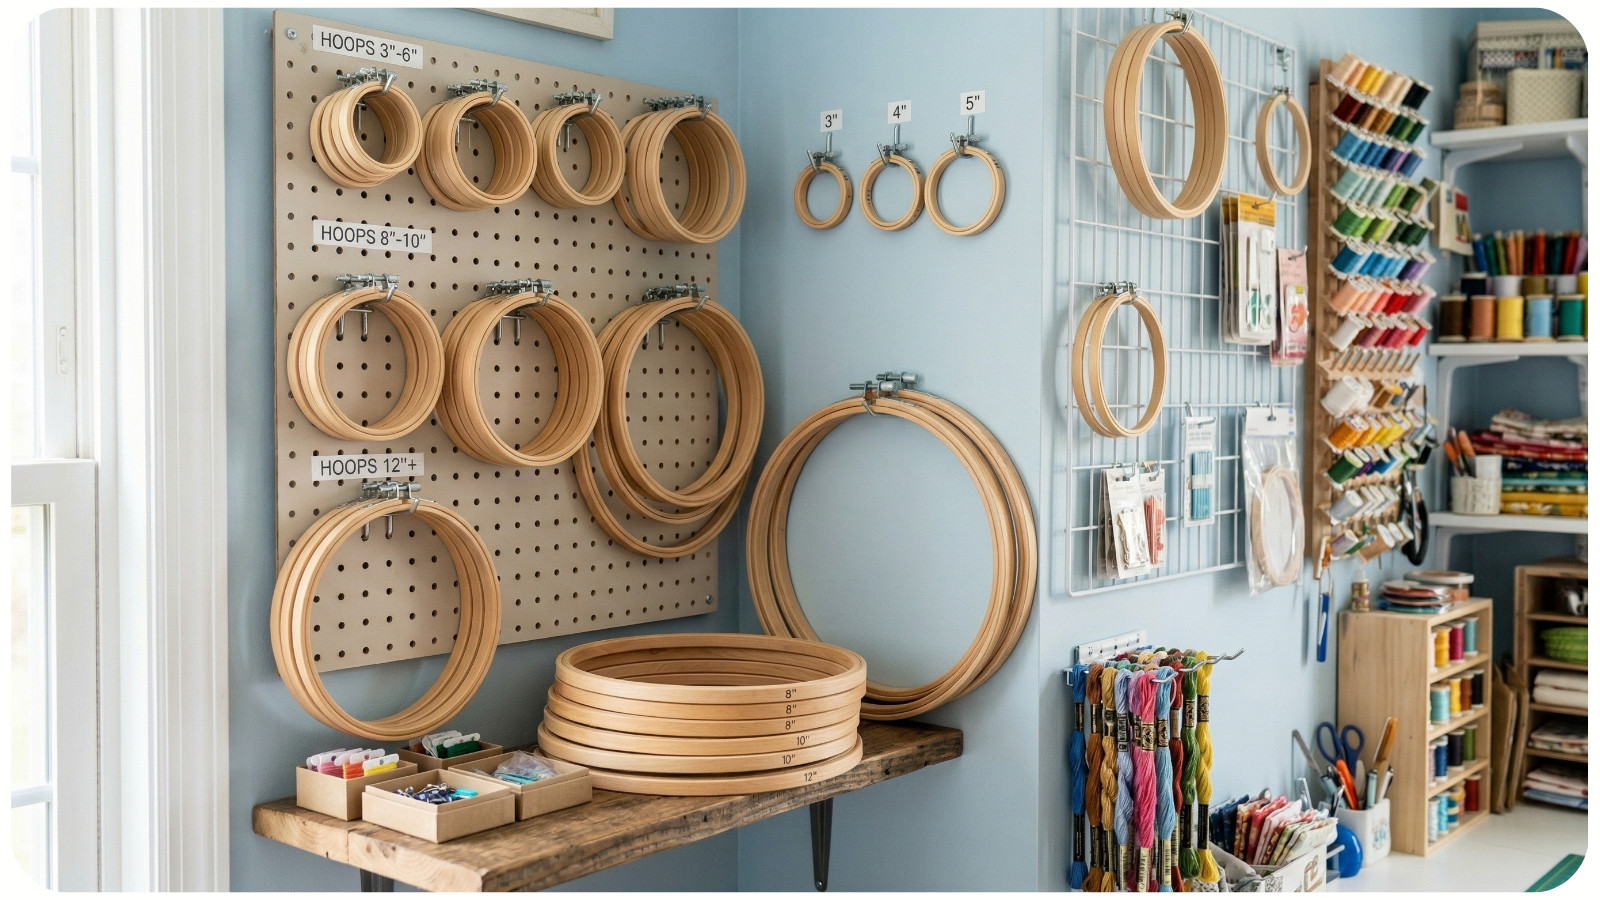
Store hoops vertically whenever possible, like files on a shelf or in a divided container. This prevents heavy stacking, which can strain thinner hoops or dent the tension ring.
If you have display-worthy hoops in different finishes – natural wood, painted, brass-look, or pastel – open shelving can turn them into part of your studio decor while still keeping them accessible.
For hoops used in active stitching, loosen the screw slightly when storing them empty. This relieves pressure on the inner and outer rings.
If fabric is still mounted in the hoop for a work in progress, avoid leaving it under extreme tension for too long, especially with delicate linen or light cotton. Prolonged compression can leave stubborn marks in the fabric and flatten its texture.
A wall-mounted peg rail or hook strip works especially well for hoop storage. It keeps each size visible at a glance, which is useful when choosing the right scale for a floral composition, a monogram, or a textured abstract design.
KEEP NEEDLES SORTED BY TYPE AND SIZE
Needles are tiny, easy to lose, and surprisingly important to organize correctly. Using the wrong needle affects stitch quality, fabric tension, and even how your floss behaves on the surface.
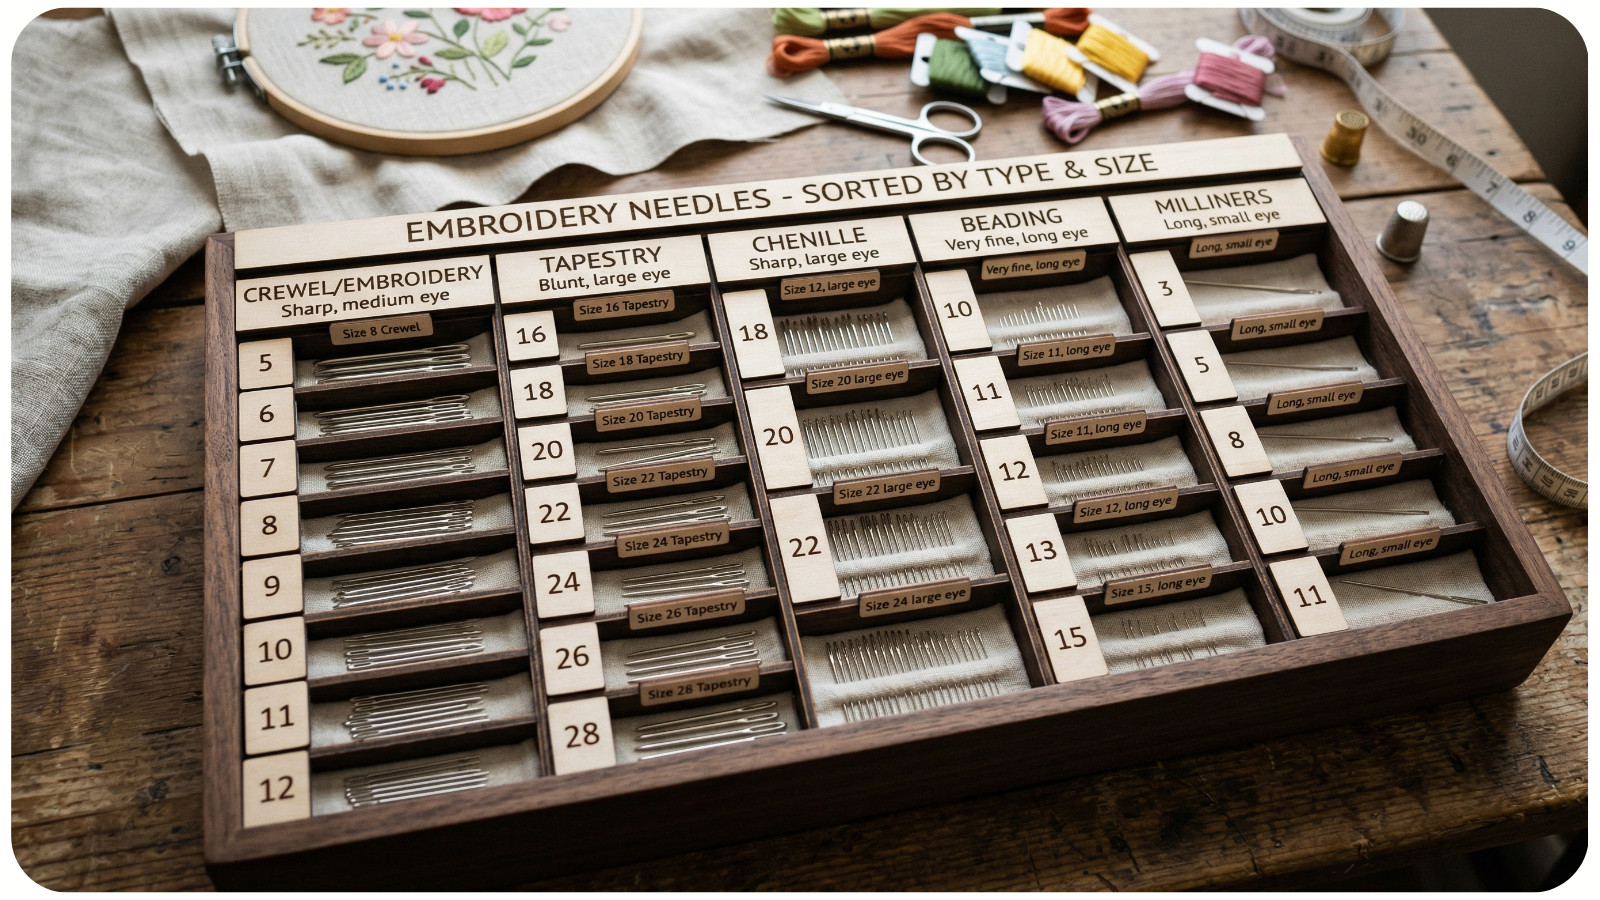
Embroidery needles should be sorted by type first, then by size. Crewel needles, chenille needles, tapestry needles, and milliner needles all have different purposes.
A sharp crewel needle is ideal for most standard surface embroidery. A milliner needle is especially helpful for wrapped stitches and certain knot techniques because of its long shaft and consistent thickness. Tapestry needles, with their blunt tips, are useful when you want to glide through open-weave fabric without piercing threads.
A labeled needle book is one of the most efficient storage options. Wool or felt pages hold needles securely, prevent rust-causing friction, and make size categories easy to label. Magnetic cases are also useful, especially if you like a clean, modern workspace, but they work best when clearly divided so similar needles do not get mixed.
Replace bent or dulled needles quickly. A damaged tip can snag floss, roughen the fabric, and make precise stitch placement harder – especially in detailed areas like padded satin stitch, seed stitch filling, or tightly packed french knots.
ORGANIZE THREADS BY COLOR FAMILY AND PROJECT USE
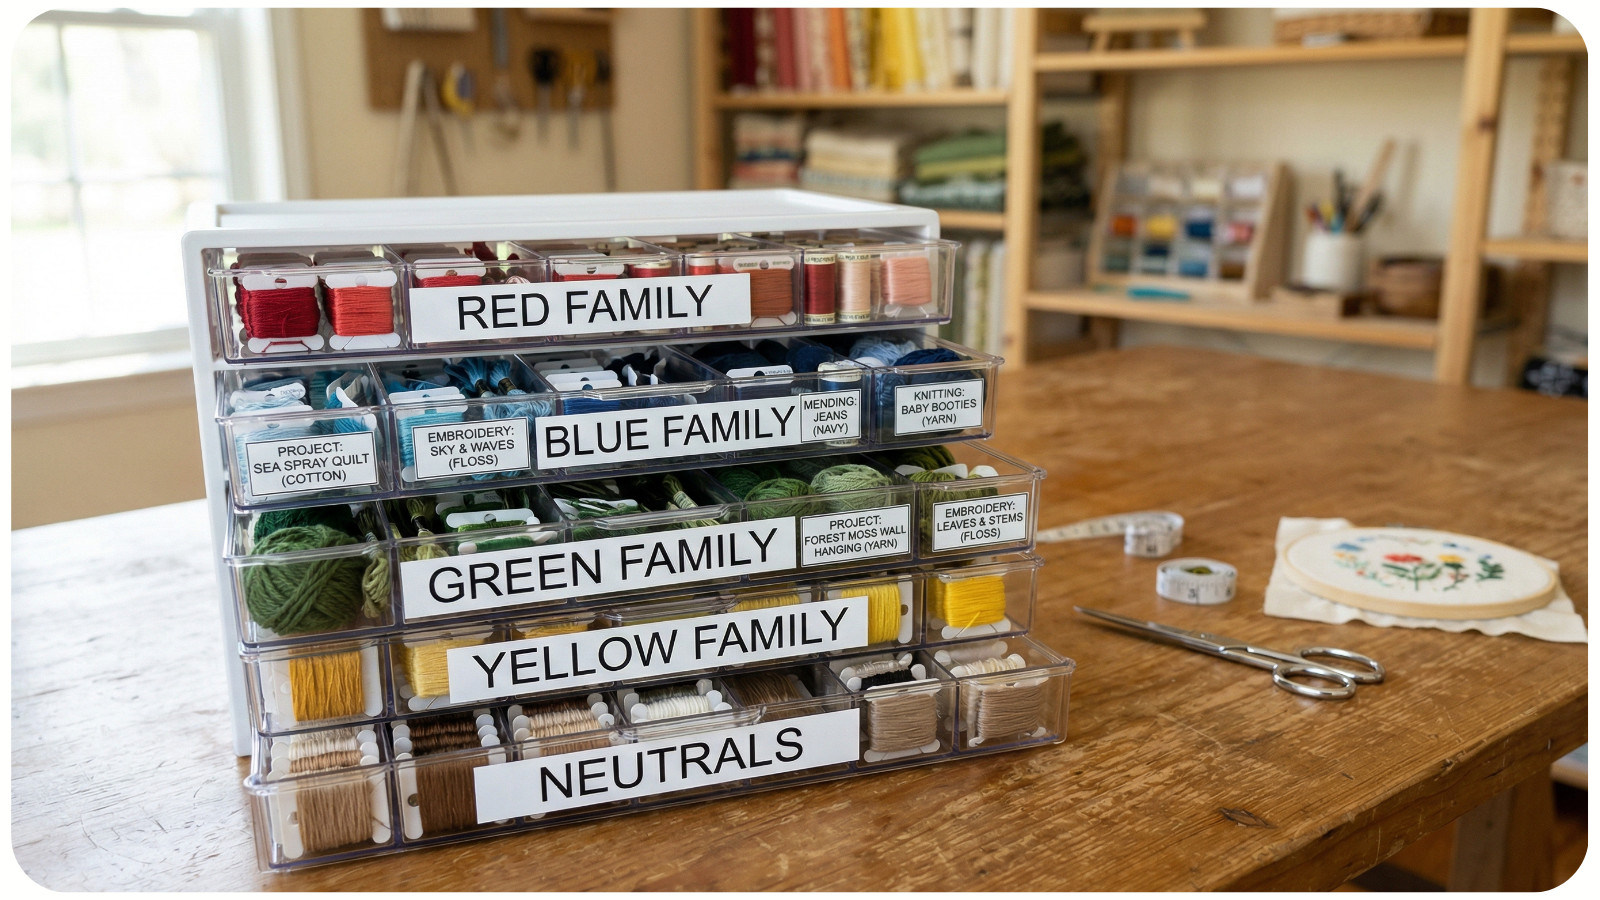
Thread organization is where function and beauty really meet. Floss is practical, yes, but it is also visual inspiration. Seeing your shades arranged well can help you build better palettes and make more confident design choices.
The best system depends on how you stitch. If you work from patterns with specific color lists, storing floss by number is efficient and accurate. If you design your own pieces, sorting by color family often feels more intuitive.
Group warm neutrals together, then pinks, reds, oranges, yellows, greens, blues, purples, and dark accents. You can also create sub-groups by tone: muted, earthy, bright, pastel, or jewel-toned.
Floss drops, bobbins, or clear thread cards all work well, but consistency matters more than the exact method. Bobbins are compact and neat, though repeated winding can crease delicate thread slightly. Floss drops allow the strands to hang more naturally, which many embroiderers prefer for preserving smooth texture and sheen.
If you love modern embroidery, your palette probably matters a lot. Soft terracotta, moss green, dusty lavender, butter yellow, and warm ivory can look stunning together – but only if you can compare them easily.
Store threads where the colors are visible. A drawer with dividers, a hanging ring system, or clear archival boxes makes color auditioning much easier than digging through opaque bags.
CREATE A SYSTEM FOR WORKS IN PROGRESS
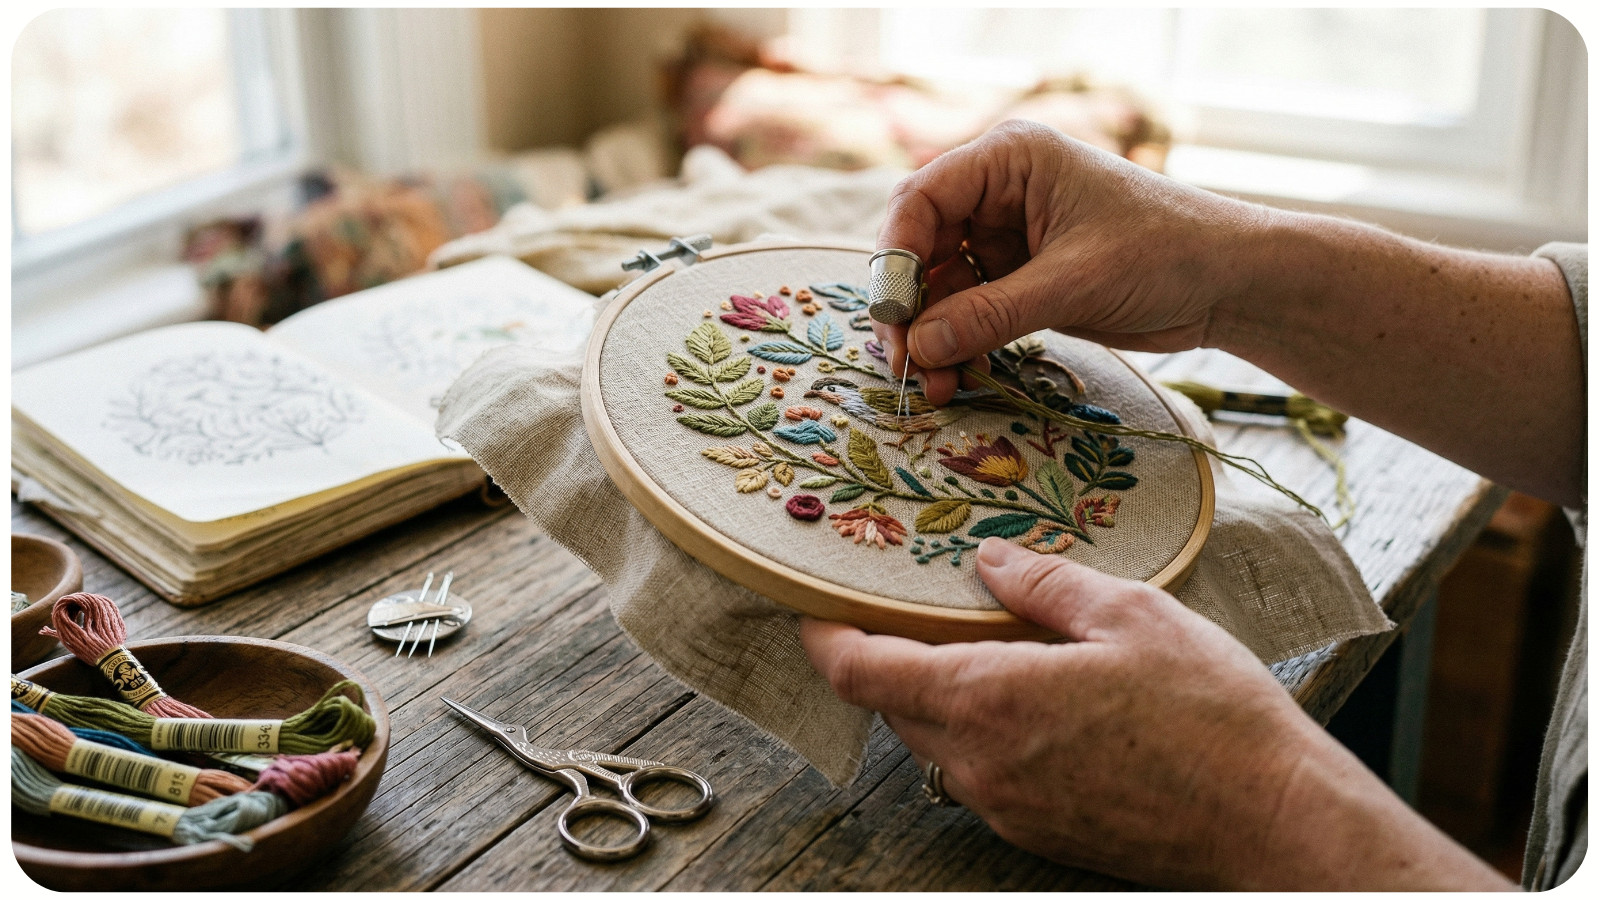
The most chaotic part of embroidery is usually not the supplies – it is the half-finished projects. A hoop with a needle tucked into the edge, a few loose skeins, a reference image on your phone, and scissors wandering around the table: classic.
Each project should have its own contained home. A zip pouch, shallow lidded box, or fabric project bag works well. Inside, keep the hooped fabric, the selected thread palette, the correct needles, and any notes about stitch direction or color substitutions.
This is especially useful for textured embroidery, where stitch order matters. If you are building a design with long-and-short shading, satin stitch leaves, bullion knots, or layered french knots, you do not want to lose track of which needle size or floss blend you were using. A small project card can save time: list fabric type, hoop size, floss shades, and stitch plan.
That way, when you return to the piece days later, you can pick up exactly where you left off without guessing.
MAKE YOUR WORKSPACE BEAUTIFUL ENOUGH TO USE
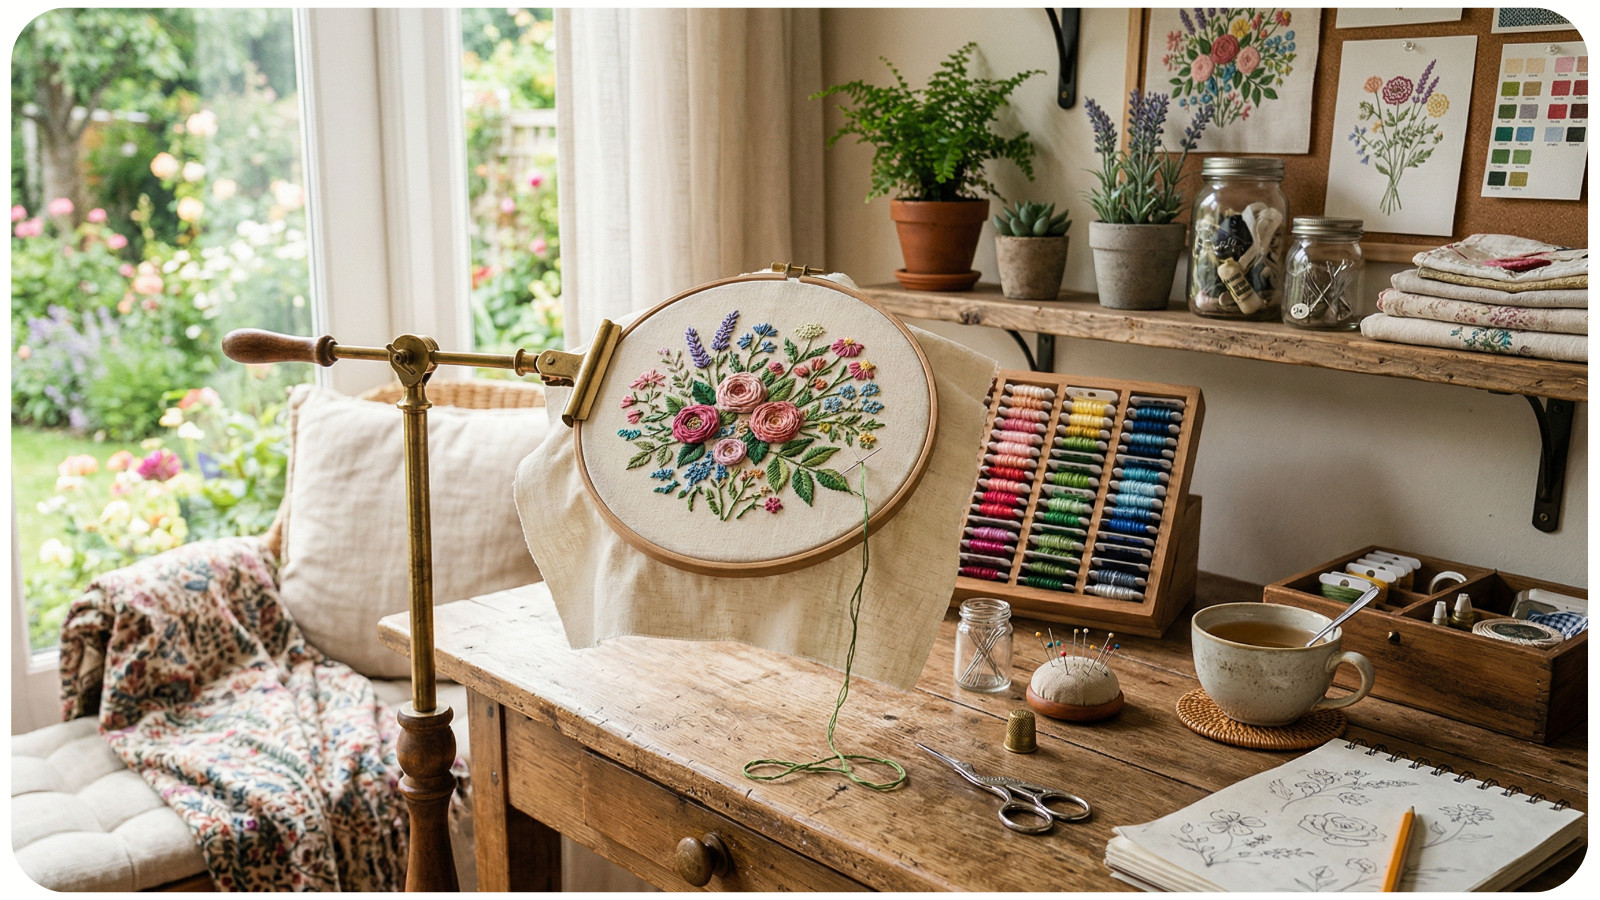
The truth is, the prettiest organization systems are often the ones we maintain best. If your setup feels inviting, you are more likely to put things back where they belong.
Use containers that suit your style: glass jars for trims, linen bins for fabric, wooden drawers for floss, ceramic dishes for daily tools. Keep your most-used items visible, but not overcrowded. Good organization should feel airy, not busy.
Lighting matters too. A clean workspace with soft natural light or a focused task lamp helps you judge thread color accurately and notice stitch texture more clearly. This is especially important when working with subtle tonal shifts or raised stitches that depend on direction and surface shine.
An organized embroidery space should support the way your hands move. Reaching for a needle should feel effortless. Comparing two shades of blue should take seconds. Choosing the right hoop should not interrupt your momentum.
PROTECT QUALITY WHILE SUPPORTING CREATIVITY
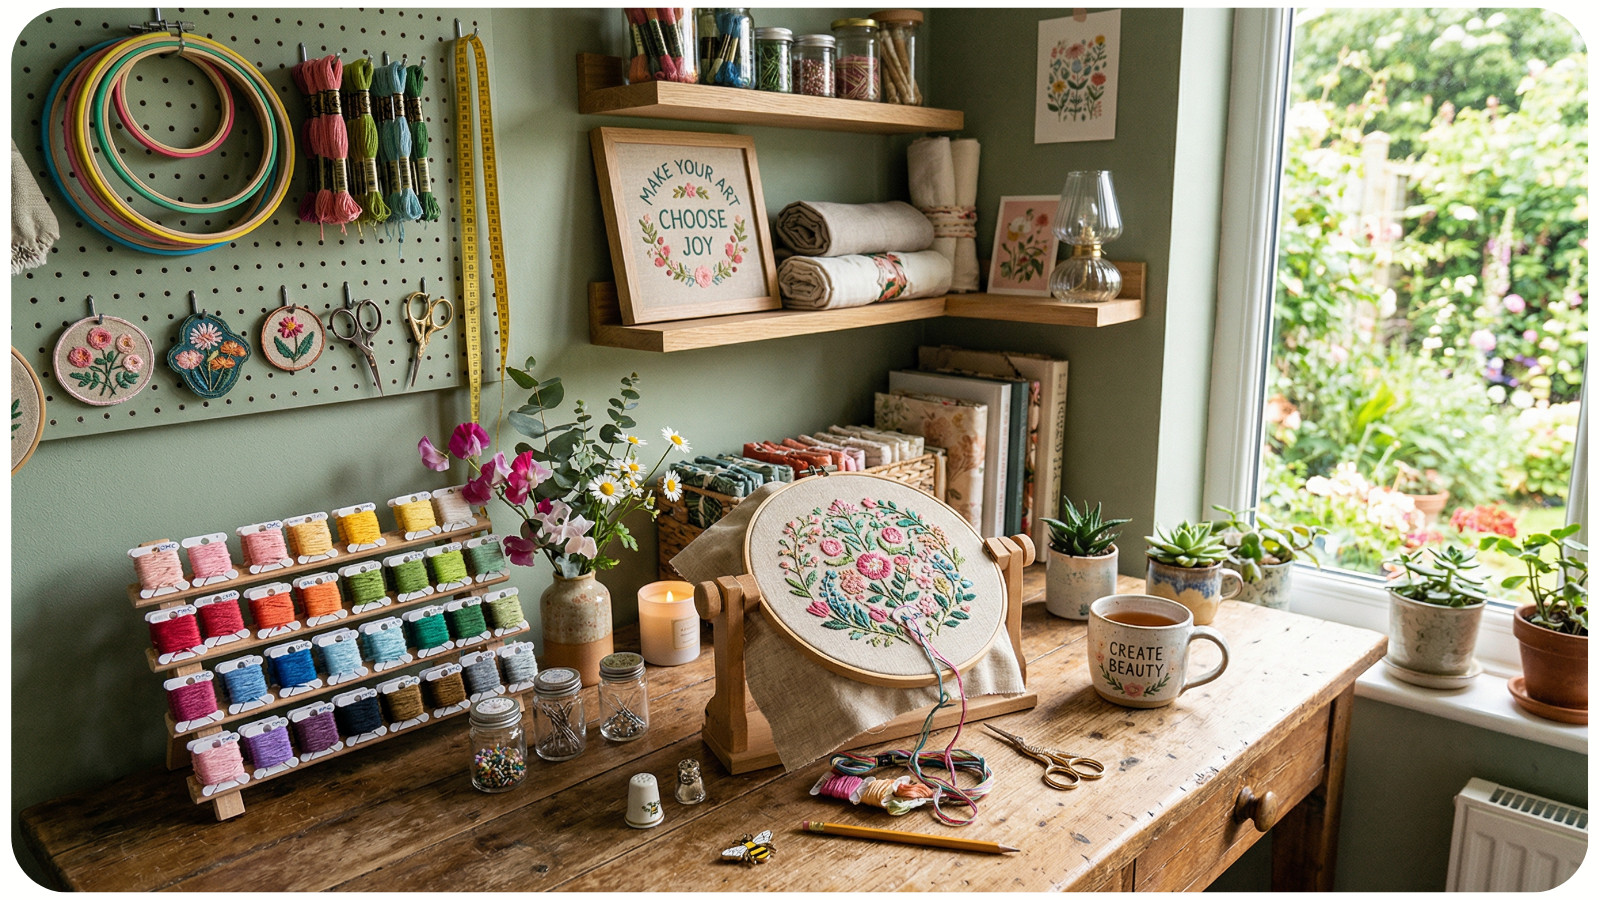
Organization is not about making your supplies look perfect for a photo. It is about protecting the tools that support your craft. Smooth floss, sharp needles, round hoops, and orderly project kits all make better stitching possible.
And that matters, because modern embroidery is full of freedom. You may be mixing sculptural knots with flat satin stitch, blending unexpected colors, or turning a simple hoop into wall art or clothing detail. The more organized your materials are, the more room you have for creative decisions.
When your studio feels clear, your mind usually does too.
Pro Tip: Create a “current stitching station” separate from your main stash. Keep only your in-progress hoop, matching threads, two or three needles, scissors, and a needle minder in this space. It reduces visual clutter, helps prevent lost tools, and makes it much easier to settle into a focused, enjoyable stitching rhythm.
In the end, embroidery organization should work for your hands, your habits, and your creative style. Keep it functional, keep it beautiful, and let your setup make stitching feel even more satisfying.