


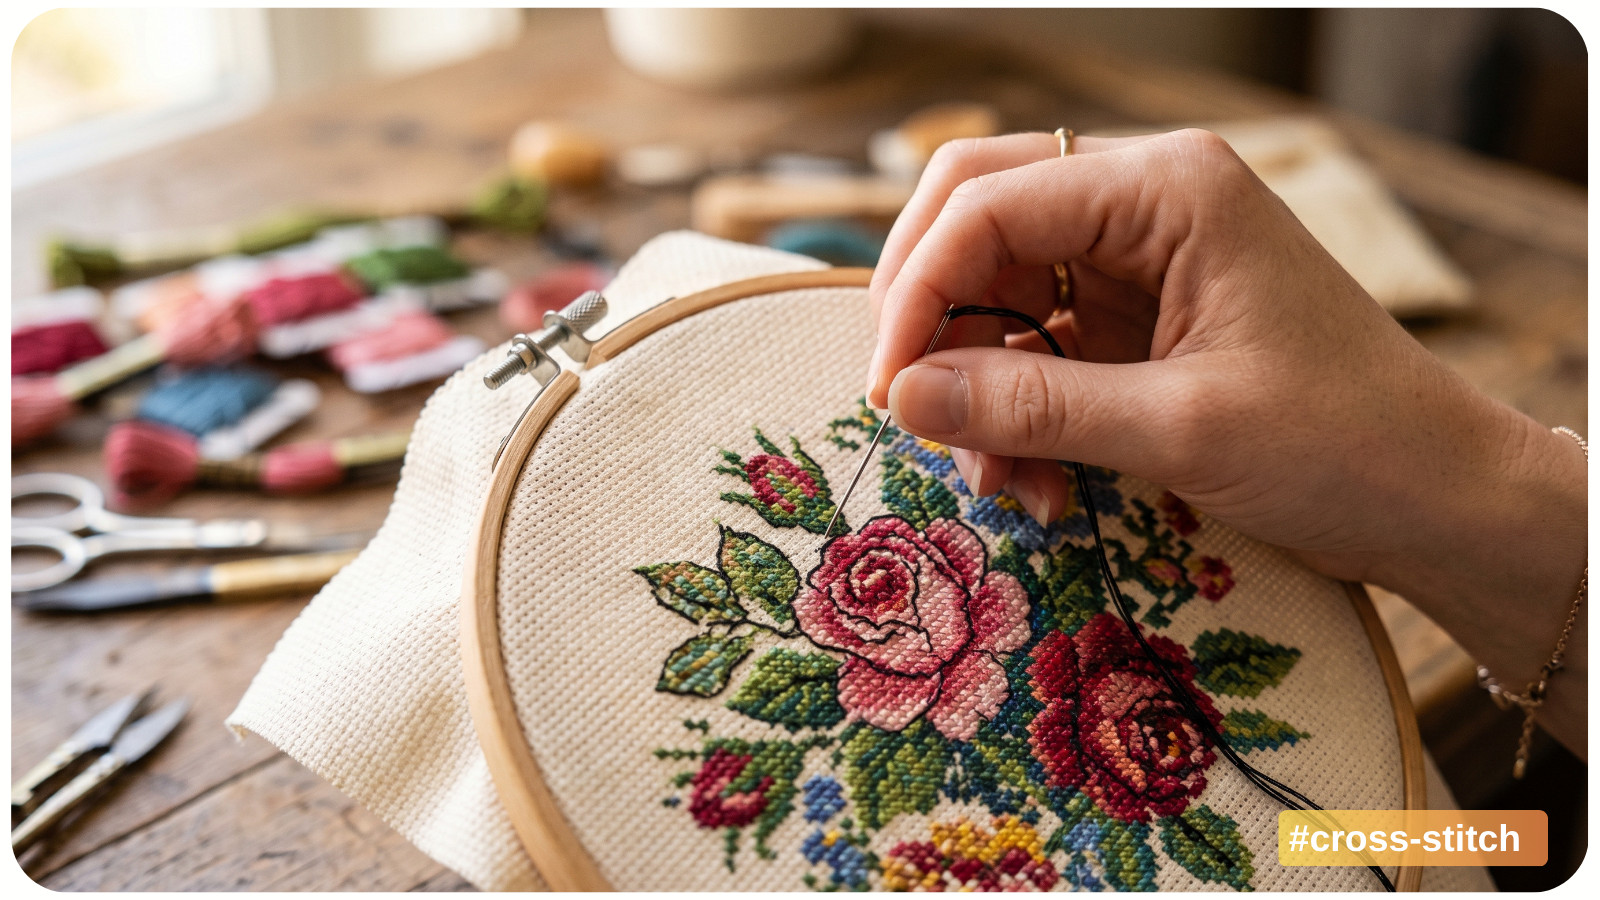
Backstitch is often the moment when a cross stitch design truly comes to life. Before backstitching, a project may look soft, blended, or slightly unfinished. After backstitching, faces gain expression, flowers gain structure, lettering becomes readable, and tiny details suddenly make sense.
Technically, backstitch is a straight stitch worked after the main cross stitches are complete. It is most often used for outlines, facial features, borders, lettering, whiskers, stems, architectural lines, and fine decorative details.
Many stitchers think of backstitch as “just outlining,” but expert stitchers know it is much more than that. Good backstitch controls visual clarity. It guides the eye, separates colors, adds definition, and creates the crisp finish that makes a stitched piece look intentional rather than flat.
Whether you are working on a beginner-friendly pattern or a highly detailed design from Awesome Pattern Studio, learning to backstitch cleanly will improve the final result dramatically.
MATERIALS NEEDED
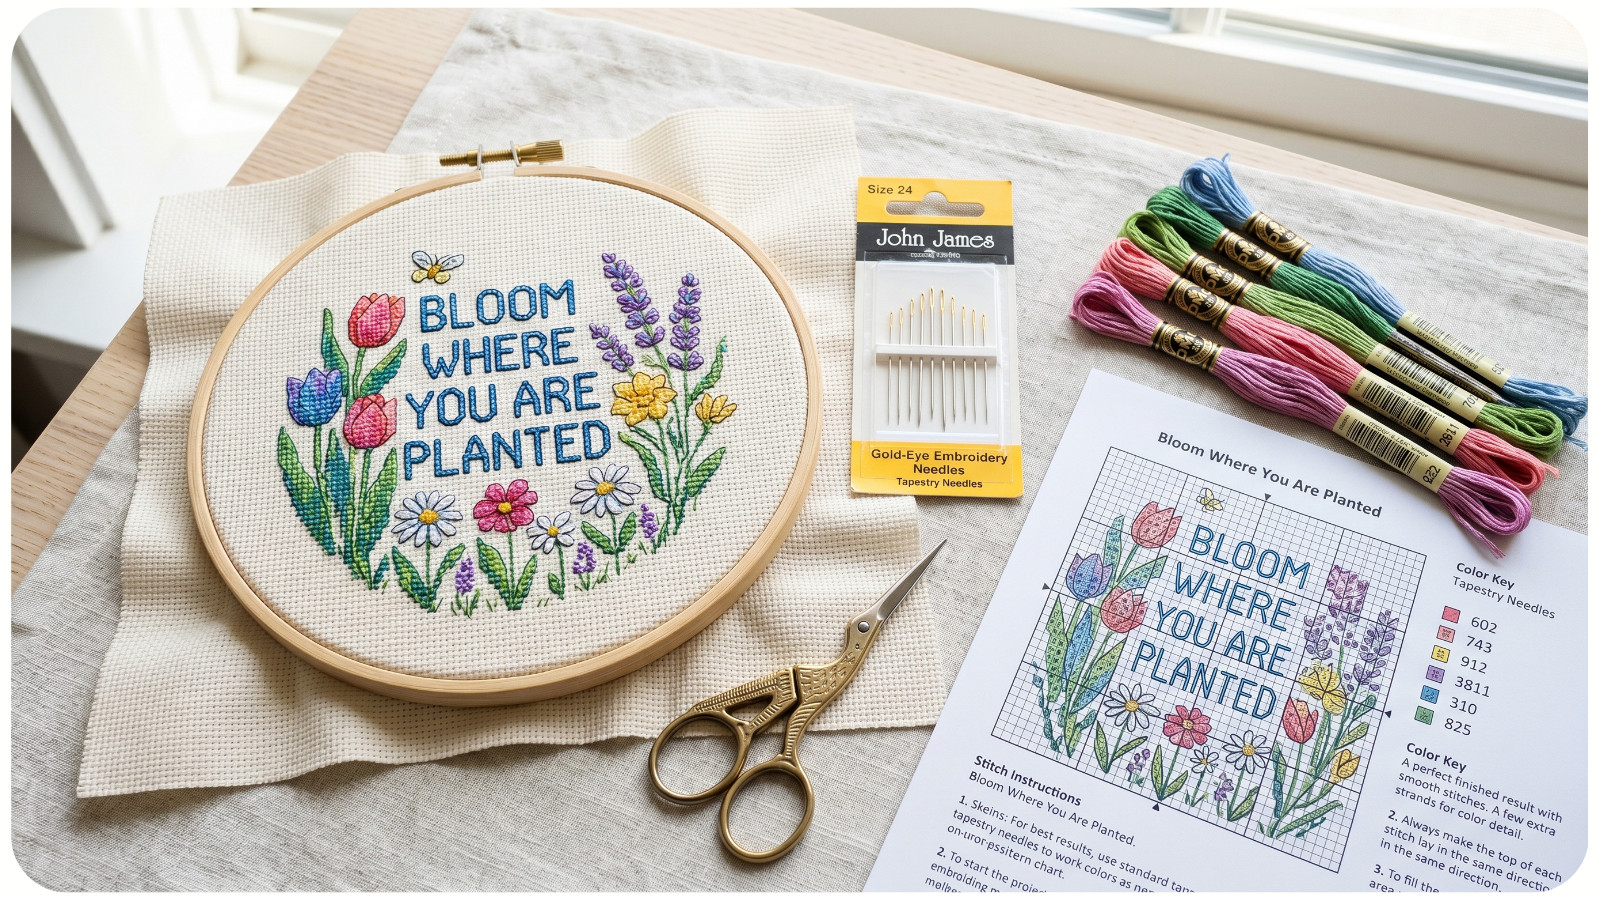
Before starting, prepare the following:
- Finished cross stitch piece on Aida or evenweave fabric;
- Embroidery needle or tapestry needle;
- Floss in the charted backstitch color;
- Sharp scissors;
- Pattern chart with backstitch symbols clearly visible;
- Good lighting;
- Needle minder, if desired;
- Hoop, frame, or Q-snap to keep fabric tension even.
For most cross stitch projects, backstitch is worked with one strand or two strands of floss. Always check the pattern key. One strand creates fine, delicate detail. Two strands create a bolder, more graphic outline.
STEP-BY-STEP GUIDE: HOW TO BACKSTITCH LIKE A PRO
UNDERSTAND WHAT BACKSTITCH DOES
Backstitch is used to create continuous lines across your stitched fabric. Unlike cross stitches, which fill square blocks, backstitch creates direction, contour, and definition.
It can be worked horizontally, vertically, diagonally, or across partial spaces depending on the design. On Aida, backstitch usually travels from hole to hole, but in more advanced designs, it may split a square or travel over multiple squares for smoother shaping.
Backstitch matters because cross stitch is built from small X-shaped units. Without linework, curves and fine features can look blocky. Backstitch corrects that by adding crisp edges and precise visual cues.
CHOOSE THE CORRECT NUMBER OF FLOSS STRANDS
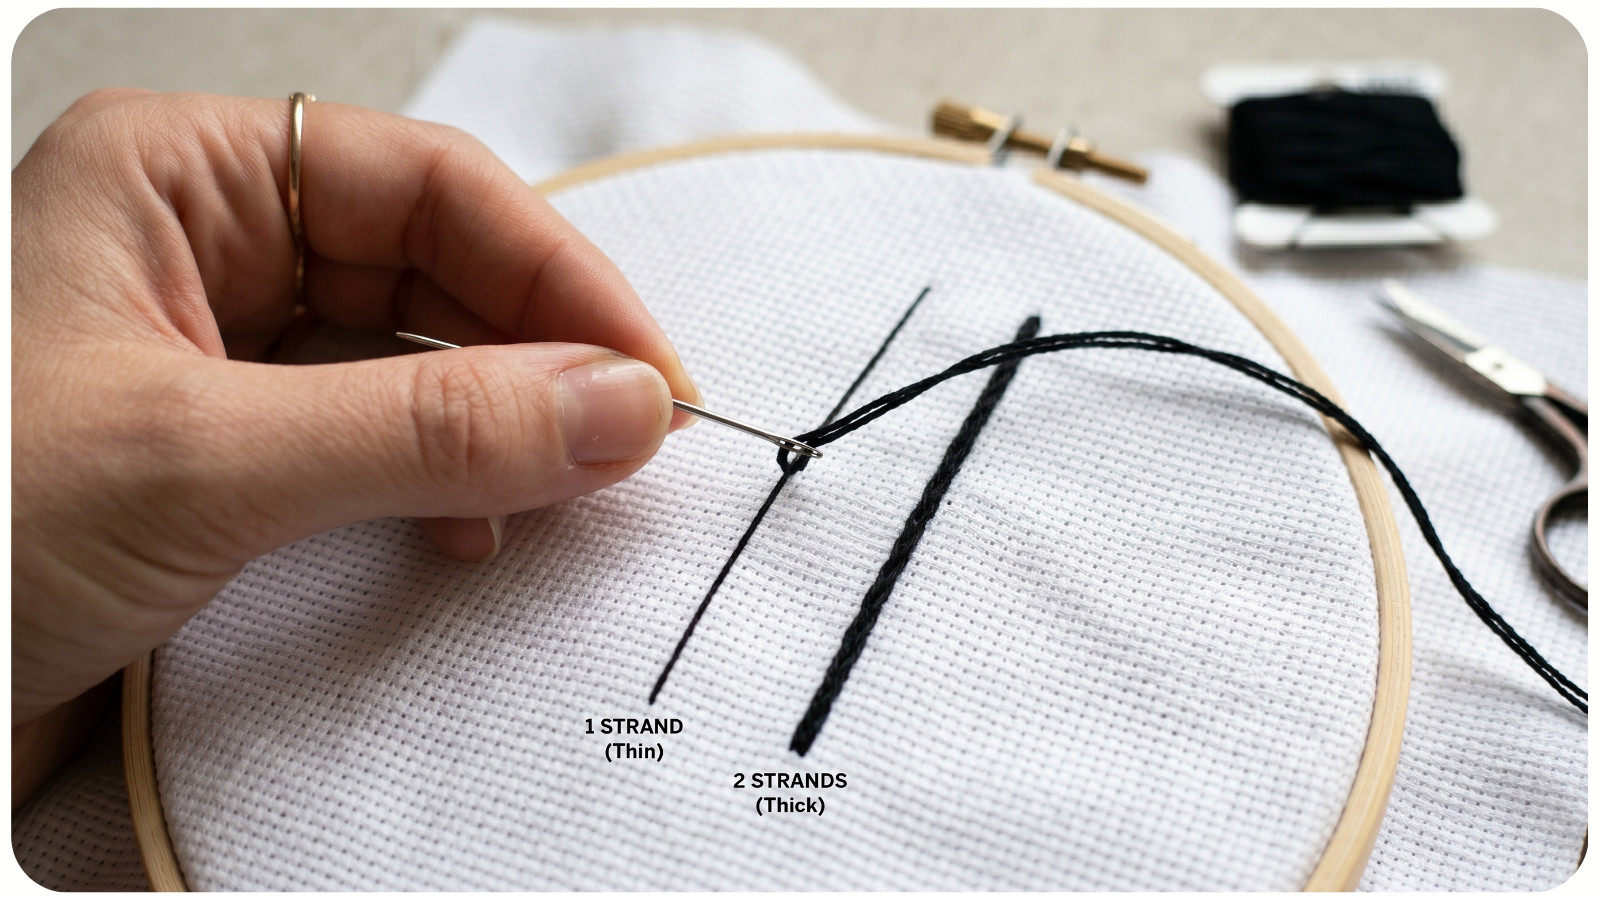
The number of floss strands affects both strength and subtlety.
One Strand. Use one strand for:
- Facial features;
- Fine lettering;
- Whiskers;
- Thin stems;
- Delicate shadows;
- Small decorative details.
One strand gives a refined look and prevents tiny areas from becoming bulky.
Two Strands. Use two strands for:
- Strong outlines;
- Borders;
- Cartoon-style designs;
- Bold lettering;
- Decorative frames;
- High-contrast details.
Two strands are easier to see, but they can overpower small designs if used everywhere. For professional results, follow the chart instructions instead of automatically using the same number of strands throughout the whole project.
START WITH A SECURE THREAD
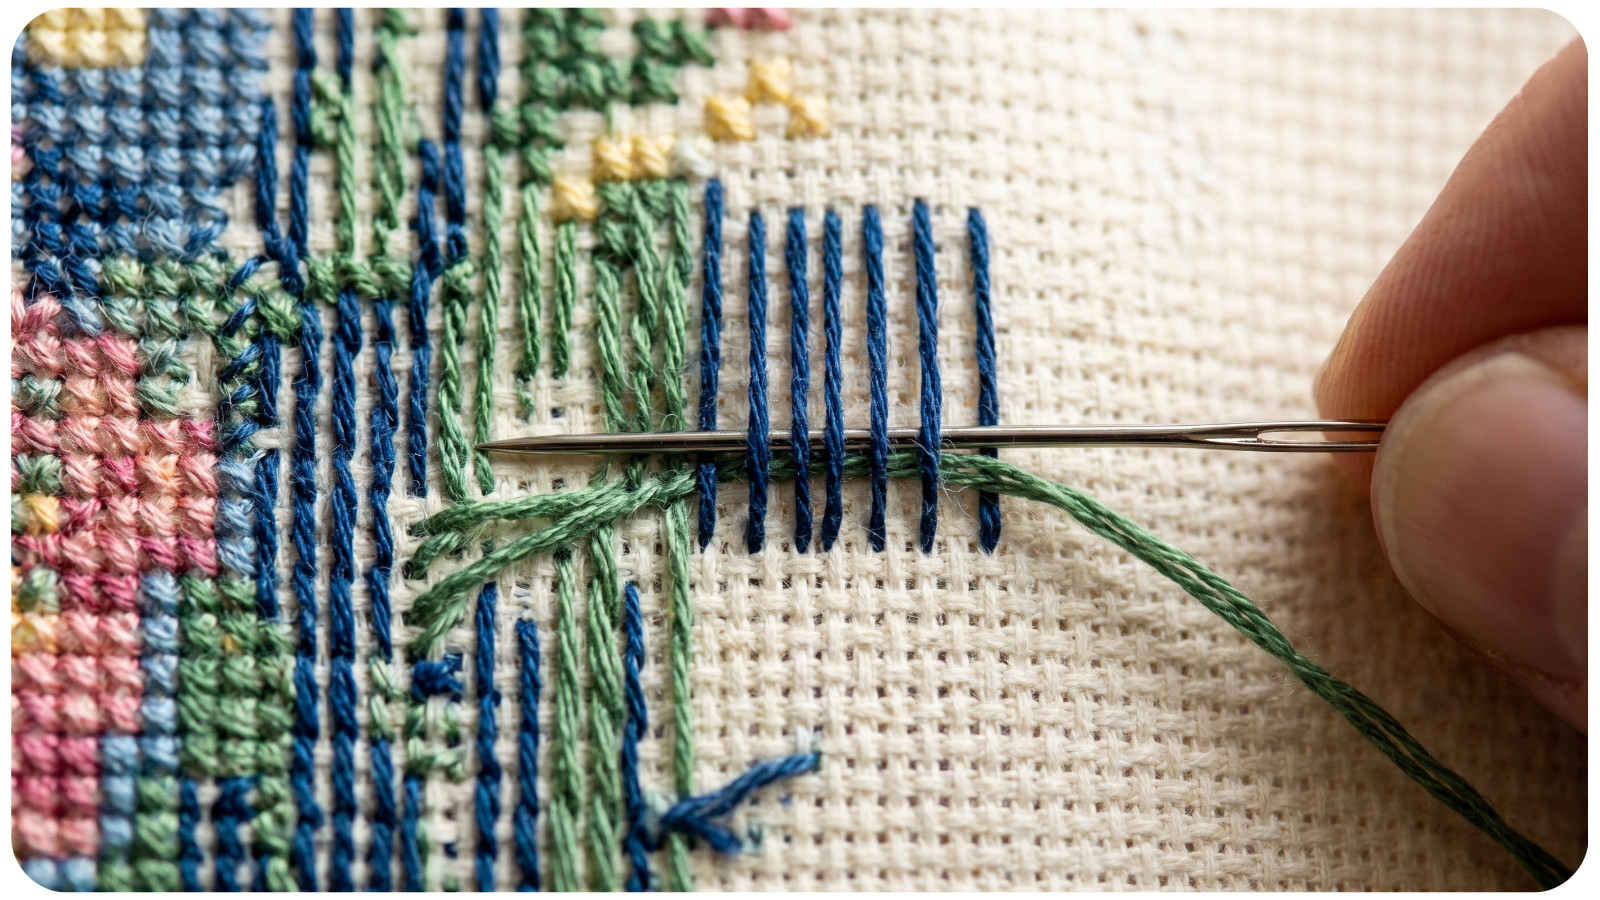
A clean start matters. Backstitch lines are often visible and delicate, so bulky knots can show through the front of the fabric or create lumps.
Avoid knots whenever possible. Instead, secure your floss under existing stitches on the back of the work. Slide the needle under several nearby cross stitches, then bring the needle up at your starting point. This keeps the back tidy and prevents visible bumps. It also helps maintain even fabric tension.
For very light-colored Aida or pale floss, be careful not to drag dark thread across open fabric areas on the back. Long dark carries can shadow through the fabric.
WORK THE BASIC BACKSTITCH
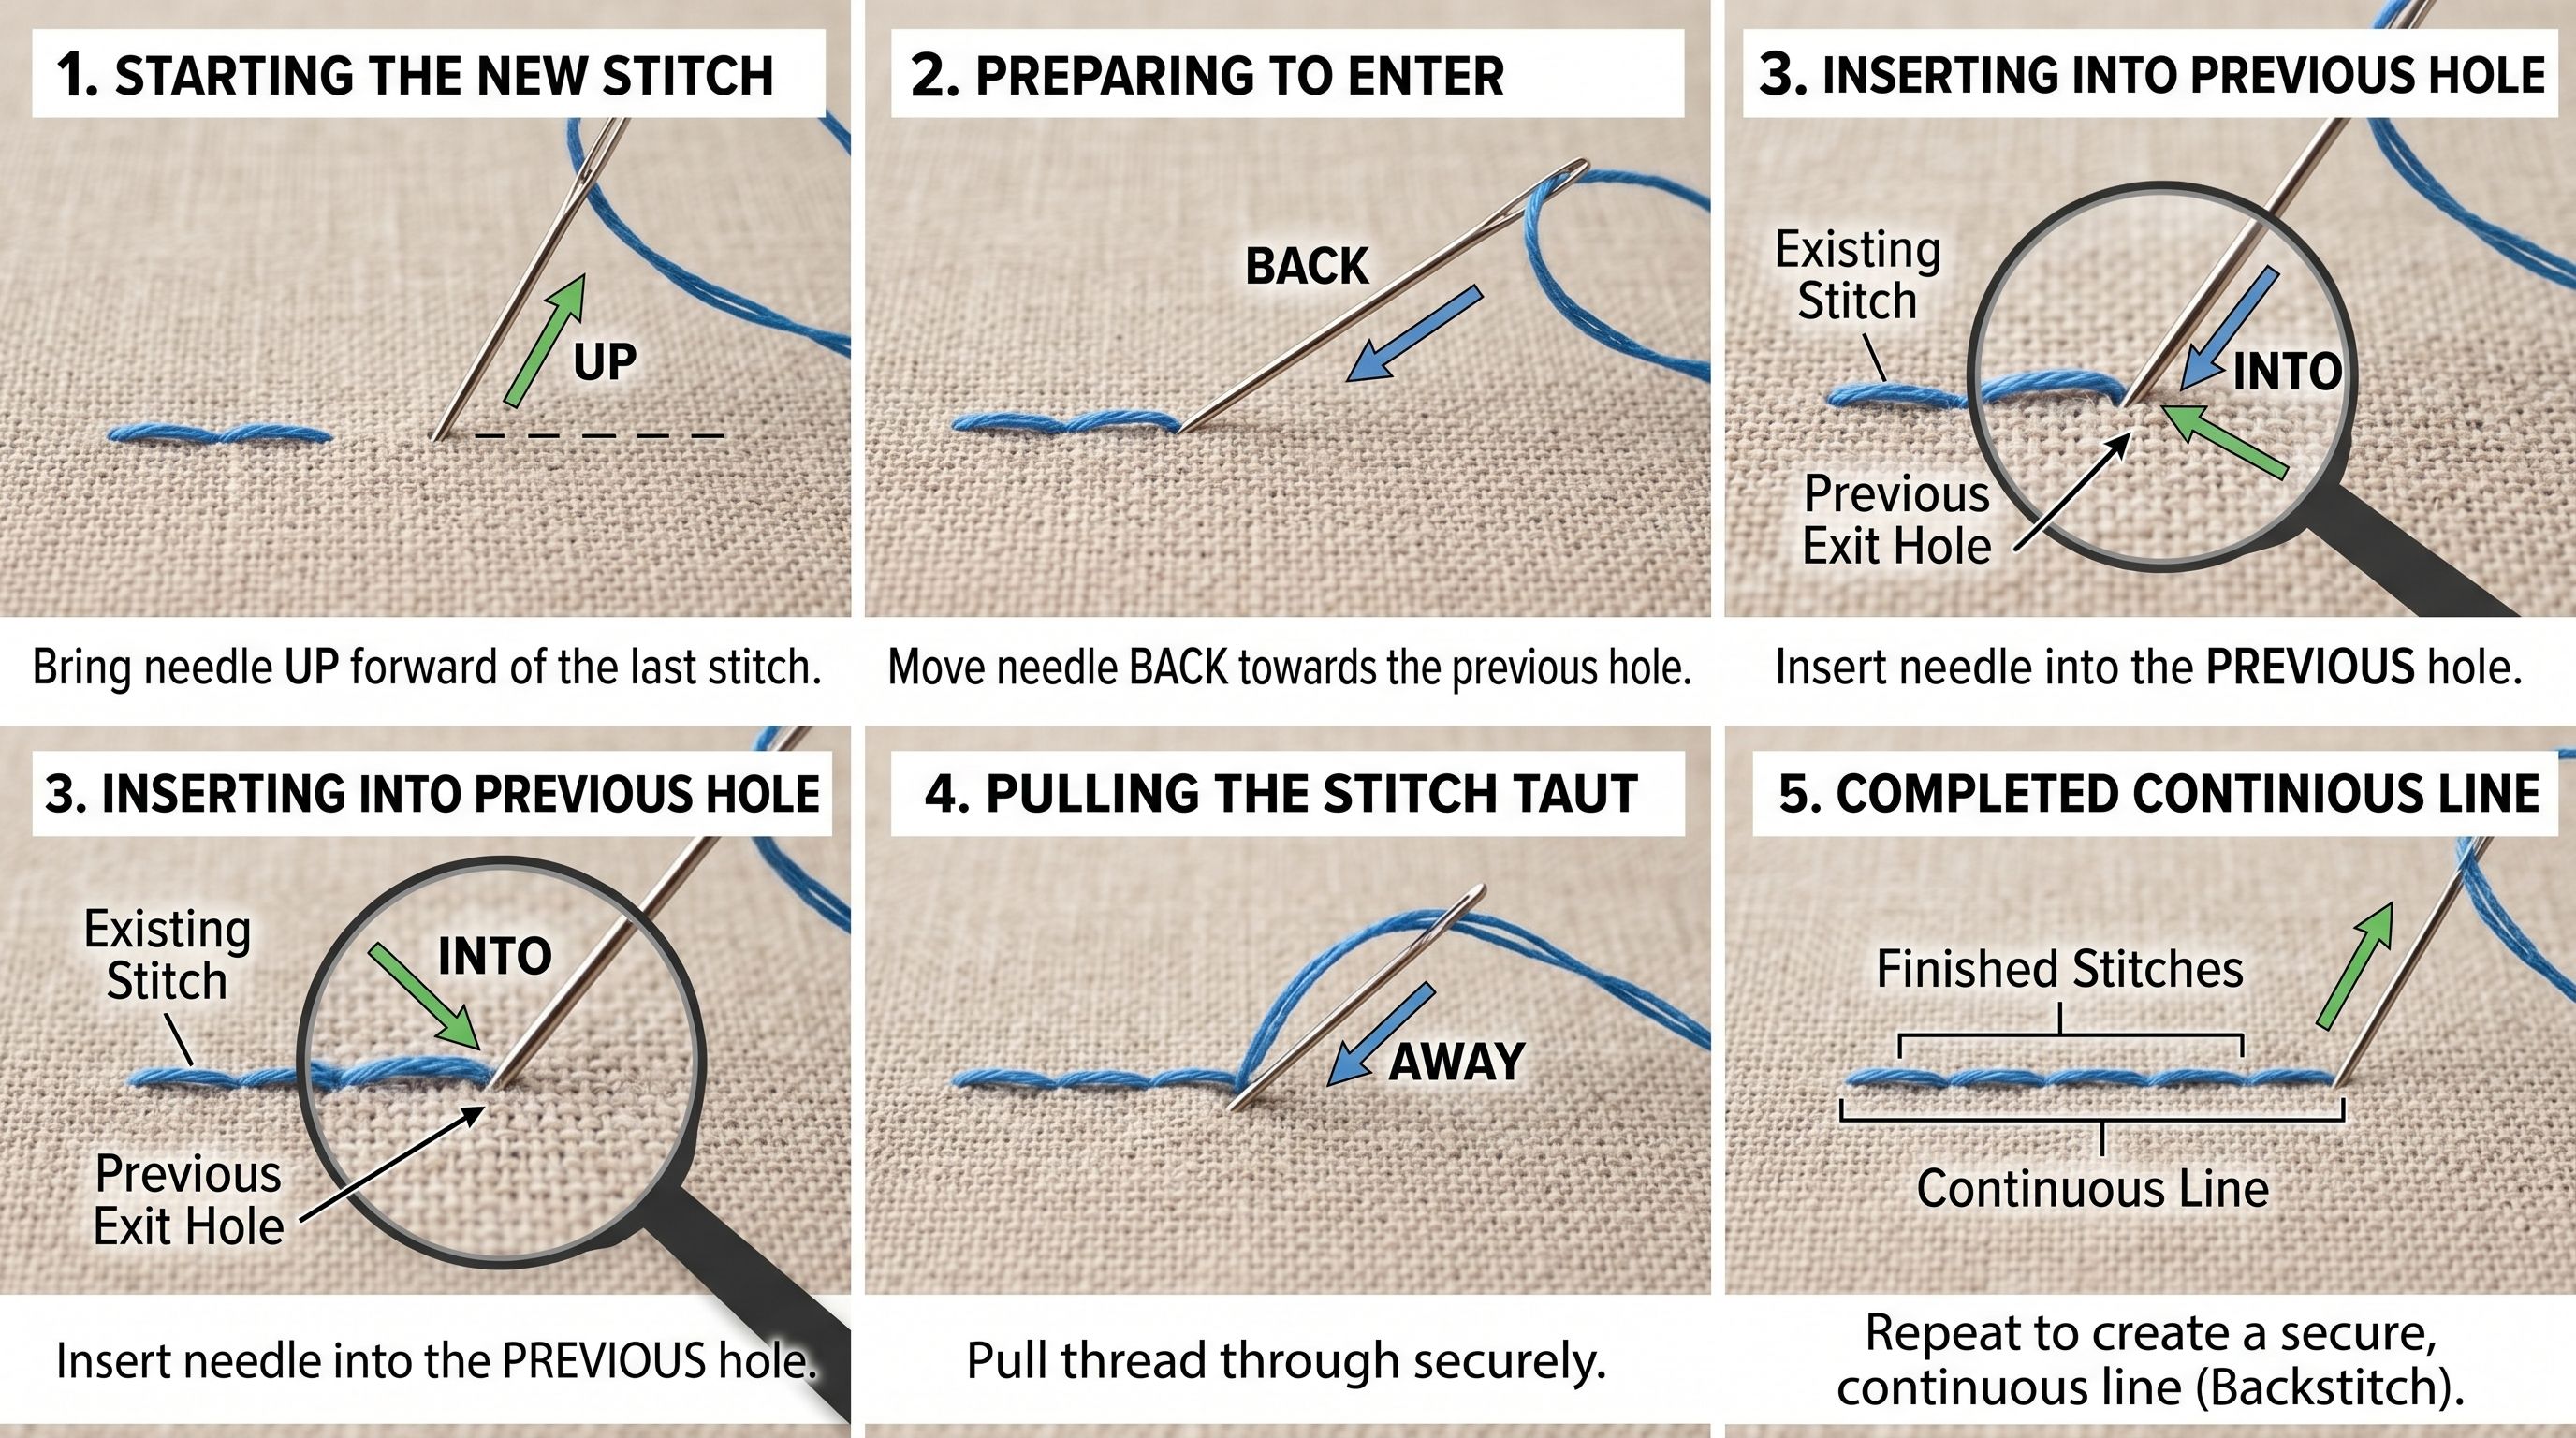
To make a standard backstitch:
1. Bring your needle up at the starting hole.
2. Move forward one stitch length and take the needle down.
3. Bring the needle up one stitch length ahead.
4. Insert the needle back into the previous ending hole.
5. Repeat, always stitching backward into the last hole.
This creates a continuous line with no gaps on the front of the fabric. The key is consistency. Each stitch should sit smoothly on the fabric without pulling too tightly or sagging loosely.
KEEP YOUR TENSION EVEN
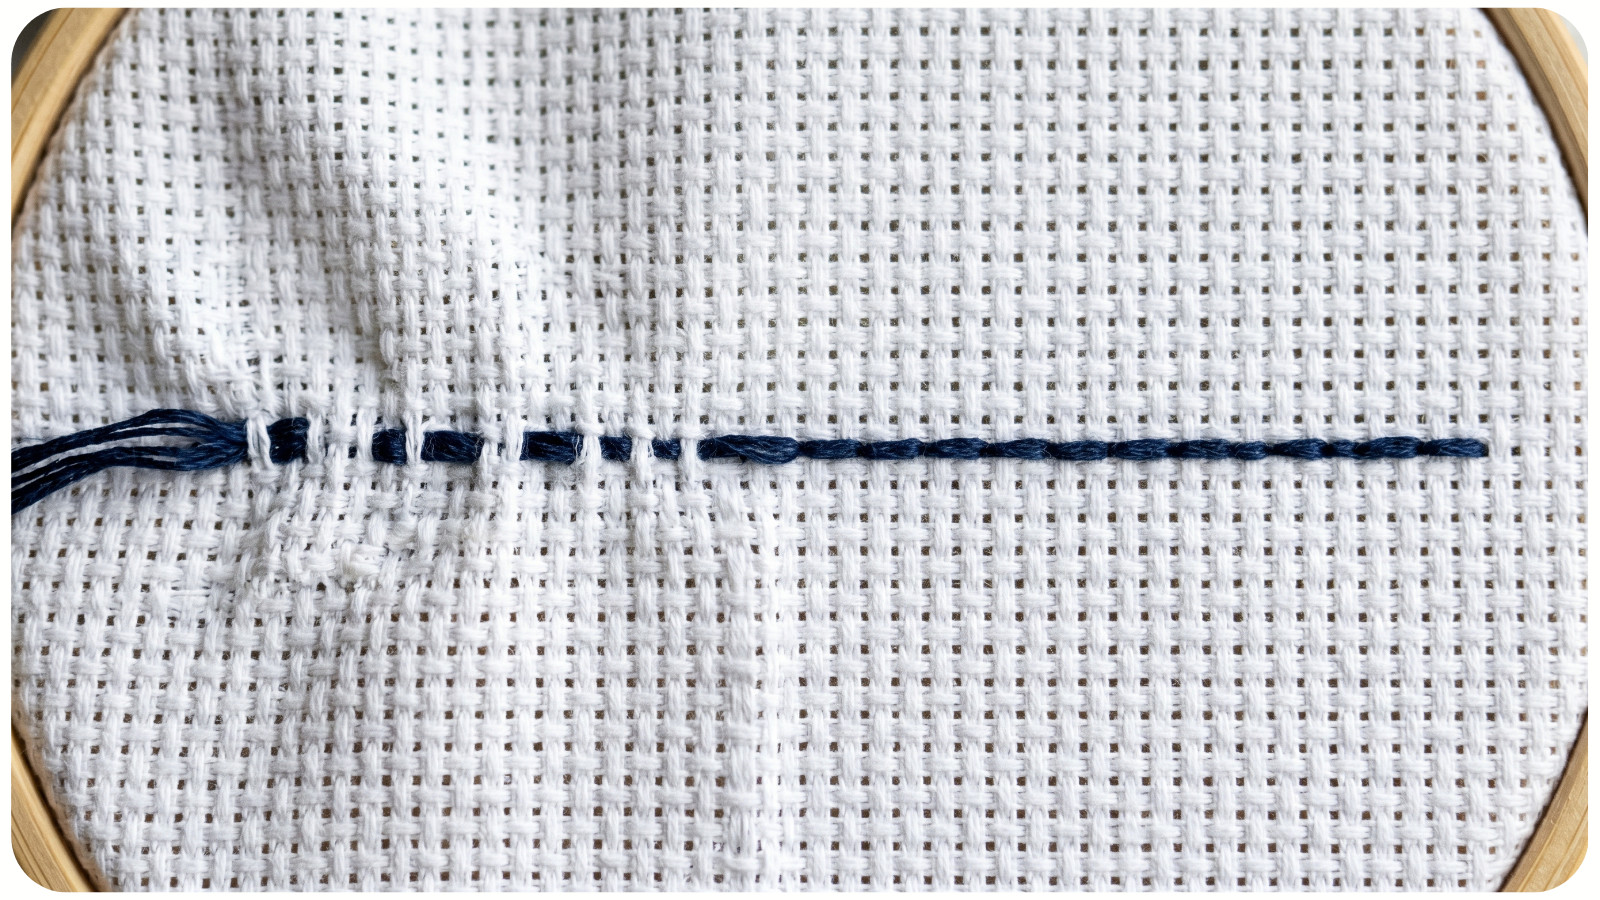
Tension is one of the biggest differences between beginner and expert backstitch. If your tension is too tight, the backstitch line can pucker the fabric or sink into the cross stitches. If it is too loose, the line may look wavy or uneven.
Aim for a stitch that rests on top of the fabric naturally. The thread should lie flat, but the fabric should not distort.
A hoop, frame, or Q-snap helps keep the fabric stable. Even tension is especially important when backstitching long straight lines, borders, lettering, or geometric details.
FOLLOW THE CHART CAREFULLY
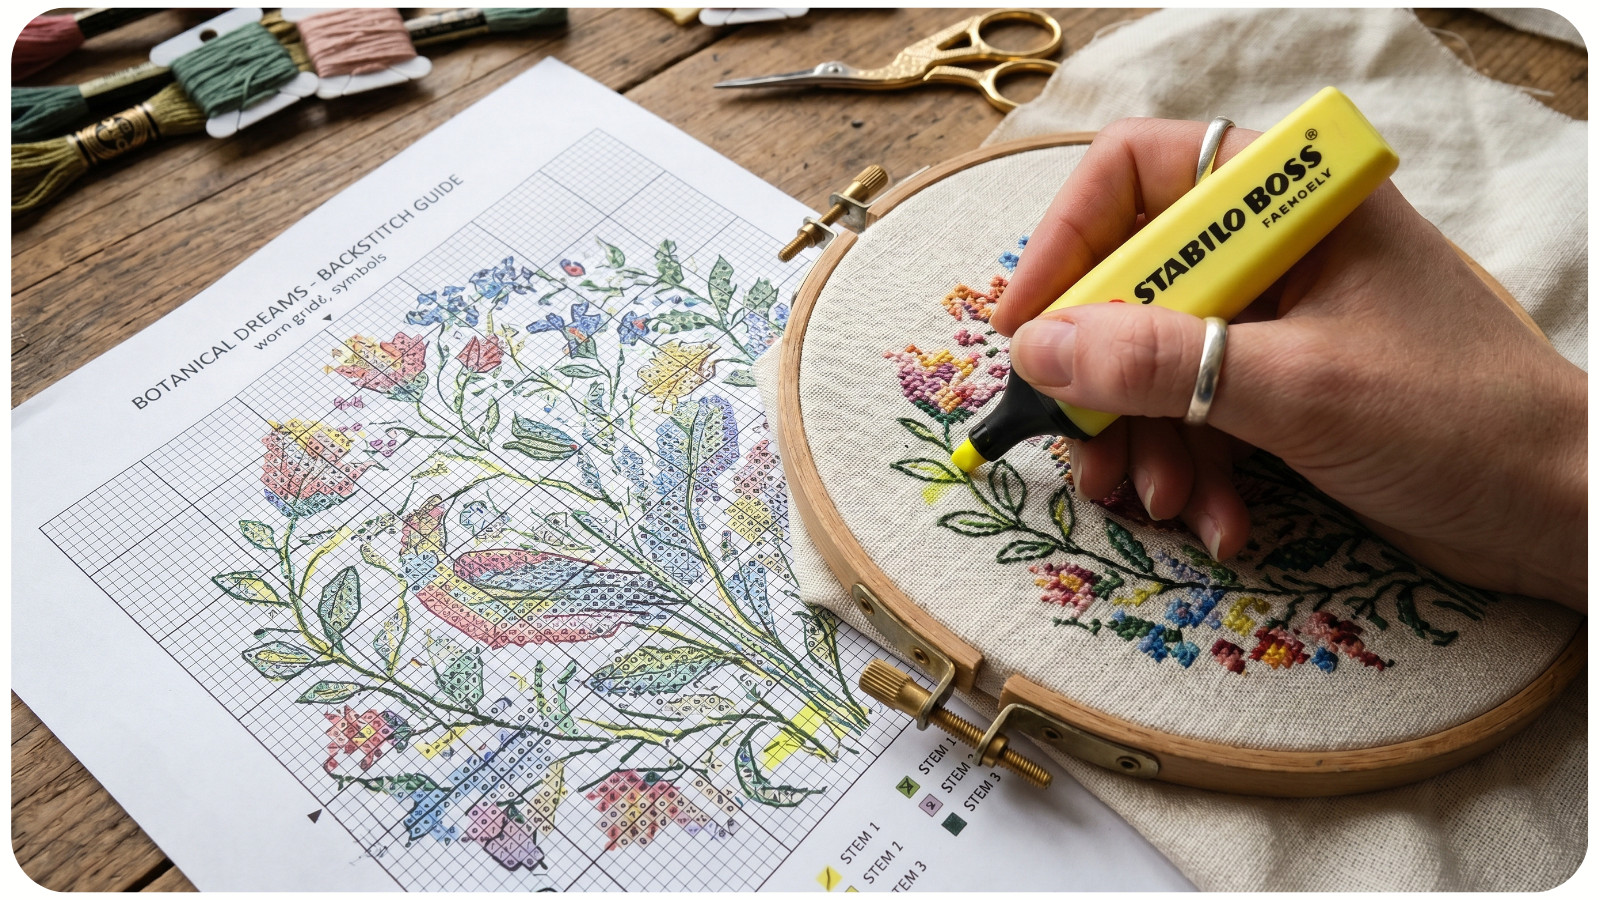
Backstitch lines on a chart may run along grid lines, across squares, or through the middle of stitches. Do not assume every line follows the exact same path.
Look closely at where each line starts and ends. In complex patterns, backstitch often defines tiny details such as eyes, fingers, leaf veins, fur, or folds in clothing.
For designs from Awesome Pattern Studio, the backstitch is often placed to enhance the artwork’s final clarity. Treat those lines as part of the design, not as an optional afterthought.
It can help to mark completed backstitch sections on a working copy of the chart, especially if the design has multiple colors of backstitch.
USE SHORTER STITCHES FOR CURVES
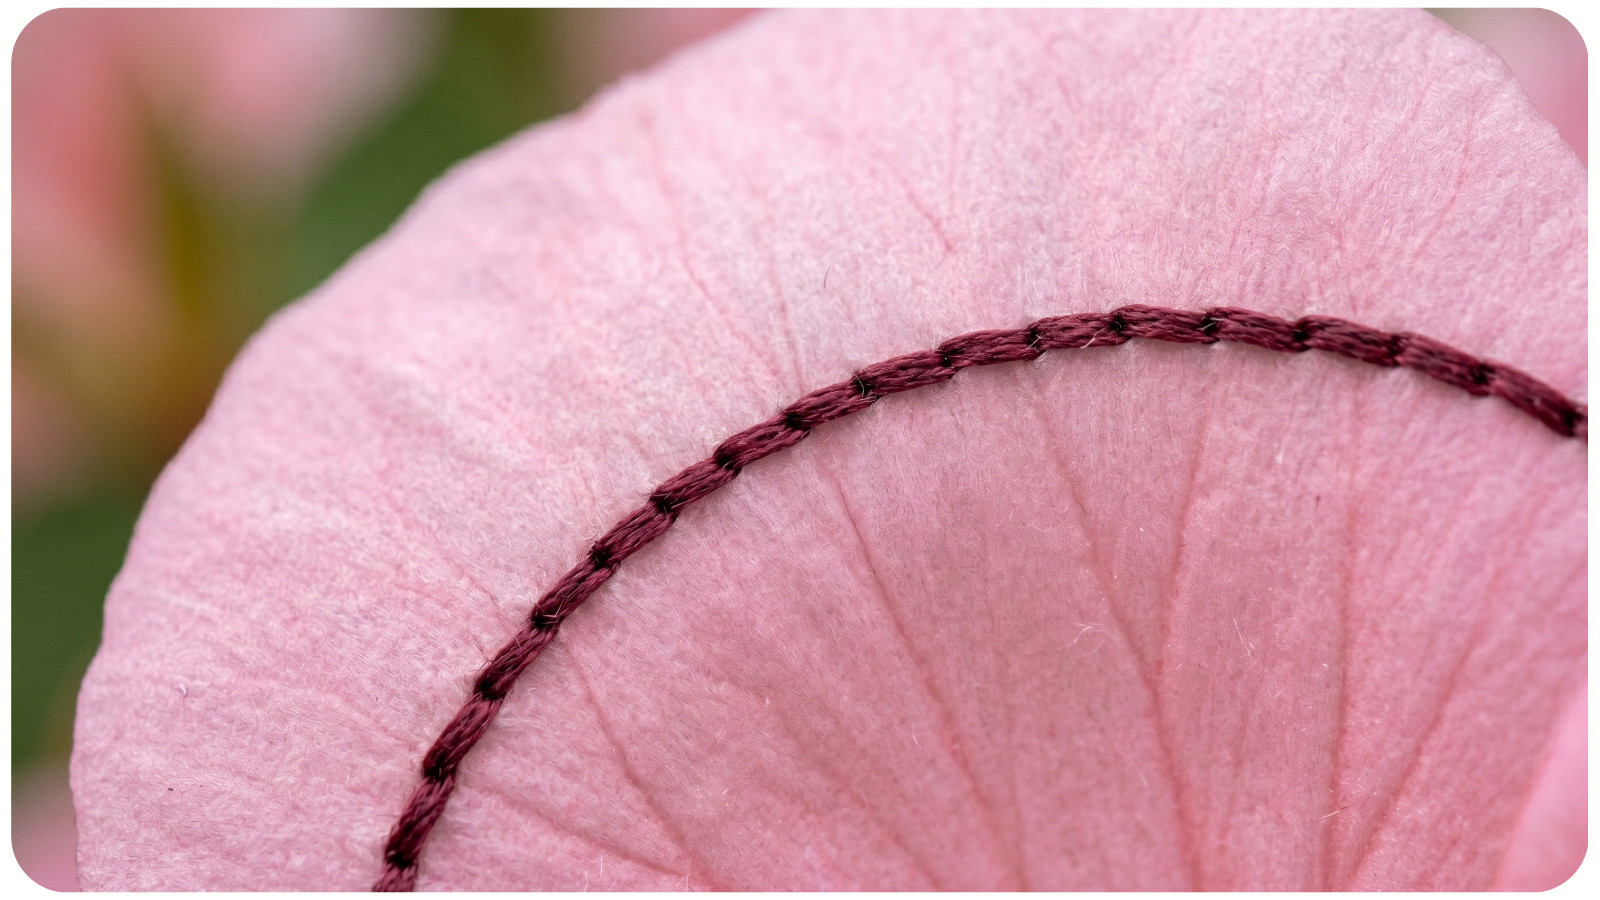
A common mistake is using long backstitches over curved areas. Long straight stitches can make curves look angular or awkward.
For smoother curves, use shorter stitch lengths. Follow the curve in small segments instead of trying to cover too much distance at once.
This is especially useful for:
- Faces;
- Animals;
- Florals;
- Script lettering;
- Round ornaments;
- Clouds;
- Clothing folds.
Short stitches give you more control and make the curve appear more natural.
USE LONGER STITCHES CAREFULLY
Long backstitches can be appropriate for straight lines, borders, and architectural details. However, they need to be controlled.
Long stitches are more likely to snag, loosen, or look uneven. They can also float over the surface of the fabric in a way that feels less secure.
Use longer stitches only when the chart calls for them or when the design clearly benefits from a continuous straight line. For most outlining, shorter controlled stitches are safer and cleaner.
HANDLE CORNERS CLEANLY
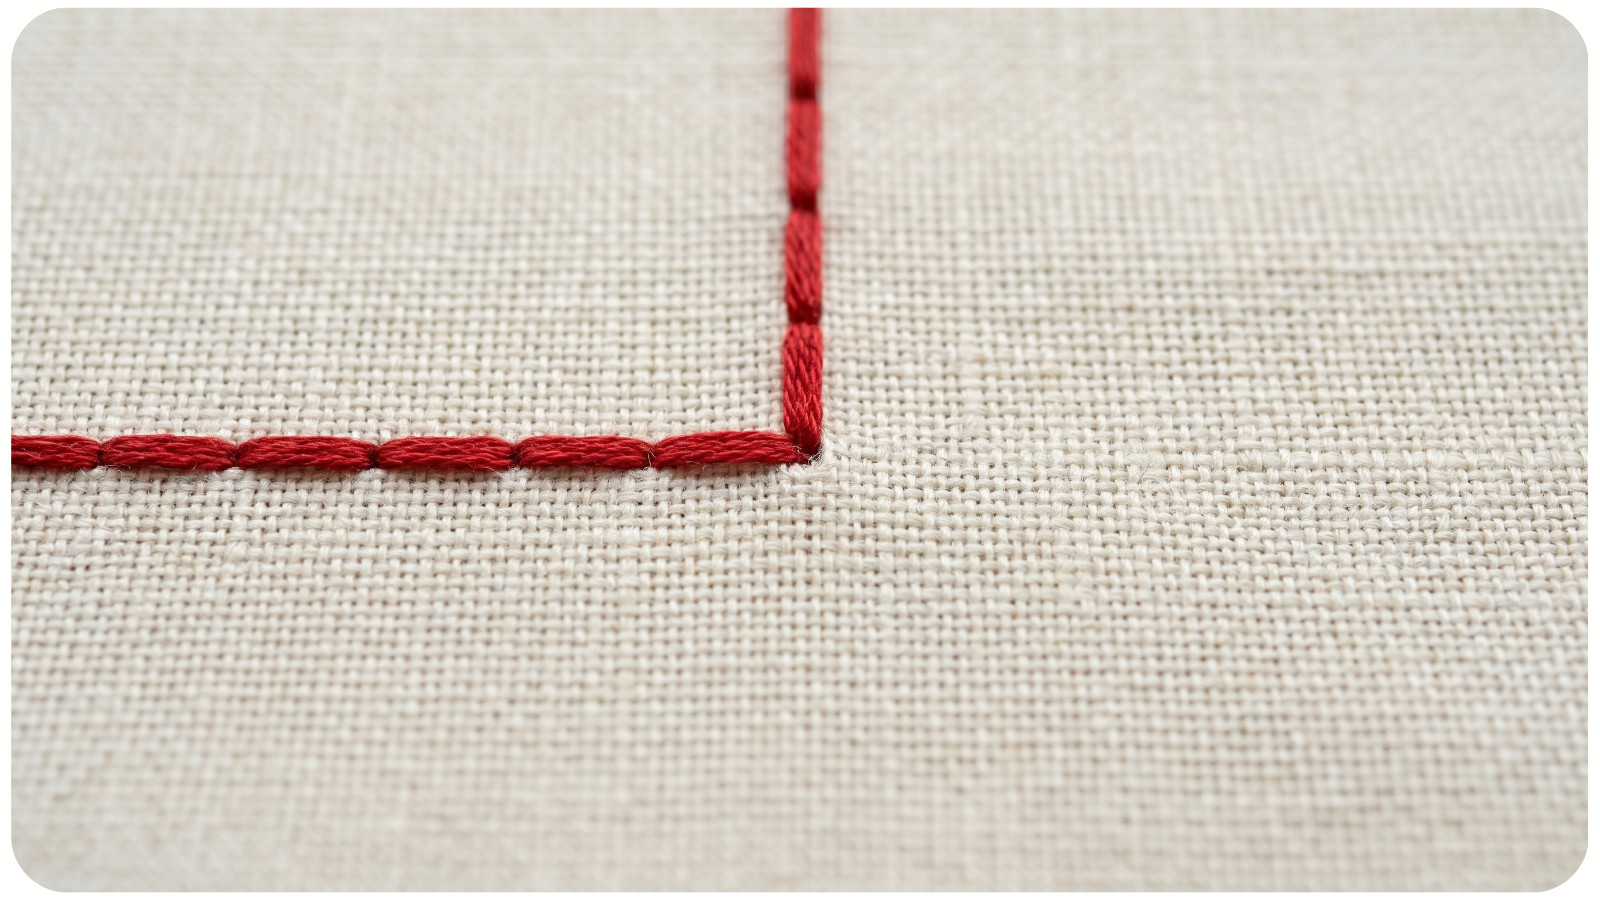
Corners are where backstitch quality becomes obvious. For sharp corners, bring the needle down exactly at the turning point, then start the next stitch from that same hole. This creates a crisp angle.
Avoid crossing over corners with one long diagonal stitch unless the chart specifically shows it. Shared holes keep the outline precise and prevent gaps.
When stitching square or geometric designs, consistent corner placement is essential. A slightly misplaced corner can make borders look uneven.
BACKSTITCH AFTER COMPLETING CROSS STITCHES
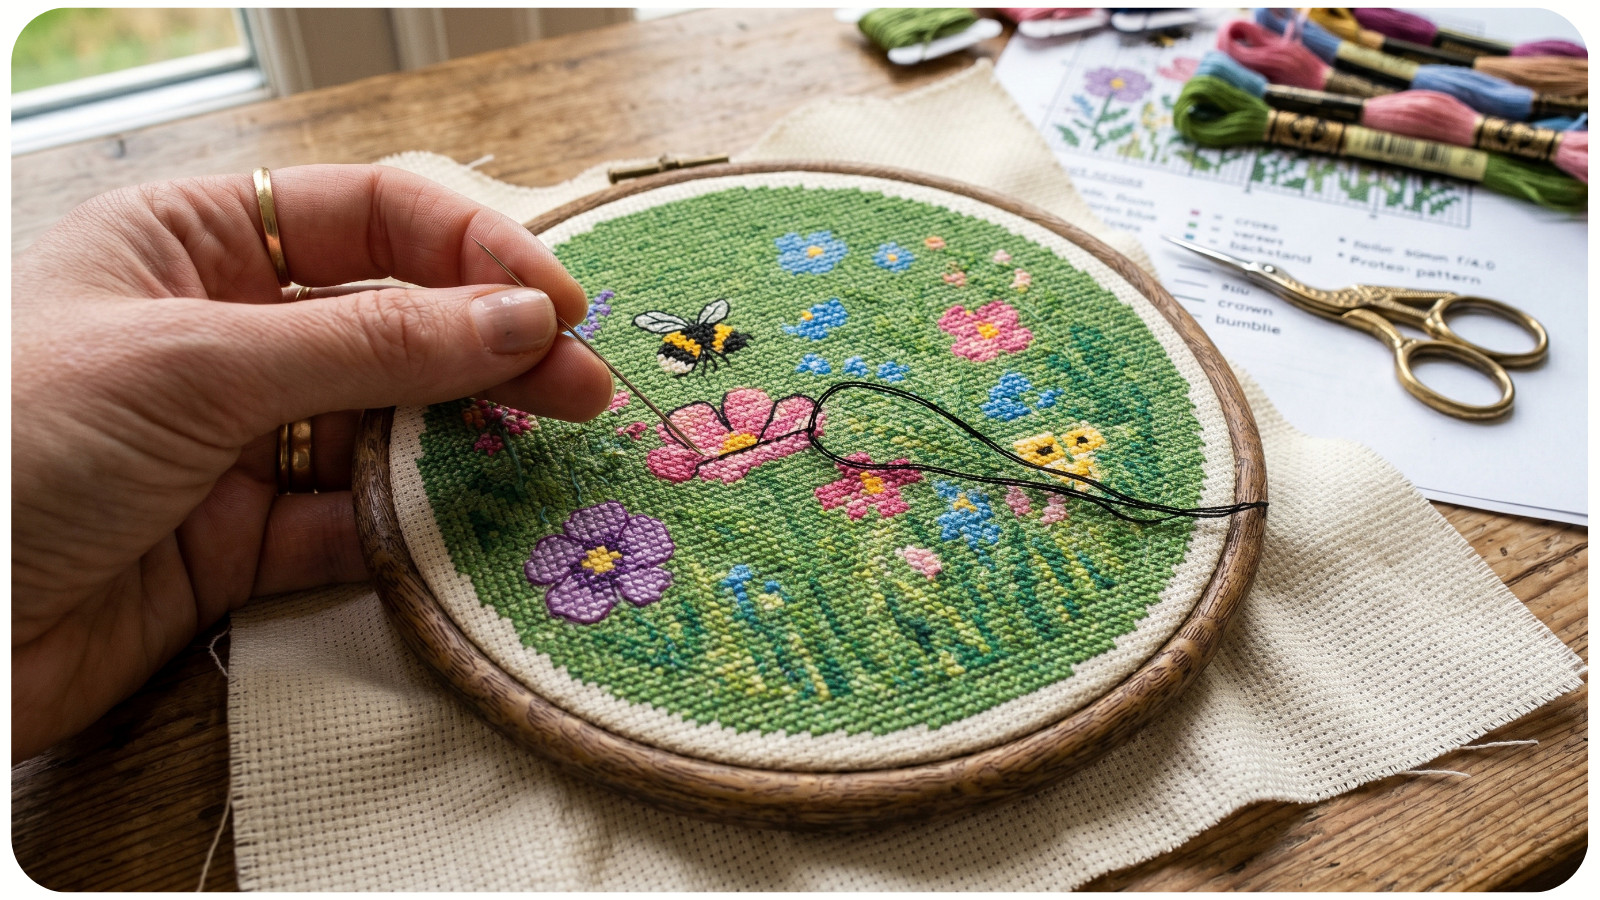
In most cases, backstitch should be done after all cross stitches in that section are complete. This allows the linework to sit visibly on top of the stitched area.
If you backstitch too early, later cross stitches may cover or distort the line. You may also snag the backstitch while continuing to stitch nearby areas.
A good workflow is:
1. Complete the main cross stitches.
2. Add any fractional stitches, if included.
3. Add backstitch.
4. Add beads or specialty stitches last, if the pattern includes them.
This order keeps the surface clean and reduces thread wear.
MANAGE MULTIPLE BACKSTITCH COLORS
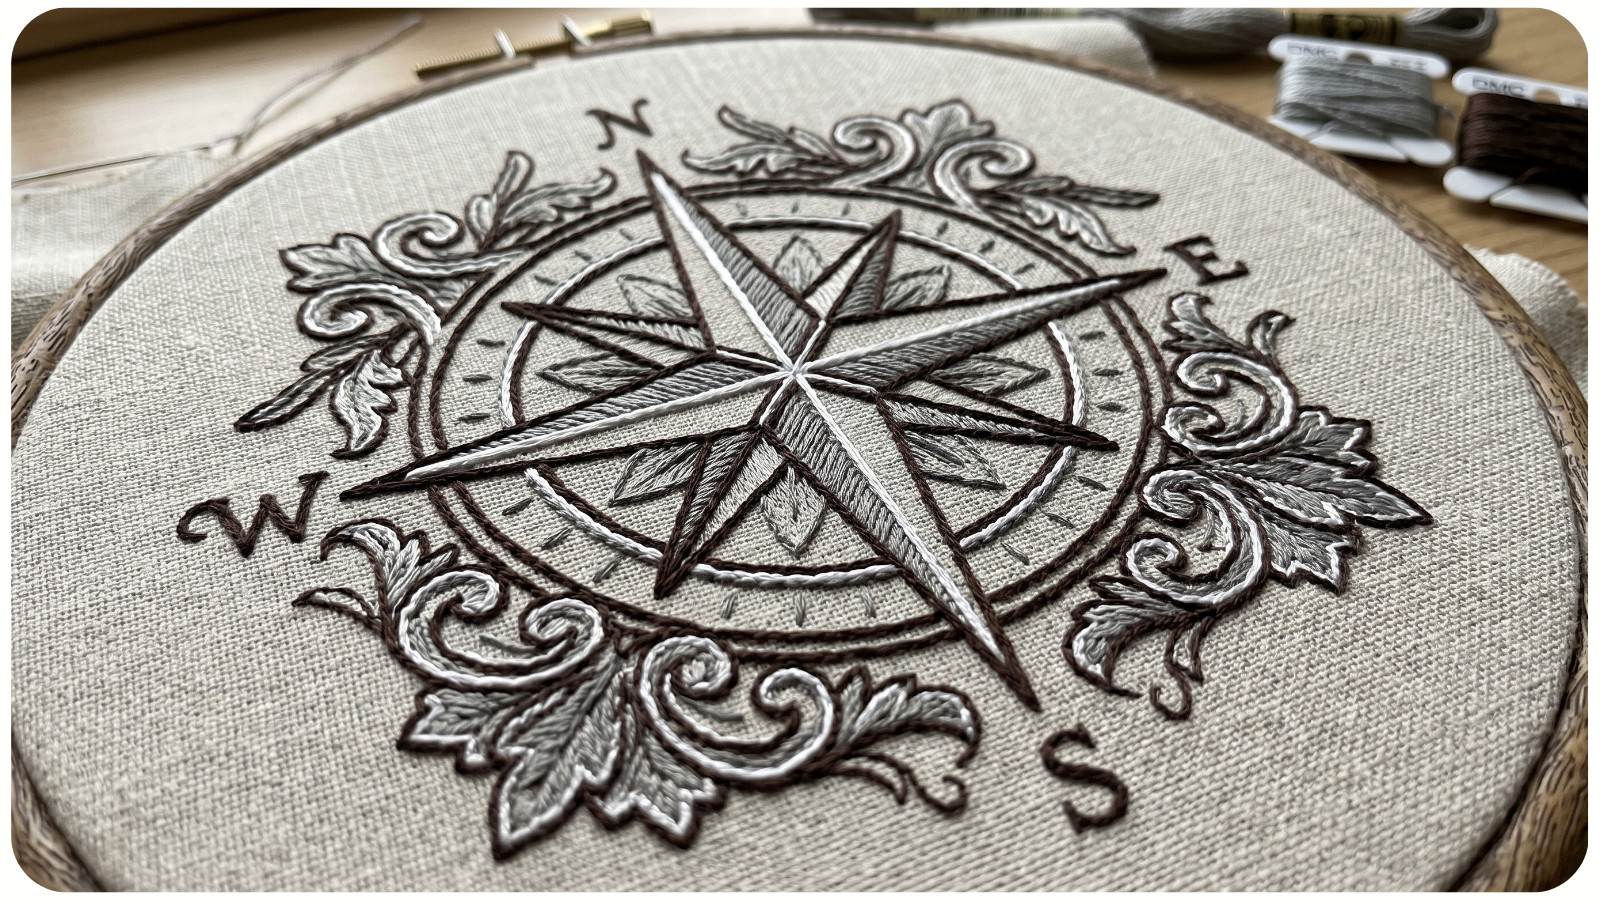
Some patterns use several backstitch colors to create depth. For example, dark brown may outline hair, gray may define shadows, and white may add highlights.
Work one backstitch color at a time whenever possible. This reduces confusion and helps you track progress.
Start with the most prominent outlines, then move to smaller details. However, if the chart is very detailed, it may be easier to complete one area fully before moving to another.
The best method depends on the pattern complexity, but accuracy should always come before speed.
AVOID CARRYING THREAD TOO FAR
Backstitch uses less floss than full cross stitch, so it can be tempting to carry thread across the back from one detail to another. Be careful.
Long carries can:
- Show through light fabric;
- Snag during finishing;
- Create uneven tension;
- Make the back bulky;
- Distort small details.
As a general rule, end the thread and restart if the next backstitch section is far away or crosses an unstitched area. A neat back supports a neat front.
USE RAILROADING OR THREAD CONTROL WHEN NEEDED
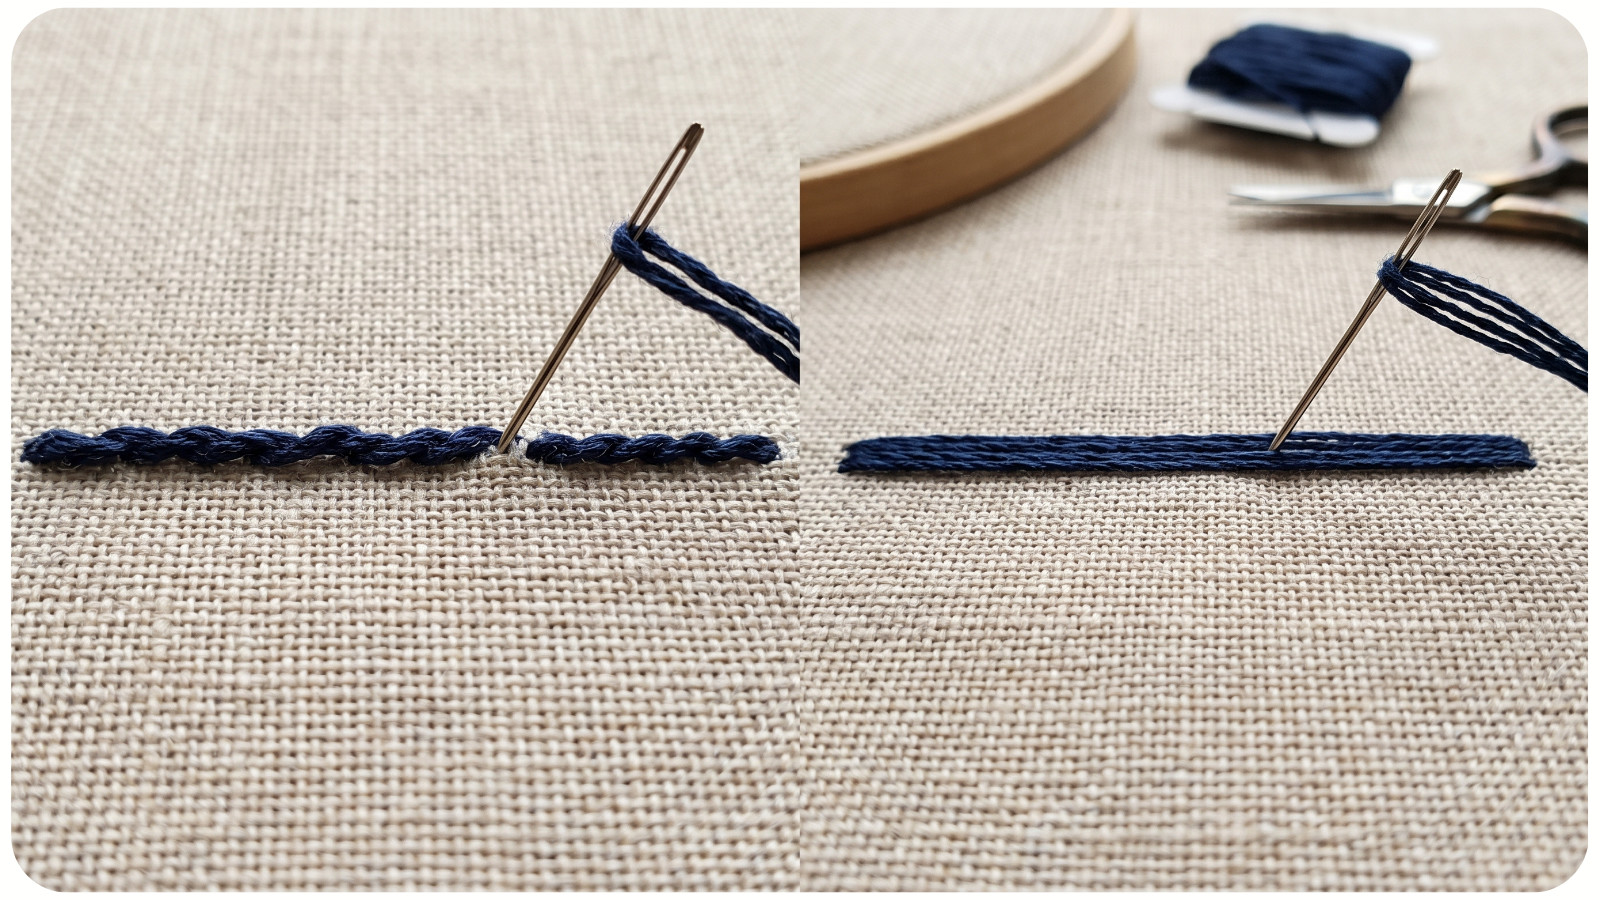
Backstitch should look smooth, especially when using two strands of floss. If the strands twist, the line can look rope-like or uneven.
Let the needle dangle occasionally to untwist the floss. You can also gently smooth the strands with your fingers before pulling the stitch through.
For very visible lines, guide the floss so both strands lie parallel. This creates a cleaner, flatter outline.
LETTERING REQUIRES EXTRA PRECISION
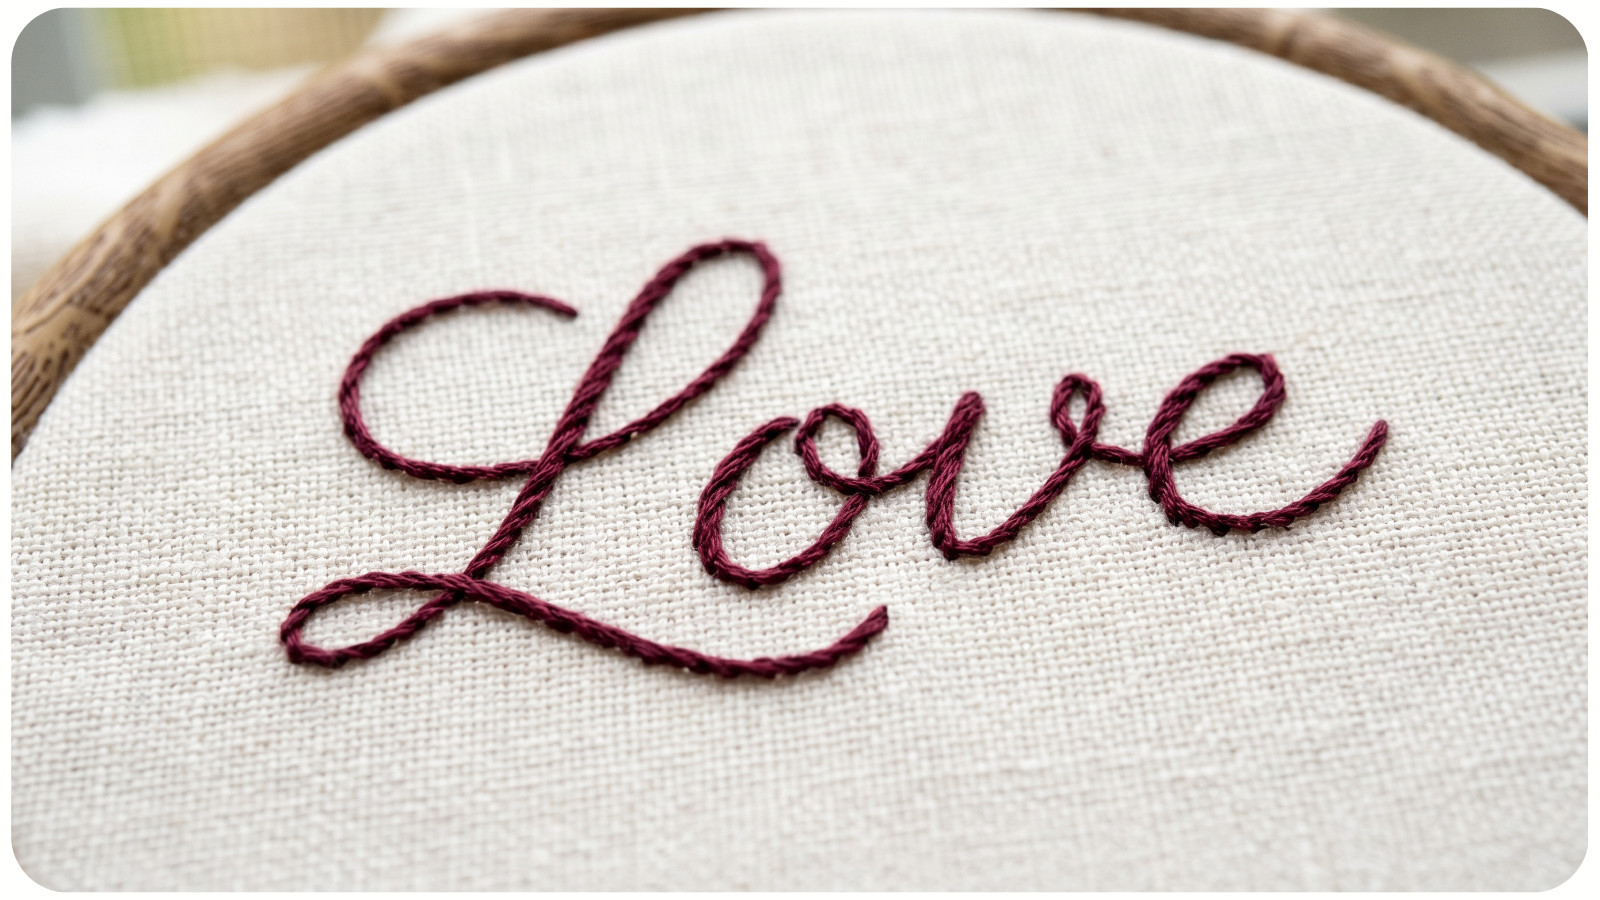
Backstitched lettering can be beautiful, but it is unforgiving. A misplaced stitch can change the shape of a letter or make a word harder to read.
When backstitching letters:
- Follow the chart exactly;
- Keep stitch lengths consistent;
- Use clean corners;
- Avoid overly tight tension;
- Check readability as you go.
For small lettering, one strand is usually best. Two strands can make tiny letters look crowded.
If you are stitching a sampler, quote, or personalized design, backstitch quality is especially important because the text often becomes the focal point.
FIXING MISTAKES: YES, FROGGING HAPPENS
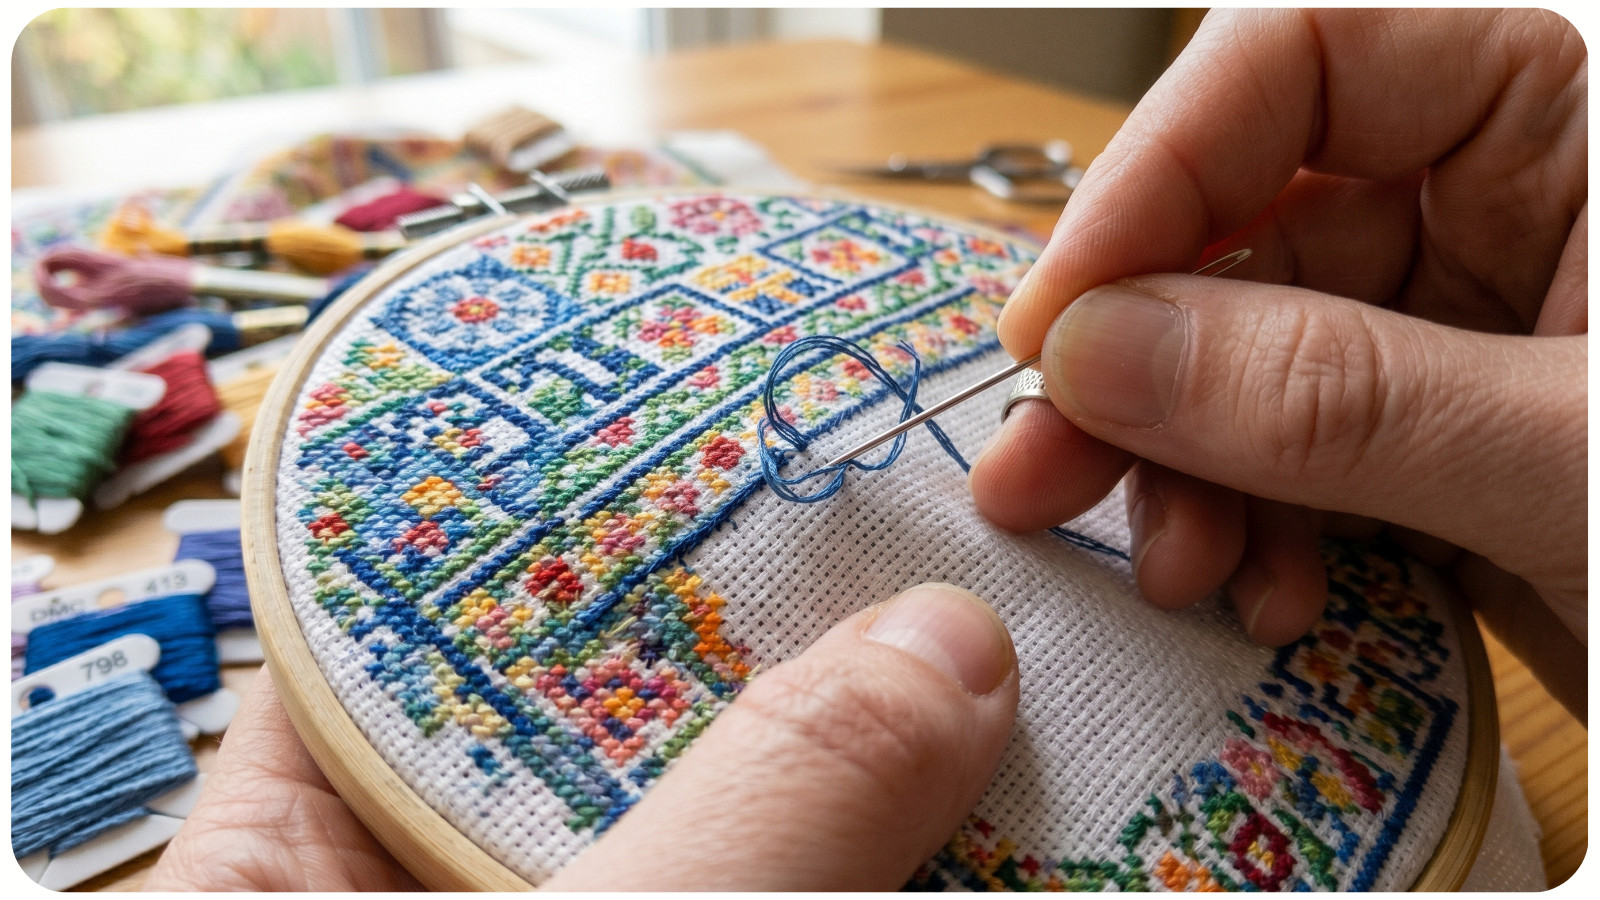
Even experienced stitchers make backstitch mistakes. The good news is that backstitch is usually easier to frog than full cross stitches.
If a line looks wrong, remove it carefully with the tip of your needle. Avoid pulling too hard, especially if the backstitch passes through dense cross stitches.
After frogging, smooth the fabric gently and restitch with correct placement.
Do not leave a visibly incorrect backstitch line just because it feels minor. Backstitch is designed to draw attention. Mistakes in linework often stand out more than mistakes in filled areas.
EXPERT TIPS FOR PROFESSIONAL BACKSTITCH
1. CHECK THE OVERALL SHAPE FREQUENTLY
Do not stitch blindly from symbol to symbol. Step back and look at the shape forming. Backstitch should support the artwork visually. If an animal’s eye, a flower petal, or a hand suddenly looks strange, recheck the chart before continuing.
2. USE GOOD LIGHTING
Backstitch often involves dark lines over dark stitches or pale lines over pale fabric. Poor lighting increases mistakes. Use a daylight lamp or bright natural light when working on detailed areas. A magnifier can also help with advanced designs.
3. PROTECT FINISHED STITCHES
Because backstitch is usually added near the end of a project, your fabric has already been handled a lot. Wash your hands before stitching and keep food, drinks, and lotion away from your work area. The final linework should look fresh and clean.
4. DO NOT RUSH THE FINAL STAGE
Backstitch may feel like the last obstacle before finishing, but it deserves patience. This is the stage that gives the design its final expression. Rushing can lead to crooked lines, uneven tension, skipped details, and messy thread paths.
Treat backstitch as finishing work, not cleanup work.
WHY BACKSTITCH MATTERS
Backstitch matters because it controls definition. It can turn a soft cluster of colors into a recognizable face, a realistic flower, a readable word, or a dramatic decorative border.
In detailed cross stitch, backstitch provides structure. In simple designs, it adds charm and clarity. In advanced patterns, it often separates a good finish from an excellent one.
It also gives your project a more professional appearance. Clean backstitch shows care, precision, and technical skill.
CONCLUSION
Backstitch is one of the most important finishing techniques in cross stitch. It sharpens outlines, adds tiny details, improves lettering, and gives your stitched piece a polished final look.
To backstitch like a pro, use the correct number of floss strands, keep your tension even, follow the chart carefully, use shorter stitches for curves, secure your thread neatly, and take your time with corners and lettering.
Most importantly, do not treat backstitch as an afterthought. It is part of the artwork. When done well, backstitch transforms your project from stitched color blocks into a finished design full of clarity, personality, and professional detail.