


Buying cross-stitch fabric should not require a hopeful estimate. Once you know the chart dimensions, fabric count, and the amount of material needed around the design, you can calculate the correct cut before making the first stitch.
The key is to separate the stitched area from the fabric cut size. The stitched area is the space occupied by the design itself. The cut size includes that area plus extra fabric for centering, handling, mounting, framing, or sewing the finished piece into another object.
Gather Three Measurements Before You Calculate
A reliable fabric-size calculation begins with three pieces of information. Confirm all three from the pattern and your finishing plan.
1. Chart dimensions in stitches
Look for a measurement such as 180 stitches wide × 126 stitches high. It may be labeled “design size,” “stitch count,” or “chart size.” If you are comparing a complete kit with a downloadable chart, this distinction is also worth considering when deciding between a cross-stitch kit and a PDF pattern.
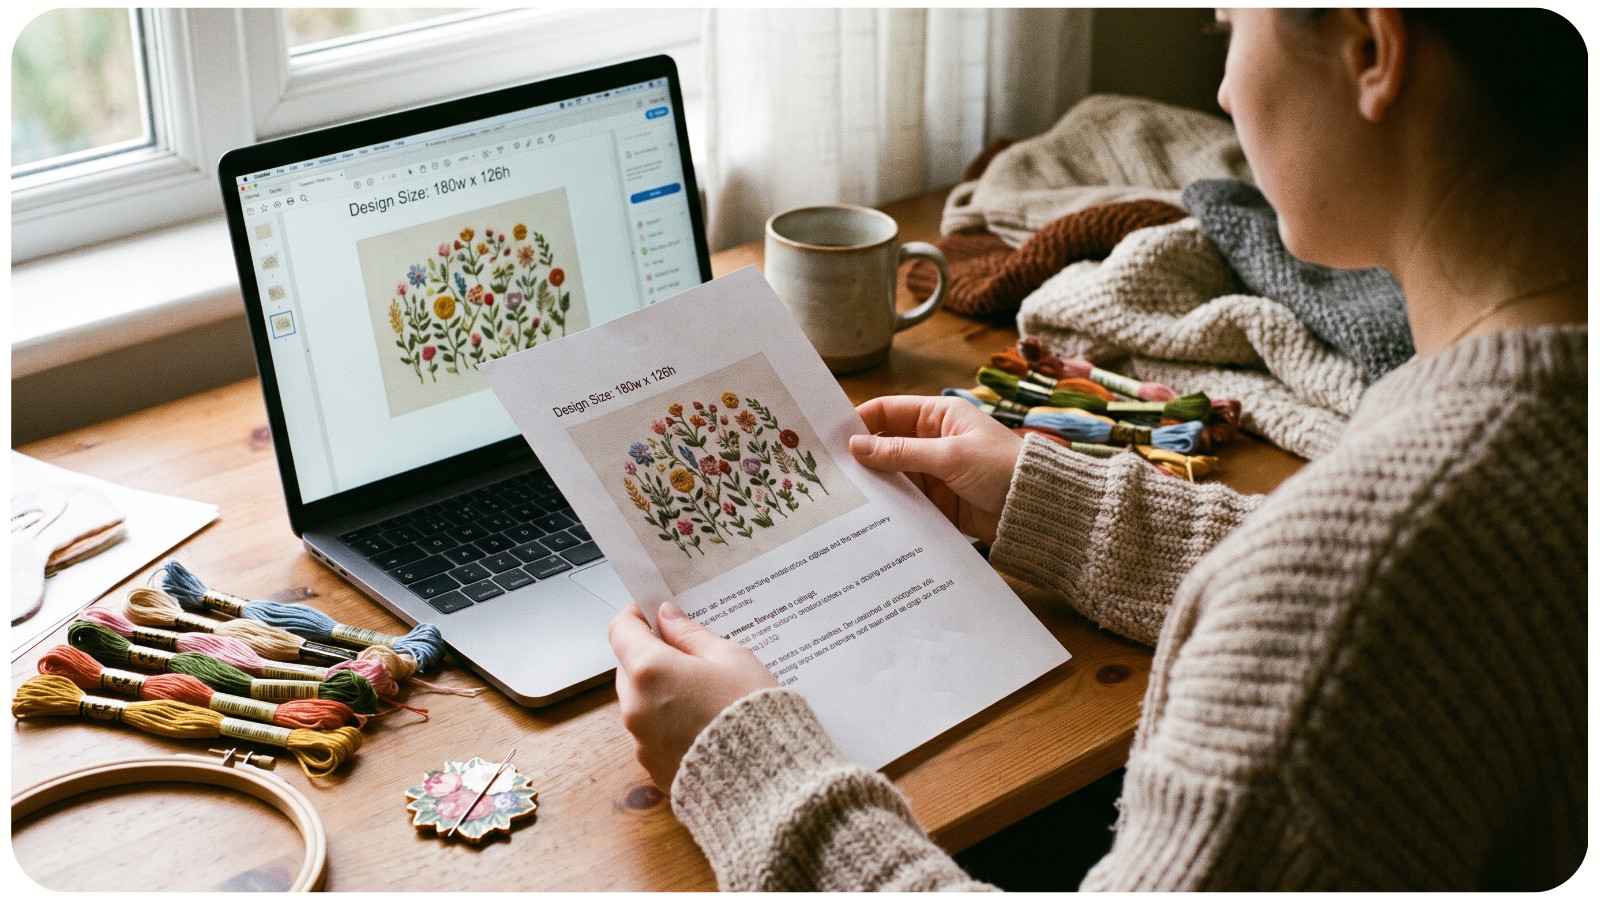
Do not count the grid squares on one page unless it contains the complete chart. Multi-page charts often include overlap for alignment, and counting it twice produces the wrong total.
Check whether backstitch, specialty stitches, lettering, or a decorative border extends beyond the full-cross area. Your width and height must include the outermost stitch in every direction.
2. Fabric count
Fabric count describes the number of fabric squares or threads per inch. On 14-count Aida, 14 cross-stitches fit into one inch when each cross covers one Aida square. Common Aida counts include 11, 14, 16, and 18.
Linen and evenweave are labeled by thread count, such as 28-count or 32-count. That may not equal the completed crosses per inch because one cross can span two threads. The APS guide to cross-stitch terminology explains these terms.
3. Extra fabric on each side
The allowance depends on the finishing method. A small ornament needs seam allowance, a framed project needs fabric for mounting, and a hoop display needs enough material to remain secure beneath the outer hoop. For conventional framing, 3 inches per side is a useful working allowance for many projects, but it is not universal. Confirm the requirement with your framer before cutting an important or unusually large piece.
Calculate the Stitched Area
For Aida stitched over one square, divide each chart dimension by the fabric count. Calculate width and height separately.
Stitched width in inches = chart width in stitches ÷ fabric count
Stitched height in inches = chart height in stitches ÷ fabric count
Suppose your chart is 180 stitches wide and 126 stitches high, and you plan to use 14-count Aida:
• Width: 180 ÷ 14 = 12.86 inches
• Height: 126 ÷ 14 = 9 inches
The design will occupy approximately 12.86 × 9 inches. Keep the decimal until you have added the margins. Rounding down too early can leave you with less fabric than the project requires.
Calculate in centimeters
To work in metric units, calculate the measurement in inches and multiply it by 2.54:
Stitched size in centimeters = (stitches ÷ fabric count) × 2.54
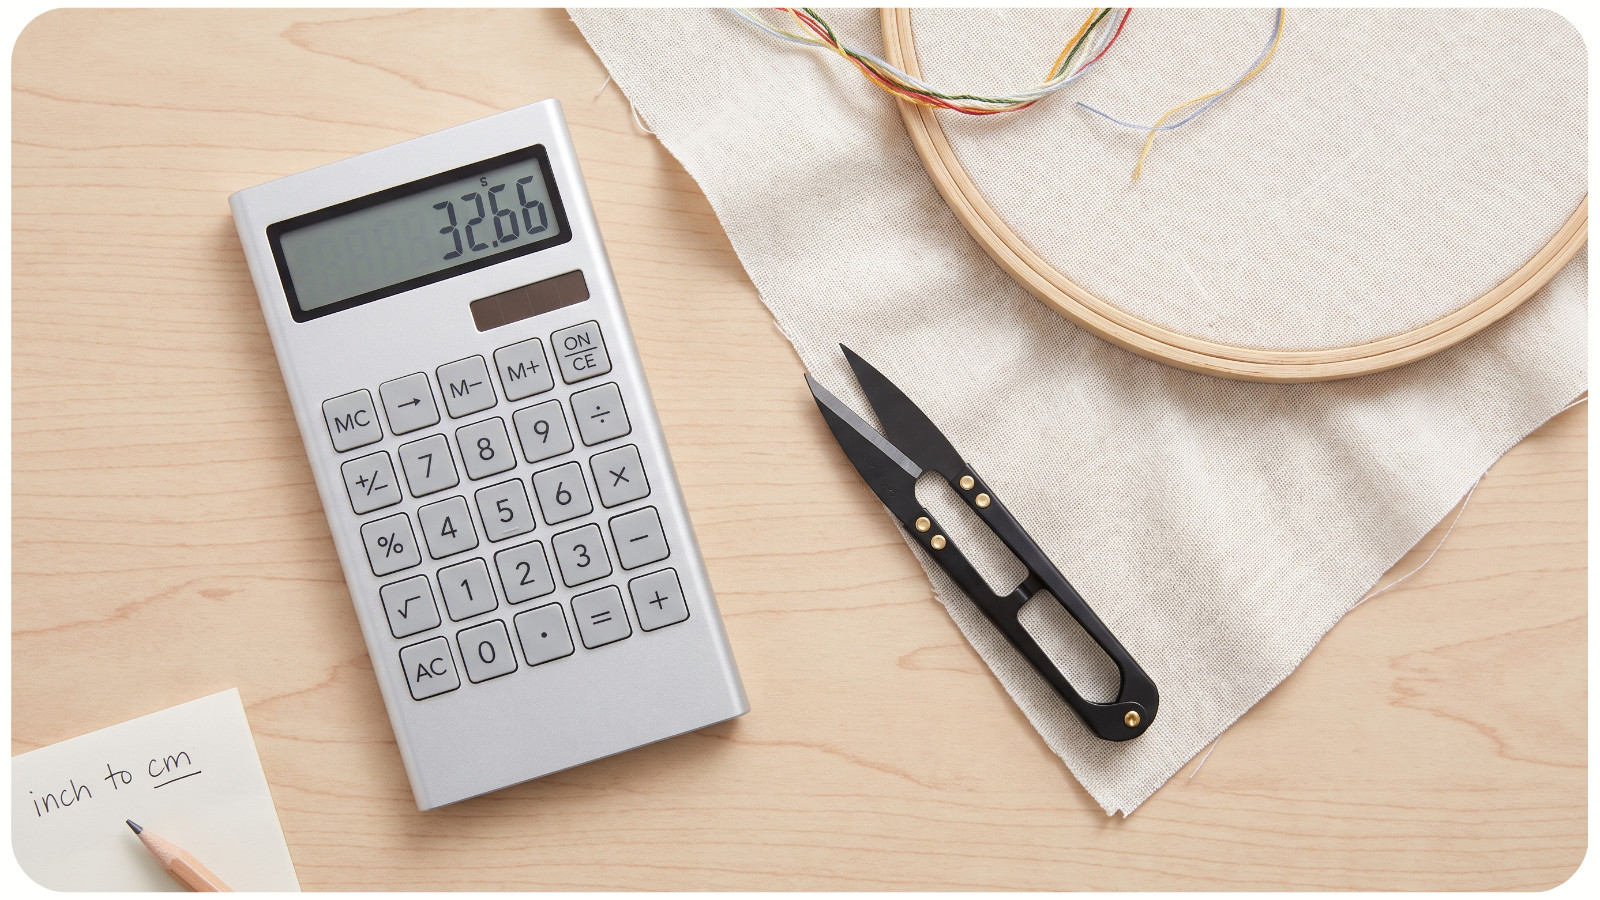
For the same 180-stitch width on 14-count Aida: 180 ÷ 14 × 2.54 = 32.66 centimeters.
Add the Fabric Allowance to Both Sides
The allowance is added on both edges of each dimension. A 3-inch margin on the left and another 3 inches on the right adds 6 inches to the stitched width. The top and bottom add another 6 inches to the stitched height.
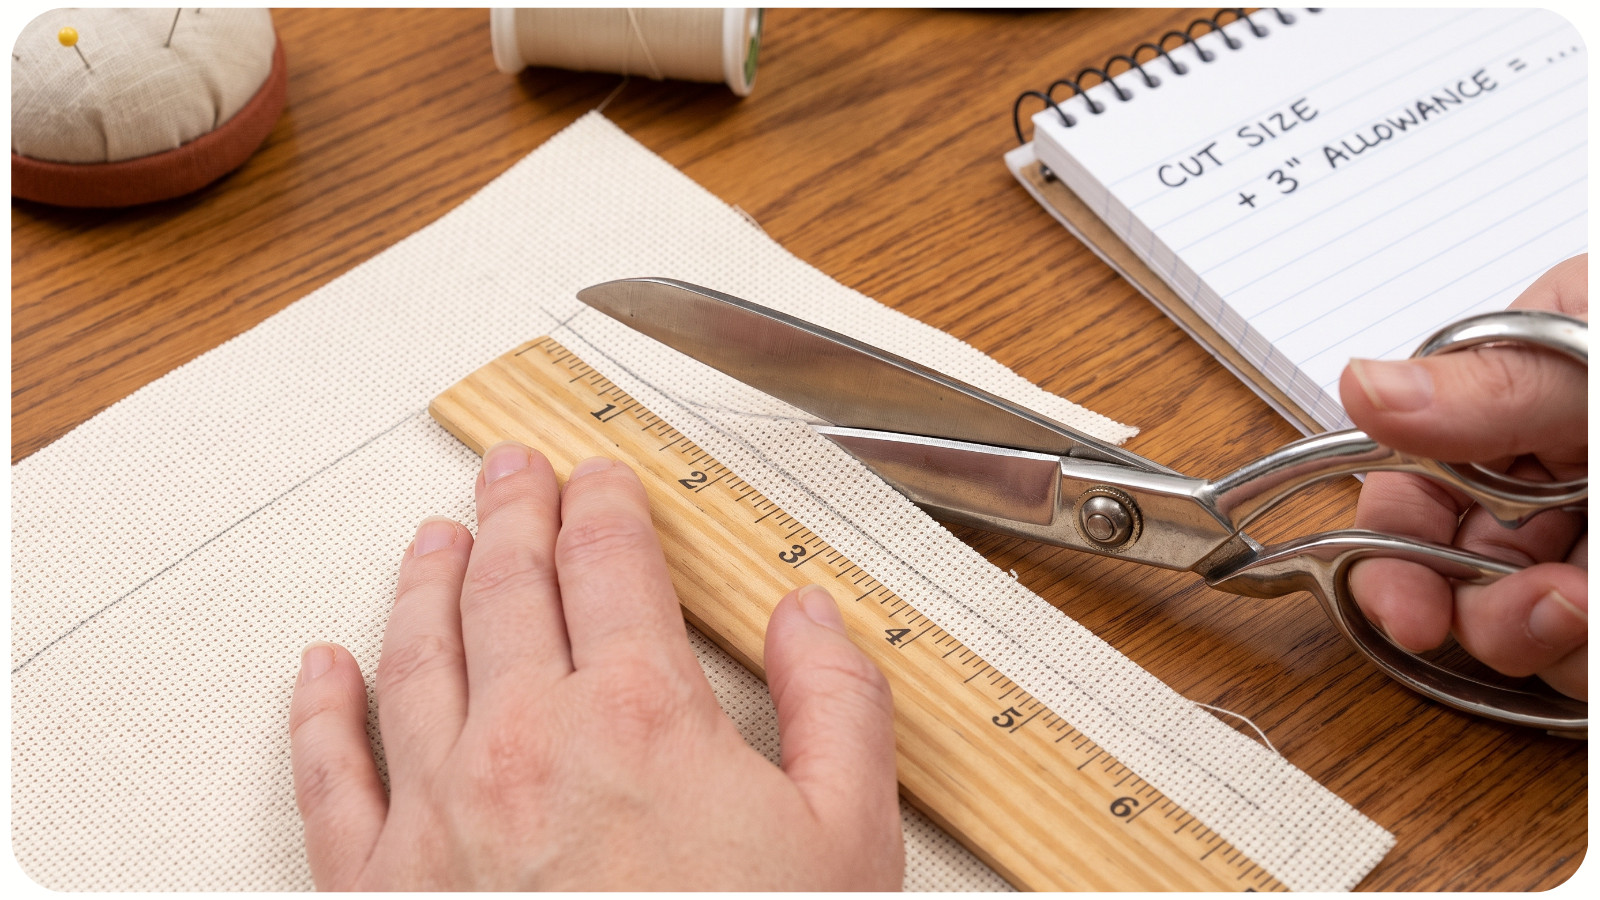
Fabric width = stitched width + (side allowance × 2)
Fabric height = stitched height + (top/bottom allowance × 2)
Using the 12.86 × 9-inch design and a 3-inch allowance on every side:
• Fabric width: 12.86 + 6 = 18.86 inches
• Fabric height: 9 + 6 = 15 inches
Round the cut size up, never down. In this example, cut a piece at least 19 × 15 inches. If fabric is available only in standard cuts, choose the next larger size.
This formula assumes equal margins and a centered design. For an asymmetrical mat opening, extra lettering space, or an off-center composition, calculate the left, right, top, and bottom allowances separately.
Calculate Linen or Evenweave Stitched Over Two
On linen and evenweave, one cross may cover one fabric thread or several threads. The common “over two” method means each cross spans two horizontal and two vertical fabric threads.
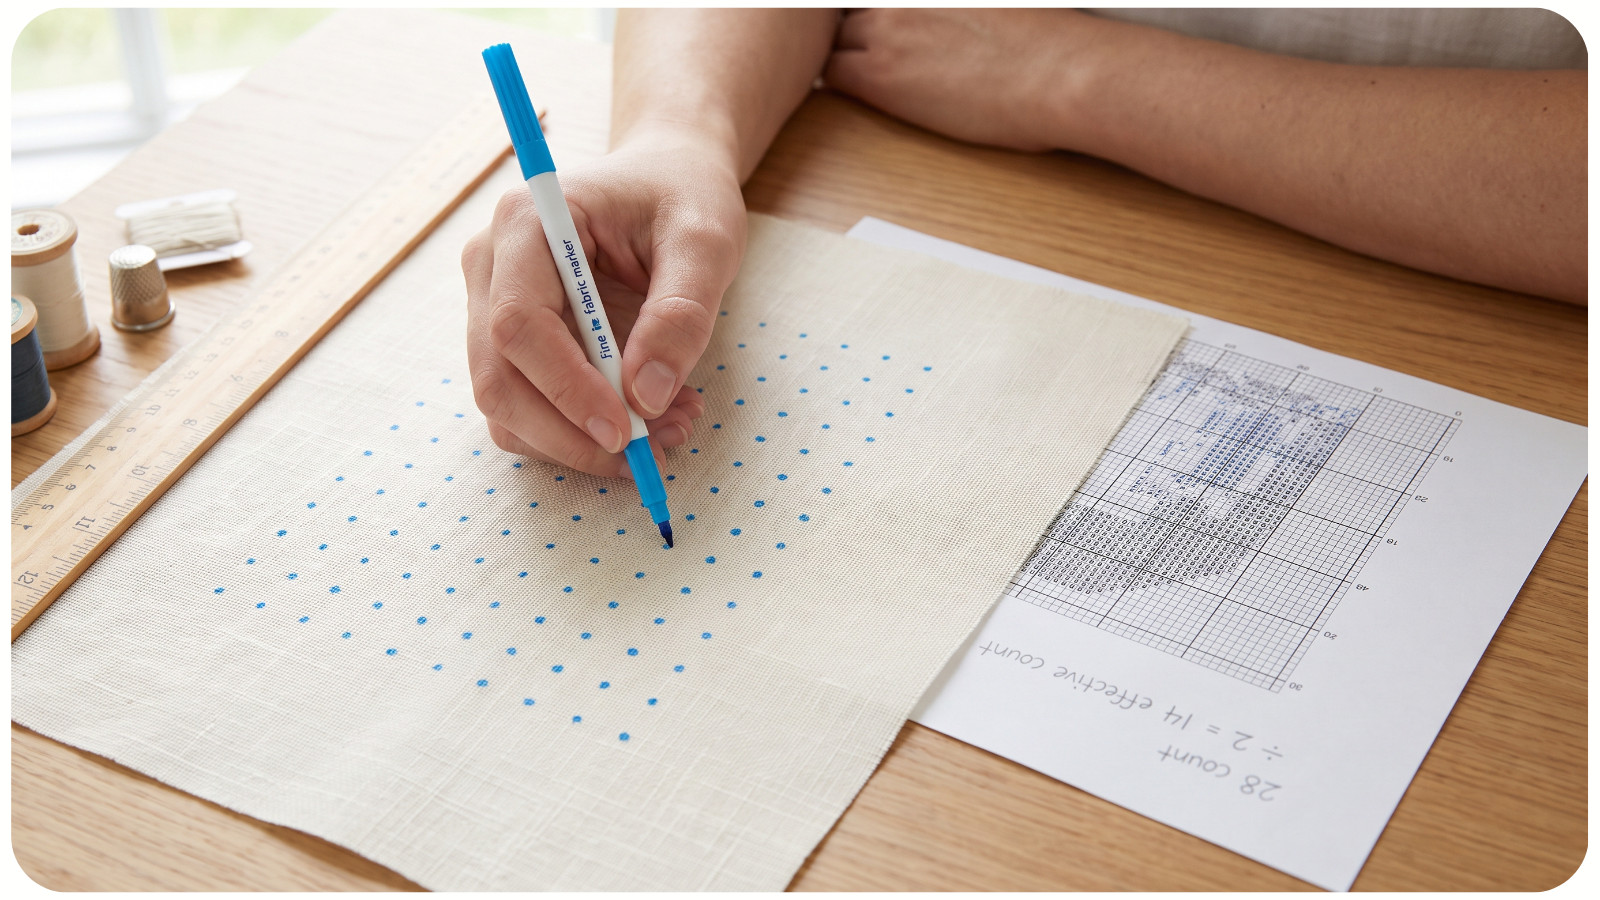
First find the effective stitch count:
Effective stitch count = fabric thread count ÷ threads crossed by each stitch
For 28-count evenweave stitched over two, 28 ÷ 2 = 14 stitches per inch. The design will therefore have the same physical dimensions as it would on 14-count Aida stitched over one. A 180 × 126-stitch chart measures approximately 12.86 × 9 inches on either fabric.
On 32-count linen stitched over two, the effective count is 16 stitches per inch. The same chart would measure 11.25 inches wide and 7.88 inches high.
Always calculate according to how you will actually stitch. A 28-count fabric stitched over one produces 28 crosses per inch; stitched over two, it produces 14. Using 28 in the size formula while planning to stitch over two predicts a design only half its actual width and height.
Choose the Margin for the Final Use
There is no single correct allowance for every project. The finishing method determines what the fabric outside the stitched area must do.
• Professional framing: Ask how much fabric the framer needs for mounting. Three inches per side is often comfortable, but the framer’s method takes priority.
• Hoop display: Include the visible space around the design plus enough fabric to pass beneath the outer hoop and remain secure at the back.
• Pillows, ornaments, and sewn finishes: Add the visible border, seam allowance, and fabric required for construction. Follow the sewing pattern when one is provided.
• Bookmarks and narrow finishes: Work backward from the finished dimensions, including the visible border, seam or hem allowance, and any turn-under.
• Unknown finish: Leave a generous allowance. Extra fabric can be trimmed later; missing fabric cannot be added invisibly.
Keep the visible border separate from the finishing allowance. If you want 1 inch of blank fabric visible around the design and need another 2 inches for mounting, the total allowance is 3 inches per side—not 2.
If you are preparing a first project and want the fabric, floss, needle, and chart selected together, review how to choose a beginner-friendly cross-stitch kit.
Avoid These Common Calculation Mistakes
Most sizing errors come from using the correct numbers in the wrong way. These checks catch the problems that lead to an undersized cut.
Adding the allowance only once
A 3-inch margin is needed on each side, so it adds 6 inches to the width and 6 inches to the height. Adding only 3 inches to each dimension leaves 1.5 inches per edge when the design is centered.
Treating linen count like Aida count
A linen or evenweave label gives threads per inch. If each cross spans two threads, divide the labeled count by two before calculating the design size.
Using the printed grid instead of the stitch count
The physical size of a chart printed on paper has no relationship to the finished embroidery. Only the chart’s stitch dimensions and the effective fabric count determine the stitched size.
Rounding down
If the calculation gives 18.86 inches, an 18-inch cut is too small. Round upward and measure the actual fabric before you begin.
Assuming every precut is exact
Precut fabric can vary slightly, and its edges may not be perfectly square. Measure the usable area instead of relying only on the package label. If you intend to wash or hand-dye the fabric, do that before the final measurement because its dimensions may change.
Forgetting the orientation
Confirm which number is the width and which is the height before cutting or centering. Orientation matters when you use a rectangular precut or fabric with a directional print, gradient, or border.
Run a Final Pre-Stitch Check
Before making the first cross, verify the calculation against the actual chart and fabric. This short routine is much faster than discovering a margin problem halfway through the project.
1. Confirm the chart width and height in stitches.
2. Confirm the fabric count from the label or count the squares or threads across one inch.
3. Confirm whether each cross covers one square, one thread, or two threads.
4. Divide each chart dimension by the effective stitch count.
5. Add the required allowance to both sides of each dimension.
6. Round up and compare the result with the actual usable fabric.
7. Fold or lightly mark the fabric centers, then check the planned space at every edge.
Fabric cut size = (chart stitches ÷ effective stitches per inch) + allowances on both sides
Once the stitched area and finishing allowance are treated as separate measurements, sizing becomes repeatable rather than uncertain. Calculate first, round up, and check the real fabric before stitching.
When you are ready to choose a project for your correctly sized fabric, explore APS cross-stitch patterns and kits or gather the remaining tools from the cross-stitch supplies collection.