


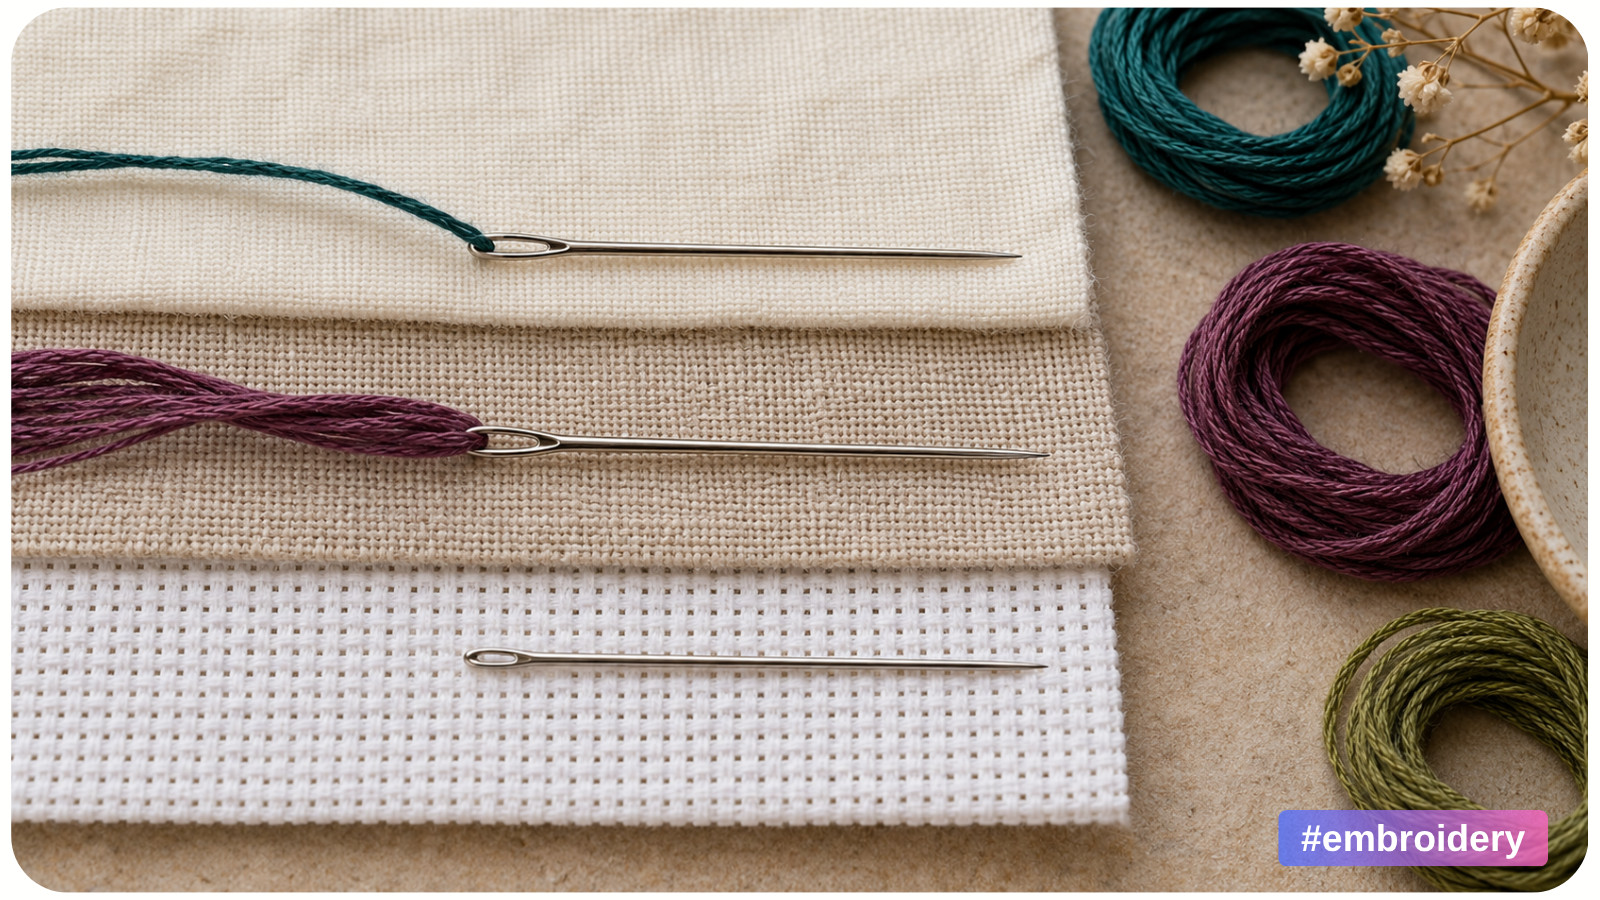
The right embroidery needle should do three things quietly: pass through the fabric without a struggle, carry the thread without damaging it, and suit the way the stitch is formed. If you have to tug hard, the thread frays near the eye, or obvious holes remain around your stitches, the needle is giving you useful feedback.
Choosing well is less about memorizing a perfect size chart and more about matching three variables: fabric, thread, and technique. Once you know what each part of the needle does, the choice becomes much easier.
Start With the Needle’s Three Working Features
Before looking at size numbers, examine the point, eye, and shaft.
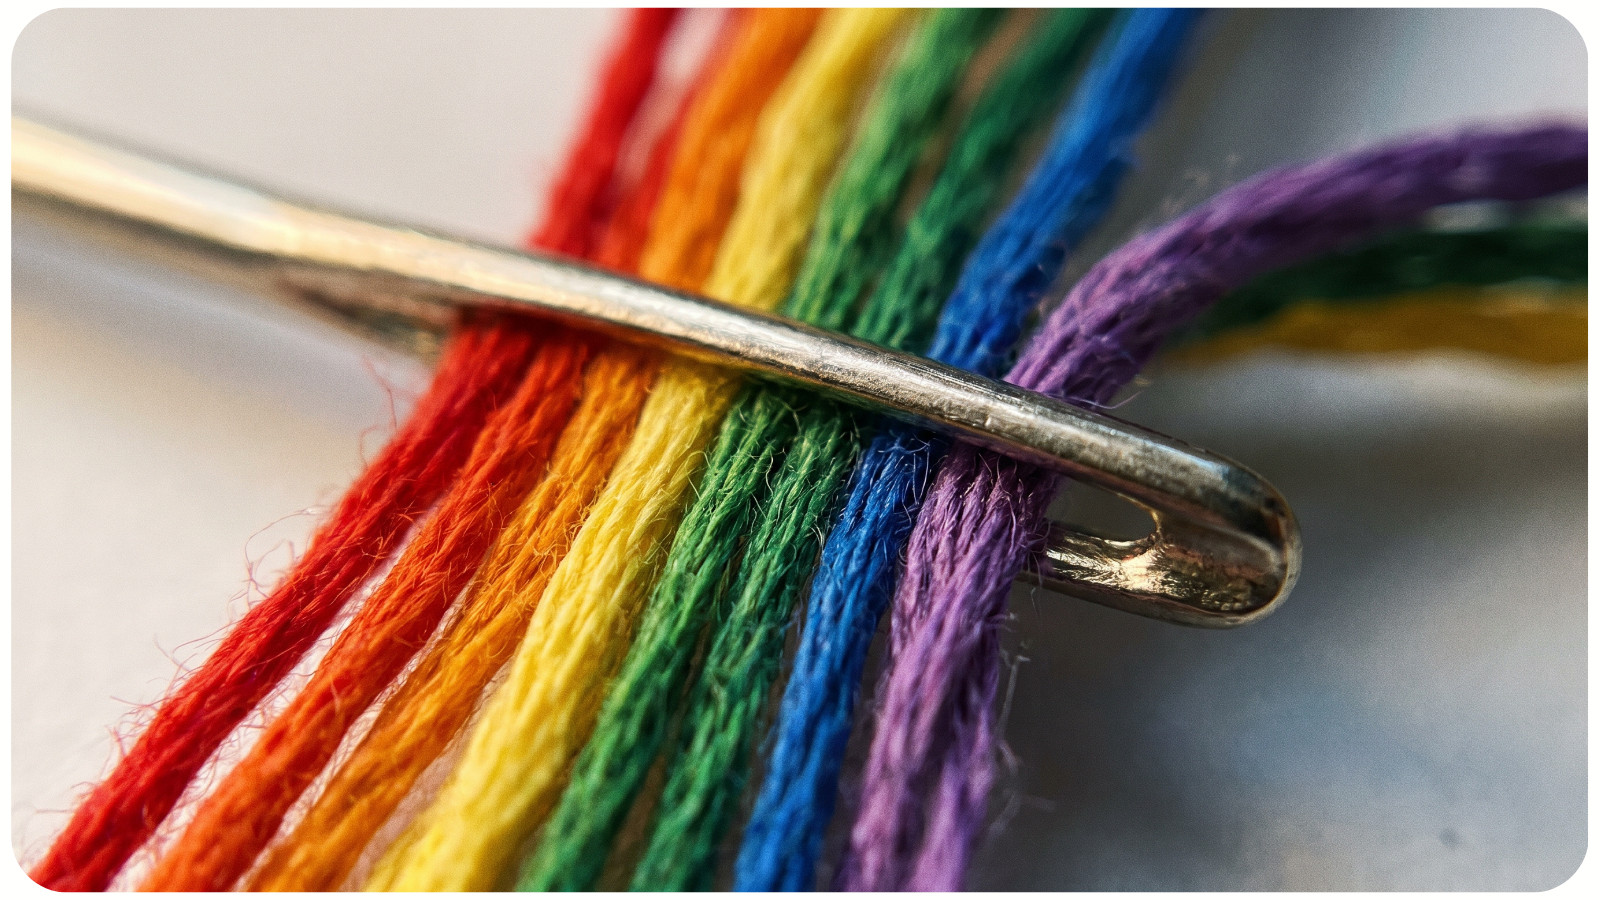
• The point determines whether the needle pierces fabric threads or slides between them. Most surface embroidery needs a sharp point. Counted work on fabric with obvious holes usually needs a blunt one.
• The eye must hold the thread comfortably. A long or roomy eye helps with multiple strands, wool, ribbon, and delicate specialty threads.
• The shaft opens a path through the fabric. It should make enough room for the doubled thread at the eye to pass without heavy abrasion, but not leave a permanent gap around the stitch.
This explains why a needle that is technically threadable may still be too small. The thread fits through the eye, yet the shaft may not open a large enough path through a tightly woven fabric.
Know the Main Types of Hand-Embroidery Needles
Needle names describe different shapes, not merely different sizes. For most projects, one of these five types will be the best starting point.
Common hand-embroidery needle types | ||
Needle type | Point and eye | Best use |
|---|---|---|
Embroidery or crewel | Sharp point; medium-long eye | General surface embroidery on cotton, linen, and other woven fabrics |
Chenille | Sharp point; large, long eye | Wool, several strands, ribbon, metallics, and other bulky or easily damaged threads |
Tapestry | Blunt point; large eye | Cross-stitch, needlepoint, counted-thread work, and passing under existing stitches |
Milliner or straw | Sharp point; long, nearly uniform shaft | Bullion knots, cast-on stitches, and other stitches wrapped around the needle |
Beading | Very fine shaft; narrow eye | Tiny beads that will not pass over a standard embroidery needle |
Embroidery or Crewel Needles: The Everyday Choice
For ordinary surface embroidery - backstitch, stem stitch, satin stitch, lazy daisy, and similar stitches—begin with an embroidery needle, also called a crewel needle. Its sharp point can pierce closely woven fabric, while its longer eye accommodates embroidery floss more easily than an ordinary sewing sharp.
A mixed pack lets beginners compare how nearby sizes behave with the same fabric and thread.
Chenille Needles: More Room for the Thread
A chenille needle combines a sharp point with a long, generous eye. Choose it when you must pierce the ground fabric but your thread is thick, fuzzy, flat, or prone to damage. It is often a better match for crewel wool, perle cotton, silk ribbon, and some metallic or braided threads.
The larger eye bends delicate fibers less sharply, while the thicker shaft can create enough space for the thread to pass without being scraped by the fabric.
Tapestry Needles: Blunt for Open Weaves
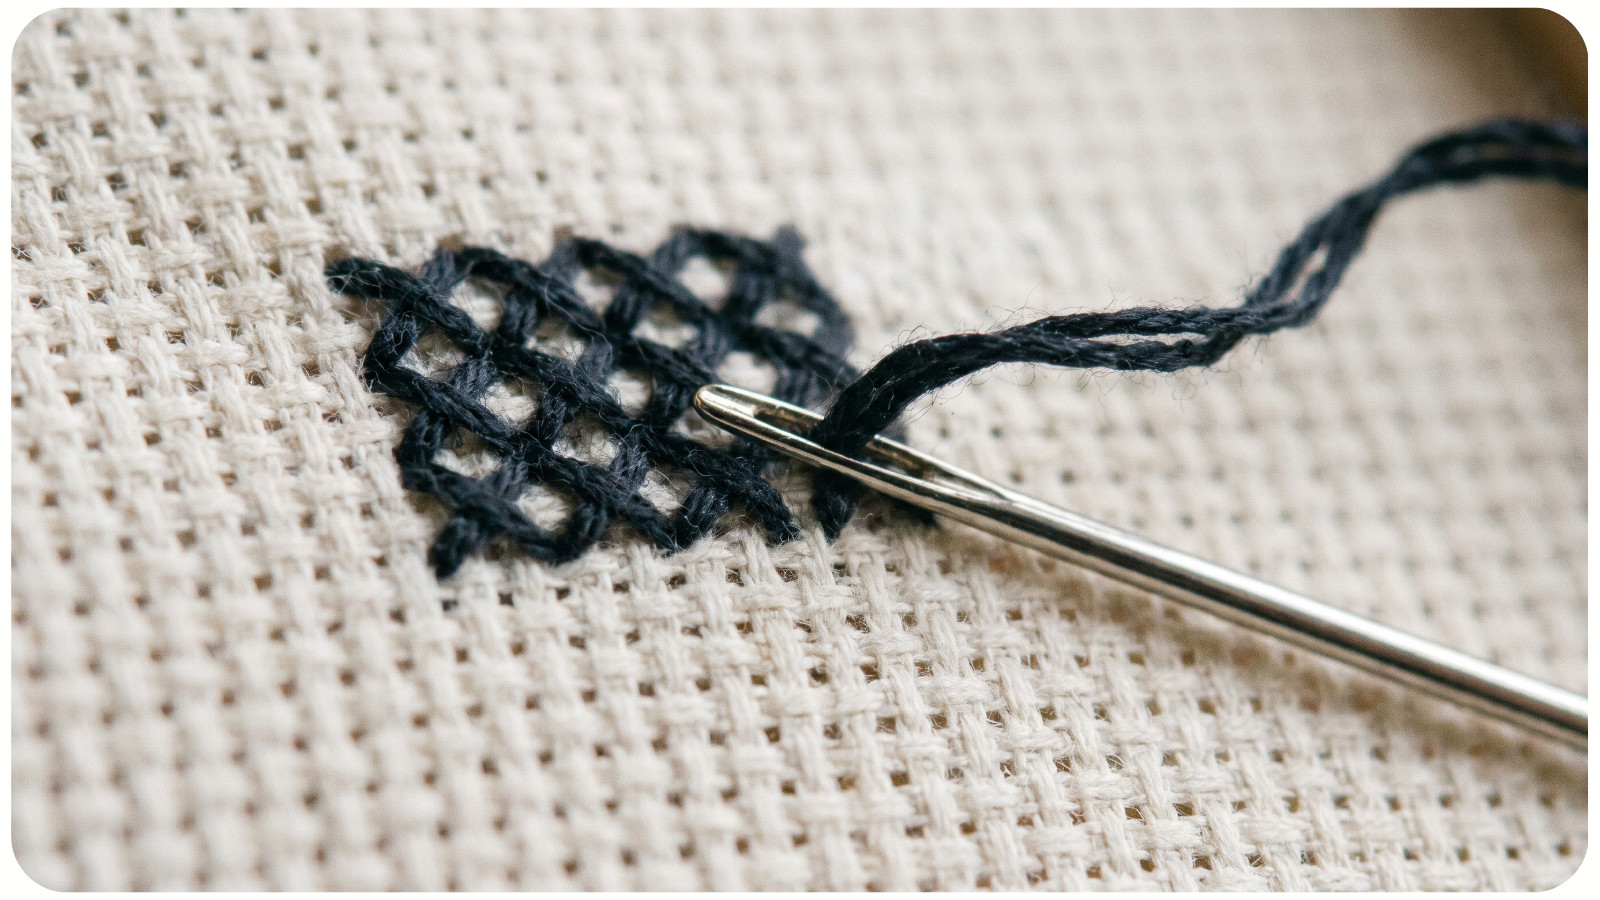
A tapestry needle is designed to find an existing opening rather than make a new one. Its blunt tip works well for cross-stitch, needlepoint, blackwork, and other counted techniques on Aida, evenweave, or canvas. If some of those terms are new to you, our beginner’s guide to cross-stitch terminology provides a helpful reference.
A tapestry needle is not usually the first choice for surface embroidery on tightly woven cotton. It is useful, however, for whipping or lacing a completed line: the blunt tip can travel under foundation stitches with less risk of splitting them.
Milliner Needles: Better for Wrapped Stitches
For bullion knots and cast-on stitches, an ordinary needle’s eye can become an obstacle. A milliner needle has a long, nearly uniform profile, so wrapped thread slides over the eye more smoothly. It can also make French knots easier to control.
Understand Needle Sizes Without Getting Trapped by the Numbers
Within many hand-needle families, a higher size number indicates a finer needle. For example, a size 10 embroidery needle is finer than a size 5 embroidery needle. However, numbering systems vary among needle types, so do not assume that the same number means the same dimensions across different families.
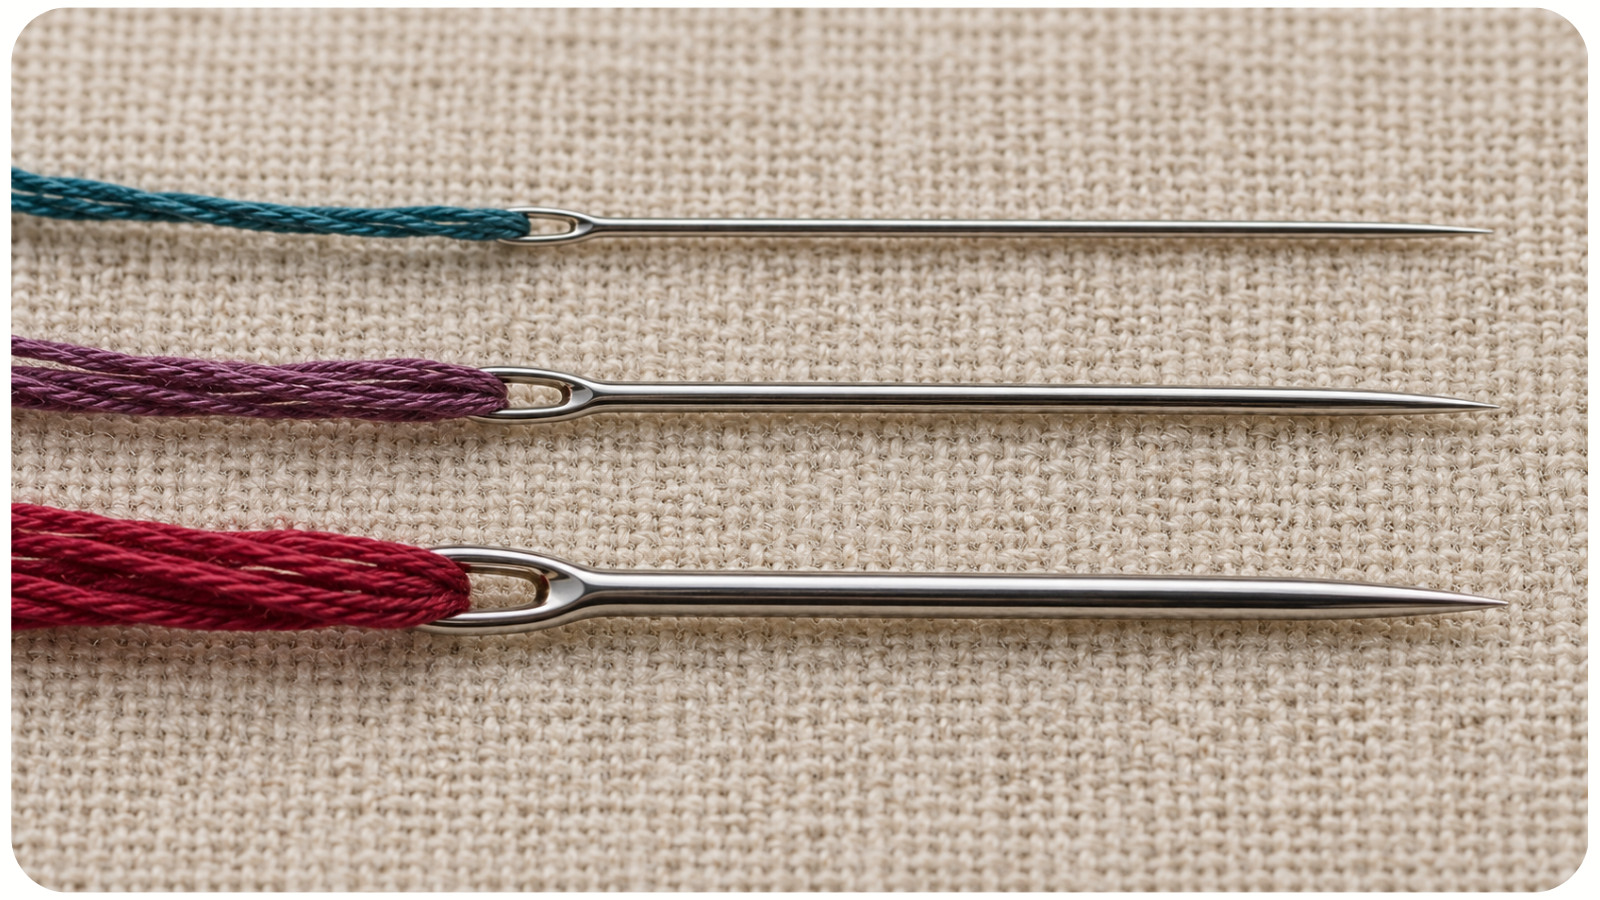
Use the printed size as a starting reference, then judge the needle against your materials. Fabric density, thread structure, and stitch density all affect the result.
For stranded cotton floss, use this practical starting approach:
• Use a finer embroidery needle for one or two strands and fine detail.
• Move to a larger embroidery needle as you add strands.
• Try a chenille needle when the bundle becomes bulky or the eye feels cramped.
• For perle cotton, choose an eye large enough to accept the thread without flattening or forcing it; do not separate perle cotton into strands.
The goal is not to use the smallest possible needle. It is to use the smallest needle that still creates a comfortable path for the complete thread bundle.
Match the Needle to the Fabric
On tightly woven quilting cotton or fine linen, surface stitches usually need a sharp point. The needle must pierce or separate the weave cleanly at the exact point where the design requires it.
On open-weave fabric or canvas, use a blunt tapestry needle when the stitch should enter an existing hole. A sharp needle may split the fabric threads or pierce a neighboring thread by accident, making counted stitches look uneven.
Heavier fabrics do not automatically require the thickest needle available; a very large shaft can leave visible holes. Test dense fabric using the actual thread bundle and any stabilizer or backing planned for the project.
Match the Needle to the Stitch
The same project may need more than one needle. Use a standard embroidery needle for most lines and fills. Switch to a milliner needle for wrapped stitches, a tapestry needle for weaving under completed stitches, or a fine beading needle when a bead’s hole will not fit over your regular needle.
In a padded or densely filled area, a finer sharp needle can sometimes enter between existing stitches more easily - as long as its eye still holds the thread comfortably. If it abrades the thread, move back to a larger size or reduce the thread bundle.
Use the Pull Test: Your Best Final Check
Thread the needle with the exact thread you plan to use and make several stitches on a scrap of the project fabric.
A good match should:
• pass through with steady, light resistance rather than a hard tug;
• let the eye move through without sharply denting the fabric;
• protect the thread from rapid fuzzing, flattening, or fraying;
• avoid leaving an obvious open hole around the finished stitch; and
• give you enough control to place the stitch accurately.
If the fabric puckers or the needle seems to “pop” through after a struggle, the needle may be too small for the thread bundle. Try the next larger needle - usually the next lower number within that same needle family.
If large holes remain after the thread settles, or the needle feels clumsy and pushes neighboring stitches aside, it may be too large. Try a finer needle, usually the next higher number within the same family.
If the thread shreds close to the eye, inspect the eye for a rough edge. If the needle is smooth, the eye may be too cramped or the shaft may be opening too small a path. A larger needle or a needle with a longer eye may solve the problem.
Common Needle-Choosing Mistakes
A needle can look close enough and still work poorly. These common mistakes are useful clues when stitching feels harder than expected.
Using the Needle That Came to Hand
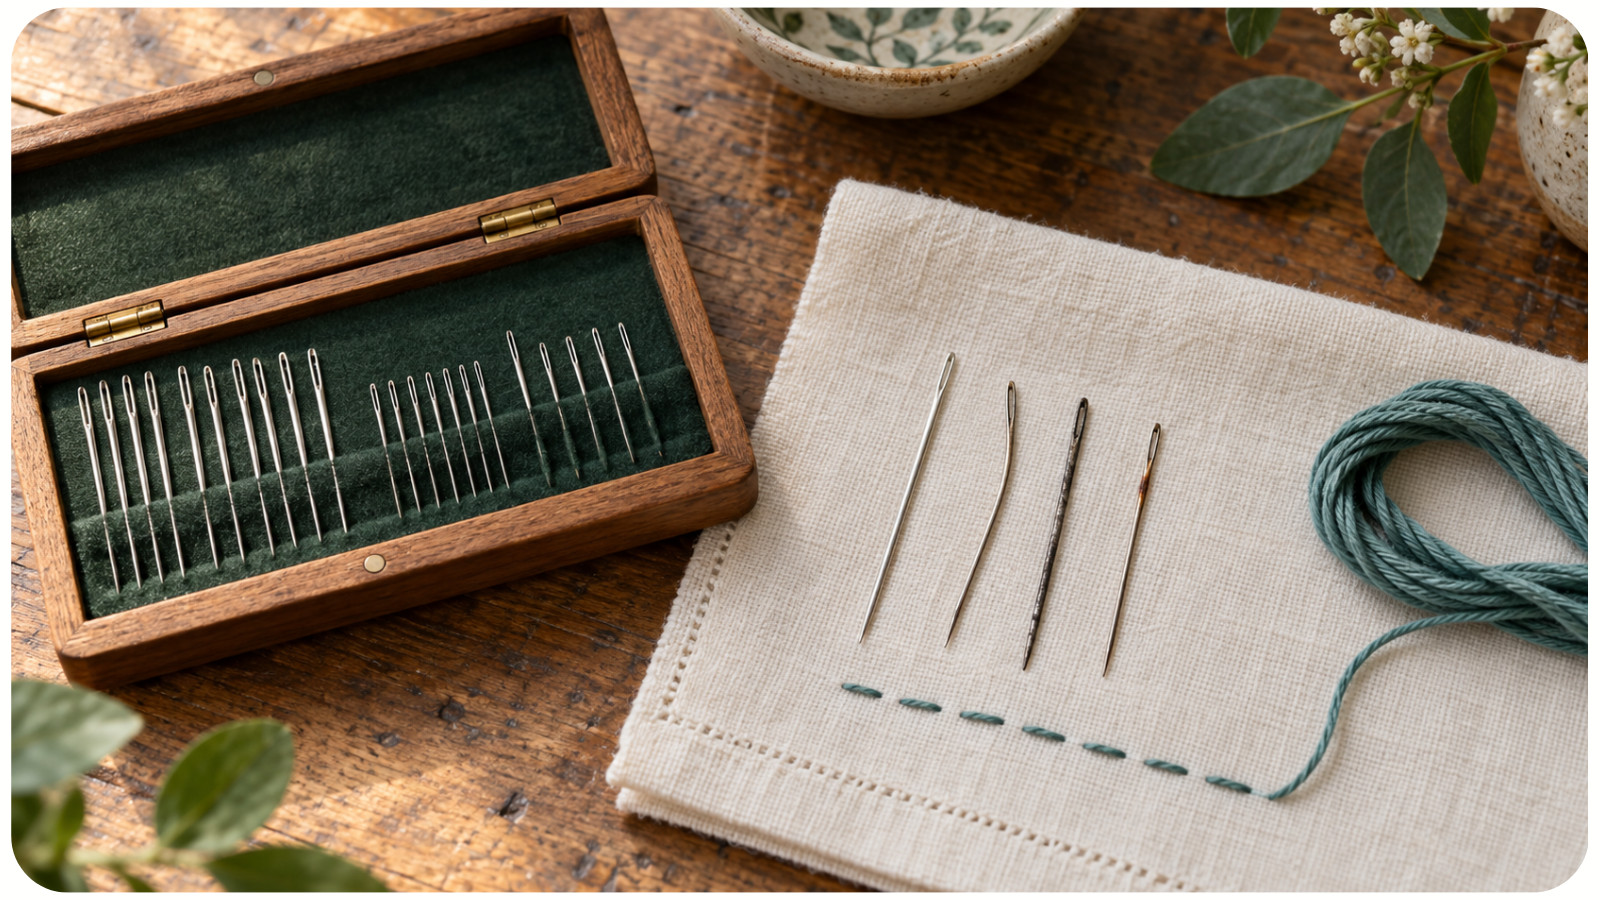
A general sewing needle may work for light embroidery, but its shorter eye can be awkward with several strands. Keeping a small labeled assortment makes deliberate choices much easier.
Choosing by Fabric Alone
Two people using the same cotton fabric may need different needles if one stitches with a single strand and the other with all six strands. Always consider the thread bundle as well as the fabric.
Forcing Thread Through a Small Eye
If threading requires repeated trimming, twisting, or crushing the floss, the eye is probably too small or the wrong shape. The thread should sit in the eye without being packed tightly.
Expecting One Needle to Last Forever
Replace a needle that is bent, rough, rusty, or difficult to pull through fabric that it once handled well. A damaged surface can snag fabric and abrade thread even when the size is otherwise correct.
Needle choice is only one part of clean stitching. If your results still look uneven, review these common embroidery mistakes and practical fixes.
A Simple Needle Kit for Beginners
You do not need a large collection to begin. A mixed pack of embroidery or crewel needles will cover most surface-embroidery projects worked with stranded cotton. Add a few chenille needles if you plan to use wool, perle cotton, ribbon, or specialty threads. Add tapestry needles for counted work and a milliner needle when you begin practicing bullion or cast-on stitches.
For a broader supply checklist, see our guide to the embroidery tools you actually need.
Keep opened needles labeled by type and approximate size. Once loose needles are mixed together, their small differences can be surprisingly hard to identify.
The Practical Rule to Remember
Choose the needle type by the job: sharp for piercing woven fabric, blunt for entering existing holes, long-eyed for bulky or delicate thread, and straight-sided for wrapped stitches. Then choose the size by testing the real fabric-and-thread combination.
The correct needle passes cleanly, protects the thread, leaves no distracting hole, and gives you control. It is one of the small details that can make embroidery look more polished. When stitching suddenly feels harder than it should, changing the needle is one of the quickest - and least expensive - adjustments you can make. You can find more practical help in the APS embroidery guide collection.