


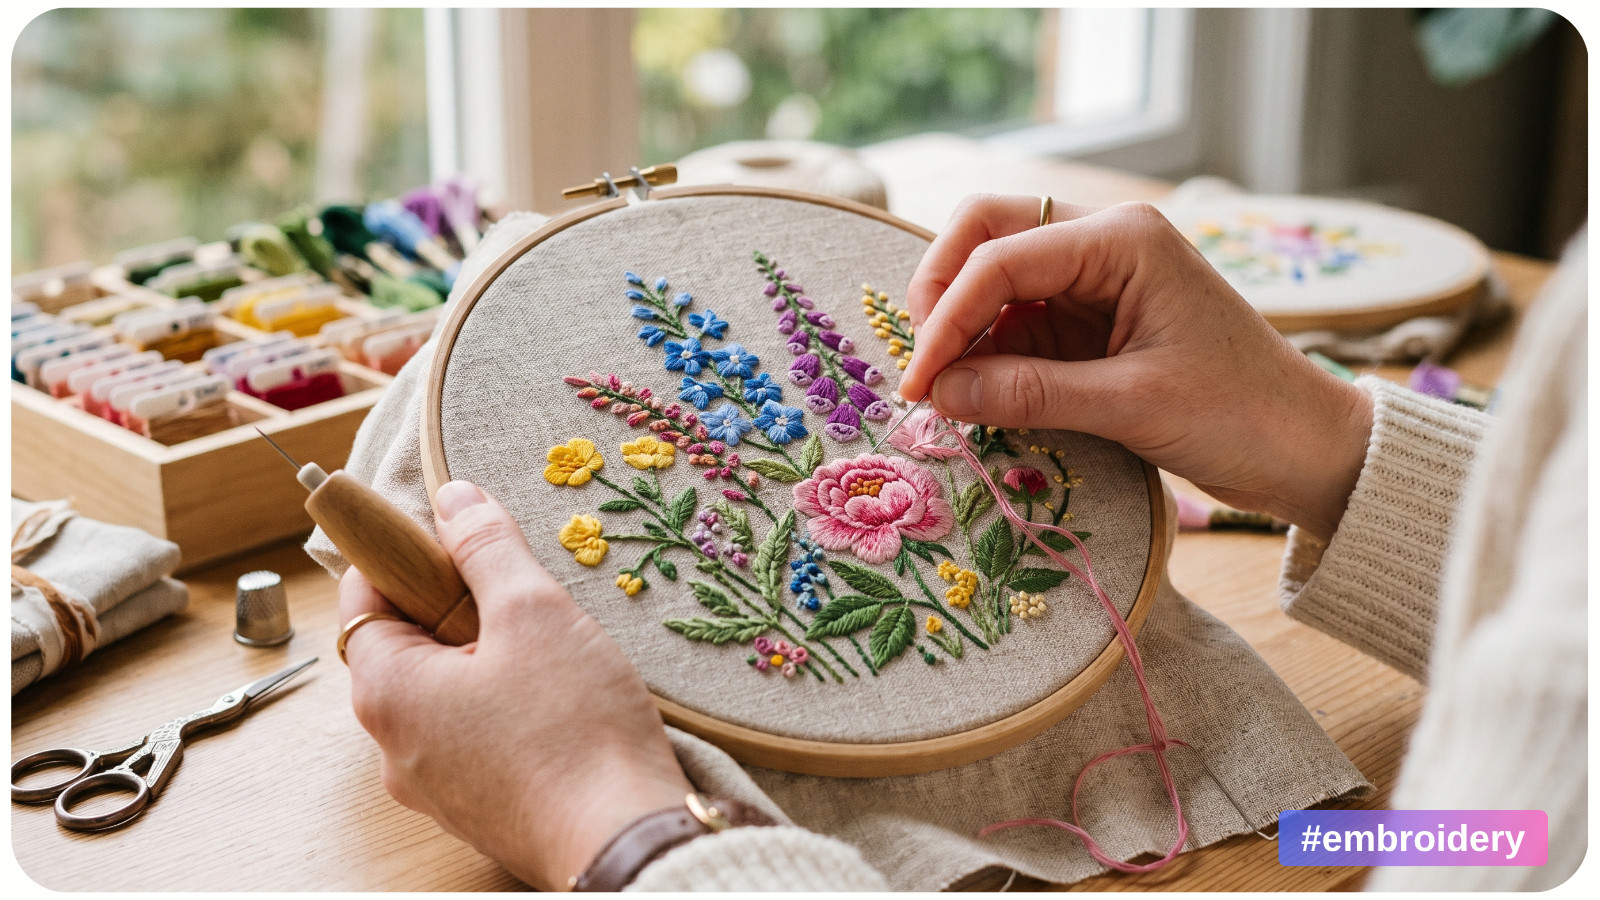
Embroidery patterns are excellent starting points, but they do not have to be followed exactly. One of the most rewarding parts of modern embroidery is learning how to customize a design so it reflects your personal taste, your skill level, and the final purpose of the piece.
Whether you are stitching hoop art, decorating denim, personalizing a tote bag, or creating a handmade gift, small technical choices can completely transform the look of a pattern. Changing the thread palette, swapping stitches, adjusting placement, or adding dimensional details allows you to make a design feel more refined, modern, romantic, bold, minimalistic, or playful.
The key is to customize with intention. A successful embroidery adaptation should still preserve balance, readability, and stitch quality. In this guide, you will learn practical, technically accurate ways to modify embroidery patterns while maintaining a professional finish.
UNDERSTAND THE ORIGINAL PATTERN FIRST
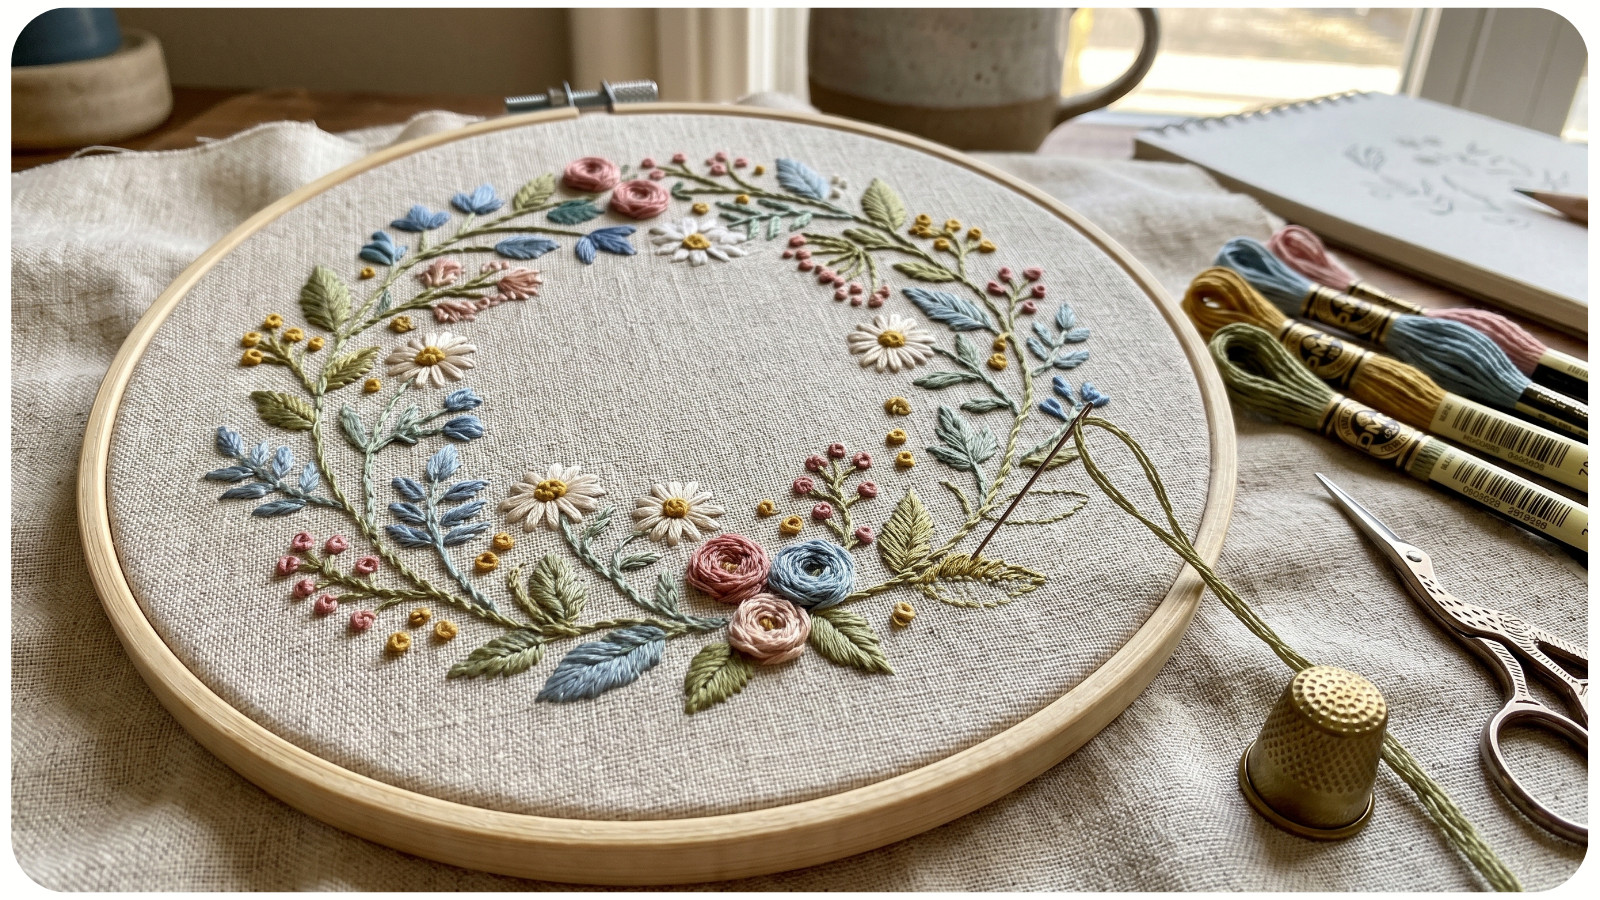
Before changing anything, study the pattern carefully. Look at the line weight, stitch direction, color distribution, focal point, and negative space. Every embroidery design has a structure, even if it appears simple.
Ask yourself what the pattern is trying to emphasize. Is the focus a floral bouquet, a quote, an animal portrait, or a decorative border? Identify which parts are essential and which areas can be adjusted without weakening the design.
For example, in a floral embroidery pattern, the flower shapes may be essential, while the colors and filler stitches are flexible. In lettering embroidery, the letter spacing and readability are critical, but surrounding decorative elements may be easier to personalize.
Awesome Pattern Studio patterns are especially useful for customization because they give you a strong visual foundation while leaving room for creative choices in color, texture, and finishing style.
CUSTOMIZE THE COLOR PALETTE
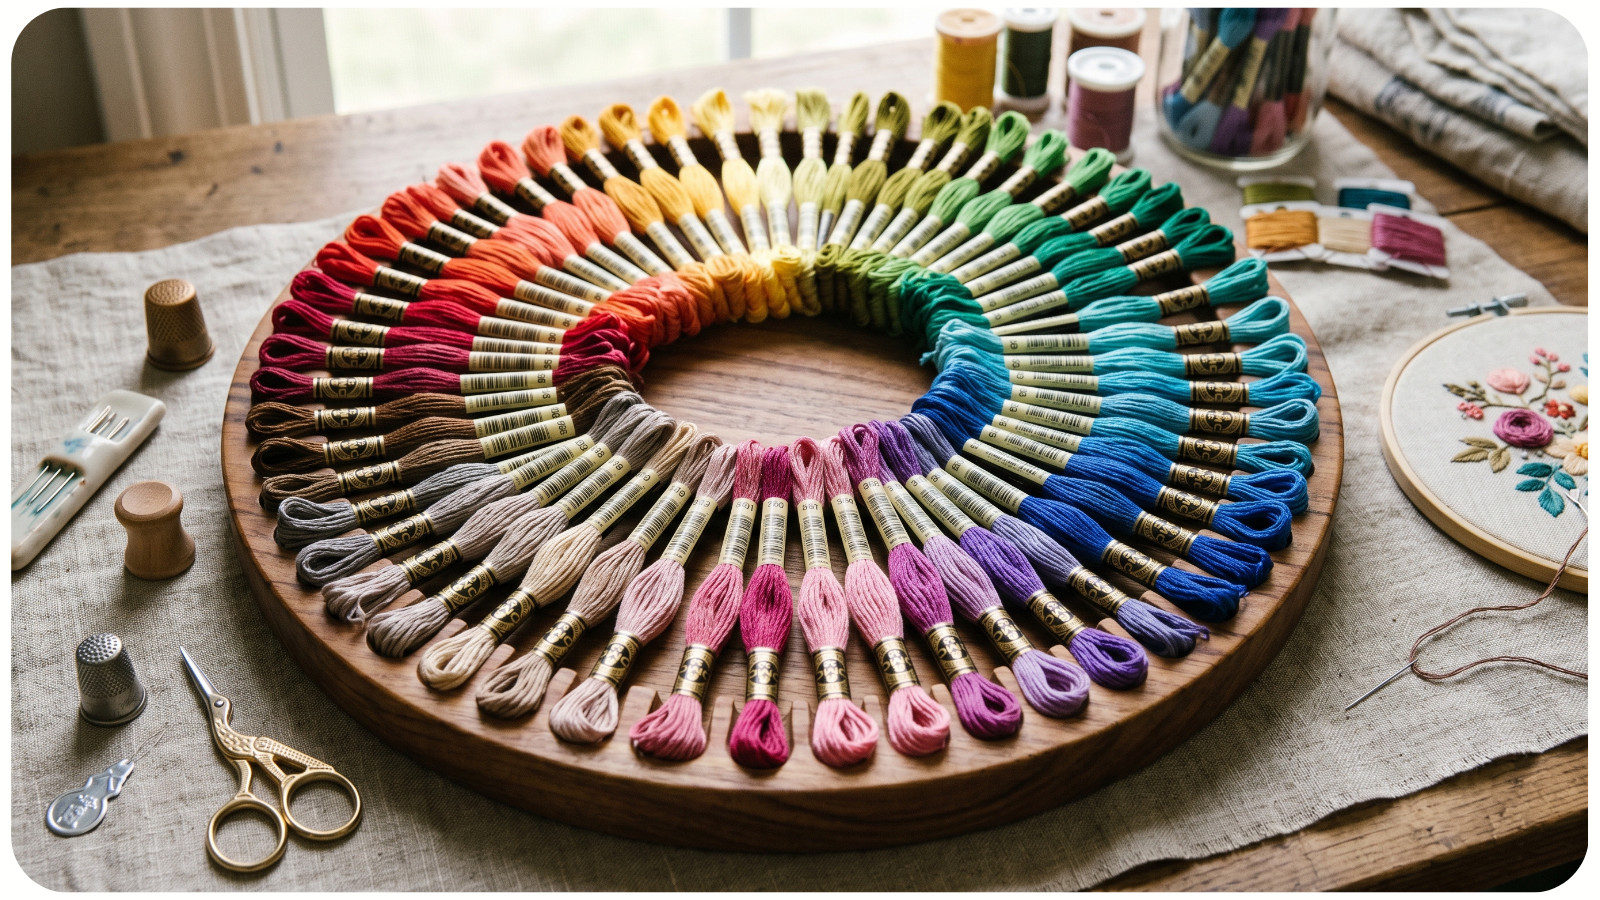
Color is one of the easiest and most powerful ways to make an embroidery pattern your own. You can keep the same stitch plan but create a completely different mood by changing the floss colors.
For a soft, romantic look, choose muted pinks, dusty blues, sage greens, cream, and warm neutrals. For a bold modern design, try high-contrast combinations such as black and gold, coral and teal, or deep navy with bright white. For a vintage effect, use slightly faded tones like ochre, terracotta, olive, and rosewood.
When adjusting colors, pay attention to value, not just hue. Value means how light or dark a color is. If the original pattern uses a dark shade to define outlines or shadows, replace it with another color of similar darkness. This keeps the design readable.
A reliable method is to create a three-part palette:
1. Main Colors. These are the dominant shades in the design. Use them for large areas such as petals, leaves, clothing, or background motifs.
2. Accent Colors. These are brighter or more contrasting shades used sparingly. They help direct the eye toward focal points.
3. Neutral Colors. These include cream, beige, gray, brown, white, or black. They help balance stronger colors and prevent the piece from looking too busy.
Before stitching, place your floss skeins beside your fabric in natural light. Thread colors can look different depending on fabric tone, lighting, and surrounding colors.
ADJUST THE STITCHES FOR TEXTURE
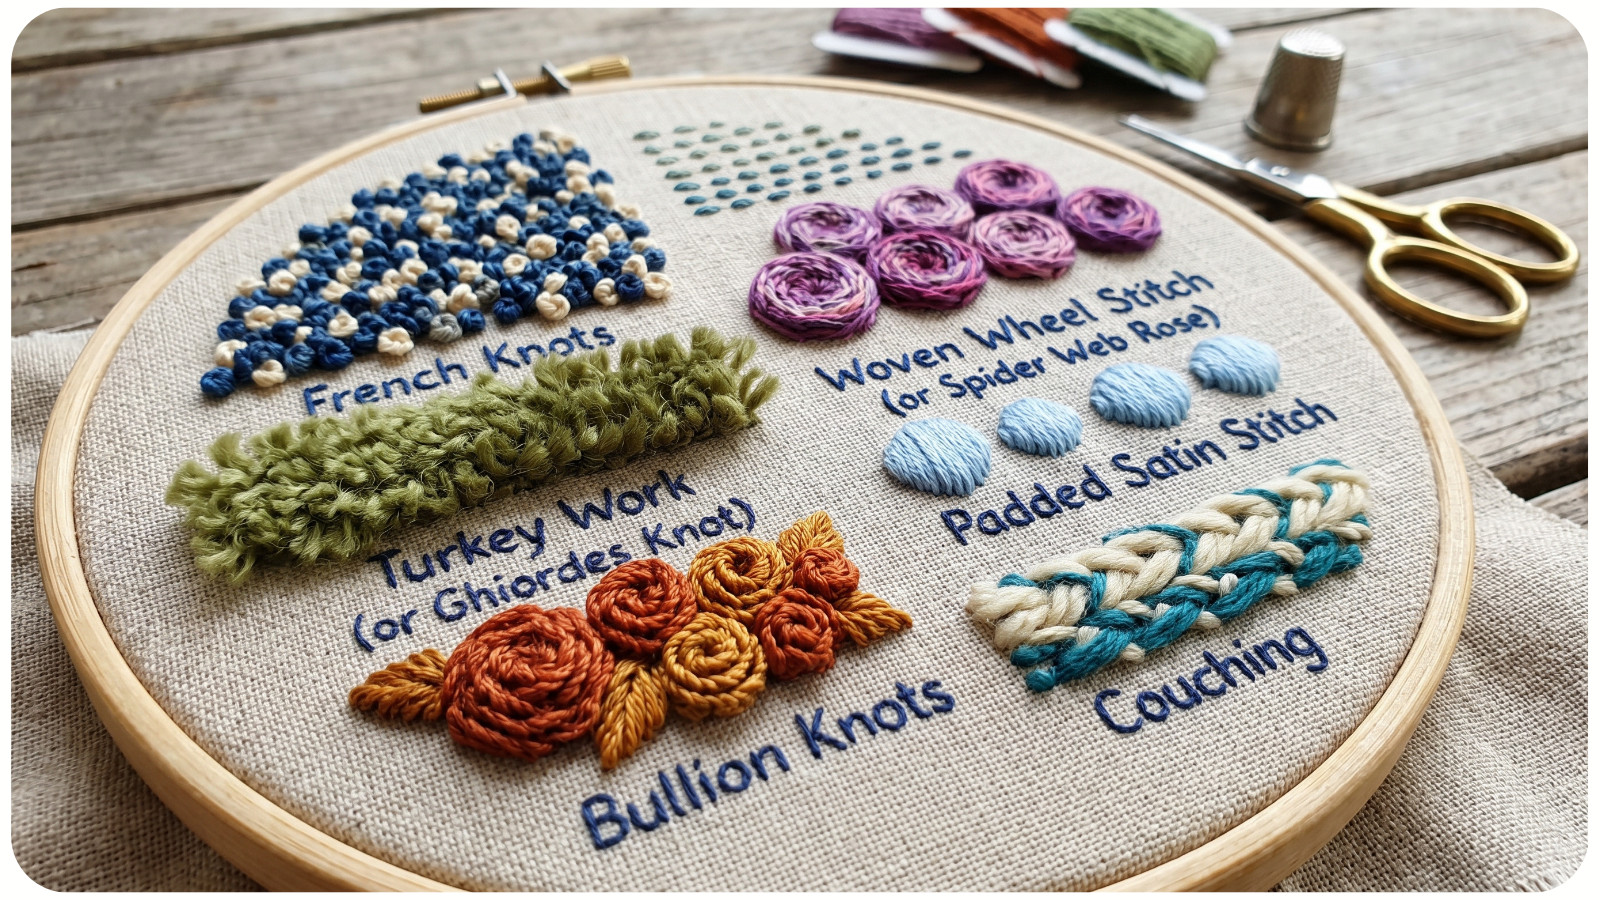
Changing stitch types is another effective way to personalize a pattern. Different stitches create different textures, densities, and visual effects.
A simple outline can become delicate with back stitch, bold with stem stitch, or decorative with chain stitch. A filled area can look smooth with satin stitch, painterly with long and short stitch, or dimensional with french knots.
For example, if a pattern uses satin stitch for flower centers, you might replace it with clustered french knots for a raised, seed-like texture. To do this, bring the needle up through the fabric, wrap the floss around the needle once or twice, hold the thread tension gently, and insert the needle close to the original entry point. Keep the knots close together but not so tight that they distort the fabric.
If you want smoother petals, satin stitch works well. Bring the needle up at one edge of the shape, insert it directly across on the opposite edge, and continue placing parallel stitches side by side. The important technical point is consistency: stitches should lie flat, follow the shape, and avoid gaps.
For leaves or stems, stem stitch creates a twisted, rope-like line. Bring the needle up at the start of the line, insert it a short distance ahead, and bring it back up halfway along the previous stitch while keeping the working thread consistently on the same side. This creates a smooth curved line that works beautifully for botanical patterns.
CHANGE THE SCALE CAREFULLY
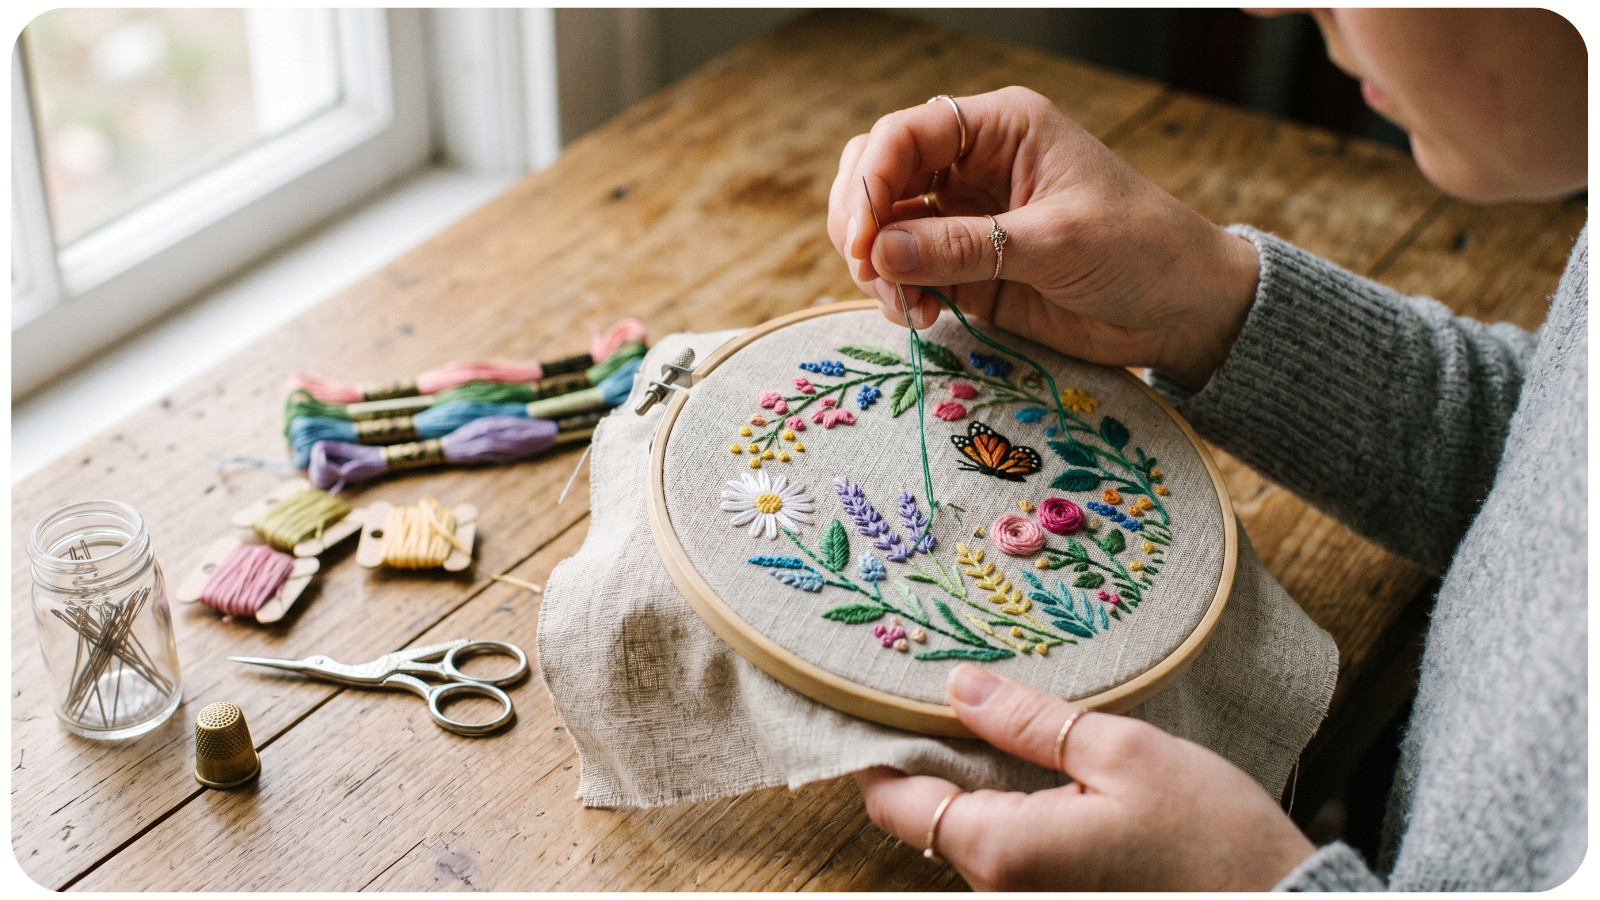
Resizing an embroidery pattern can make it more suitable for your project, but it also affects stitch choice and thread thickness.
If you enlarge a pattern, fine details become easier to stitch, but large filled areas may take longer and may need texture variation to avoid looking flat. If you reduce a pattern, tiny details may become crowded or unreadable.
As a general rule, simplify details when making a pattern smaller. Remove extra tiny leaves, shorten decorative lines, or replace complicated fill stitches with clean outlines. For larger versions, consider adding shading, extra french knots, layered stitches, or color blending.
Thread count also matters. Six-strand embroidery floss can be separated into individual strands. Use fewer strands for small, delicate details and more strands for bold outlines or large shapes. One or two strands create fine, controlled lines. Three strands are versatile for general stitching. Four to six strands create thicker, more dramatic texture.
MATCH THE PATTERN TO THE FABRIC
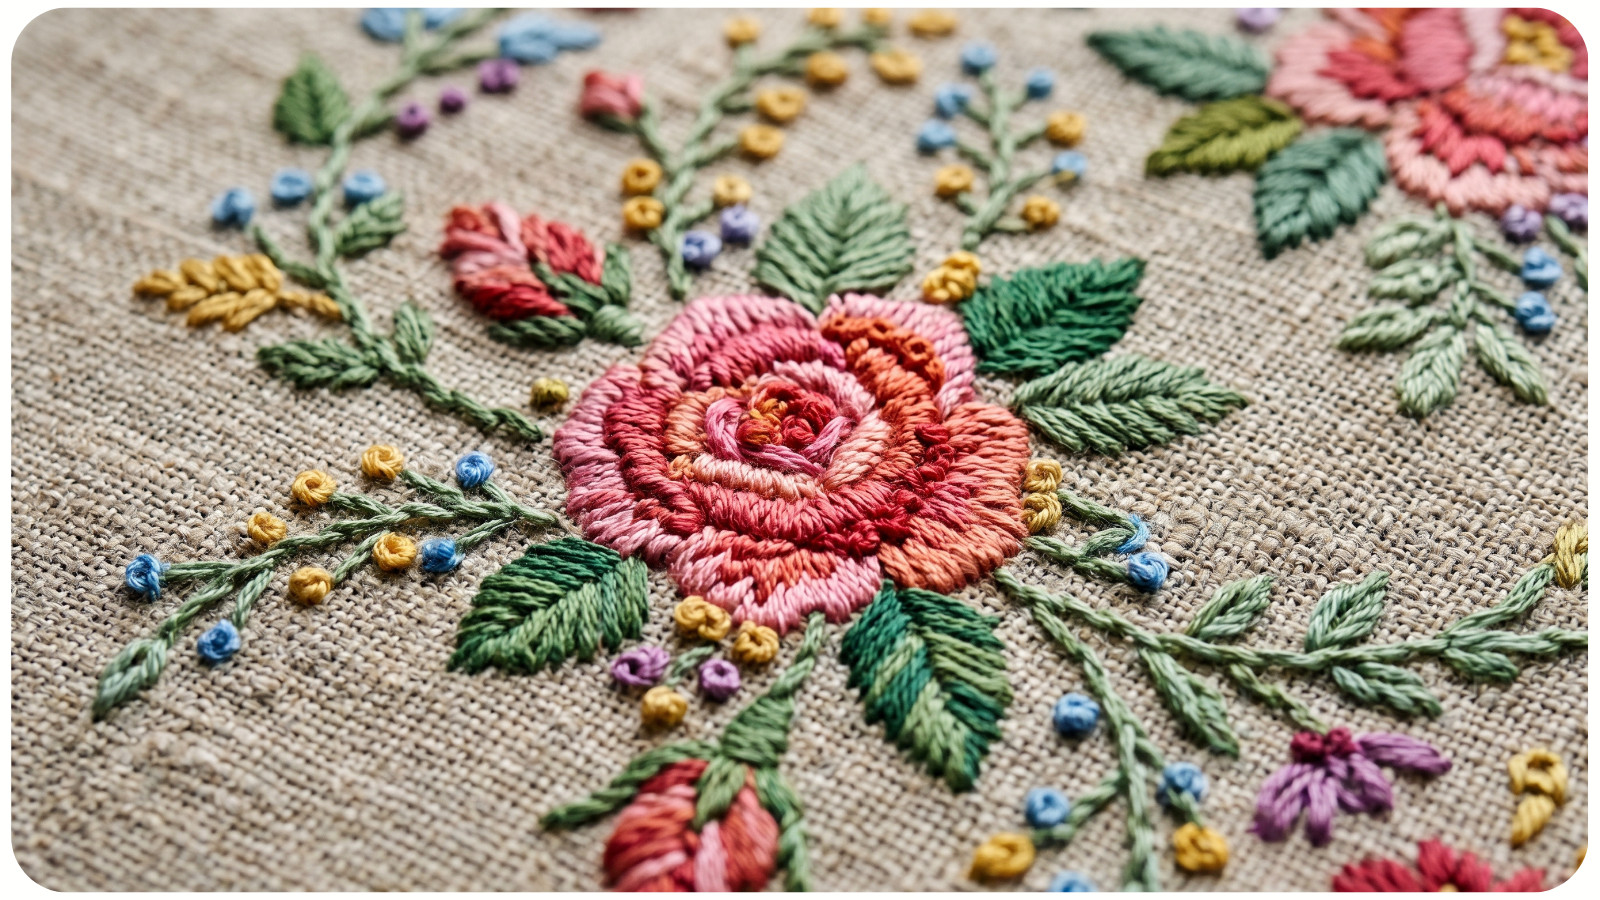
Fabric choice changes both the look and function of your embroidery. Cotton and linen are common choices for hoop art because they hold stitches well and give a clean finish. Denim, canvas, and twill are excellent for clothing and accessories, but they require stronger needles and careful tension.
For delicate fabrics, use lightweight stabilizer to prevent puckering. For stretchy fabrics, stabilizer is essential because it keeps the fabric from shifting while you stitch. Avoid pulling stitches too tightly, especially on clothing, because tight tension can cause distortion after washing or wearing.
The pattern should also suit the fabric color. A design stitched on white cotton will feel crisp and bright, while the same pattern on black linen may look dramatic and elegant. If stitching on dark fabric, choose thread colors with enough contrast so the details remain visible.
ADD PERSONAL DETAILS
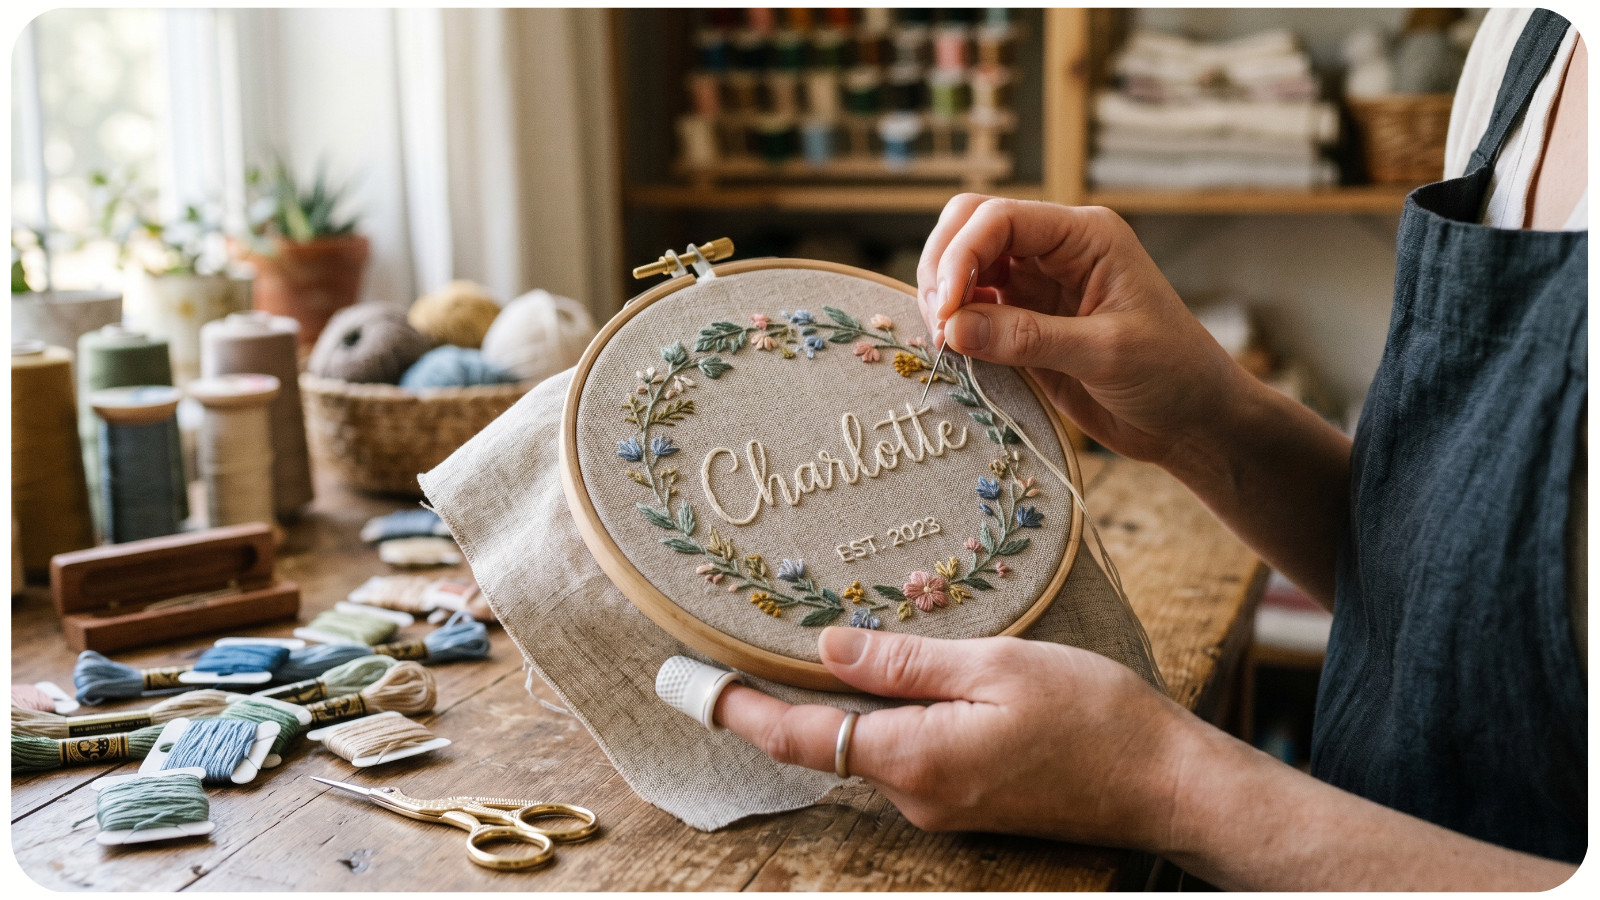
Personalization can be subtle or bold. You might add initials, a date, a meaningful quote, favorite colors, birth flowers, zodiac symbols, or small decorative motifs.
When adding text, keep readability in mind. Thin lettering works best with back stitch, split stitch, or stem stitch. Thick lettering may require satin stitch or long and short stitch. Always check spacing before stitching. Letters that look clear on paper may feel crowded once translated into thread.
For clothing customization, placement matters. A small motif near a collar, cuff, pocket, or hem often looks intentional and wearable. Larger designs work well on jacket backs, tote bags, or framed hoop art.
PRO-TIP: CREATE A TEST SWATCH BEFORE YOU COMMIT
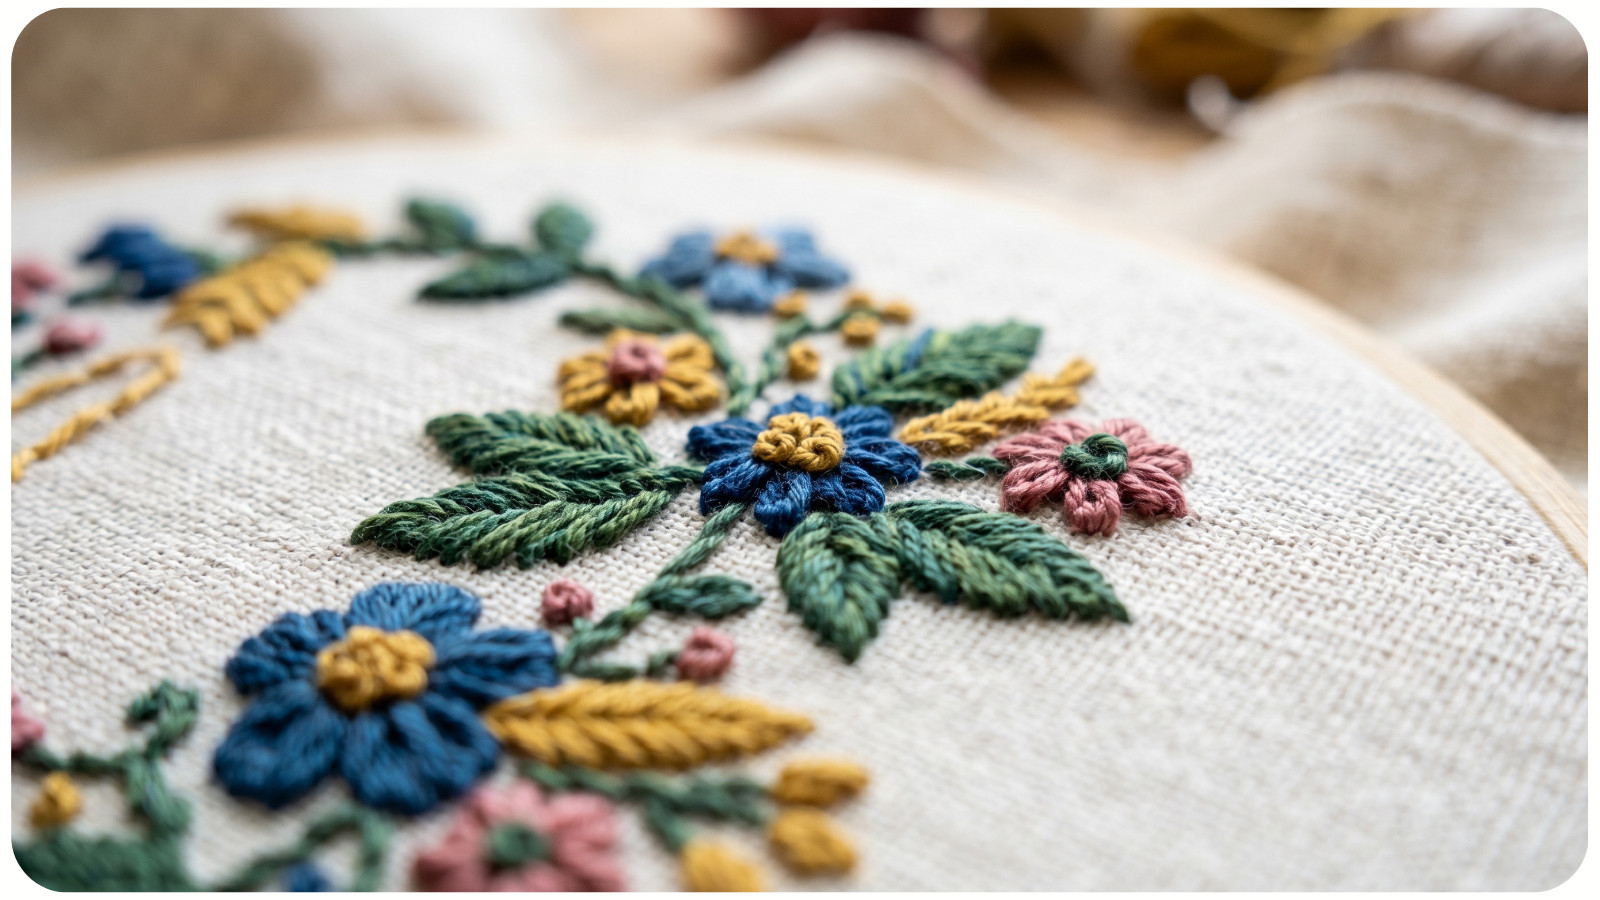
Before customizing the final piece, stitch a small test swatch using the same fabric, floss, needle, and stabilizer. Test your color palette, stitch substitutions, strand count, and tension.
This is especially important if you are changing satin stitch areas, adding french knots, working on dark fabric, or embroidering clothing. A test swatch helps you catch problems early, such as colors that lack contrast, stitches that appear too bulky, or fabric that puckers under tension.
Professional-looking embroidery often comes from preparation, not perfection. Testing gives you technical control before you invest hours in the finished project.
MAINTAIN VISUAL BALANCE
Customization should enhance the pattern, not overload it. If you add texture in one area, leave another area simpler. If you choose bold colors, balance them with neutrals. If you add extra motifs, make sure they support the main design rather than compete with it.
A strong embroidery piece usually has one clear focal point. This might be the largest flower, the central phrase, the brightest color, or the most detailed area. Use your custom changes to guide the viewer’s eye toward that focal point.
Step back from your work occasionally. Embroidery is often viewed from a distance, not only up close. A design that looks detailed in your hands should still look balanced when displayed on a wall, worn on clothing, or photographed for social media.
FINISH WITH INTENTION
The final presentation is part of the customization process. Hoop art can be finished in a wooden hoop, painted hoop, flexi hoop, or frame. Clothing embroidery should be secured neatly on the back and, when needed, protected with backing to prevent irritation against the skin.
Trim loose threads carefully, but do not cut knots too close. Press finished fabric from the back on a soft towel to protect raised stitches. Avoid crushing french knots, satin stitch, or dimensional areas with direct heat.
A beautifully customized pattern should feel cohesive from start to finish: thoughtful color, clean stitching, appropriate fabric, and polished presentation.
CONCLUSION
Customizing embroidery patterns is both a creative and technical skill. By understanding the original design, adjusting colors with purpose, selecting stitches for texture, scaling carefully, and matching your materials to the project, you can transform any pattern into something personal and professional.
The best custom embroidery does not abandon the pattern; it builds on it. Start with a strong design from Awesome Pattern Studio, then use your own color sense, stitch preferences, and creative details to make the finished piece unmistakably yours.