


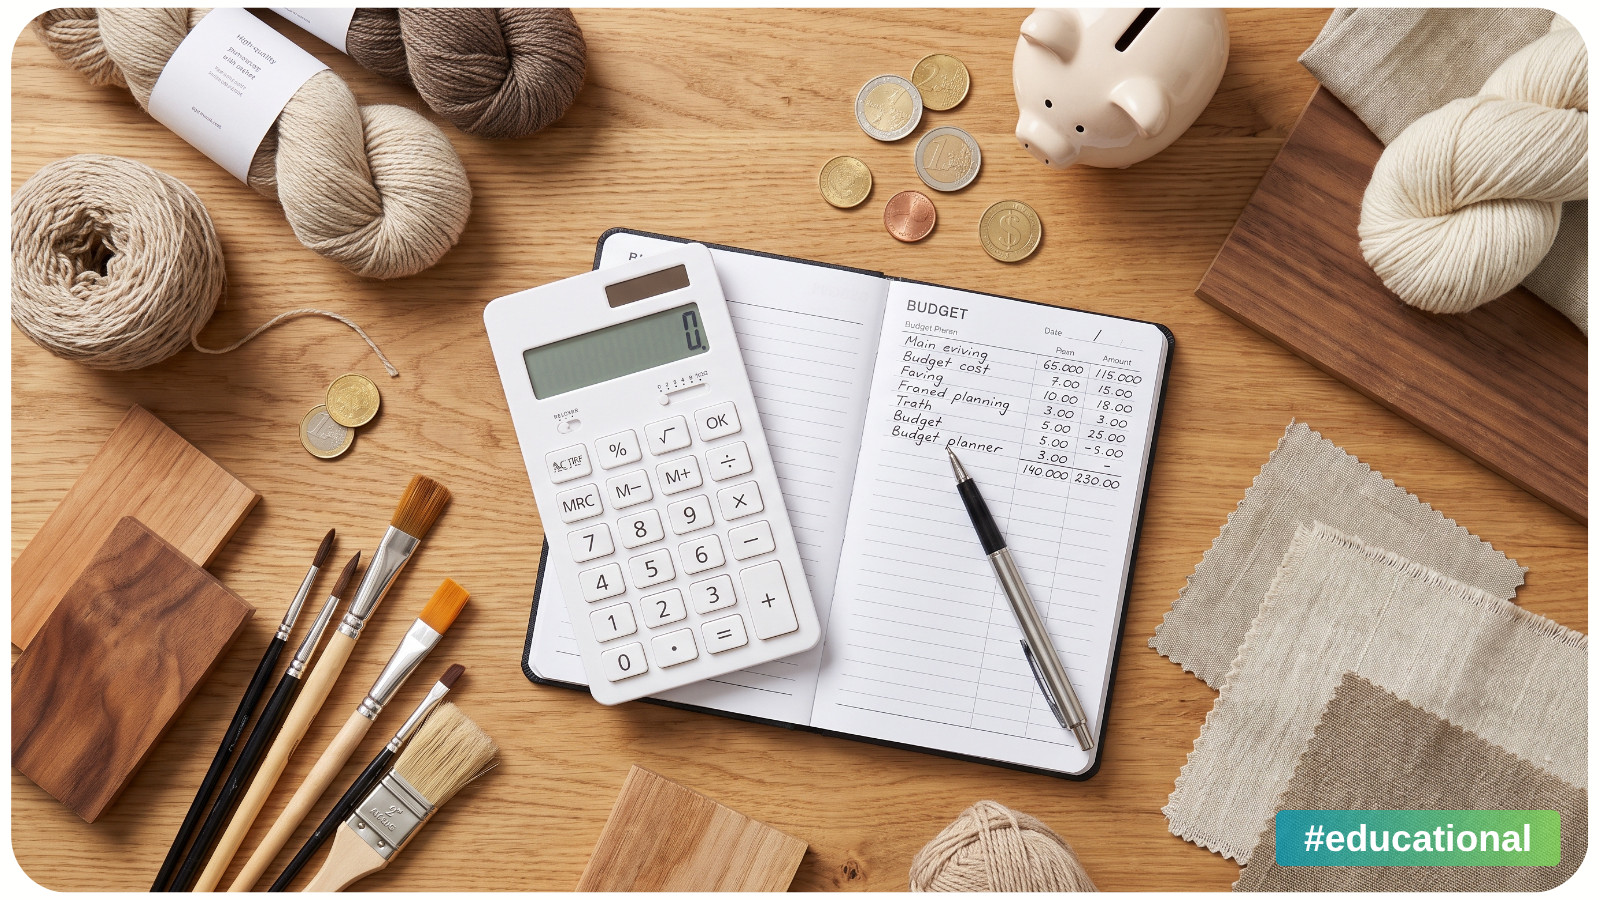
A craft project can look wonderfully affordable at first. The pattern is $8, the yarn is on sale, or the unfinished wooden box costs less than lunch. Then come the extra skeins, the correct needle, shipping, sealant, framing, and the storage bin purchased for all the leftovers. Suddenly, that “inexpensive weekend project” has become a much larger investment.
That doesn’t mean you should choose every project by price alone. It means the most useful craft budget is an honest one. When you estimate the full cost before starting, you can decide where quality matters, where substitutions make sense, and whether the finished object is worth the money, time, and space it will require.
Start With the True Project Cost
The price printed on the pattern, kit, canvas, or base object is rarely the complete cost. Use a simple formula before you shop:
True project cost = materials used + tools purchased + finishing + shipping and fees + a small contingency
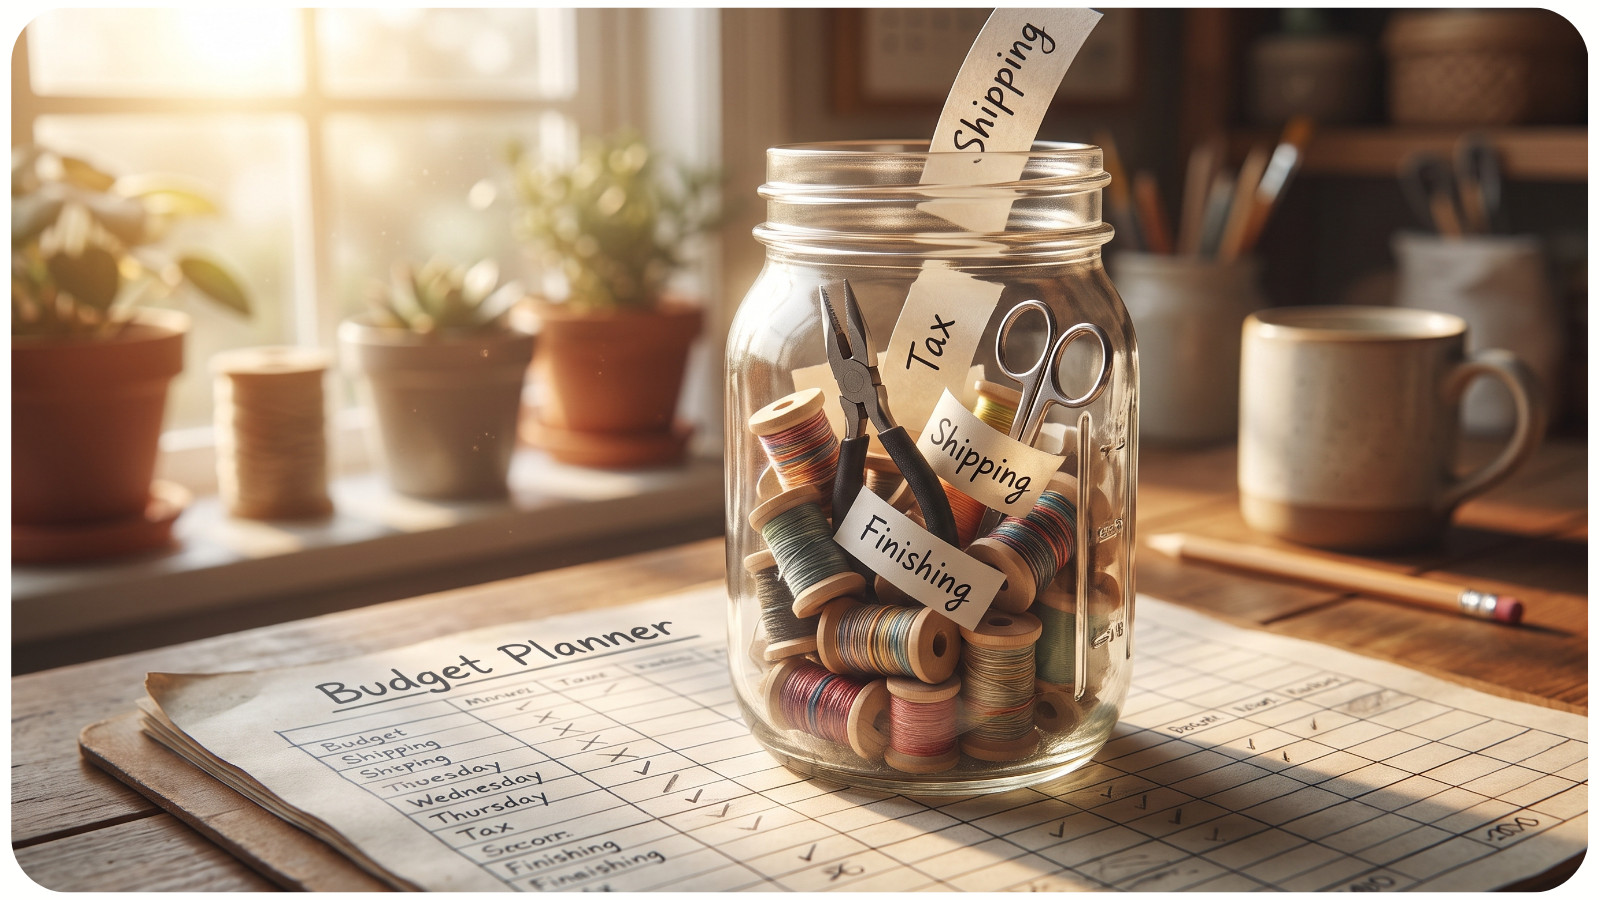
Time belongs in the decision too, even if you craft for pleasure rather than profit. You don’t need to assign yourself an hourly wage for a relaxing hobby project. Still, knowing whether something will take three evenings or three months helps you judge its real commitment.
Before adding anything to your cart, divide the budget into five categories:
• Materials that become part of the finished object
• Tools you need to buy
• Finishing supplies or services
• Delivery, tax, and ordering costs
• Optional upgrades
This separates necessities from tempting extras. It also prevents a common mistake: buying the visible supplies first and discovering halfway through that the project needs several less exciting but essential items.
Calculate What You’ll Use, Not Just What You’ll Buy
There are two useful numbers in a craft budget: the checkout total and the consumed cost.
Suppose a cross-stitch project requires small amounts from eight full skeins of floss. You must pay for all eight at checkout, but much of that floss will remain available for future work. The checkout total tells you how much cash you need now. The consumed cost tells you how expensive this particular project really is.
The same distinction applies to a large bottle of fabric glue, a pack of 50 sheets of cardstock, a jar of varnish, or a set of crochet hooks. Record the full purchase price in a “buy now” column, then estimate the portion the project will consume in a second column.
This is especially helpful when comparing a kit with buying supplies separately. A kit may appear more expensive per project, yet be the better value if it provides exactly the required quantities and prevents a pile of rarely used leftovers. Separate supplies may win when you already own the tools or regularly use the same materials.
Audit Your Supplies Before Shopping
Shopping from your own collection is one of the few ways to save money without lowering quality. Gather the pattern or instructions and check every requirement against what you already have. If your stash needs a more creative reset, these mini projects for leftover craft supplies can turn small quantities into something useful.
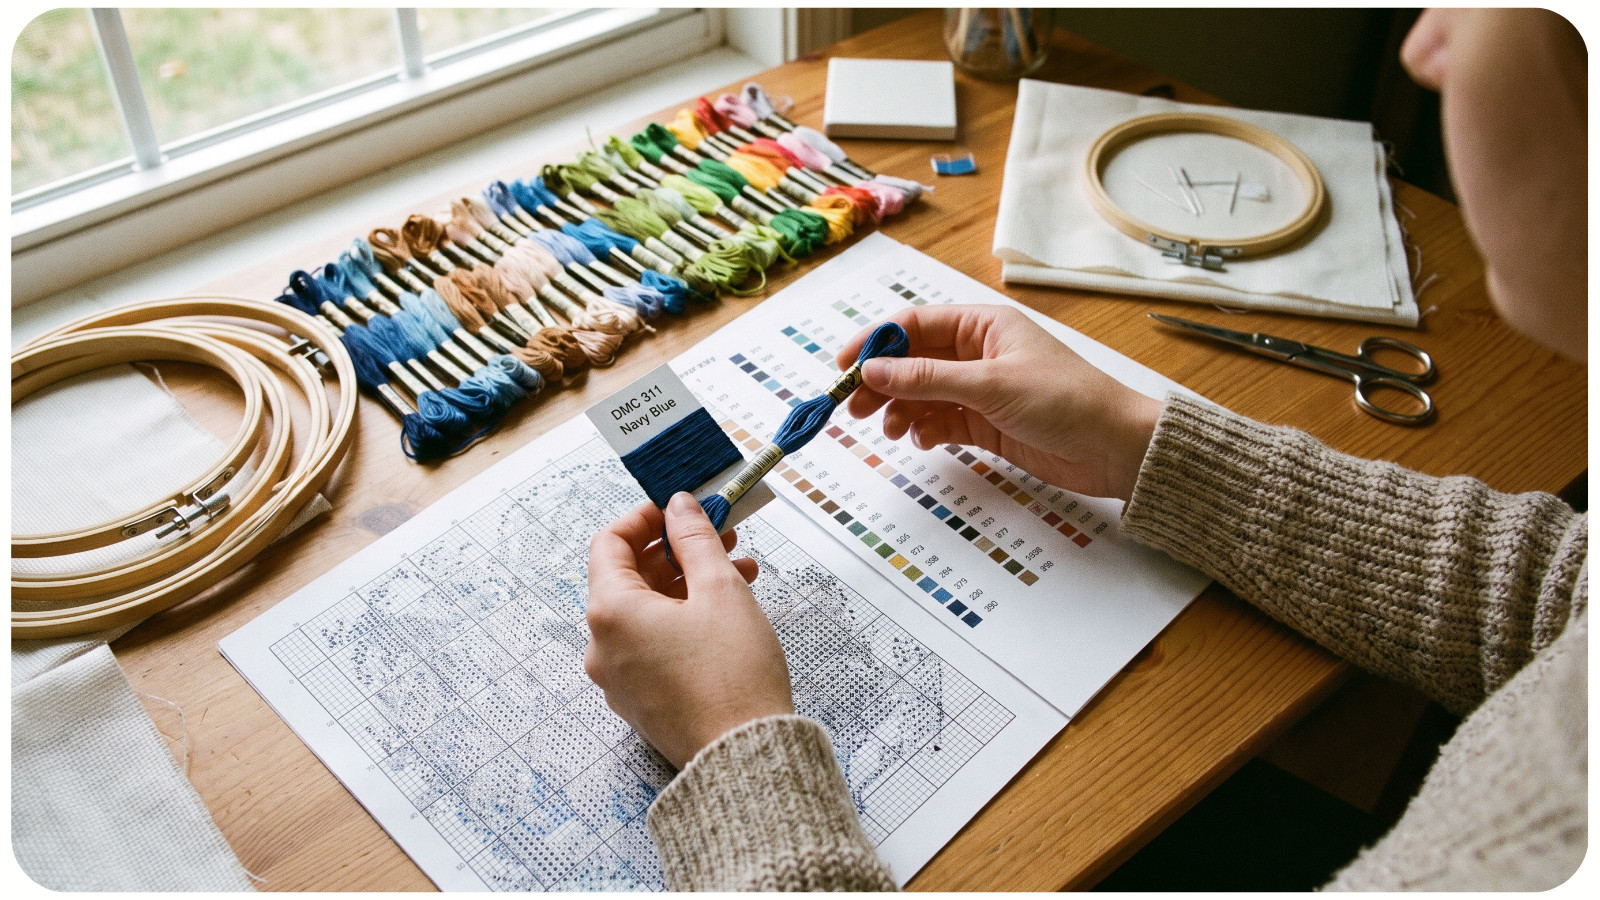
Be specific. “I have paint” is not the same as having enough suitable paint in the correct colors. “I own embroidery needles” doesn’t guarantee the right size for the fabric. Check quantities, dimensions, condition, color numbers, and compatibility. For stitchers, reviewing the available cross-stitch supplies can help clarify which items are essential and which you already own.
This short audit may reveal sensible substitutions:
• A hoop already on hand can serve during stitching even if you plan to frame the finished piece.
• Neutral yarn from an earlier project may replace a background color if its weight, fiber, and care requirements match.
• A glass container should be reused for a candle only if it is designed to tolerate candle heat.
• Existing paper, ribbon, or fabric scraps may suit small details better than a new coordinated bundle.
Avoid treating every leftover as free. If using it now means replacing it for a planned project next month, it still has value. If you want to experiment with what’s already available, start with these DIY art projects that require no new supplies.
Identify the Hidden Costs Most Budgets Miss
Finishing is the classic budget surprise. A handmade piece isn’t necessarily complete when the stitching, painting, or assembly ends.
For cross stitch or embroidery, finishing might include a frame, mat, backing fabric, mounting supplies, or professional framing. A crocheted garment may need buttons, blocking mats, wool wash, or a garment bag. A painted piece may require primer, brushes, protective finish, and hanging hardware. Candle making includes containers, wicks, warning labels, and testing materials, not just wax and fragrance.
Shipping can also change the best buying decision. Three low-priced orders from different stores may cost more than one slightly higher-priced order from a single supplier. Compare the final delivered totals rather than individual item prices.
Finally, allow a modest contingency - around 10 percent for an unfamiliar project is a practical starting point. It covers a broken needle, an extra skein, a test piece, minor waste, or a material estimate that was slightly too tight. A familiar craft with predictable supplies may need less.
Know When Cheap Materials Become Expensive Mistakes
Real saving isn’t about choosing the lowest price in every category. It’s about spending more where failure, discomfort, or poor durability would cost you more later.
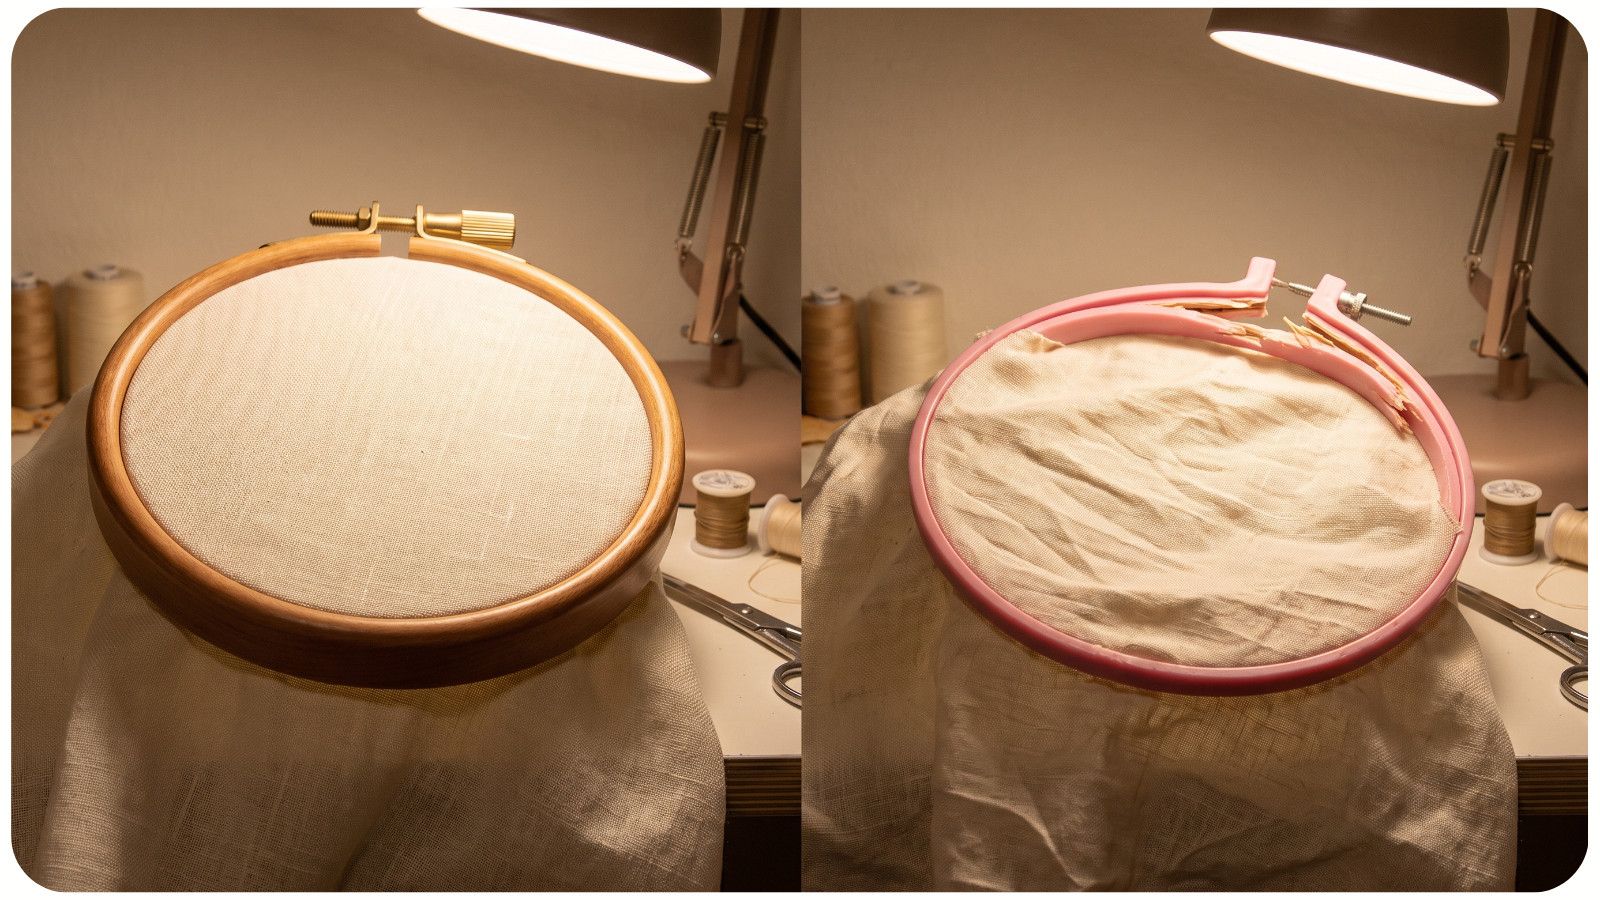
Prioritize quality when a material affects the structure, safety, or longevity of the project. Reliable fabric, colorfast thread, suitable adhesives, sound jewelry findings, and the correct yarn weight can protect hours of work. Comfortable tools also matter when a project involves repeated hand movements over many sessions.
Save on elements that are temporary, interchangeable, or mostly decorative. You may not need premium mixing cups, branded storage boxes, a complete new color collection, or a specialized tool for a task that something you own can perform well.
Ask yourself: If this cheaper option fails, what will I lose besides its purchase price? If the answer is “ten hours of work” or “the entire finished piece,” the bargain may not be economical.
Compare Three Versions of the Same Project
Instead of making one budget, create three. This makes upgrades visible and turns them into conscious choices rather than cart surprises.
The Minimum Workable Version
This version uses suitable materials you already own, sensible substitutions, basic finishing, and only the tools required to complete the project successfully.
The Balanced Version
This is often the smartest choice. It protects quality in the important areas while allowing one or two upgrades that improve the making experience or finished appearance.
The Dream Version
This includes premium materials, specialty accessories, elaborate finishing, and optional extras. It isn’t automatically wasteful. It simply shows the full price of the most ambitious interpretation.
Seeing the three totals makes tradeoffs much clearer. You may discover that a beautiful frame matters more to you than a new set of tools, or that premium yarn is worthwhile while fancy packaging is not.
Consider the Cost per Finished and Used Project
A $20 project you abandon isn’t better value than a $60 project you finish, display, wear, or give with pride. Cost alone can’t predict enjoyment, but your own habits offer useful evidence.
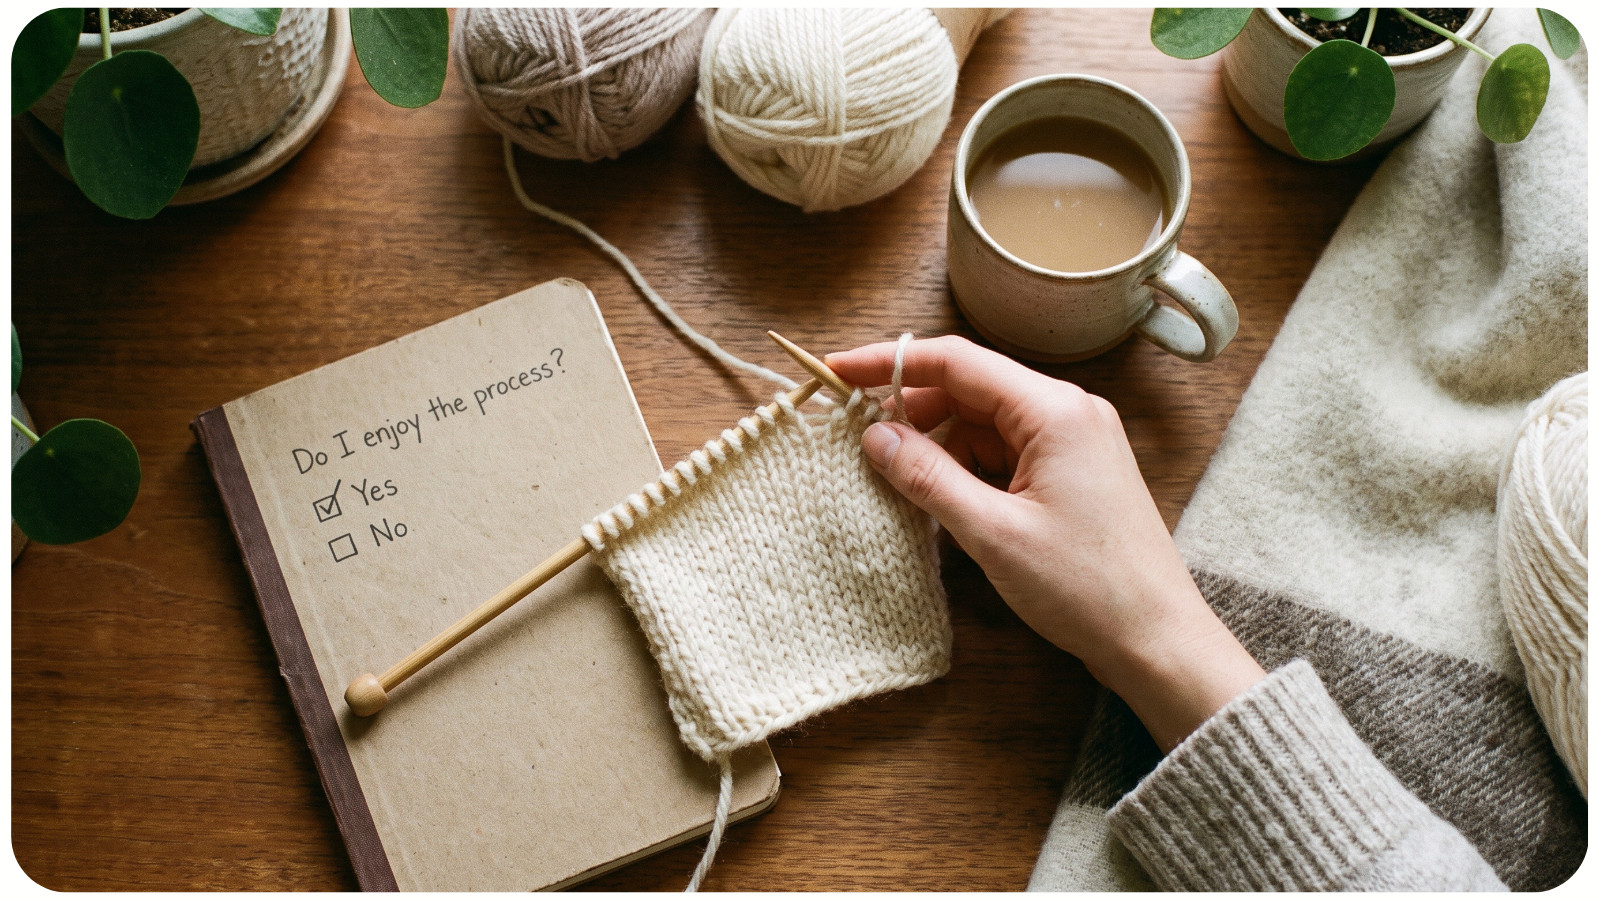
Before beginning, ask:
• Do I enjoy the main process this project requires?
• Is the difficulty appropriate for my current skills and patience?
• Do I have a realistic place to work on and store it?
• Does the estimated time fit the next few weeks or months?
• Do I actually want the finished object?
Buying for an imagined future self creates expensive supplies. Choosing for your actual interests, schedule, and space leads to more completed projects. If fear of an imperfect result encourages you to overbuy or postpone starting, this beginner’s guide to crafting without perfectionism offers a more practical mindset.
For a large or unfamiliar craft, try a smaller version first. Make one candle before buying supplies for twenty. Stitch a small design on an unfamiliar fabric count. Crochet a swatch before ordering sweater quantities. A test project may feel like an extra expense, but it is often inexpensive insurance against a much larger abandoned purchase.
Use a Simple Pre-Project Budget Checklist
Before clicking “buy,” confirm that you know:
1. The required quantities and sizes
2. Which supplies you already own and can truly spare
3. The complete delivered price
4. Any finishing costs
5. Which purchases will remain useful later
6. The likely time commitment
7. Your contingency amount
8. The maximum total you are comfortable spending
Then wait a day before ordering nonessential upgrades. A short pause makes it easier to distinguish a useful tool from the excitement of building the perfect cart.
The Best Craft Budget Protects the Joy of Making
Careful budgeting shouldn’t drain the pleasure from a project. Its purpose is the opposite: to prevent mid-project frustration, unfinished work, and the uncomfortable feeling that a “small” hobby purchase somehow got out of control.
Estimate the complete project, invest where quality protects your work, and save through planning rather than compromise. When every purchase has a job and the final total fits comfortably, you can begin with something more valuable than a bargain: confidence that you’ve chosen a project you can afford, enjoy, and finish.