


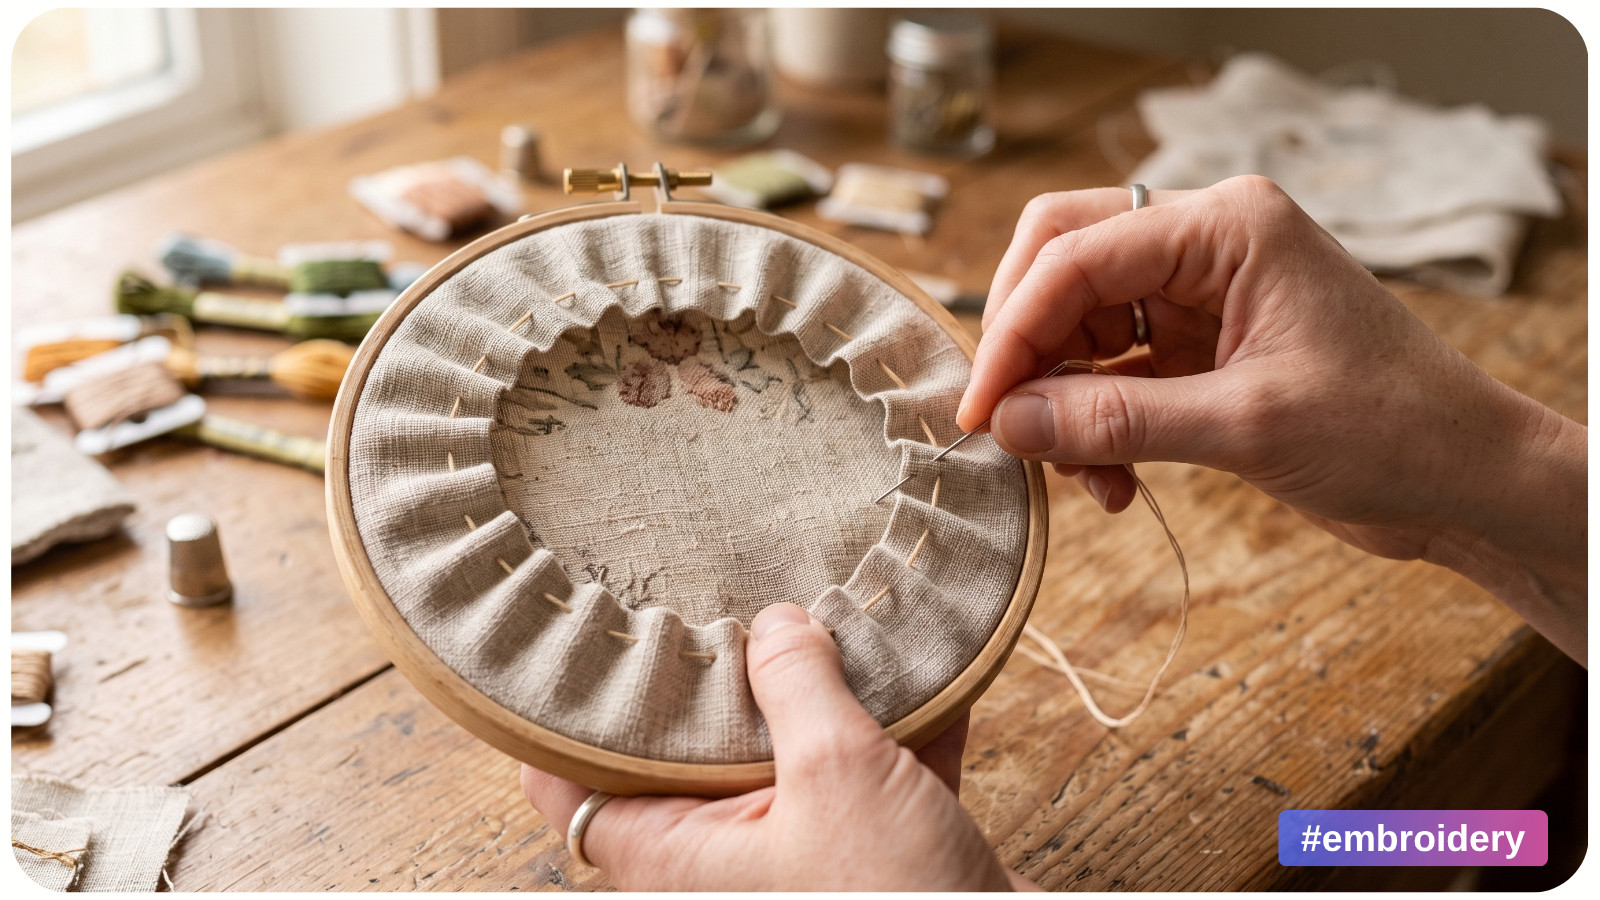
Your embroidery is done, but the back of the hoop still has loose fabric and visible thread ends. You can turn it into a neat wall hanging with a needle, sewing thread, and felt. The method below gathers the extra fabric and covers the opening. You can adjust the front before making the final cuts.
This guide is for hand embroidery kept in a standard two-ring hoop for display. For valuable or delicate work, consider professional mounting. For a first hoop project or a handmade gift, a sewn finish is a practical choice.
If you are new to the craft, you can explore more hand embroidery articles from Awesome Pattern Studio as you plan your next piece.
What you need
• Your finished embroidery and a display hoop that fits the design
• Sewing thread and a hand-sewing needle
• Fabric scissors and small embroidery scissors
• A piece of felt large enough to cover the opening at the back of the hoop
• A pencil or removable fabric marker to mark the felt
• Optional: a short length of ribbon or cord for hanging
Choose thread strong enough to gather the fabric without snapping. Ordinary sewing thread works for many cotton or linen projects; heavier fabric may need stronger thread. Match it to your fabric or felt if you like.
Before you trim anything: Check that the embroidery has enough plain fabric around the design to sit securely in the hoop and fold over its back. If the fabric barely reaches the inner ring, skip ahead to the section on short fabric edges. Cutting too close at this stage is difficult to fix.
Step 1: Make the front look right
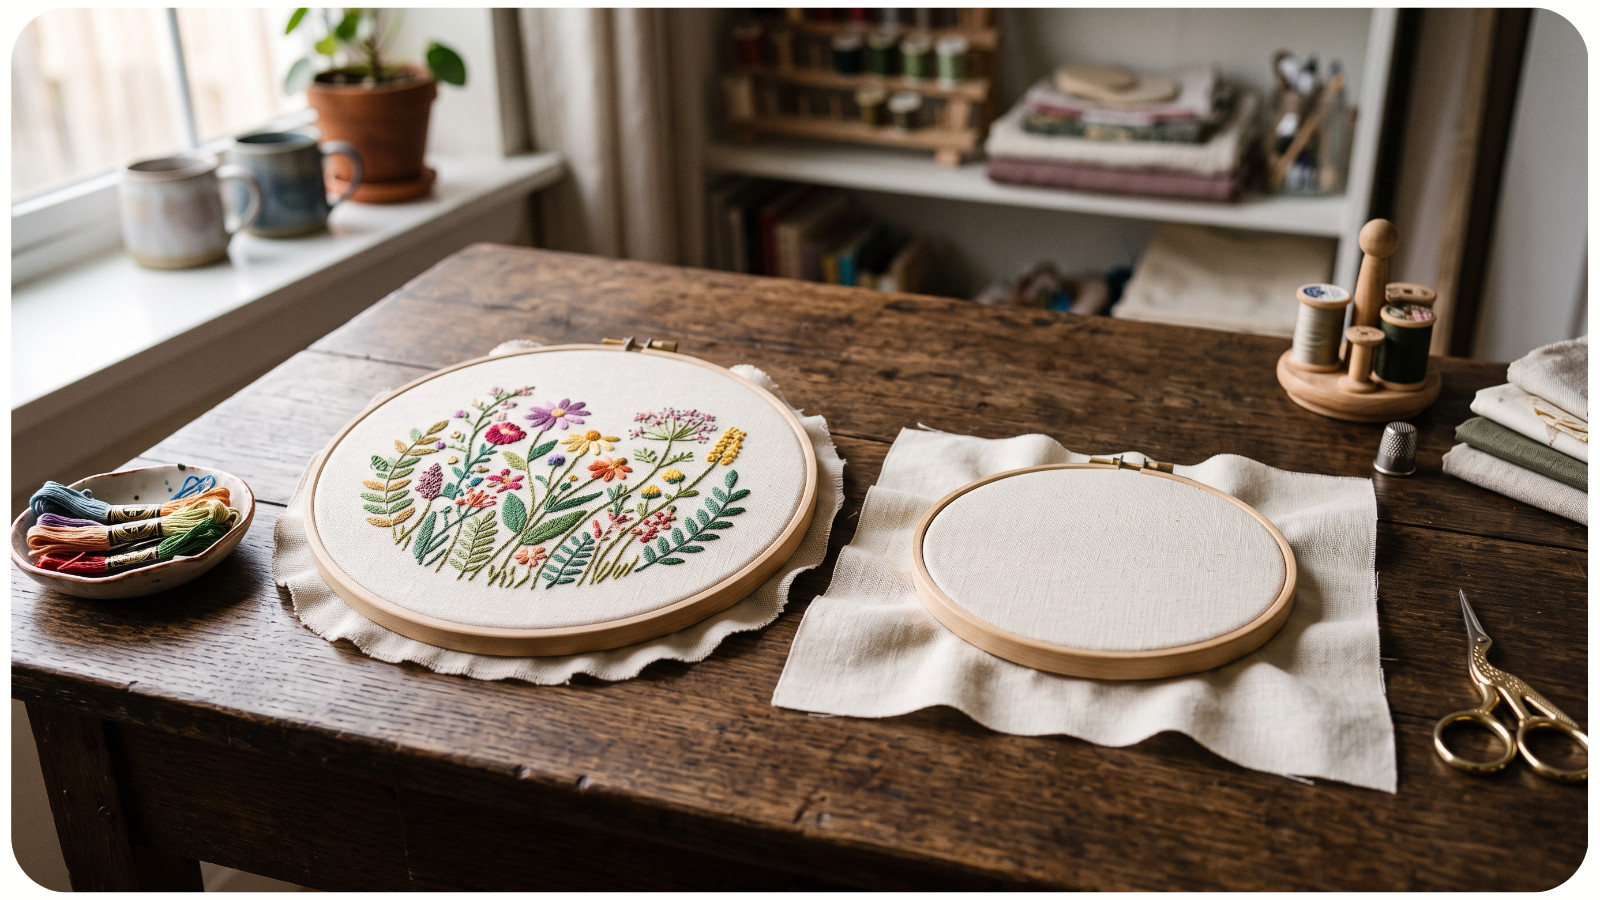
If the stitched piece is still in your working hoop, decide whether that hoop is clean and sturdy enough to display. You can also move it to a fresh hoop of the same size. Place the inner ring underneath the fabric, center your design, and press the outer ring down over it. Keep the screw at the top if it will serve as your hanging point. If you are weighing a hoop against other display options, our guide to cross-stitch frames introduces some common frame types, though its examples use cross-stitch.
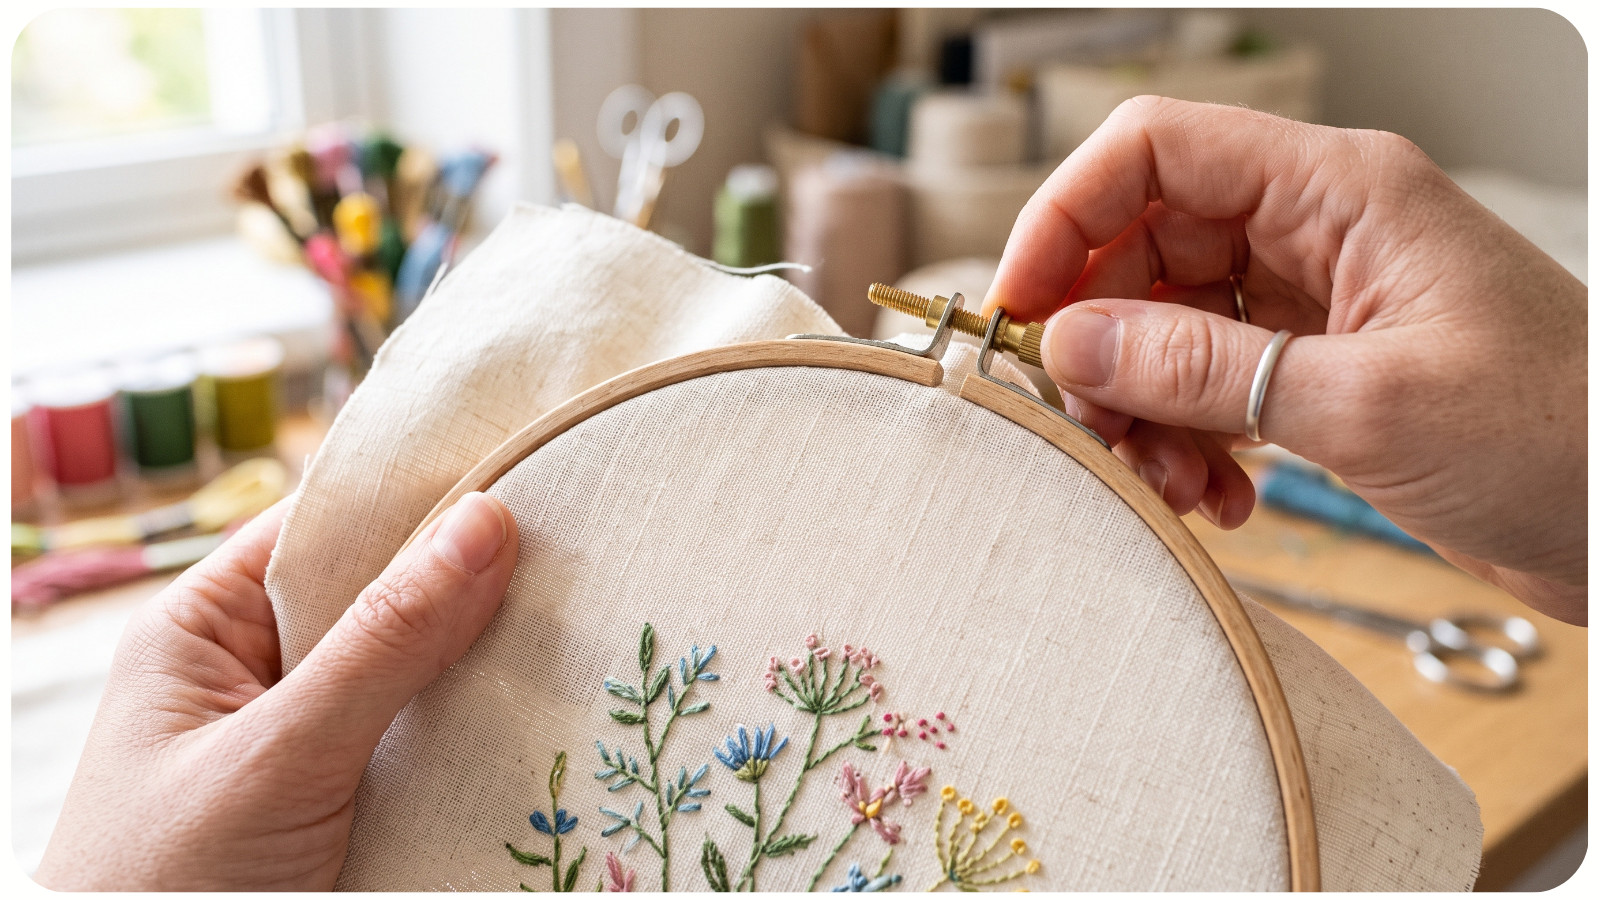
Gently pull the plain fabric around the outside, working a little at a time on opposite sides. Tighten the screw and check that the design is centered and the surrounding fabric lies smooth. The surface should look even, without stretched stitches or a distorted design. If one side looks wavy, loosen the screw slightly, adjust that section, and tighten it again.
If the fabric needs cleaning or pressing, follow the care instructions for its fibers, threads, dyes, and any added beads or trims before final assembly. Do not iron directly over raised stitches. Let the work dry fully before closing the back.
Step 2: Leave enough fabric to fold inward
Turn the hoop over. Before cutting, fold a little of the spare fabric inward to see how much you will need. Then trim it into a rough circle, leaving a generous border beyond the hoop's edge. About 1 to 2 inches works for many small and medium hoops, but the useful amount depends on the hoop and fabric. The border must reach inward far enough for the gathering stitches to catch it all the way around.
Keep the cut roughly even. You do not need a perfect circle because the cut edge will be hidden. Make your first cut on the generous side; you can always trim a little more later. Watch for the back of the embroidery as you move the scissors, especially if long stitches or thread tails sit close to the edge.
Step 3: Gather the fabric behind the hoop
Thread your needle but leave the starting end unknotted, with a long tail you can hold. Starting on the back, sew a running stitch around the fabric border. A running stitch is a simple line of short in-and-out stitches. Work through the extra fabric, roughly half an inch in from its cut edge, rather than through the embroidered design. On fabric that frays easily, leave more room between the stitch line and the edge. Keep hold of the starting tail so it does not slip through.
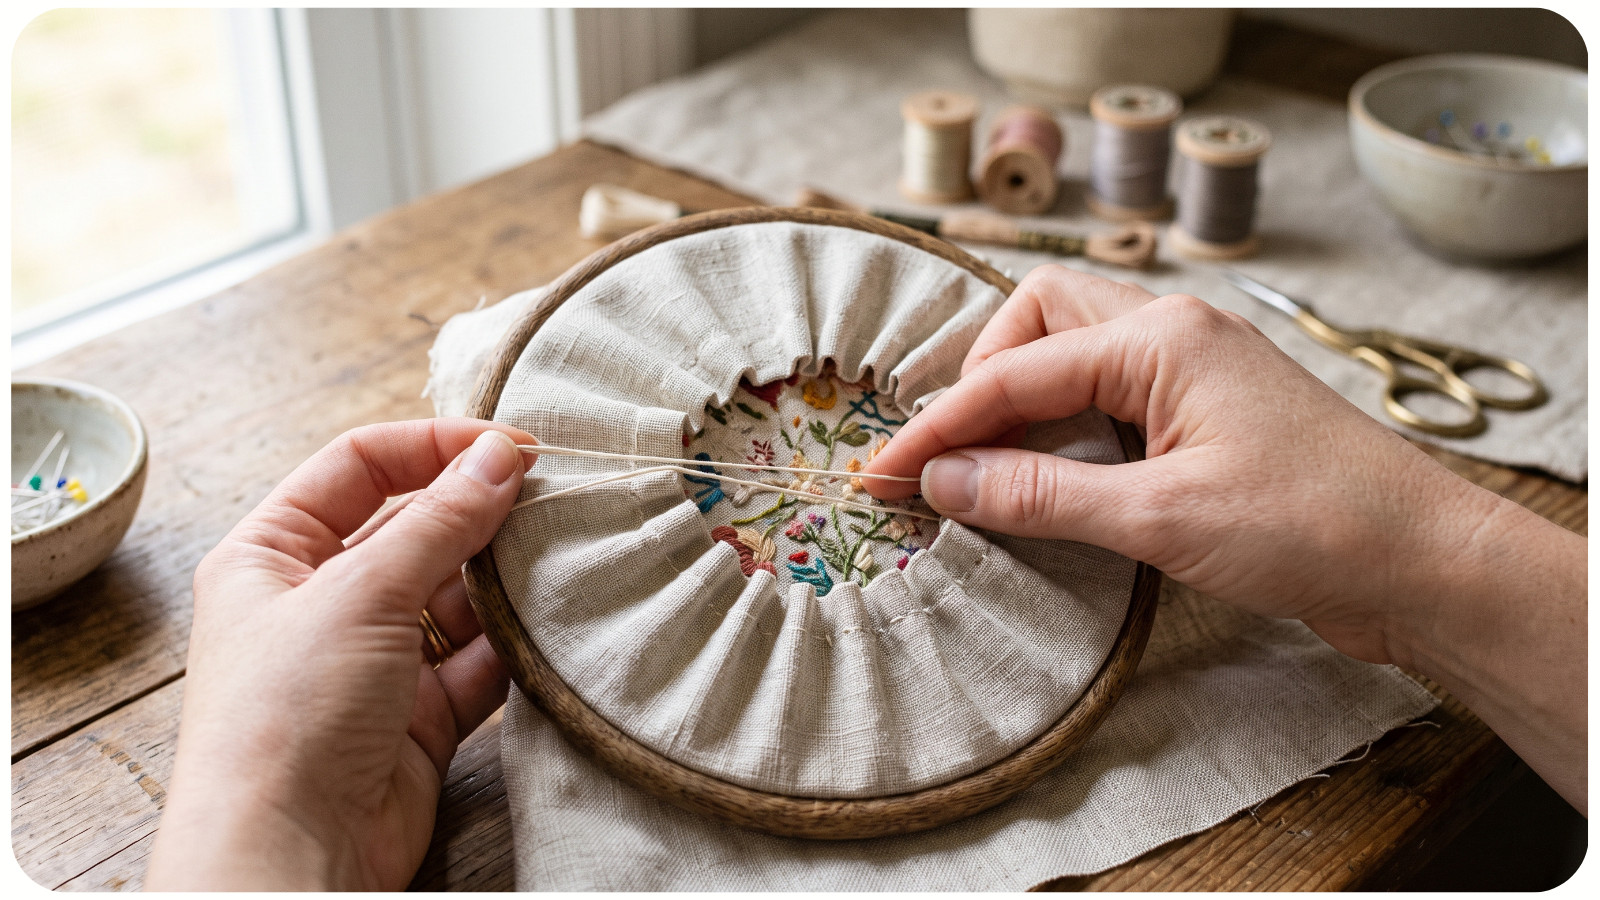
Once you return to the starting point, remove the needle and draw the two thread ends gently. The outer fabric edge will fold inward toward the middle of the hoop. Distribute the small folds with your fingers instead of pulling everything to one side. Stop before the thread pulls hard enough to wrinkle the front. Turn the hoop over and check the design. If it has shifted, relax the gathering thread, smooth the fabric, and try again. When the front looks right and the folded fabric stays in place, tie the ends together securely on the back.
The felt will hide the gathered edge and thread tails.
Step 4: Cut a felt cover that fits your hoop
Place the hoop face down on the felt and mark a circle for the back opening. Cut a little outside your mark at first, then test the felt against the back. Trim gradually until it covers the gathered fabric and sits neatly within the visible rim. Hoop shapes and widths vary, so a test fit is more reliable than copying a fixed diameter.
Aim for a flat cover that does not spill over the hoop edge. If you can still see fabric folds around it, cut a new, slightly larger circle or recenter the first one. If the felt buckles, trim a little from its edge. Choose felt thick enough that the gathered threads do not show through, but flexible enough to sew easily.
Step 5: Sew the felt in place
Lay the felt over the gathered fabric. With a fresh length of sewing thread, catch a small bit of the turned-in fabric beneath the felt, then pass the needle through the felt near its edge. Repeat around the circle with small stitches. A matching thread helps the stitches blend in. Hold the hoop at an angle so you can see where the needle is going, and keep the needle in the backing layers. Avoid piercing through the visible front of the embroidery.
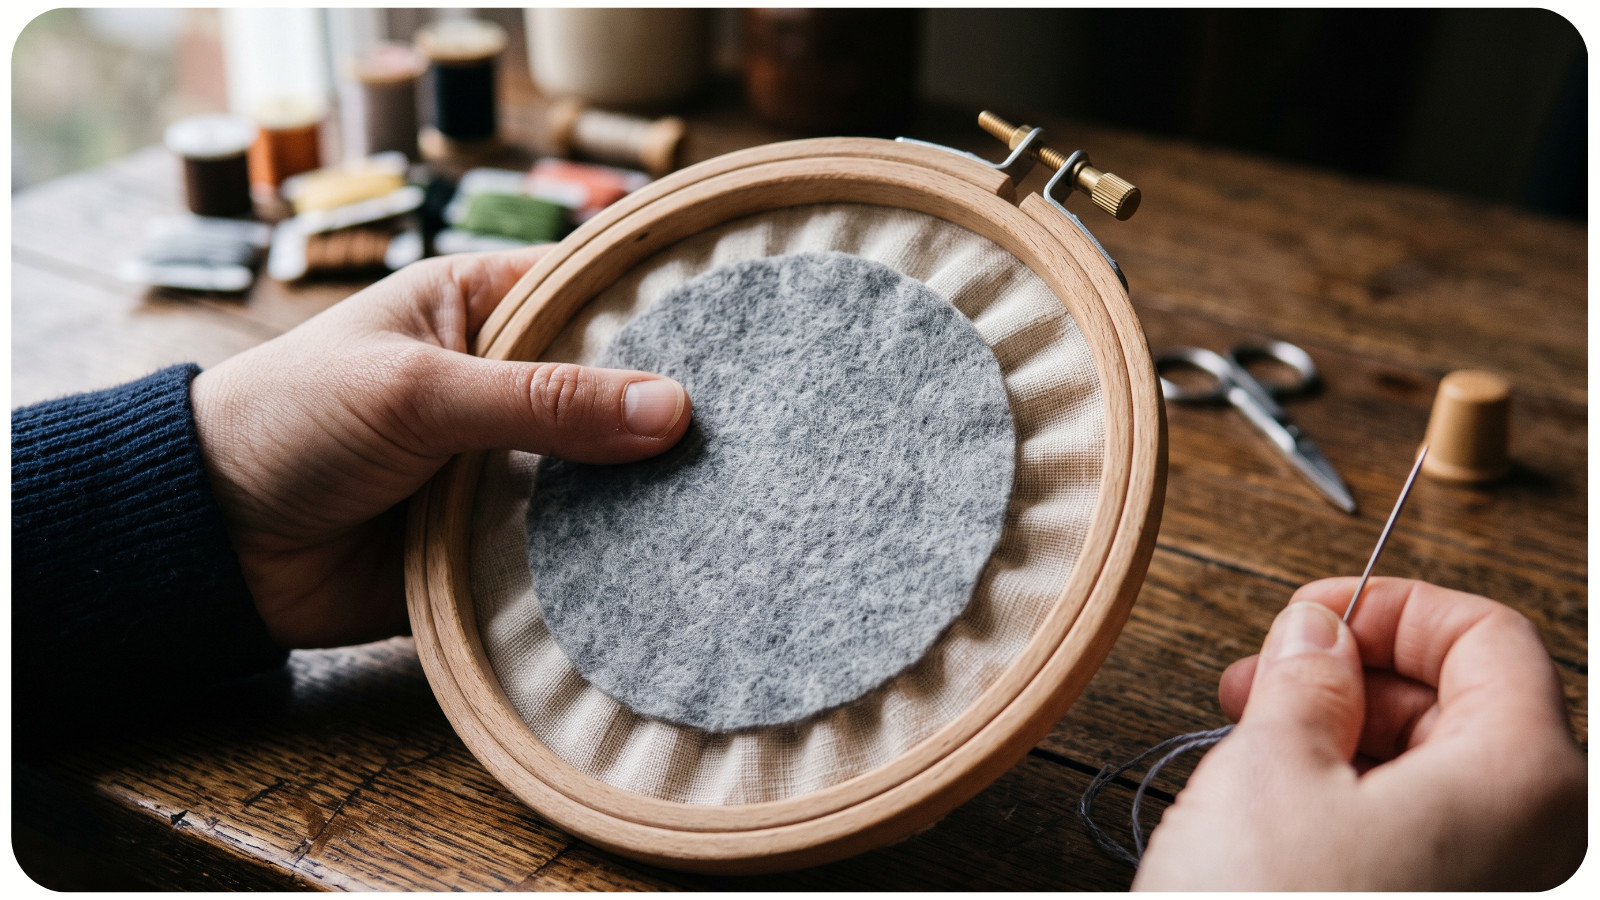
Secure the thread on the back and hide its end beneath the felt. Turn the hoop around in your hands: the felt should lie flat, the cut fabric should stay covered, and no needle marks should appear on the front. If the felt shifts, remove a few stitches and recenter it. If you accidentally caught the front fabric, undo that stitch rather than pulling it tighter.
For a faster finish, some makers attach a felt circle with fabric glue. Check the product directions and test it on scraps first. Glue can be harder to remove and may leave a mark if it reaches the display fabric. Sewing gives you more room to change the finish later.
How to hang the finished hoop
For a light hoop, you can hang the metal screw fitting over a suitable wall hook. Or tie a ribbon or cord securely around the top fitting and hang it from the loop. Check that the screw is tight and that the loop cannot slide off before you let go. Keep the work away from damp areas and prolonged direct sun, which can affect fabric and thread over time.
Look at the hoop from the front once it is hanging. If it tilts, adjust the ribbon or the position on the hook. If the fabric has gone slack, take it down and check the hoop screw and fabric tension before changing the back. For another piece to stitch and display, browse APS embroidery patterns.
What if there is not enough fabric at the edge?
If the fabric has already been cut close to the hoop, do not force a gathering stitch into a narrow strip. It may fray or pull free. Check whether the fabric is still firmly held between the rings. If it is, you can leave the short edge alone and use a backing circle made for your hoop, following that product's fitting instructions. Another option is to move the piece to a smaller hoop, provided the entire design still fits with enough plain fabric around it.
If the fabric cannot be held securely by any suitable hoop, consider framing it on a mounting board with help from an experienced finisher. Adding glue to a loose edge may seem quick, but it does not restore missing fabric.
Common finishing questions
Should the back of the embroidery look as neat as the front?
No. Secure your thread ends so they do not come loose, and check that dark or bulky threads are not showing through light fabric. The felt covers the working back. A few thread tails beneath the cover are normal.
Can I finish the hoop without felt?
Yes. You can stop after gathering if you like the look of the folded fabric, or use another cover that fits your hoop. Felt is useful because it hides the threads and gives the back a simple finished look.
Finish with one last check: the screw is secure, the front is smooth, the gathered fabric stays put, and the felt lies flat. Then your stitched piece is ready to hang.