


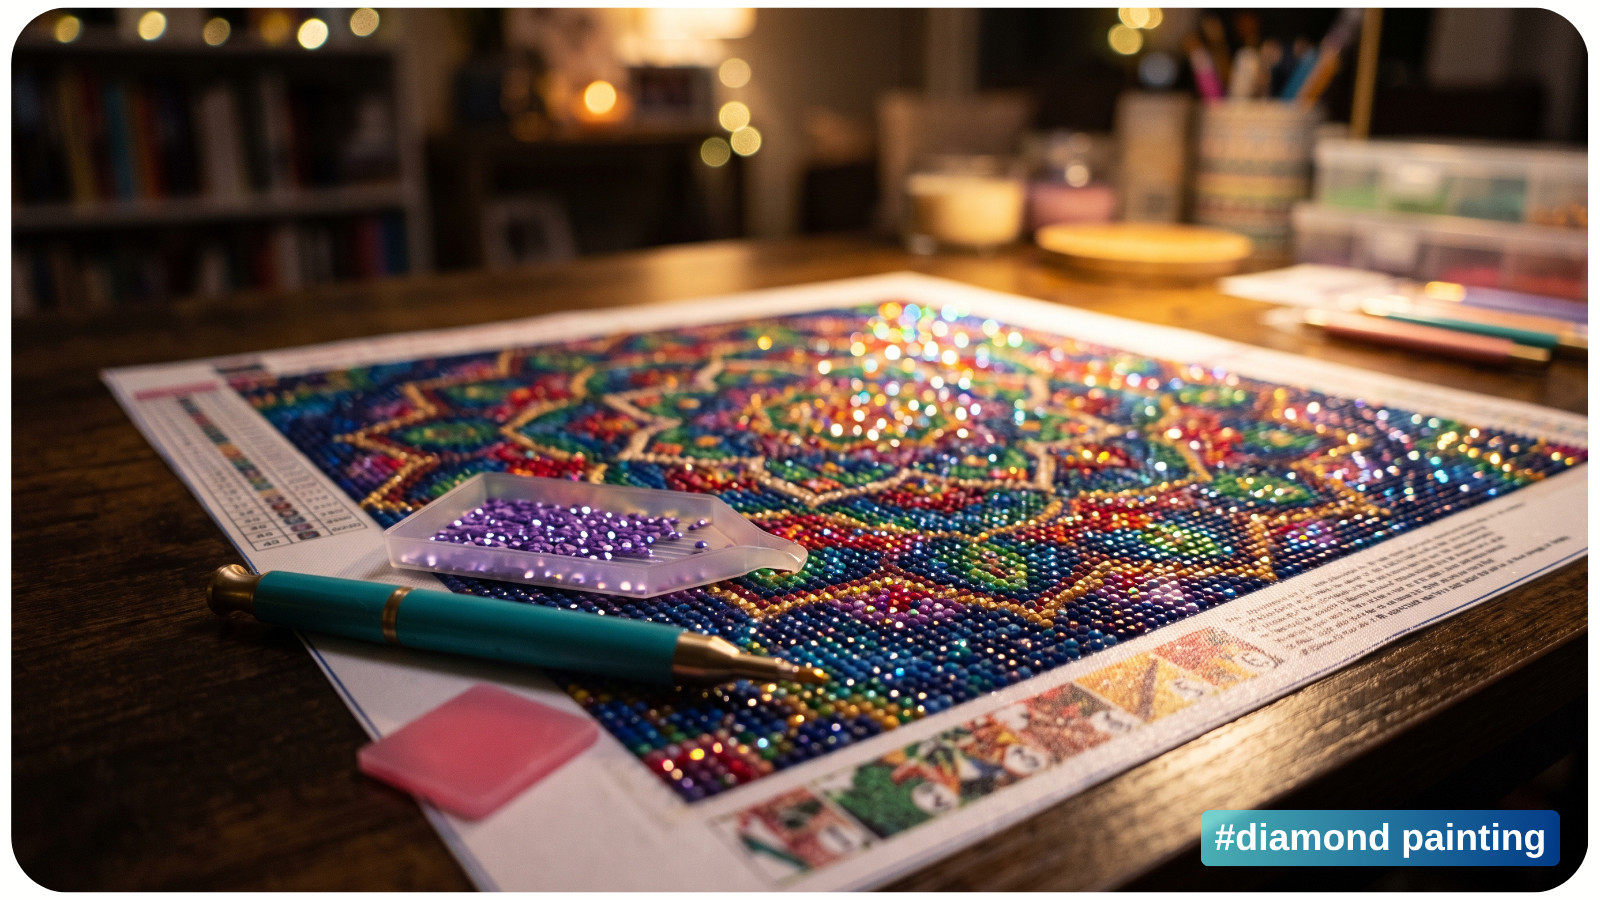
Gaps between diamond painting drills can make a finished section look uneven, but they do not always mean something has gone wrong. Small, even spaces are normal with round drills because circles cannot completely cover a square grid. Square drills are meant to fit edge to edge, so wide lines, exposed symbols, or rows that slowly drift sideways deserve a closer look.
Whether the problem appears on a new diamond painting kit or a nearly finished canvas, start by identifying the type of gap. A missing drill, a crooked row, and normal round-drill spacing each need a different response. Make the smallest correction that solves the problem.
Are Gaps Normal in Diamond Painting?
Some spacing is expected, especially when you inspect the canvas under a light pad. Backlighting makes every exposed part of the printed surface easier to see. Turn the pad off and view the artwork from its normal display distance before deciding that it needs repair.
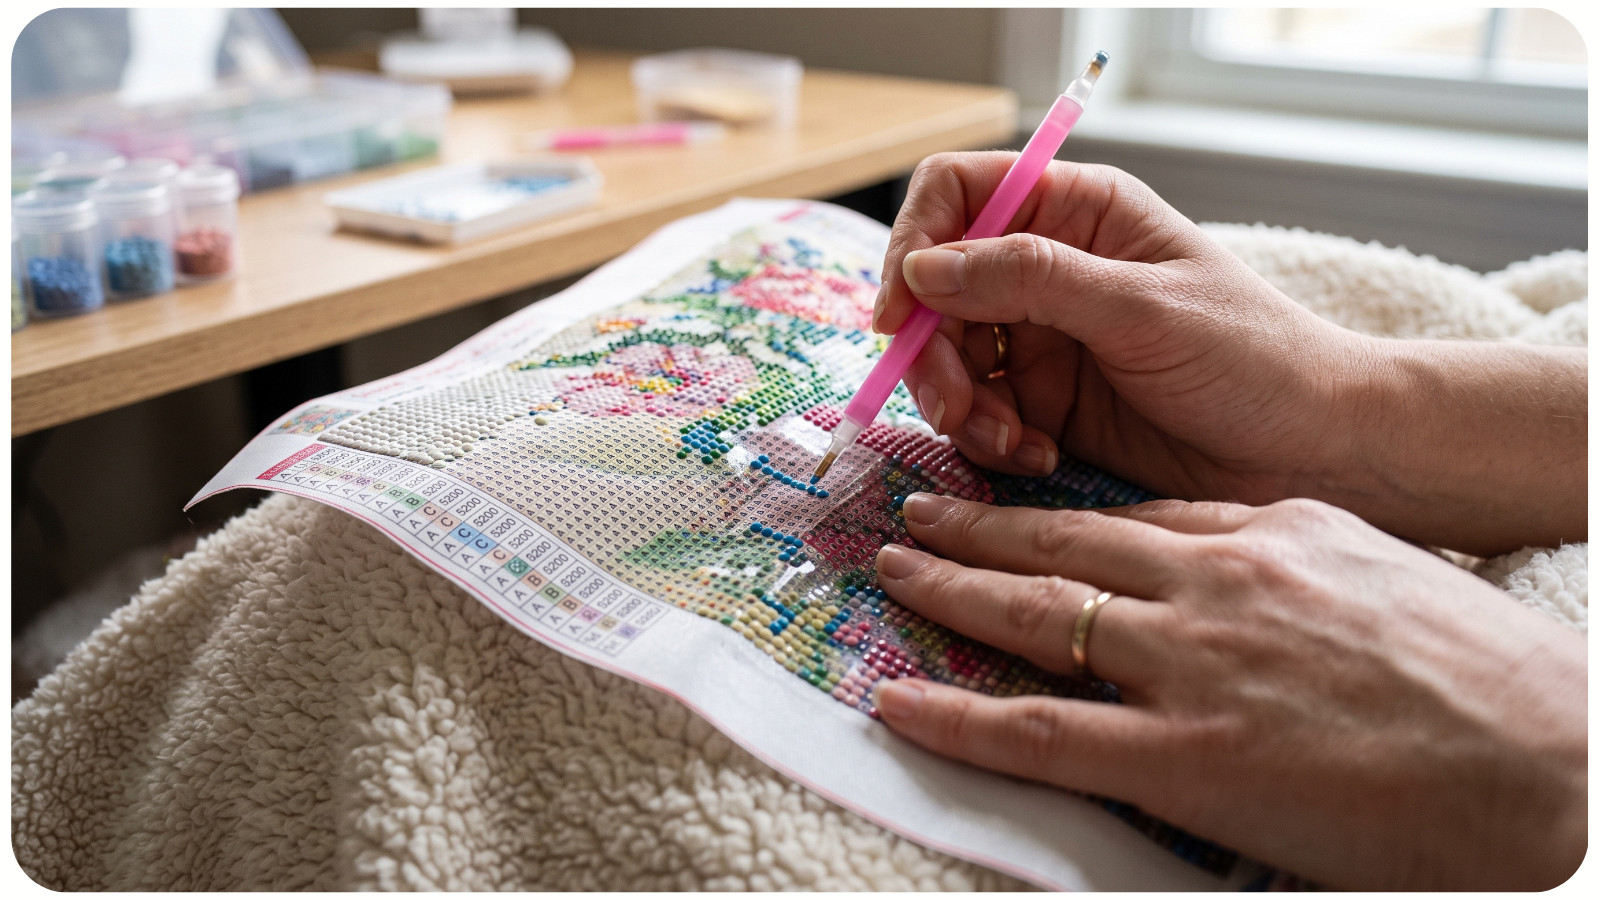
Round Drills
Round drills naturally leave small spaces around their curved edges. These spaces should look regular, with each drill centered over its printed symbol.
Do not push round drills together until they touch. Moving them away from the centers of their grid squares can create larger, uneven spaces elsewhere.
Square Drills
Square drills are designed to fit closely together. A fine line may show in strong light, but large channels, exposed symbols, or diagonal rows usually point to an alignment problem.
If the drills feel too tight, do not force another one into the space. First check for an uneven edge, a small tab of extra resin, or a drill that is noticeably larger than its neighbors.
Why Do Gaps Appear Between Diamond Painting Drills?
Most visible gaps come from a missing drill, gradual row drift, a flawed drill, an angled multiplacer, or a canvas that is not lying flat.
• A drill is missing. One printed symbol is completely uncovered.
• The row has drifted. Each drill is slightly off-center, and the error becomes more visible across the section.
• A drill is damaged or uneven. An irregular edge can push neighboring drills out of line.
• The multiplacer landed at an angle. Several drills may be straight as a group but not parallel to the canvas grid.
• The canvas was not flat. A curl, crease, or soft work surface can make precise placement harder.
Weak or contaminated adhesive usually causes drills to lift or slide rather than creating a neat empty line. If drills are lifting, use this separate guide to diagnose why diamond painting drills keep popping off.
How to Fix Gaps Between Diamond Painting Drills
Correct a small area first. A gap that looks dramatic up close may need only one drill moved or replaced.
1. Inspect the Section Without the Light Pad
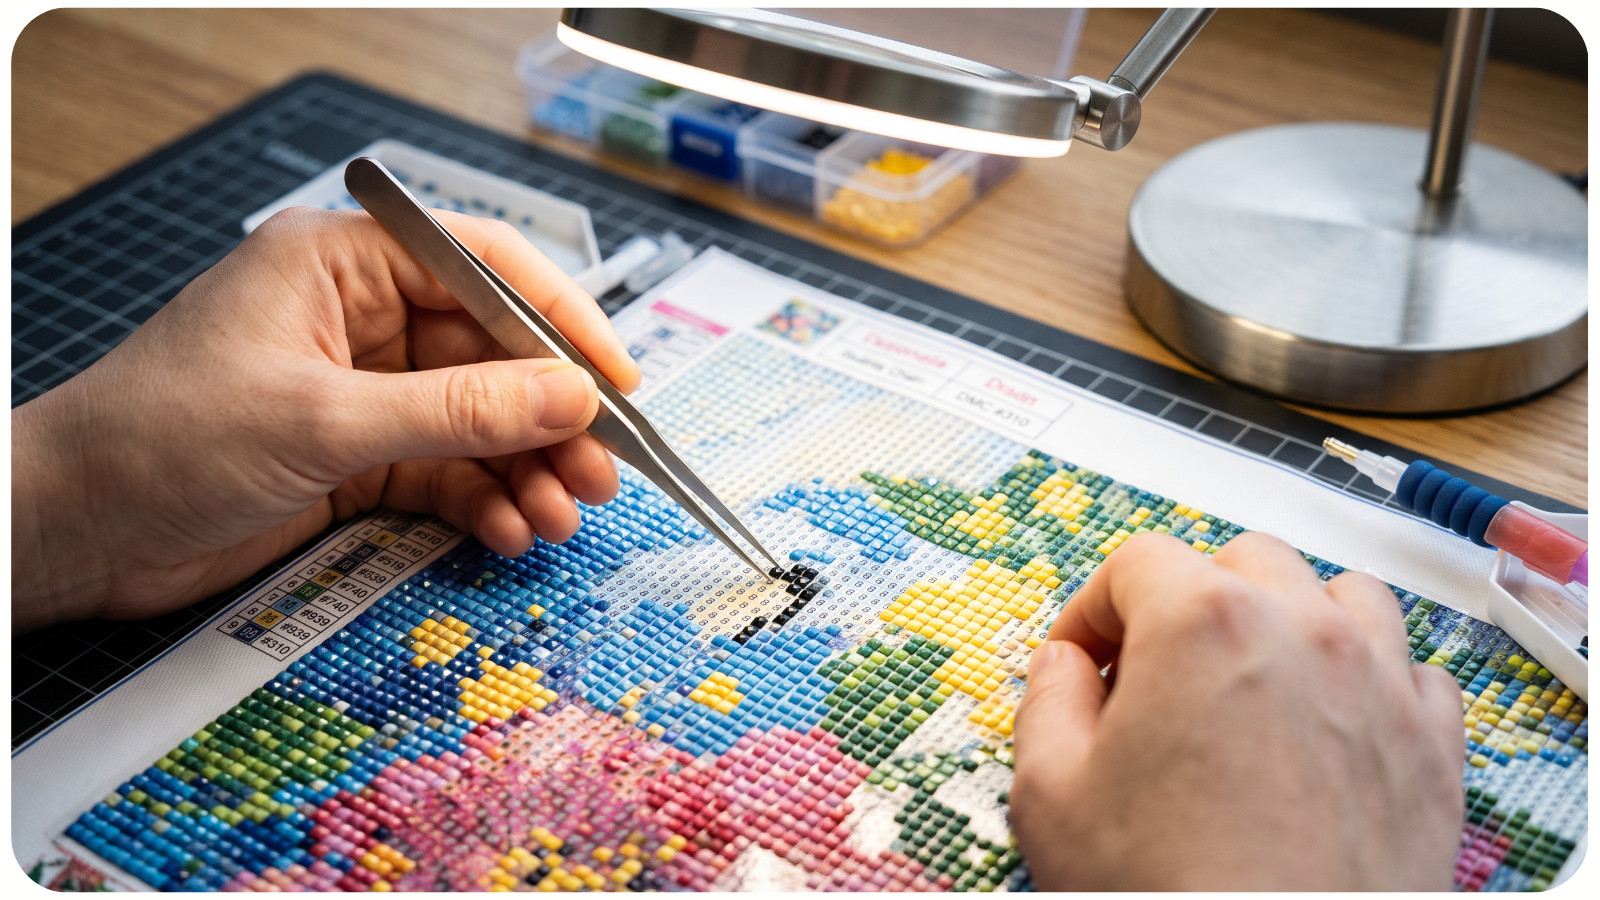
Place the canvas on a flat, hard surface and use bright light from above. Decide whether you are looking at an uncovered symbol, normal space between round drills, one crooked drill, a shifted block, or a tight spot caused by a misshapen drill.
Complete all alignment corrections before applying any optional sealer. Once a sealer cures, moving or replacing drills may be difficult and could damage the finish.
2. Replace a Missing Drill
If one full symbol is visible, confirm its color on the chart and place the correct drill directly over it. Center the drill on the printed square instead of relying only on the neighboring row.
If the spot is no longer tacky, consult the kit maker before adding adhesive. Use only a product the maker recommends for that canvas, test a tiny area first, and keep the smallest practical amount inside the printed square. Excess adhesive can spread onto nearby drills and dull their facets.
3. Nudge One or Two Crooked Drills
Use fine-point tweezers or the flat edge of a drill straightener. Push gently against the side of the drill until it is centered over its symbol. Check the row from both directions so closing one gap does not create another.
4. Remove a Damaged or Oversized Drill
If one square drill will not fit neatly, inspect its edges. Replace drills with tabs, concave sides, rough corners, or a noticeably different size. Lift the problem drill carefully with tweezers and place a better one in the same square. Do not trim resin while it is on the canvas because you could damage the adhesive surface.
5. Reset a Drifting Row
When a row drifts from the printed grid, pushing only the final drill will not solve the problem. Find the last straight point, remove a few drills from the misaligned end, and place them again using the printed squares as your guide.
6. Use the Checkerboard Method for Color Blocks
Place drills in alternating squares first, then fill the open squares. The first placements become reference points that help keep the remaining drills aligned. This technique is especially useful with square drills.
7. Straighten and Press the Corrected Section
Run a straightening edge along one side of a small section, then check it from another side. Use light pressure. The goal is to square the rows with the printed grid, not compress all the drills toward the center. If the section springs back or feels crowded, stop and look for a flawed drill.
Cover the corrected area with diamond painting release paper or the original protective cover, keeping the same side facing the adhesive as before. Press gently by hand or with a clean roller. Pressing helps seat the drills, but it does not fix poor alignment by itself.
How to Prevent Uneven Drill Spacing
Good alignment is easier to maintain than repair. These habits prevent most visible gaps:
• Work in small sections. Expose only the adhesive you can cover during the current session.
• Start with a straight reference edge. Align the first row carefully because later rows will follow it.
• Use the checkerboard method for color blocks. Alternating drills create clear spacing guides.
• Keep the multiplacer parallel to the grid. Correct a crooked line before adding the next one.
• Use a single placer for detailed areas. Confetti sections with frequent color changes are easier to control one drill at a time.
• Remove flawed drills as you work. Set aside pieces with tabs, holes, uneven bottoms, or distorted edges.
• Keep the canvas flat and covered. A firm surface supports accurate placement, while the cover protects unused adhesive from dust and lint.
• Check alignment every few rows. Small errors are easier to move before they spread across a large section.
For more technique advice and troubleshooting, explore the APS collection of diamond painting guides.
What Not to Do When Fixing Diamond Painting Gaps
Do not pour glue or sealer between drills to hide visible canvas. Extra product may collect around the facets without correcting the alignment.
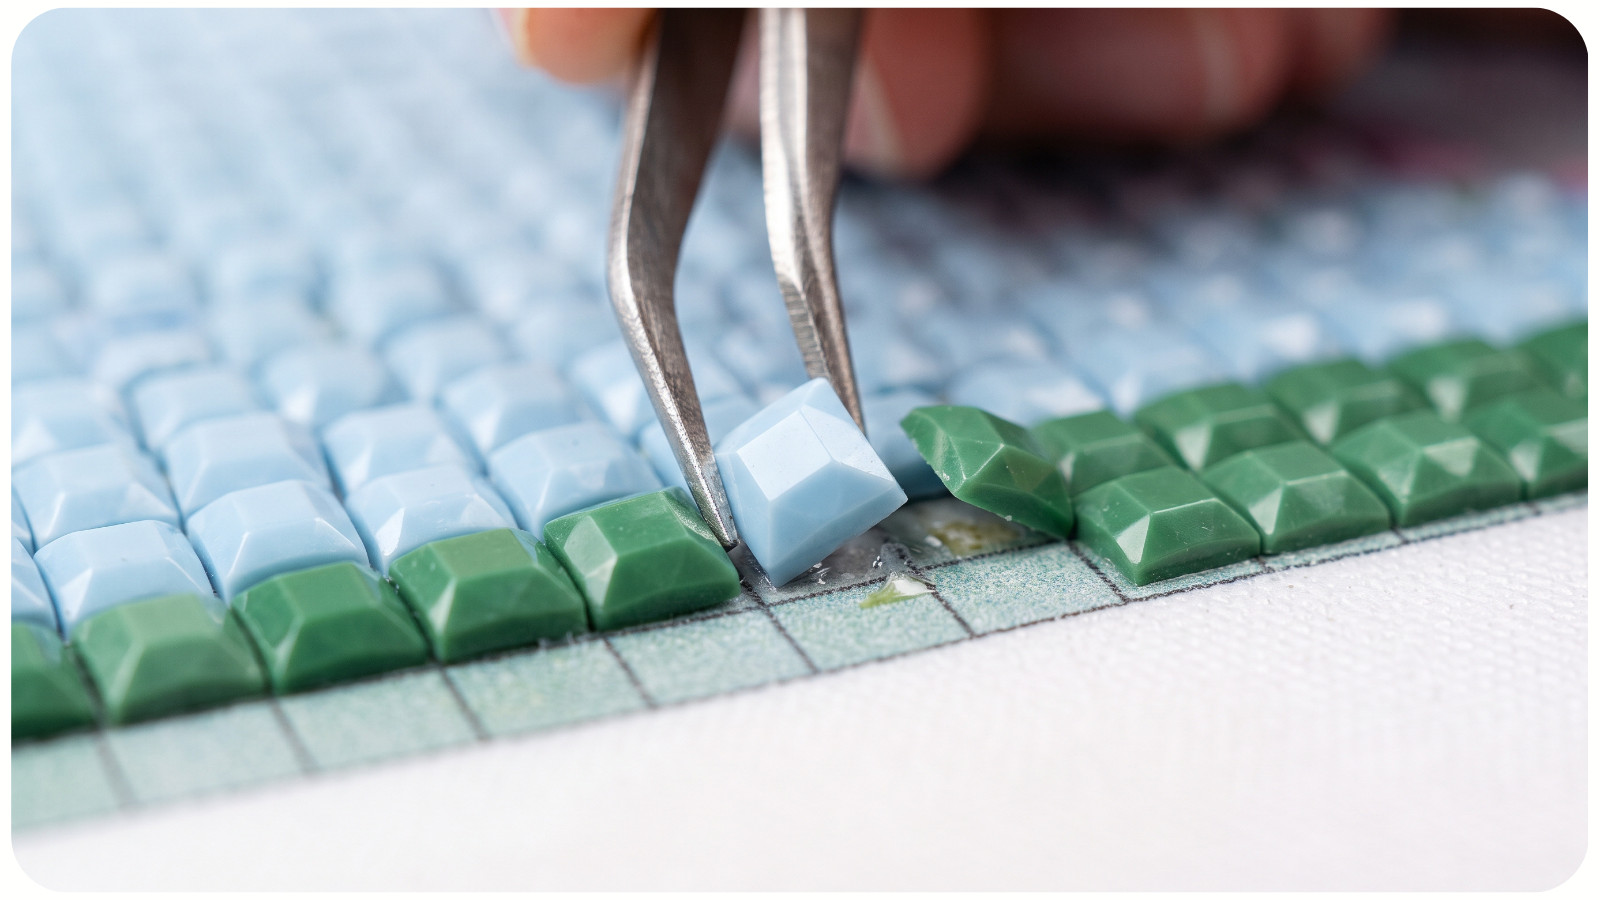
Do not force a square drill into a narrow space, scrape the canvas with a blade, or remove a large finished area before checking for one flawed drill or a small amount of row drift.
Frequently Asked Questions About Diamond Painting Gaps
Why Do the Gaps Look Bigger With a Light Pad?
A light pad shines through exposed canvas, making normal spacing more obvious. Judge the finished result with the pad off and from display distance.
Should Square Diamond Painting Drills Have Gaps?
Square drills are intended to fit edge to edge. Wide or irregular gaps should be checked for missing, crooked, or misshapen drills.
Can I Fill Gaps Between Round Drills?
Small, regular spaces between round drills are expected. Adding glue, paint, glitter, or extra drills can make the surface messy and change the way it reflects light.
Can I Fix Crooked Drills After Finishing the Canvas?
Yes, if the canvas has not been sealed. Use a straightener for minor adjustments or tweezers to replace individual problem drills. If a sealer has already been applied, follow its manufacturer's instructions before attempting to remove anything.
Why Do My Gaps Keep Returning?
Repeated gaps often mean the row is drifting, the canvas is not flat, or several drills are irregular in size. Correct the first misaligned row and remove flawed drills instead of repeatedly pushing the last row inward.
A Simple Final Alignment Check
Before calling a section finished, turn off the light pad, view the canvas from normal distance, and scan the rows from left to right and top to bottom. Replace any missing or damaged drill, straighten only the areas that need it, then press the corrected section under a nonstick cover.
The goal is not to remove every pinpoint of visible canvas. It is to create even spacing, centered drills, and straight rows that look balanced when the artwork is viewed as a whole.