


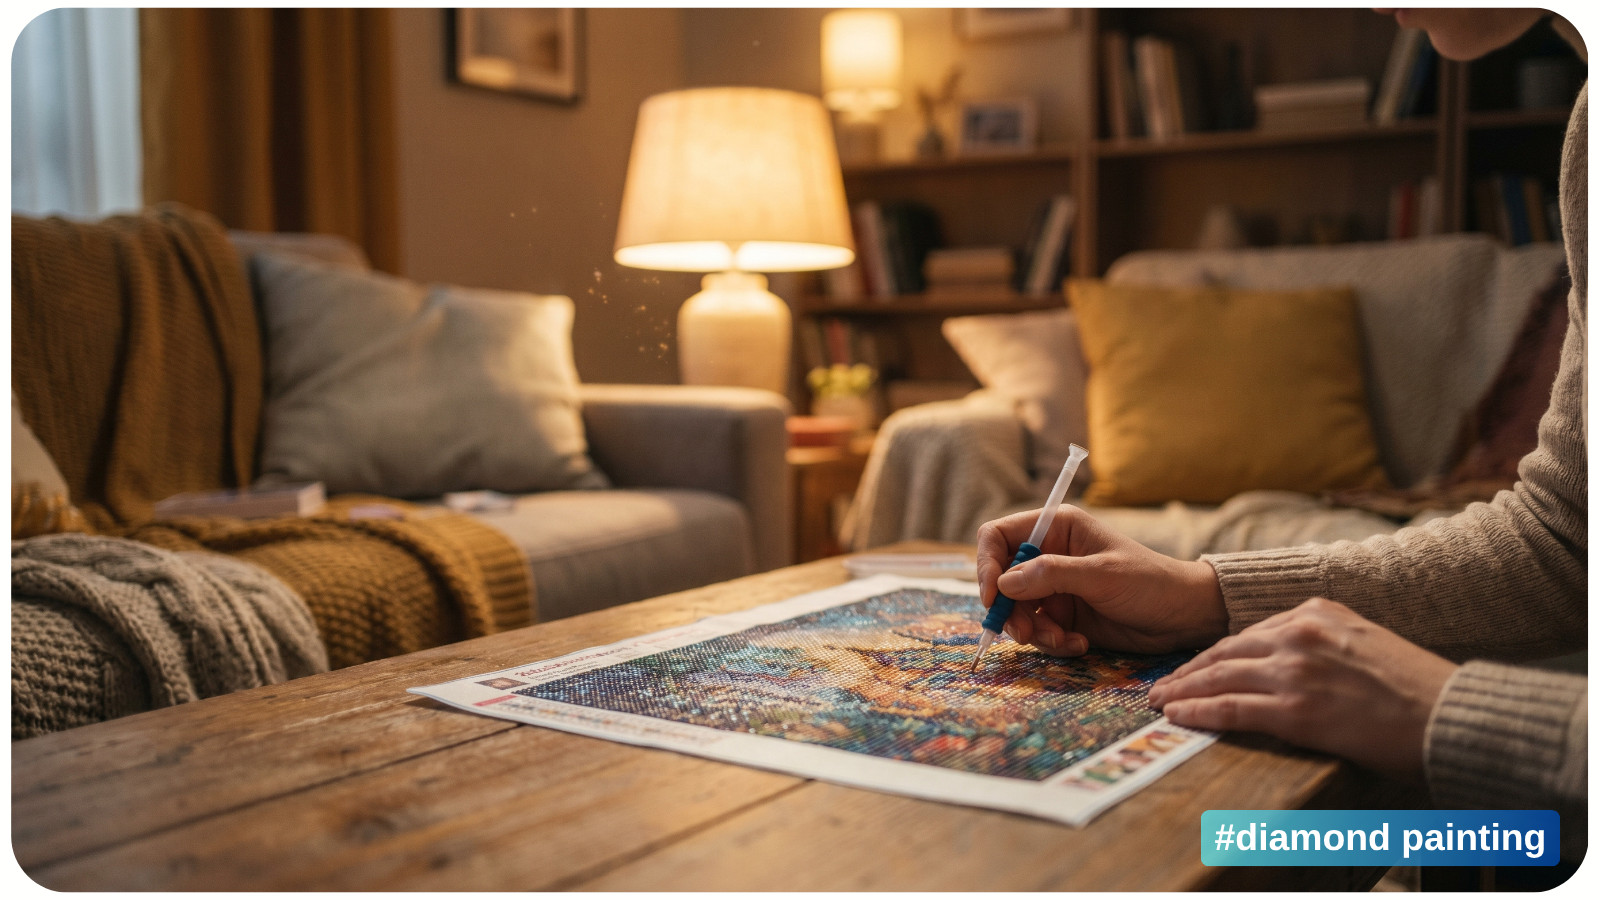
Diamond painting is known for its relaxing, almost meditative rhythm – but nothing disrupts that calm faster than crooked or misplaced drills.
Whether you're working on a large, detailed canvas or a quick weekend project, accuracy matters not only for aesthetics but also for long-term durability. Let’s dive into the exact, technically sound methods professionals use to fix and prevent these issues.
TOOLS YOU’LL NEED
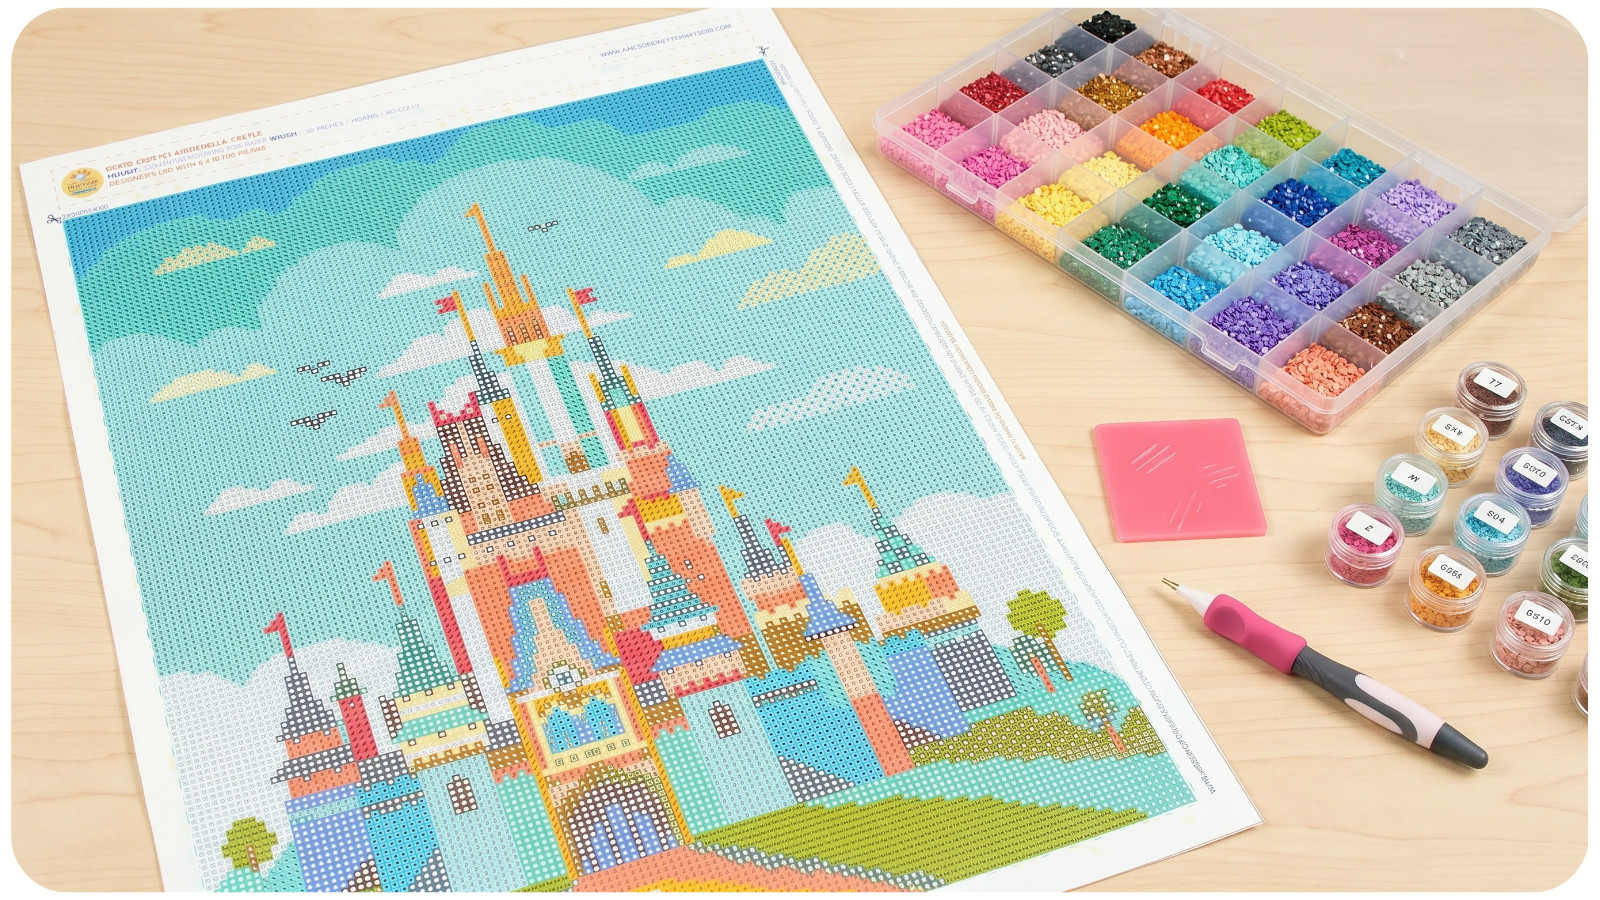
- Tweezers (preferably fine-tip, anti-static);
- Diamond painting pen (single-placer and multi-placer);
- Straightening tool or ruler edge;
- Wax (pink wax or alternatives like museum putty);
- Light pad (for visibility and alignment);
- Craft knife or precision blade (optional, for stubborn drills);
- Roller or flat pressing tool;
- Baby wipes or lint-free cloth (for adhesive cleanup).
UNDERSTANDING WHY DRILLS GO CROOKED

Before fixing, it’s important to identify the root cause:
- Misaligned placement: Often happens when placing drills too quickly without grid alignment.
- Overfilled wax tip: Causes drills to stick at angles rather than flat.
- Canvas distortion: Creases or uneven adhesive layers shift drill positioning.
- Inconsistent pressure: Uneven pressing can tilt drills instead of seating them flat.
Recognizing the cause helps you apply the correct fix without worsening the issue.
STEP-BY-STEP GUIDE TO FIX CROOKED DRILLS
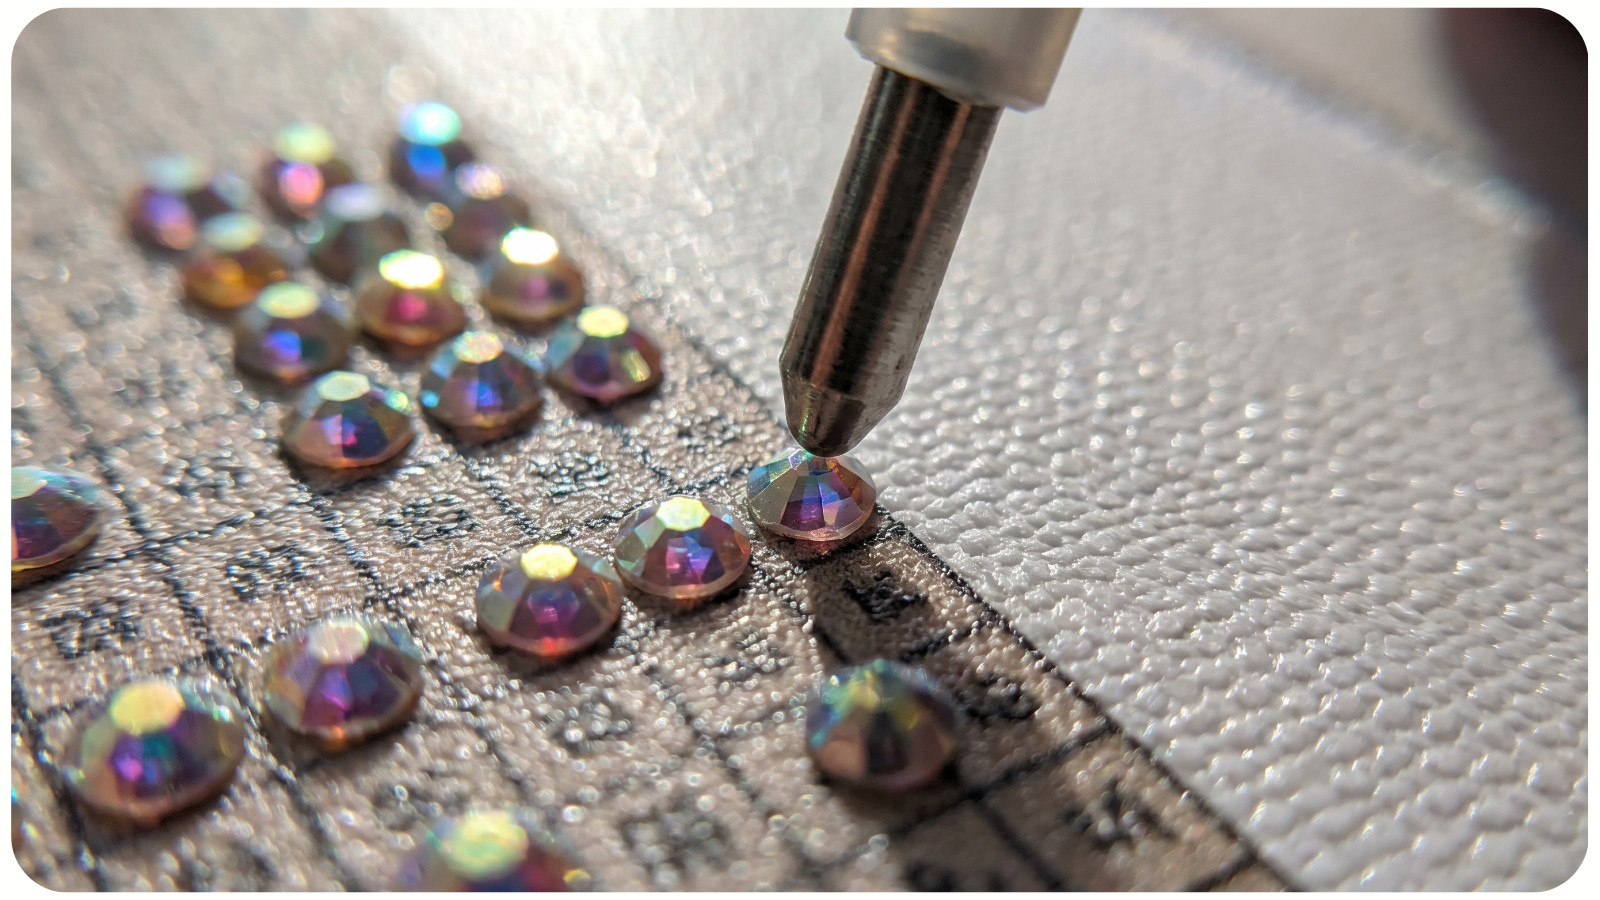
1. Assess the Severity. If only slightly misaligned, you can often correct drills without removing them. For severely misplaced drills (covering wrong symbols), removal is necessary.
2. Realigning Slightly Crooked Drills
- Use a straightening tool or ruler edge;
- Gently push drills into alignment along rows or columns;
- Work in small sections (2-3 cm at a time) to maintain precision;
- Always align based on the printed grid, not neighboring drills (which may also be off).
Pro tip: Turn on a light pad underneath your canvas – this makes grid lines more visible and improves accuracy.
3. Adjusting Drills with a Pen
- Use a single-placer pen tip with minimal wax;
- Lightly press and nudge the drill into position;
- Avoid lifting unless necessary – this preserves adhesive strength.
4. Removing Misplaced Drills
For drills placed on the wrong symbol:
- Use fine-tip tweezers to gently lift the drill straight up.
- If resistance is high, wiggle slightly – do not force it sideways.
For stubborn drills:
- Slide a precision blade under the edge carefully.
- Lift slowly to avoid tearing adhesive.
Once removed:
- Check adhesive condition.
- If still sticky → reapply correct drill.
- If compromised → add a micro-dot of craft glue.
5. Replacing the Drill Correctly
- Ensure your pen tip is clean and lightly waxed.
- Align the drill with the grid symbol before placing.
- Press straight down with even pressure.
- Avoid rotating the drill after placement – it weakens adhesion.
6. Fixing Gaps and Spacing Issues
Crooked drills often create visible gaps:
- Use a multi-placer tool edge or straightener to compress rows gently.
- Work horizontally and vertically for uniform spacing.
- Finish by lightly rolling over the section with a roller tool.
7. Flattening Raised or Tilted Drills
If drills are sticking up:
- Place parchment paper over the section.
- Use a roller or flat object to apply even pressure.
- This reseats drills without damaging facets.
ADVANCED FIX: DEALING WITH ADHESIVE DAMAGE
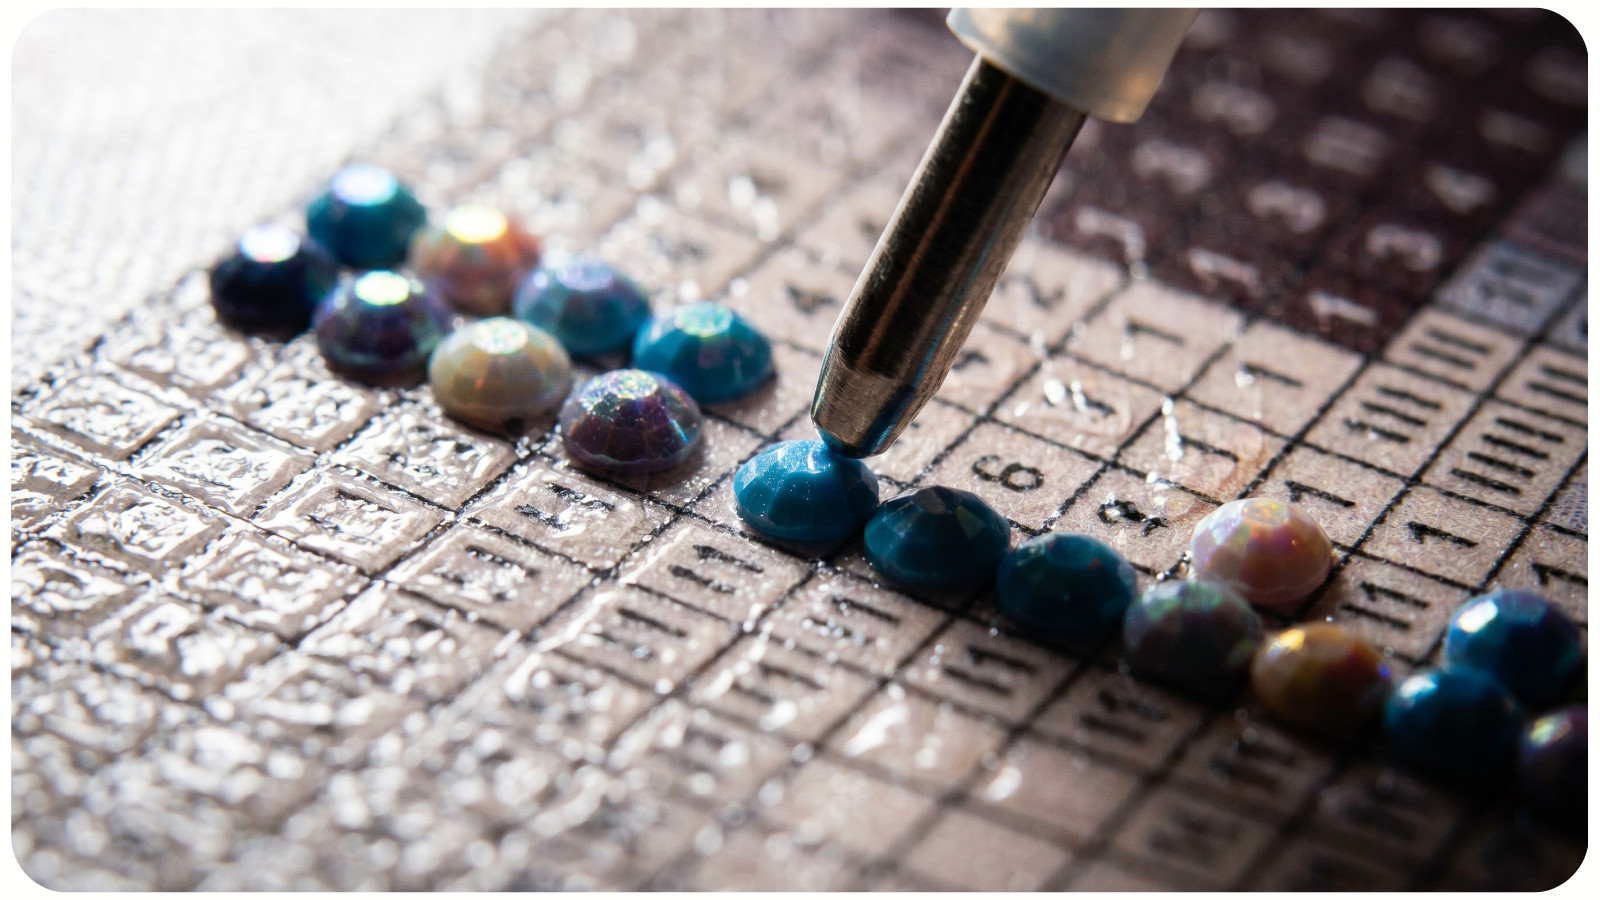
If drills were removed multiple times:
- Clean area with a lint-free cloth (no alcohol – can damage glue).
- Apply a tiny amount of clear-drying craft glue.
- Let it become tacky (not wet).
- Place the drill and press gently.
PREVENTION TECHNIQUES (PROFESSIONAL-LEVEL)
- Work in small sections instead of large areas.
- Refill wax frequently – avoid overloading.
- Check alignment every few rows using a straight edge.
- Store canvas flat to prevent shifting.
- Use high-quality canvases like those from Awesome Pattern Studio for better grid accuracy and adhesive consistency.
CONCLUSION
Crooked or misplaced drills are fixable – with the right tools and technique, you can restore perfect alignment without compromising your canvas. Precision, patience, and proper handling make all the difference.
Have you ever had a section that seemed impossible to fix – or found a trick that works even better?