


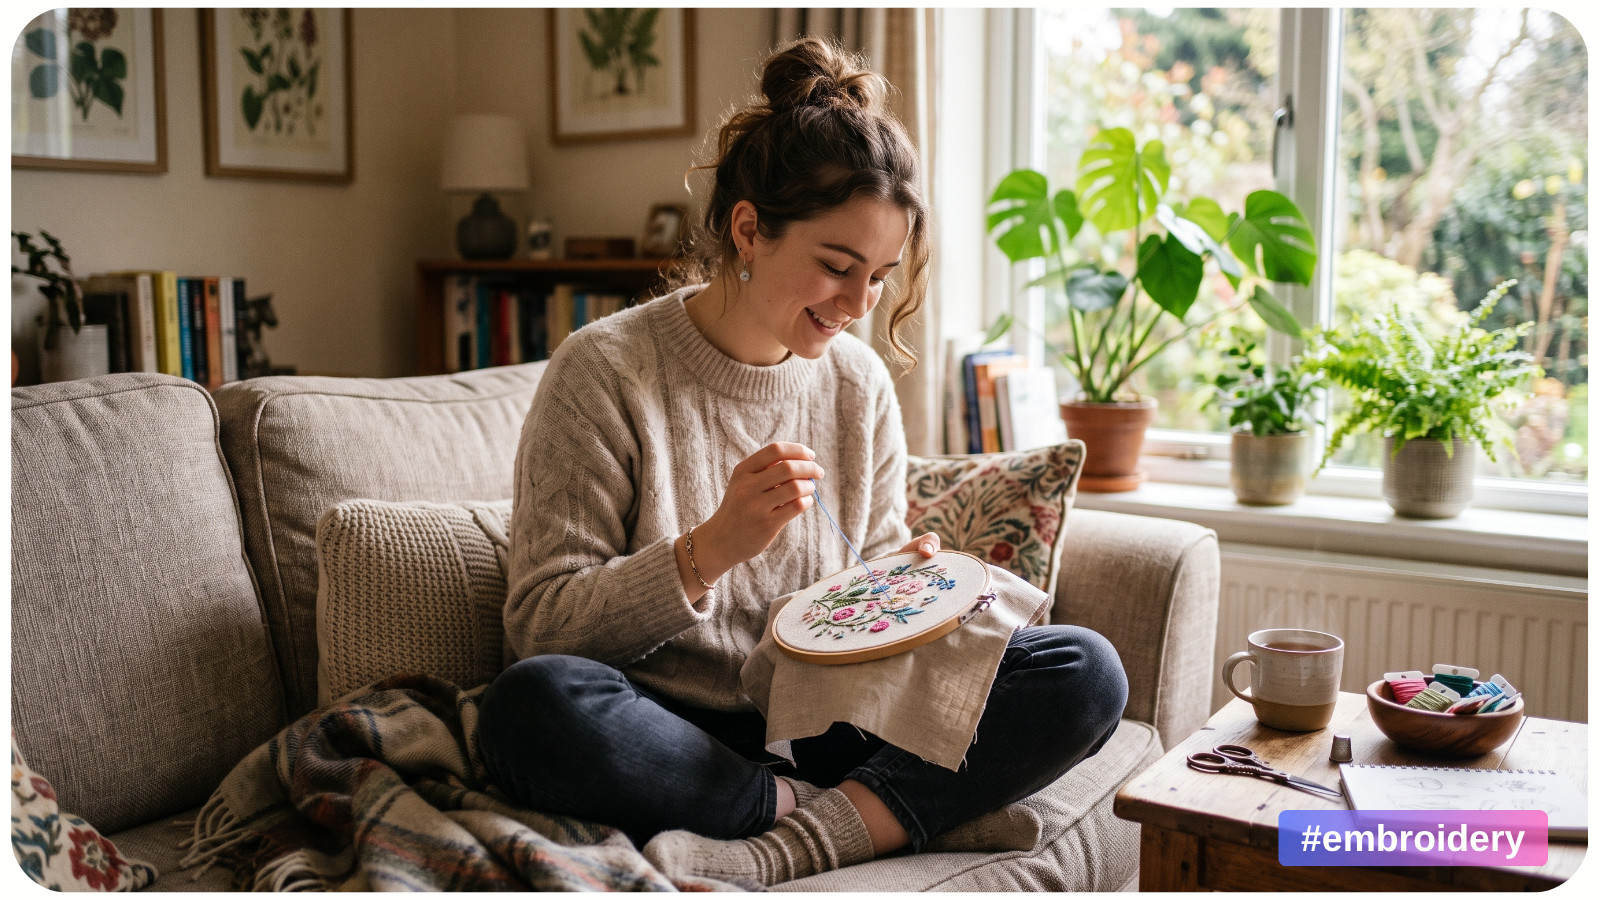
Cross stitch is often described as a relaxing hobby, but that relaxation depends heavily on technique. If your wrist aches, your shoulder tightens, your fabric slips, or your stitches look uneven, the problem may not be your pattern or floss. It may be how you are holding your hoop.
A hoop is not just a frame for your Aida. It controls fabric tension, stabilizes your stitching area, and helps your needle enter the fabric at a consistent angle. When held correctly, it allows your hand to move efficiently without gripping too hard or twisting your wrist.
Whether you are working a small beginner design or a detailed full-coverage pattern from Awesome Pattern Studio, learning proper hoop handling will help you stitch longer, more accurately, and with less fatigue.
MATERIALS NEEDED
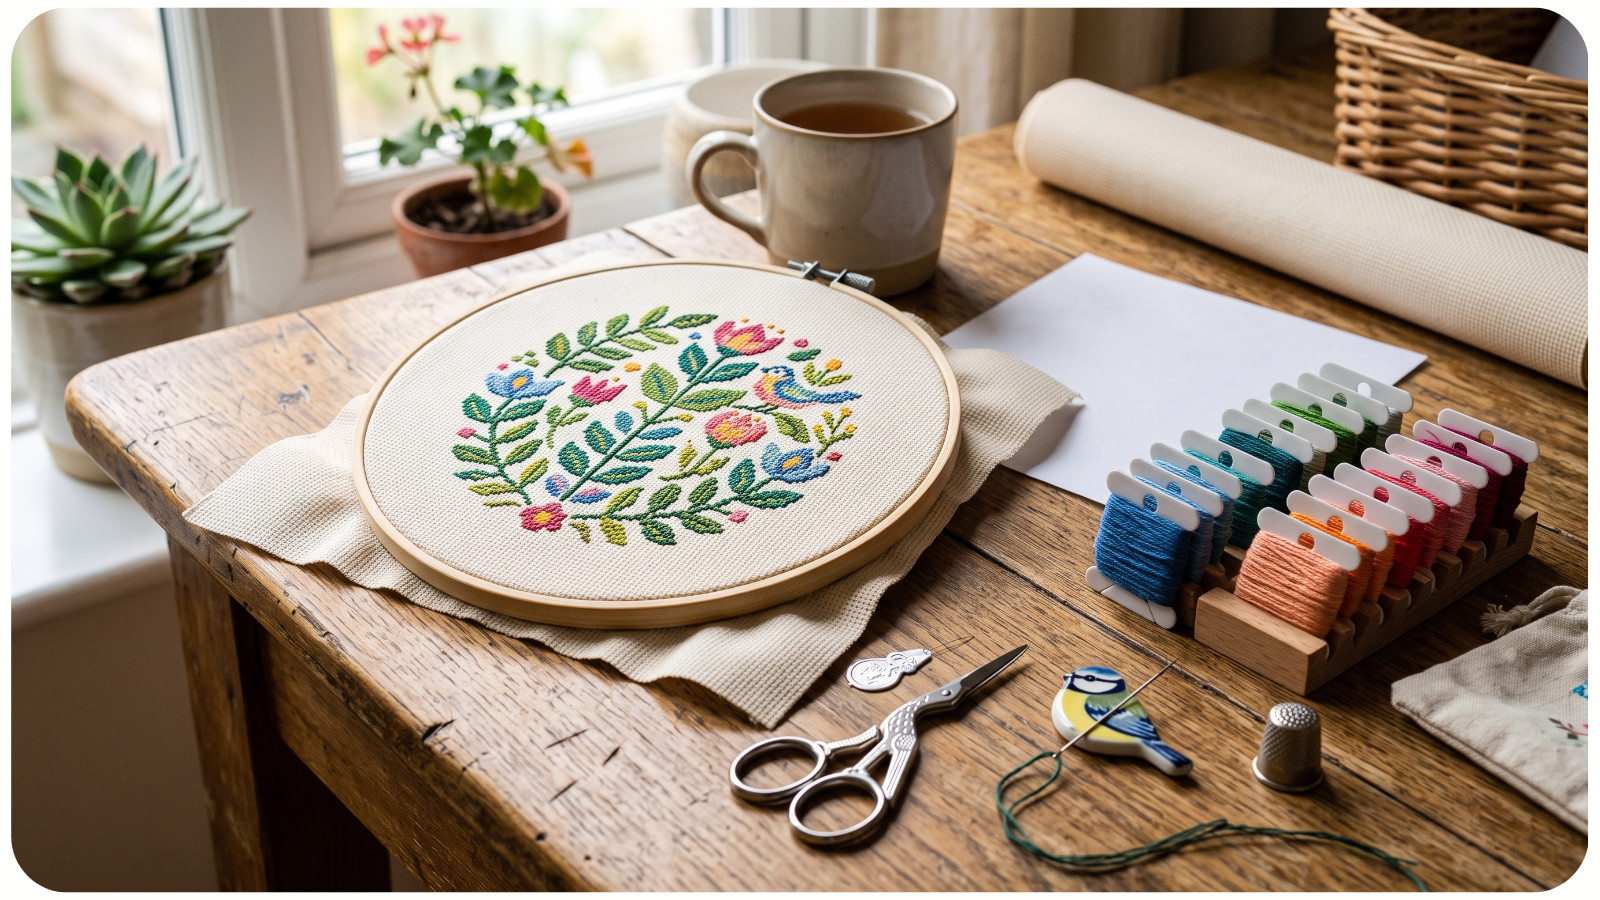
Before adjusting your technique, make sure your basic tools are working with you, not against you.
- Embroidery hoop in a comfortable size, usually 6–8 inches for most stitchers;
- Aida fabric, evenly centered in the hoop;
- Cotton embroidery floss;
- Tapestry needle appropriate for your fabric count;
- Small embroidery scissors;
- Needle minder;
- Good lighting or a daylight lamp;
- Optional: hoop stand, lap stand, or floor stand;
- Optional: grime guard to protect fabric edges;
- Optional: magnifier for high-count Aida or detailed designs.
STEP-BY-STEP GUIDE: HOW TO HOLD A HOOP AND STITCH COMFORTABLY
1. START WITH CORRECT HOOP TENSION
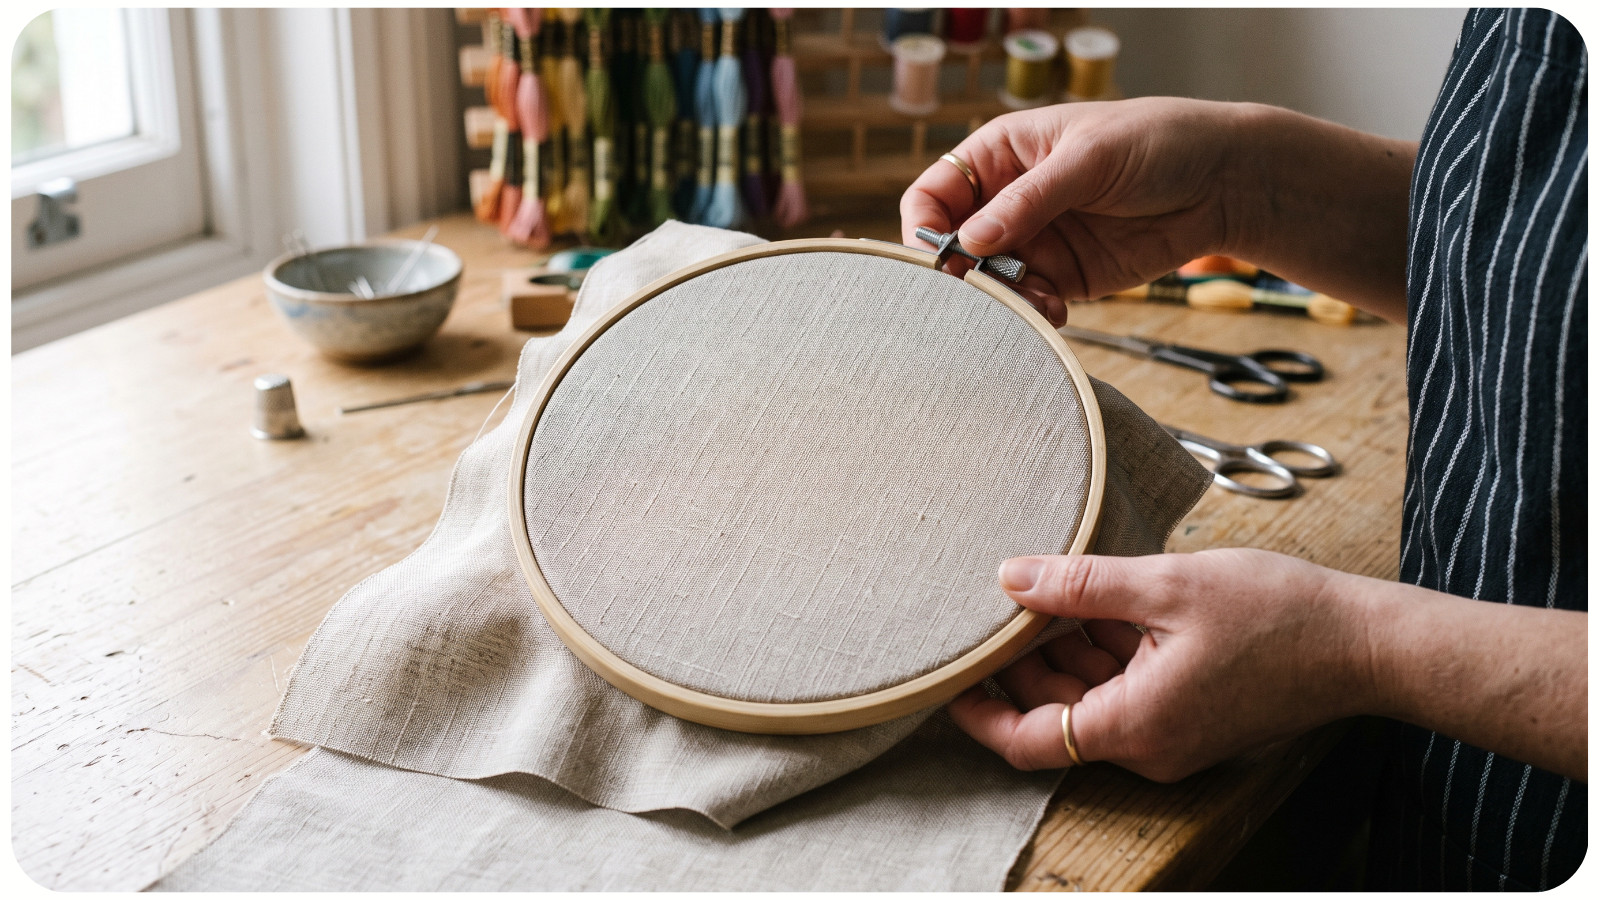
Your hoop should hold the Aida firm, but not distorted. The fabric should feel smooth and stable, similar to a lightly tightened drum, but it should not be stretched so aggressively that the holes warp.
Place the inner hoop on a flat surface. Lay the Aida over it, making sure the grain of the fabric is straight. Press the outer hoop down evenly, then tighten the screw gradually.
After tightening, gently pull the fabric edges in small increments around the hoop. Do not yank strongly in one direction. Pull evenly from opposite sides to keep the weave square.
2. TECHNICAL CHECK
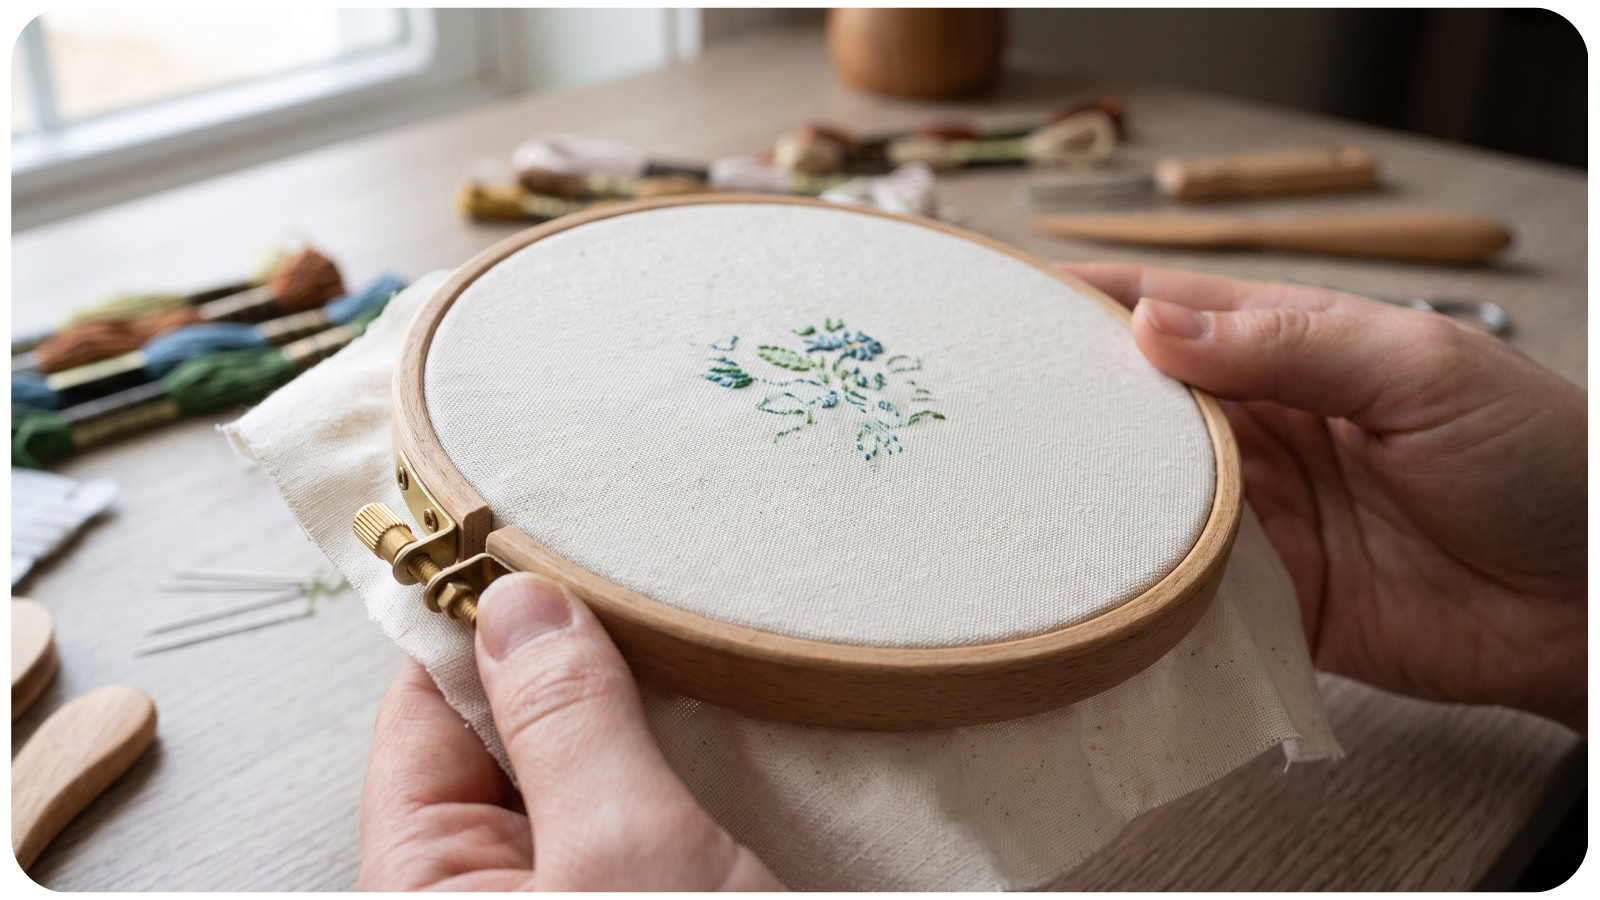
Look closely at the Aida holes inside the hoop. They should remain square, not diamond-shaped or stretched. If the holes are distorted, loosen the hoop and reset the fabric.
Distorted Aida can affect stitch tension and make your Xs look uneven. It can also make frogging more frustrating because the fabric fibers are already under stress.
3. CHOOSE THE RIGHT HOOP SIZE
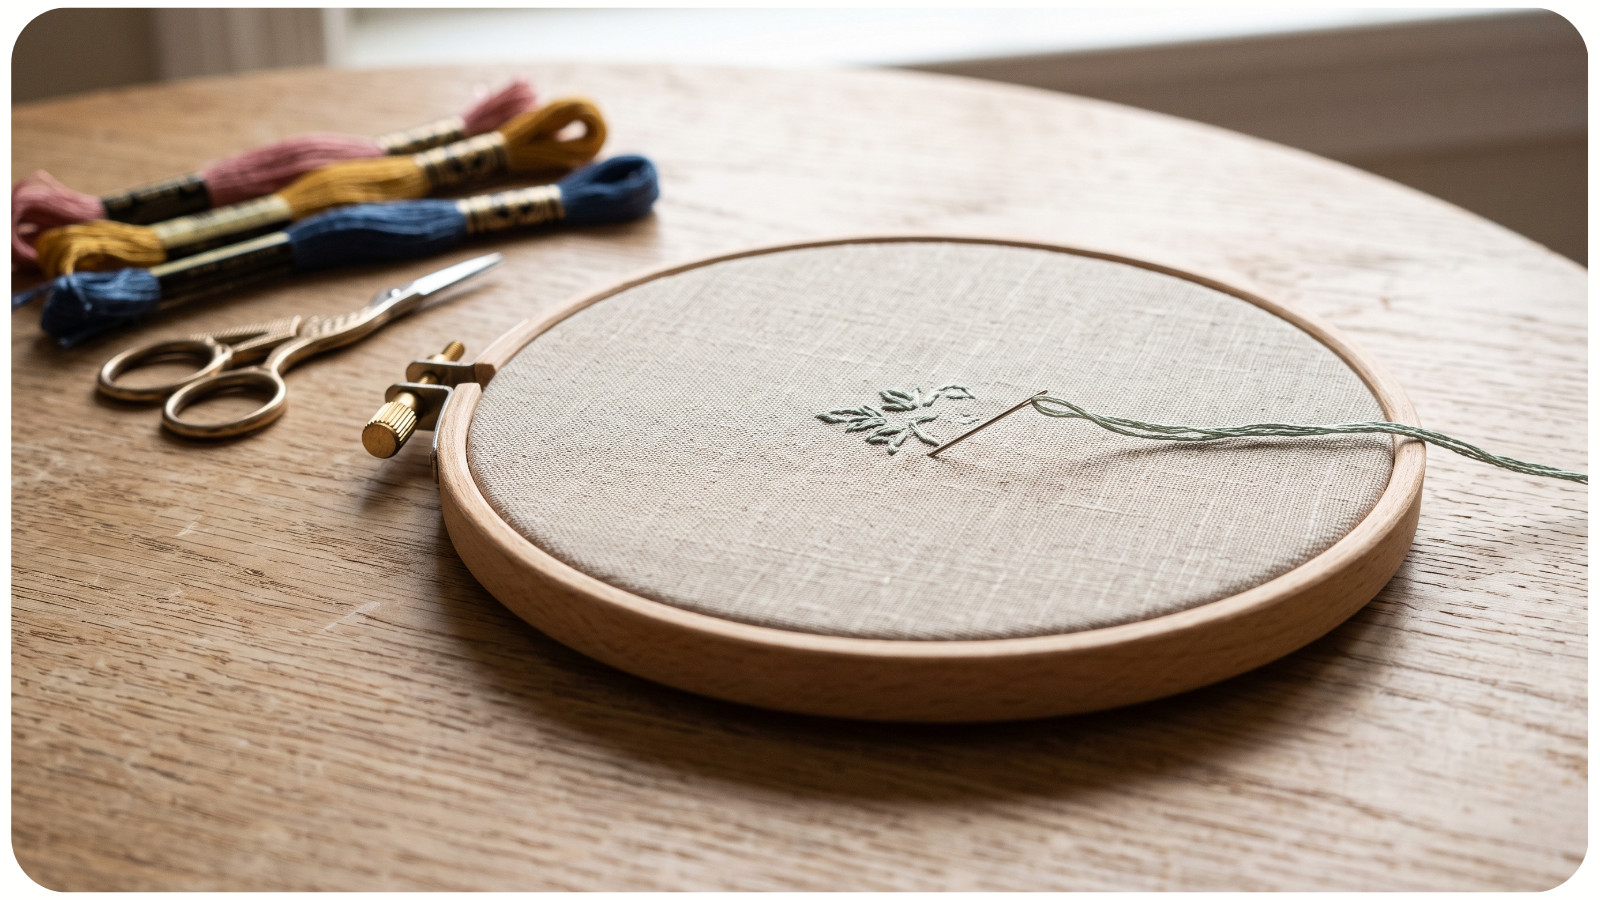
A larger hoop is not always better. If the hoop is too large, your hand may have to stretch too far to stabilize it. This can create tension in the thumb, wrist, and forearm.
For most projects, a 6-inch or 7-inch hoop gives a good balance of working space and control. An 8-inch hoop can work well for larger motifs, but it may feel heavy during long sessions.
For small designs, ornaments, bookmarks, or mini motifs, a smaller hoop can provide excellent control. For larger patterns, move the hoop section by section instead of forcing yourself to hold an oversized frame.
4. HOLD THE HOOP WITH A RELAXED SUPPORT GRIP
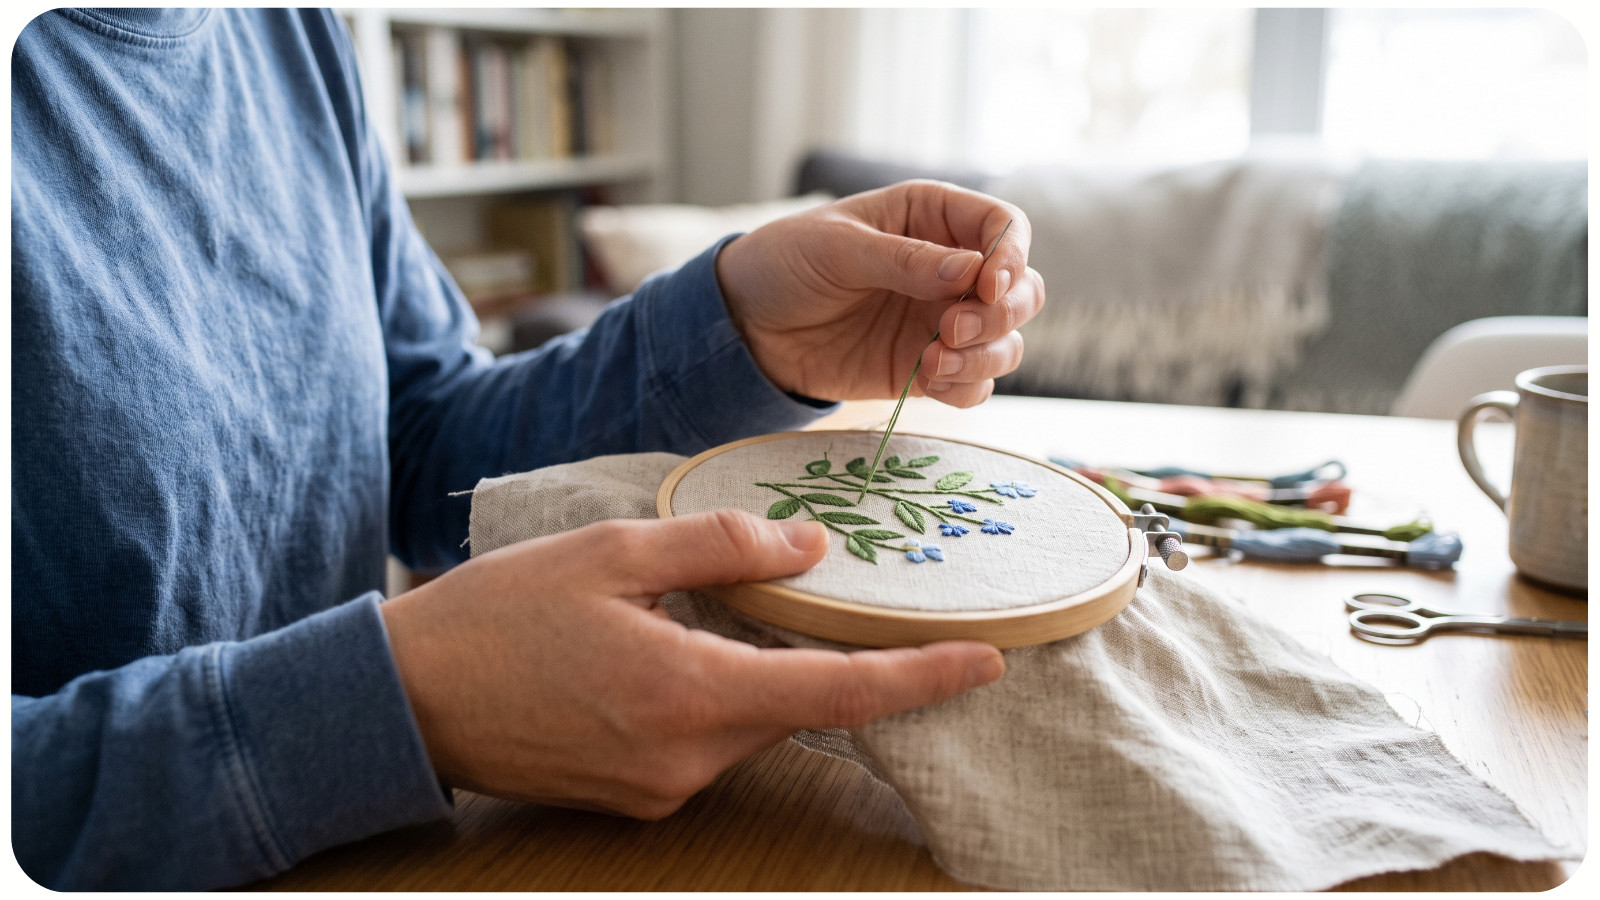
The most common mistake is squeezing the hoop too tightly. Your non-stitching hand should support the hoop, not clamp it.
Hold the hoop near the lower half, usually around the 4 o’clock and 8 o’clock area. Let the hoop rest lightly against your fingers while your thumb stabilizes the front edge.
Your grip should be firm enough to prevent wobbling, but relaxed enough that you can wiggle your fingers. If your knuckles turn pale or your thumb joint feels locked, you are gripping too hard.
5. CORRECT HAND POSITION
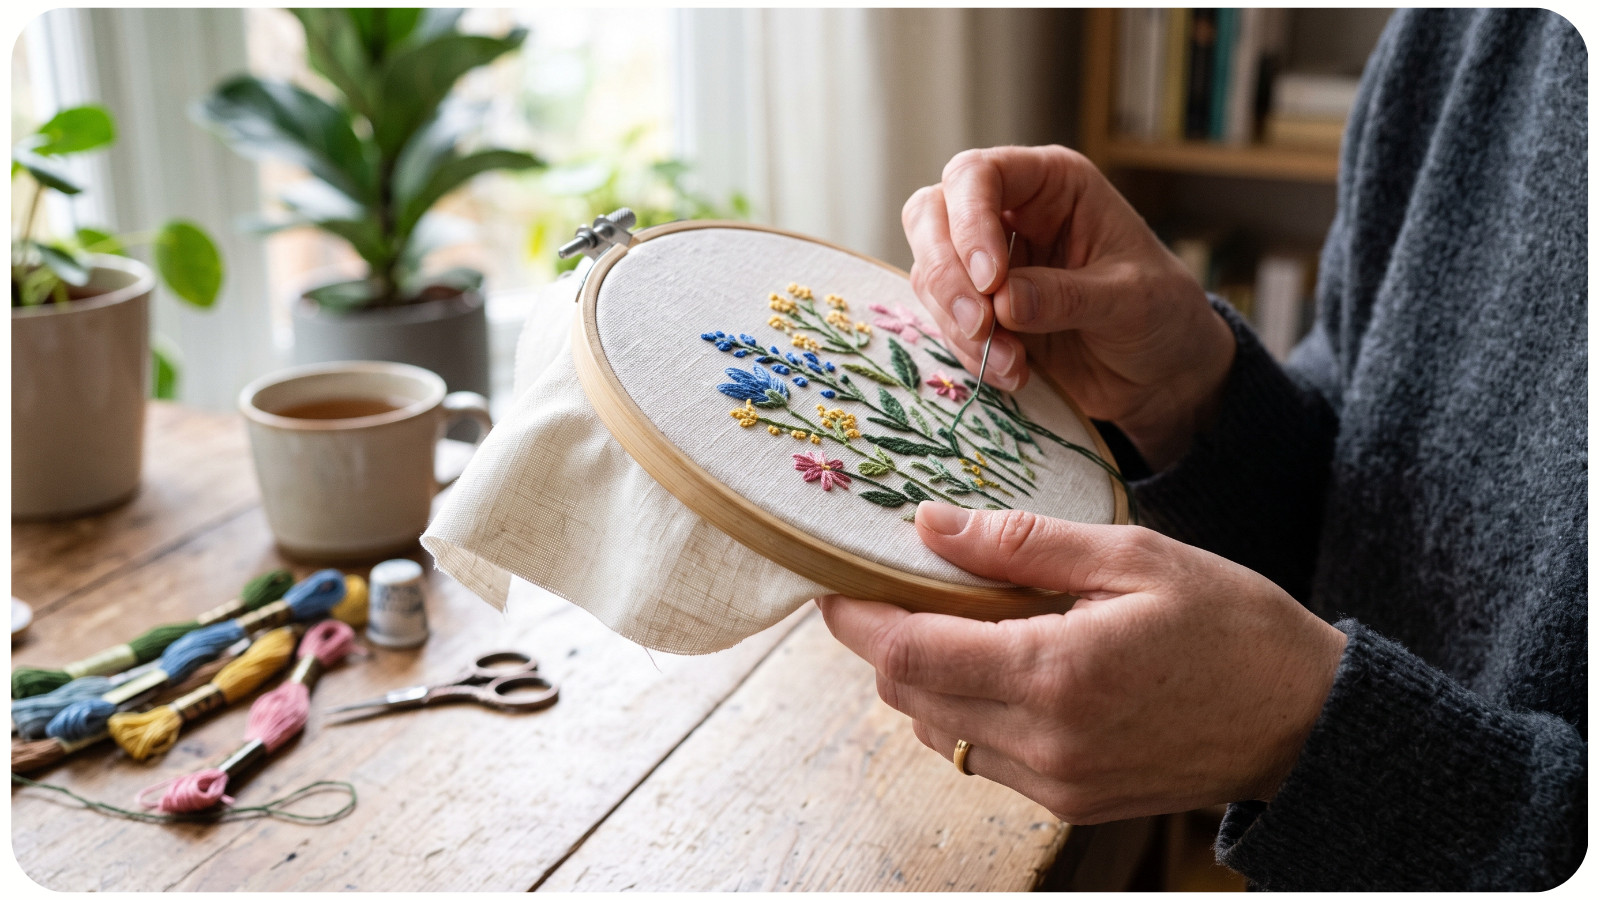
Keep your wrist as neutral as possible. Avoid bending it sharply inward or outward. A neutral wrist allows your fingers to guide the hoop without straining the tendons.
Your elbow should stay close to your body instead of floating outward. When the elbow lifts for too long, the shoulder begins to carry unnecessary tension.
6. POSITION THE HOOP AT A COMFORTABLE ANGLE
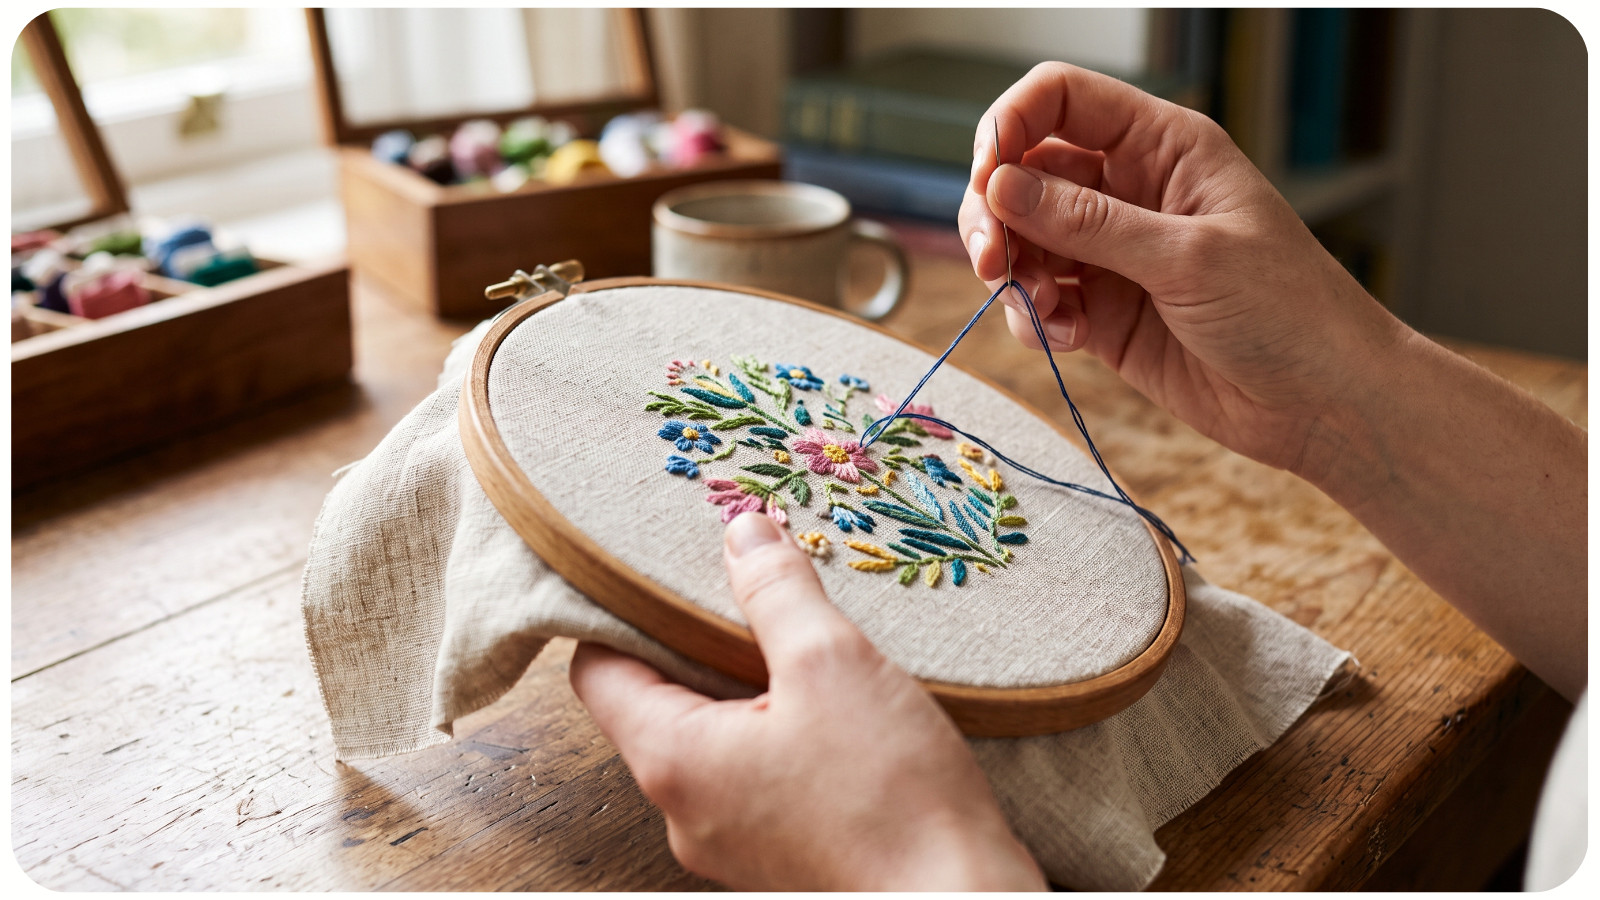
You do not need to hold the hoop perfectly flat. In fact, many stitchers find a slight angle more comfortable.
Tilt the hoop just enough that you can see the holes clearly without bending your neck forward. The goal is to bring the work toward your eyes, not your head toward the work.
A good angle also allows the needle to pass through the Aida with less resistance. If you are stabbing the needle straight down with force, adjust the hoop angle and check whether your wrist is overworking.
7. USE EFFICIENT NEEDLE MOVEMENT
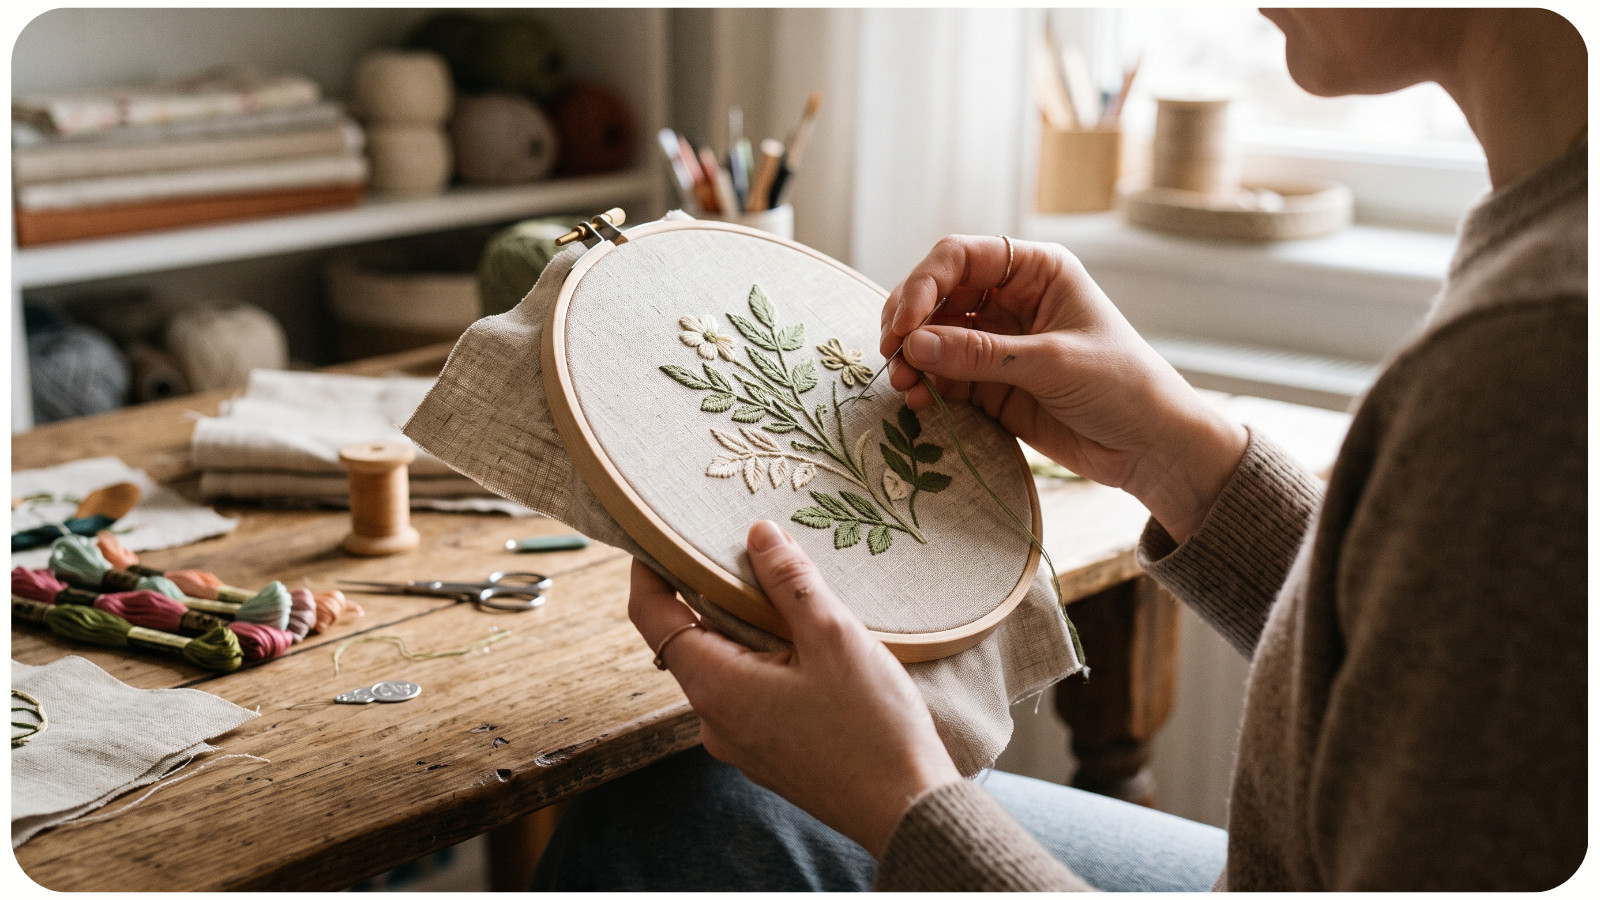
In traditional cross stitch, many stitchers use the “stab method,” bringing the needle fully down through one hole and back up through another. This is accurate and works especially well with hoops.
The key is to avoid excessive motion. Your needle hand should move in small, controlled movements. The hoop hand should remain steady.
Insert the needle vertically or with only a slight angle. Pull the floss through until it rests on the fabric. Do not snap or tug the thread.
8. WATCH YOUR FLOSS TENSION
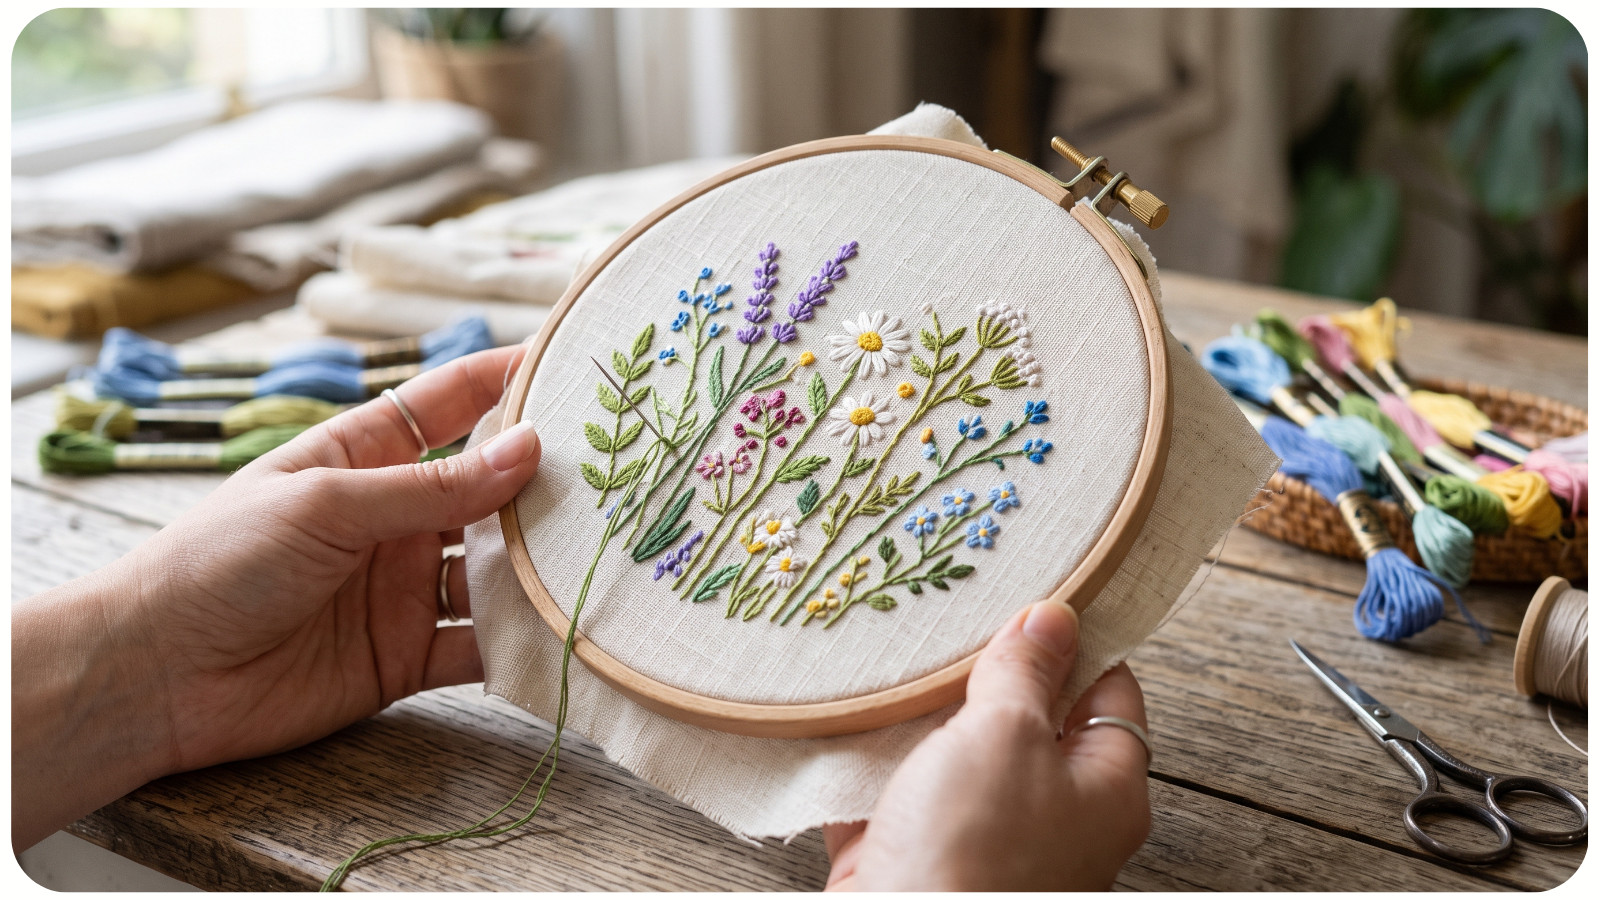
Each stitch should lie flat against the Aida without pulling the fabric. If your stitches pucker, your floss tension is too tight. If loops remain on the surface, your tension is too loose.
A consistent rhythm helps: insert, pull, settle, repeat.
For neat coverage, especially on darker Aida or full-coverage designs, let the floss glide smoothly through the hole. If the thread twists, pause and let the needle dangle so the floss can untwist naturally.
9. SUPPORT THE WEIGHT OF THE HOOP
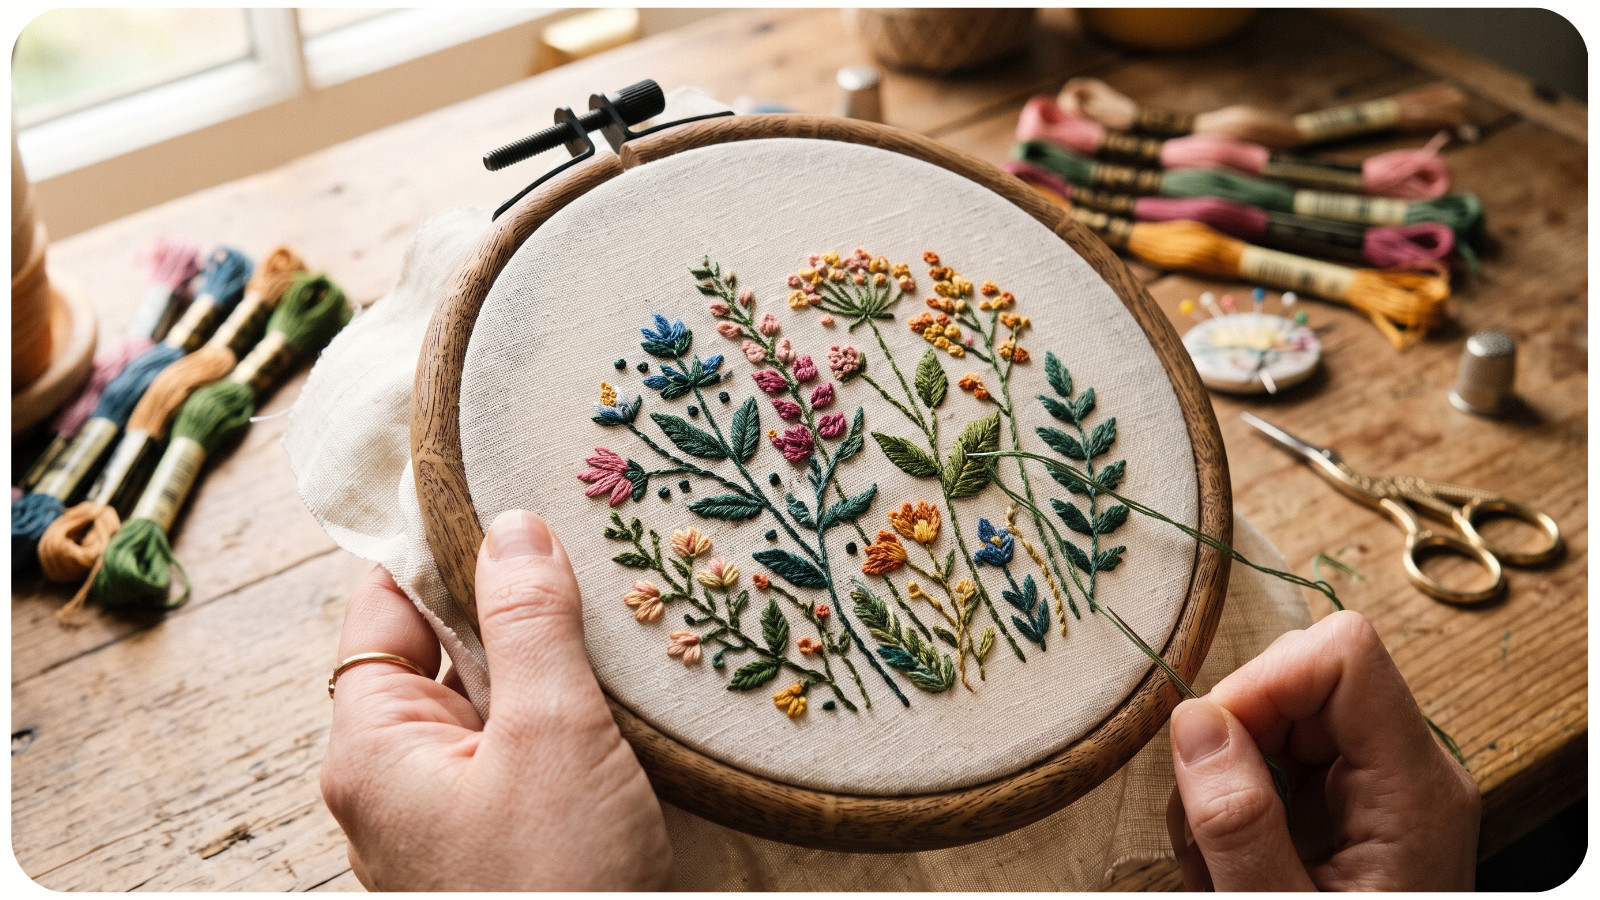
Even a lightweight hoop can become tiring during a long stitching session. If your hand or wrist starts to ache, the issue may be sustained holding rather than stitching motion.
Rest your forearms on a table, pillow, or armrest when possible. This reduces shoulder tension and keeps the hoop stable.
A lap pillow can also help raise the work to a better height. Avoid stitching with the hoop low in your lap if it causes you to round your back or bend your neck.
10. CONSIDER A HOOP STAND FOR LONGER PROJECTS
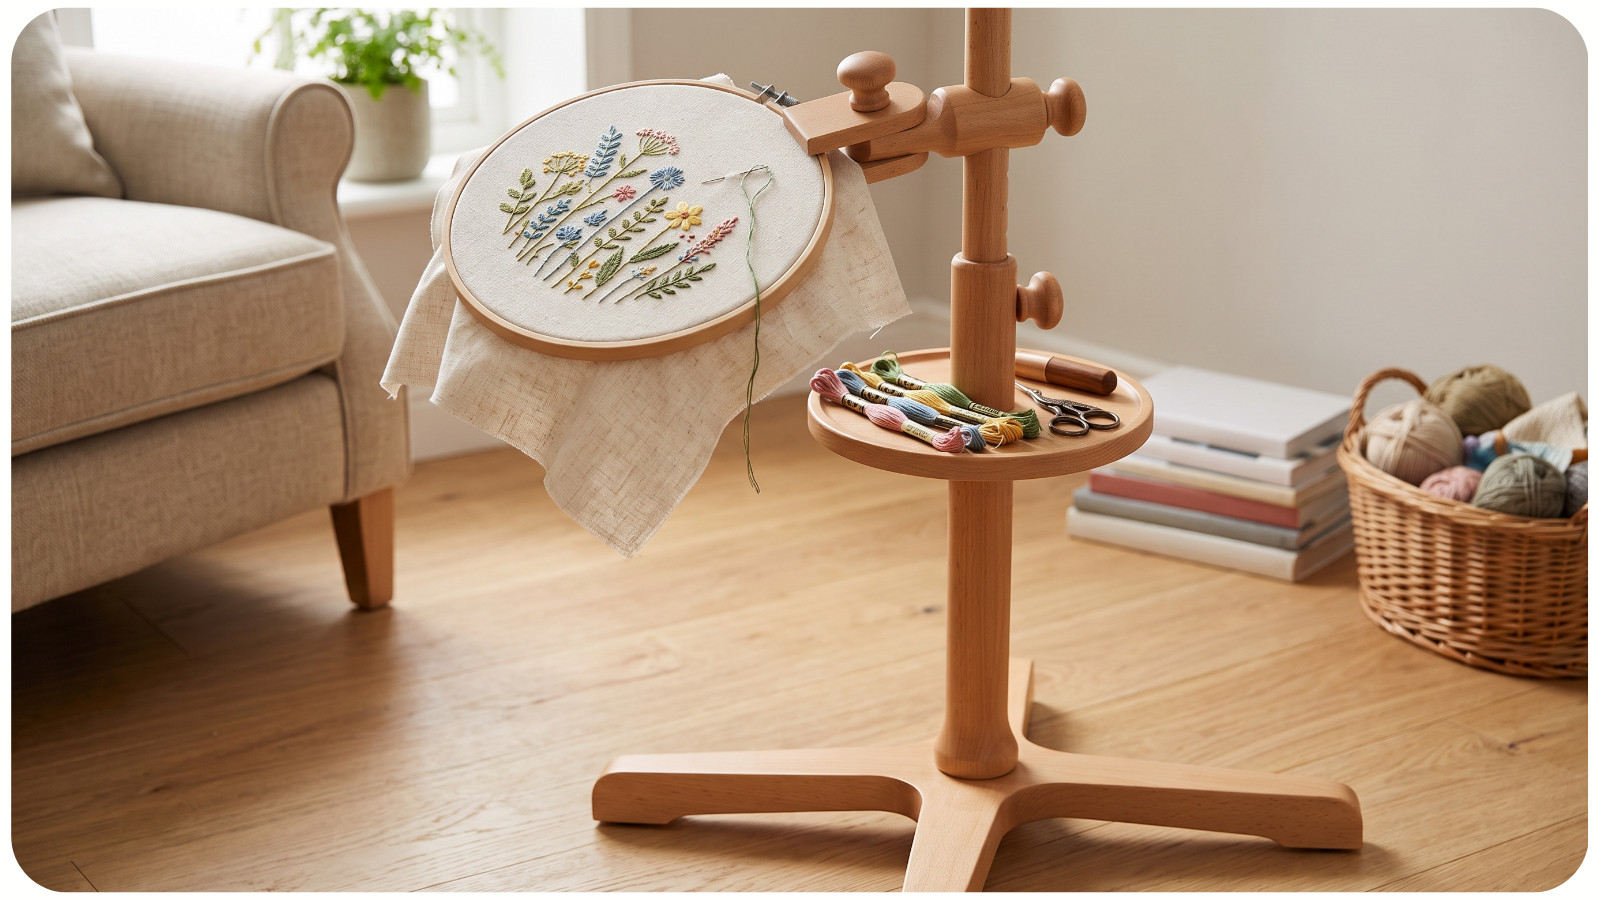
For long sessions, detailed samplers, or complex Awesome Pattern Studio patterns, a stand can be a major comfort upgrade.
A hoop stand holds the fabric for you, allowing one hand to stay above the fabric and the other below. This two-handed stitching method can improve speed and reduce wrist strain.
With two-handed stitching, one hand sends the needle down and the other brings it back up. It takes practice, but it can make large projects feel much smoother.
11. ADJUST FOR LEFT-HANDED OR RIGHT-HANDED STITCHING
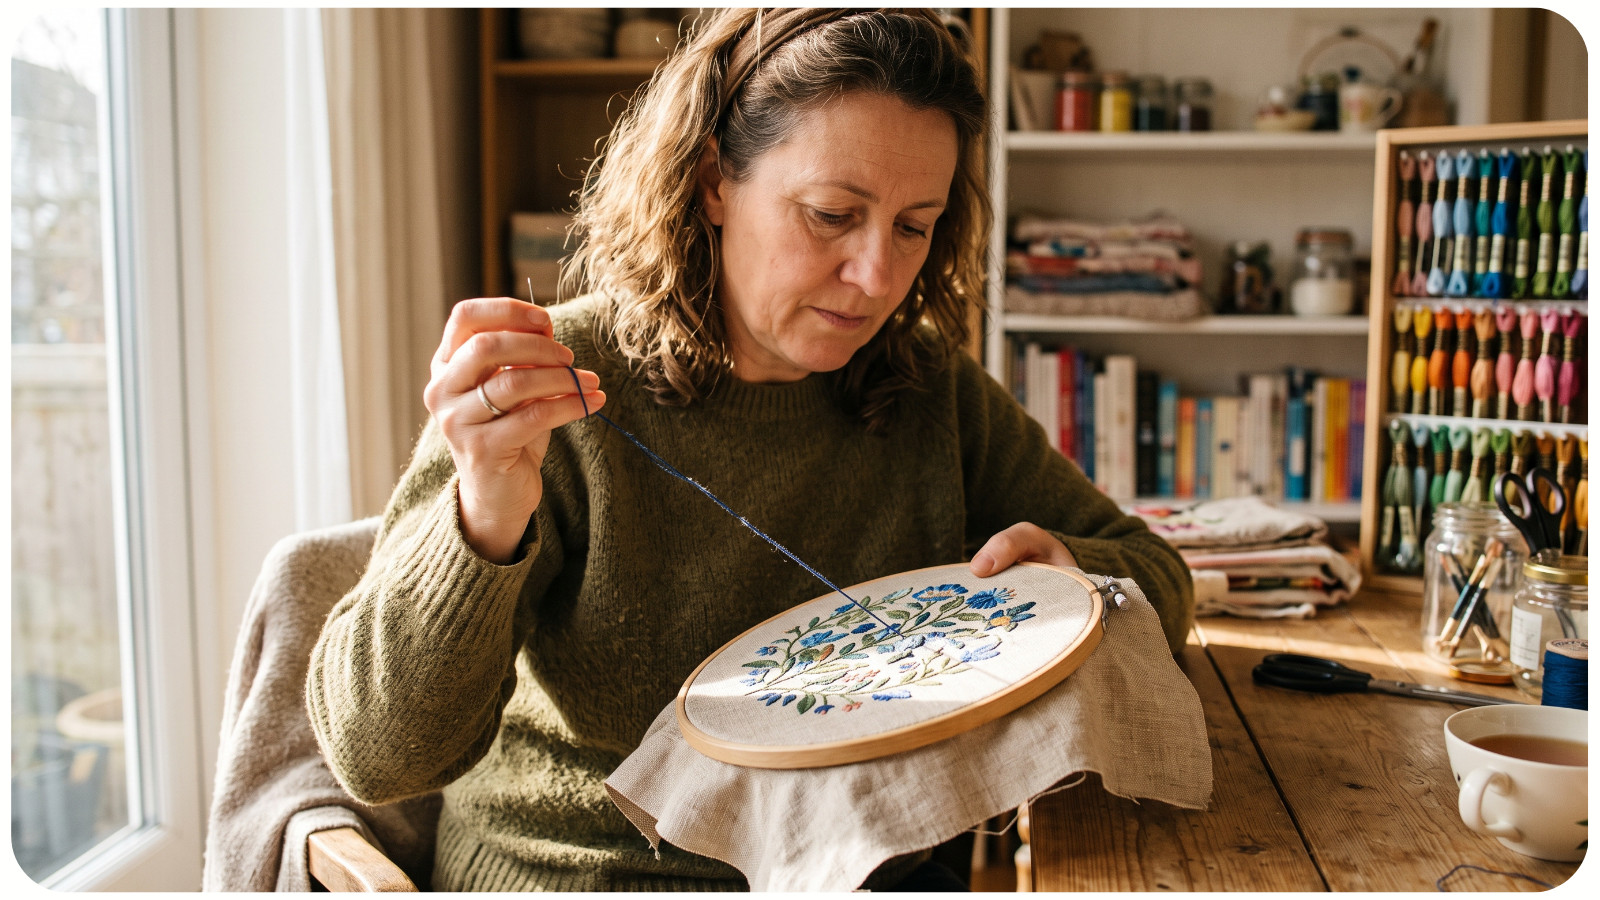
Right-handed stitchers often hold the hoop in the left hand and stitch with the right. Left-handed stitchers usually reverse this.
However, there is no rule that your dominant hand must do all the work. The best setup is the one that keeps your wrists relaxed, your stitches even, and your view clear.
If you notice discomfort on one side, experiment with switching hands for short periods. This can reduce repetitive strain during longer stitching sessions.
12. AVOID COVERING THE STITCHING AREA WITH YOUR HAND
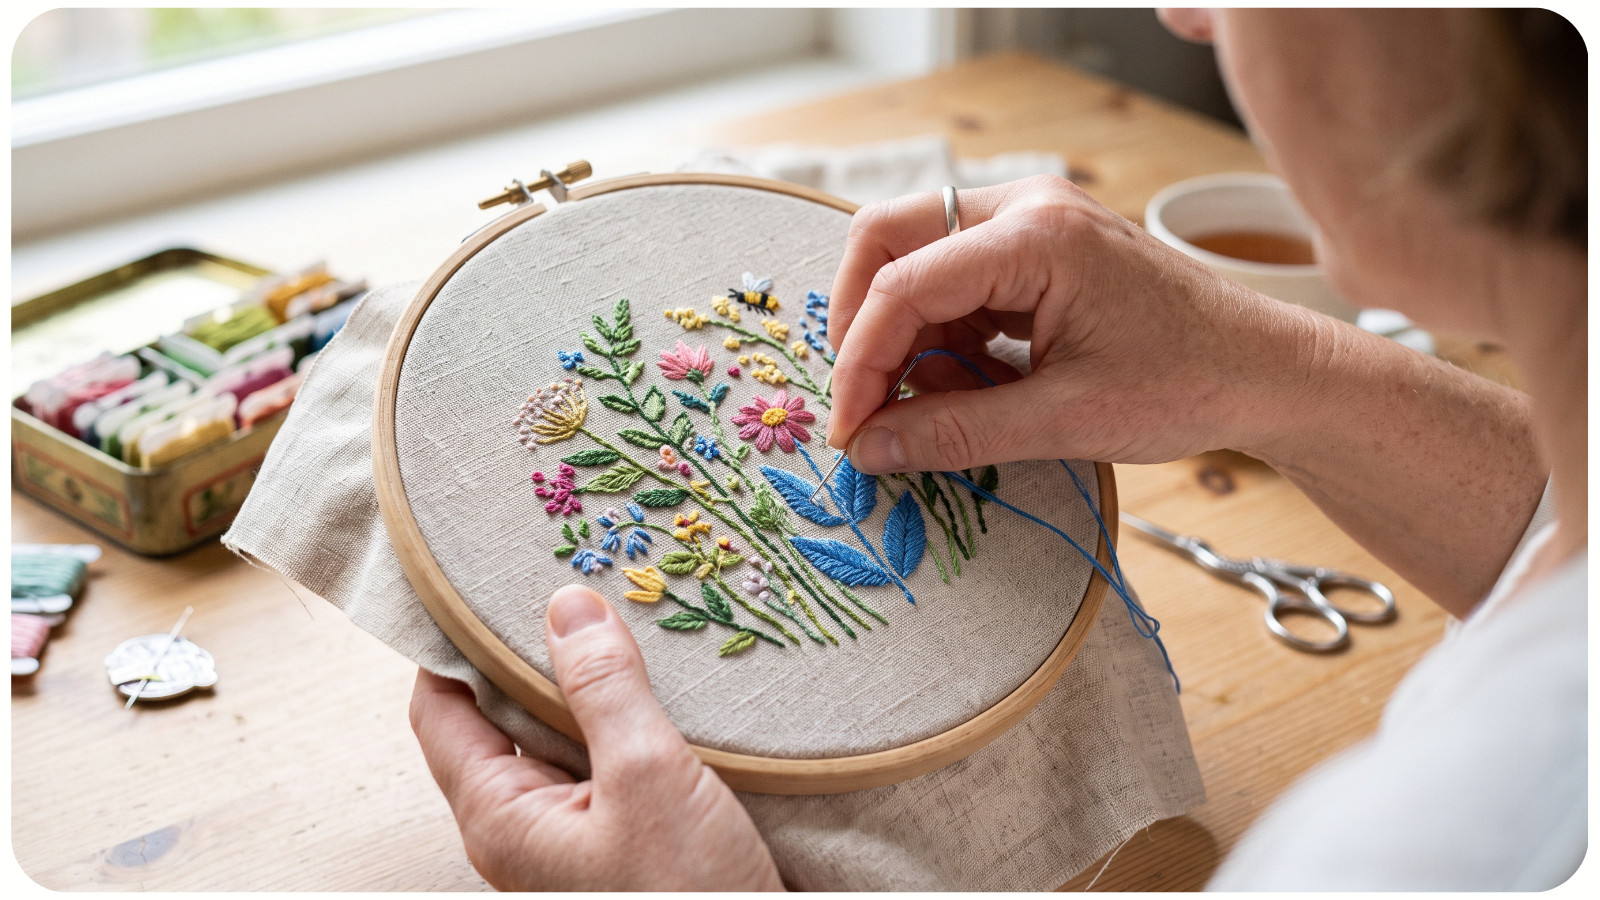
Try not to place your holding hand directly over the section you are stitching. Natural oils from your skin can transfer to the fabric and floss.
Hold the hoop by the rim whenever possible. If you work on large or light-colored projects, use a grime guard or wash your hands before each session.
This is especially important for white Aida, pale floss colors, and heirloom-style pieces.
13. TAKE BREAKS BEFORE DISCOMFORT STARTS
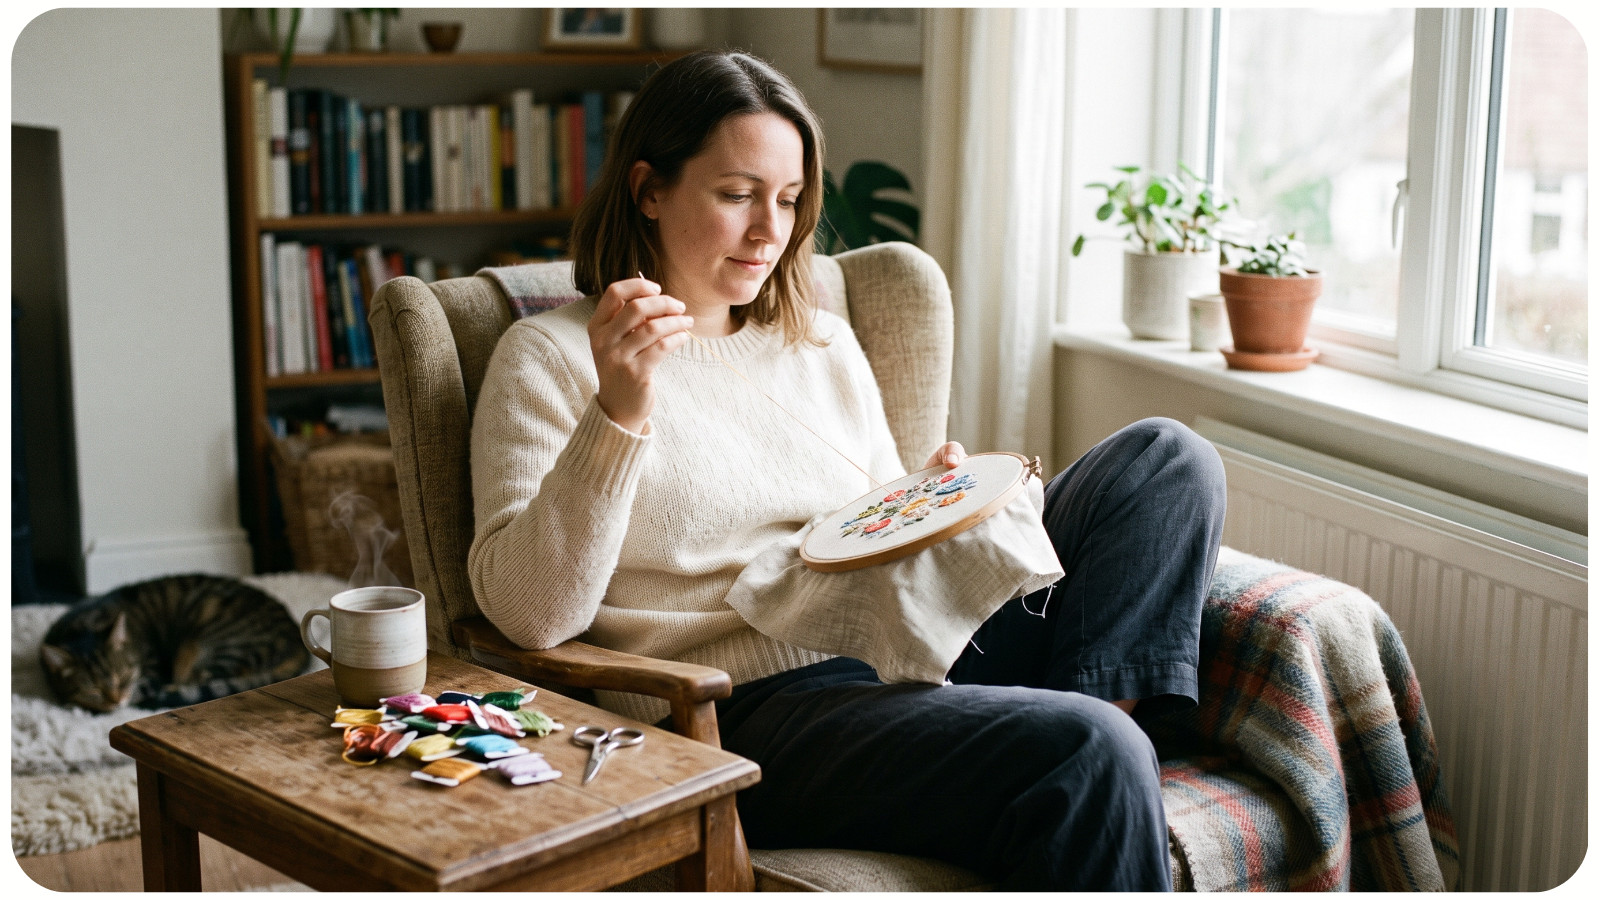
Comfortable stitching is not only about posture. It is also about pacing.
Take short breaks before your hand feels tired. Open and close your fingers, roll your shoulders, and look away from the fabric to rest your eyes.
A good habit is to pause after finishing a thread length. This creates a natural rhythm and prevents you from stitching through discomfort.
COMMON HOOP-HOLDING MISTAKES
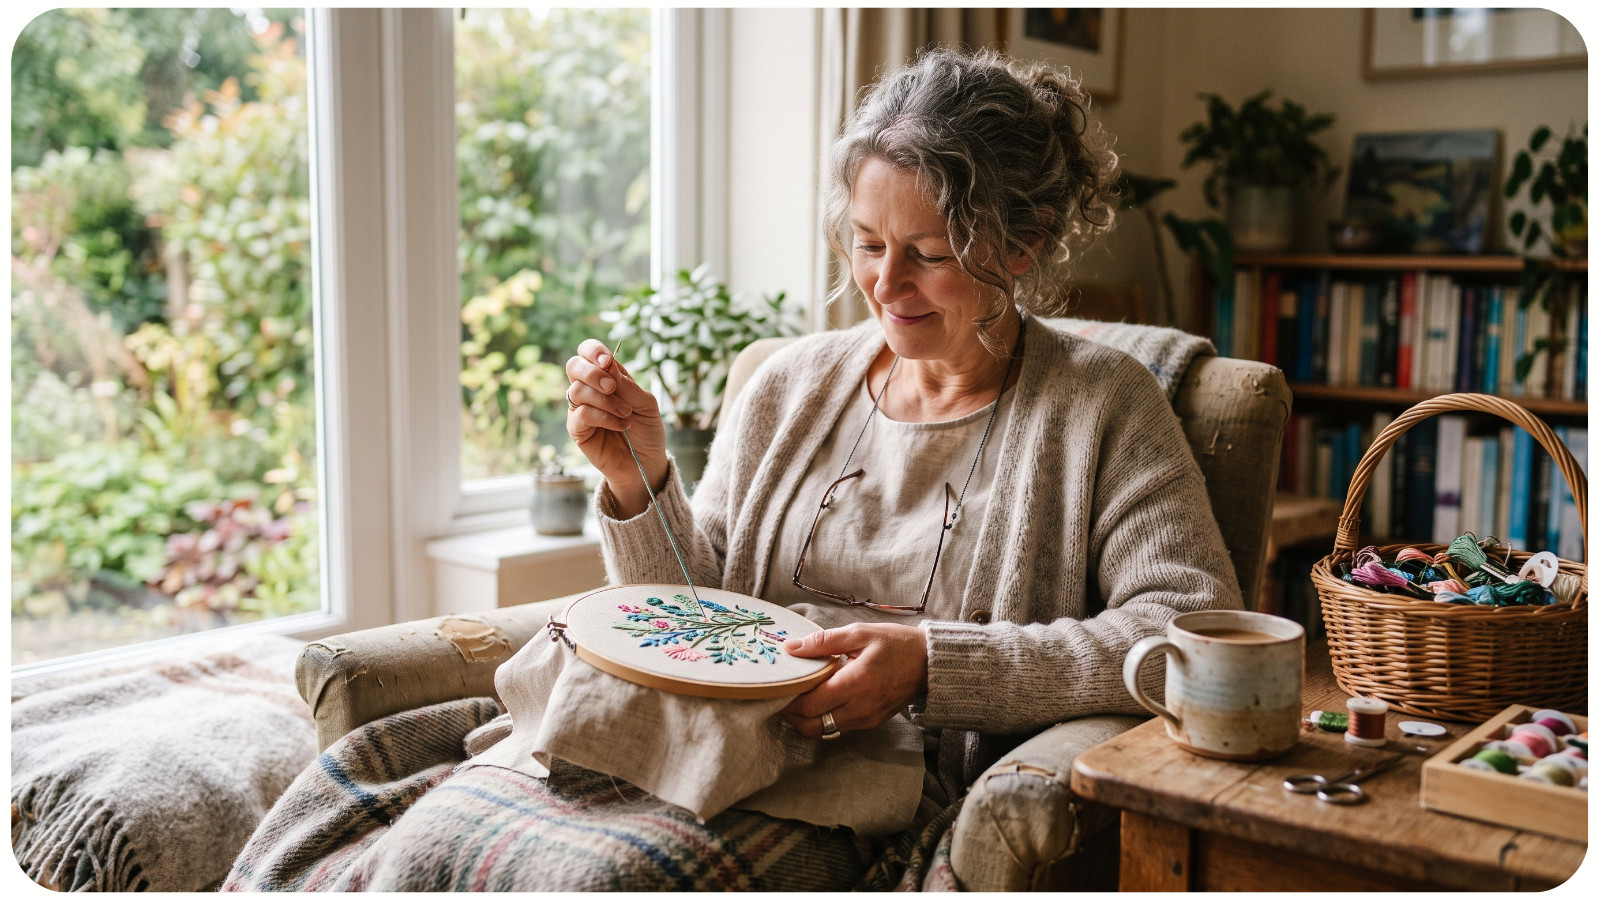
1. Gripping Too Hard. A tight grip creates hand fatigue and can make your stitches tense. Relax your fingers and let the hoop rest in your hand.
2. Holding the Hoop Too Low. If the hoop sits too low, your neck and upper back may round forward. Raise the hoop or support your arms.
3. Over-Tightening the Fabric. Fabric should be firm, not warped. Over-tightened Aida can distort holes and affect stitch quality.
4. Pulling Floss Too Forcefully. Cross stitch does not require strength. Pull the floss only until the stitch lies flat.
5. Ignoring Early Pain. Pain is a signal to adjust. Change your position, loosen your grip, or take a break.
EXPERT ADVICE FOR BETTER STITCHING CONTROL
Think of the hoop as a stabilizing tool, not something to fight against. Your fabric should remain steady, your wrist should stay neutral, and your needle should move with minimal effort.
When technique is correct, stitching feels controlled but not stiff. Your Xs become more consistent because your fabric, hand, needle, and floss are working together.
This is especially useful for detailed patterns with many color changes. If you enjoy intricate designs from Awesome Pattern Studio, good hoop handling can help you maintain accuracy and reduce mistakes.
CONCLUSION
Learning how to hold a hoop properly is one of the simplest ways to improve your cross stitch experience. It affects comfort, stitch tension, fabric control, and even the final appearance of your project.
Start with a well-tensioned hoop. Keep your grip relaxed. Maintain a neutral wrist. Support your arms. Let the needle and floss move smoothly through the Aida instead of forcing each stitch.
The more comfortable your setup, the more enjoyable your stitching becomes. With the right technique, every session can feel calmer, cleaner, and more precise – whether you are stitching a beginner motif, a sampler, or a detailed Awesome Pattern Studio design.