


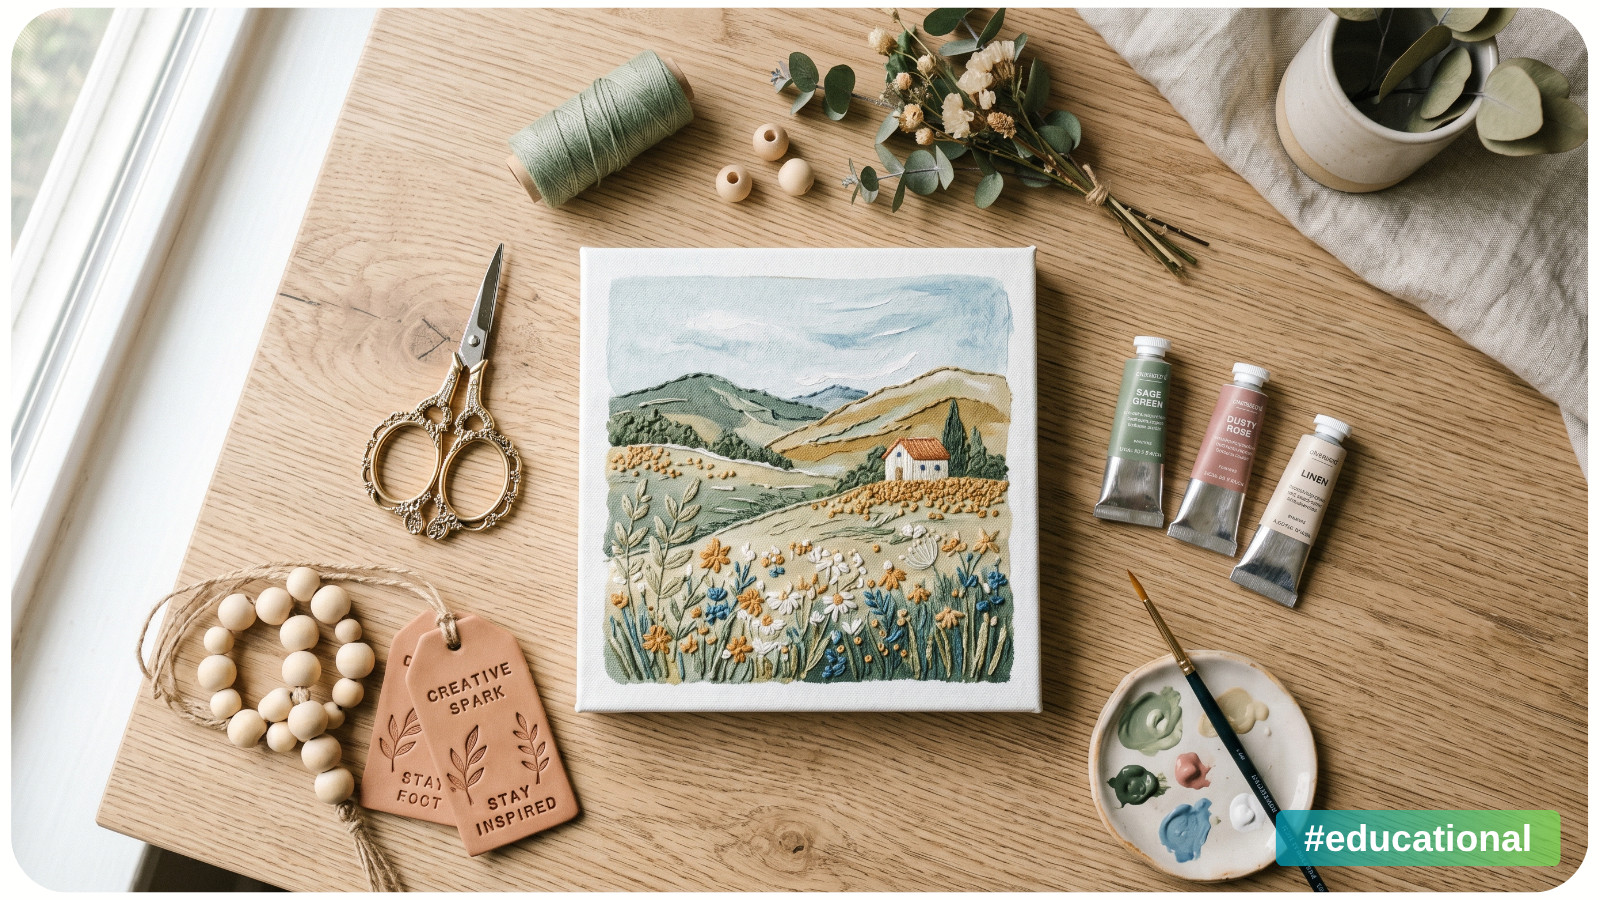
Mixing different craft techniques in one project is one of the easiest ways to make handmade pieces feel more personal, polished, and creative. Instead of sticking to one method, you can combine painting with embroidery, paper crafts with wood decor, clay with beads, or fabric with vinyl to create something that feels truly one-of-a-kind.
This approach is often called mixed media crafting, but it does not have to be complicated. You do not need a professional studio, advanced tools, or years of experience. With the right combinations, even simple supplies can turn into beautiful handmade gifts, home decor, party decorations, ornaments, wall art, and seasonal crafts.
Whether you are making DIY Christmas ornaments, a Mother’s Day gift, a fall wreath, a scrapbook cover, or a handmade wall hanging, learning how to mix techniques can help your projects look more thoughtful and unique.
1. START WITH ONE MAIN CRAFT TECHNIQUE
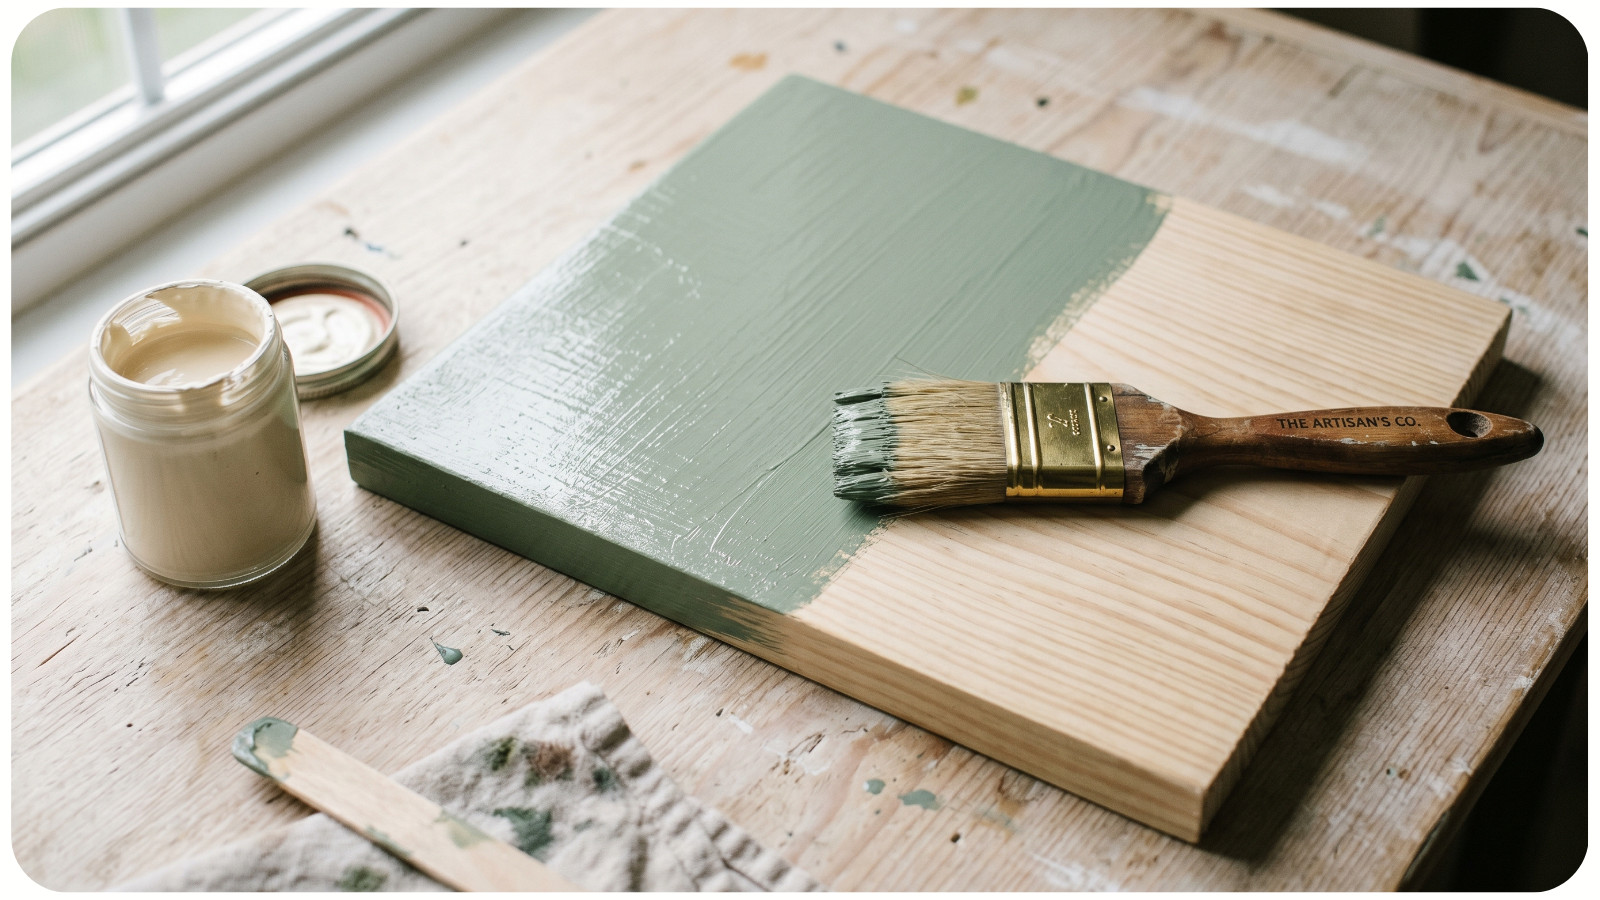
The easiest way to mix craft techniques without feeling overwhelmed is to choose one main technique first. This becomes the foundation of your project.
For example, your main technique might be: Painting, Sewing, Embroidery, Paper crafting, Wood crafting, Crochet, Clay modeling, Resin art, Macramé, Stenciling.
Once you choose the base technique, you can add one or two smaller supporting techniques. This keeps the project creative but still manageable.
For a beginner-friendly project, try starting with a painted wooden sign. Painting is the main technique, and you can add stenciling, ribbon, pressed flowers, or small clay details as accents.
Beginner tip: Do not try to combine five or six techniques in your first project. Start with two, then build your confidence.
2. PICK TECHNIQUES THAT NATURALLY WORK TOGETHER
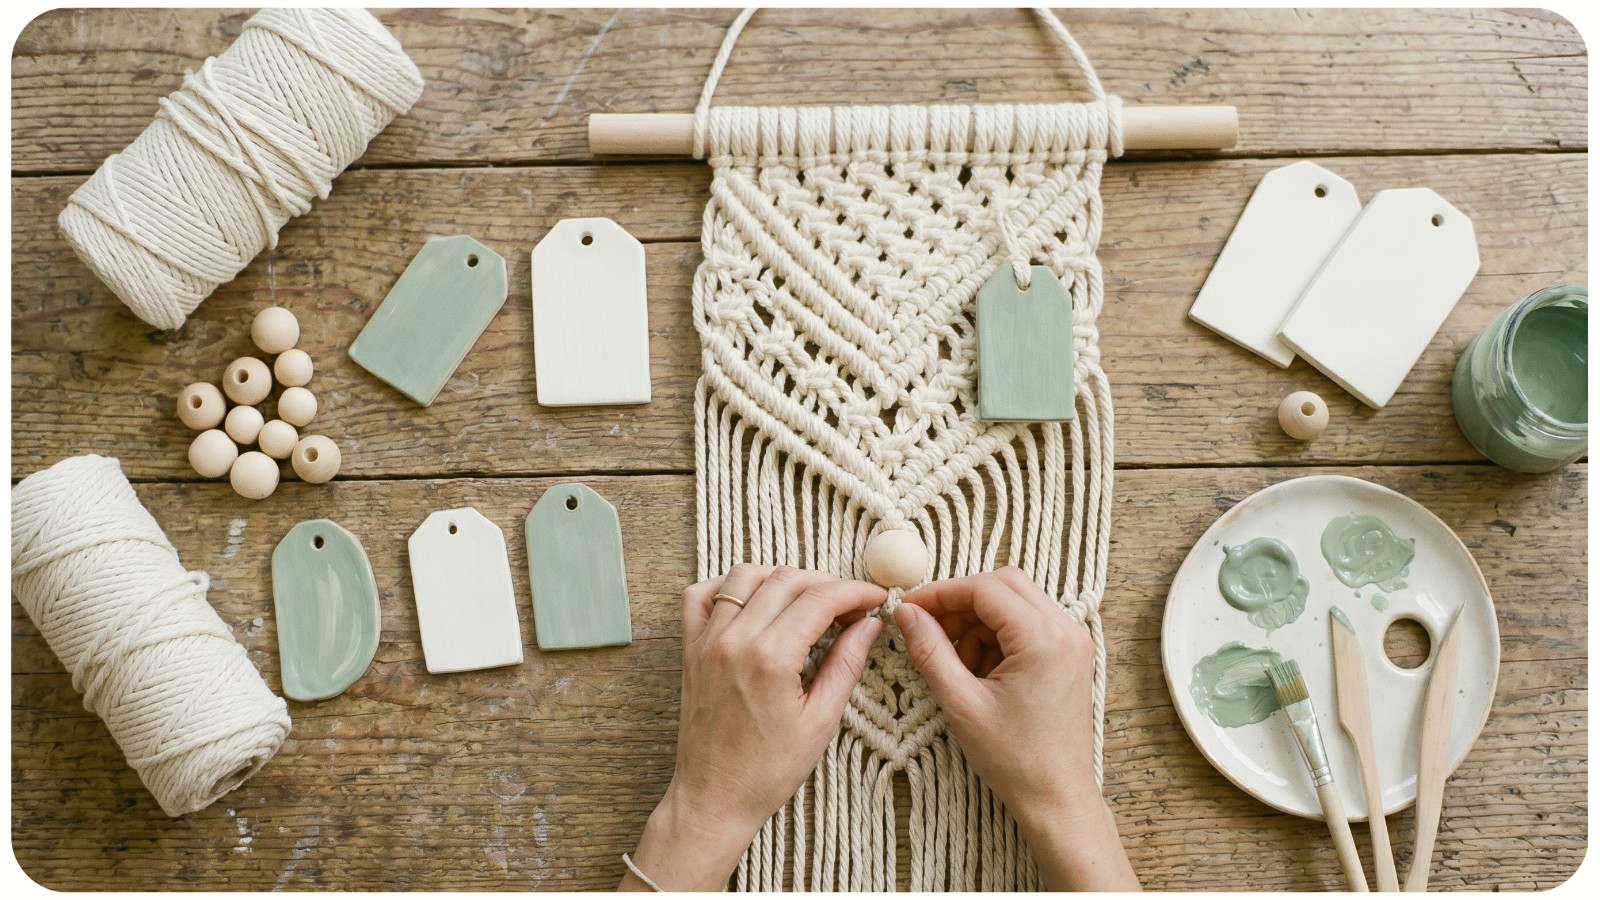
Some craft techniques blend more easily than others. When you are just starting out, choose combinations that share similar materials, surfaces, or styles.
Easy technique pairings include:
- Painting + stenciling;
- Embroidery + fabric collage;
- Paper crafts + stamping;
- Wood crafts + vinyl decals;
- Clay + acrylic paint;
- Macramé + beads;
- Crochet + sewing;
- Resin + dried flowers;
- Scrapbooking + hand lettering;
- Candle decorating + pressed botanicals.
These pairings work well because one technique usually adds structure while the other adds detail. For example, a clay ornament becomes more special when you paint it with acrylics and add a ribbon hanger. A scrapbook page looks more dimensional when you add stitching, stamped details, and small paper flowers.
3. CHOOSE A CLEAR THEME BEFORE YOU BEGIN
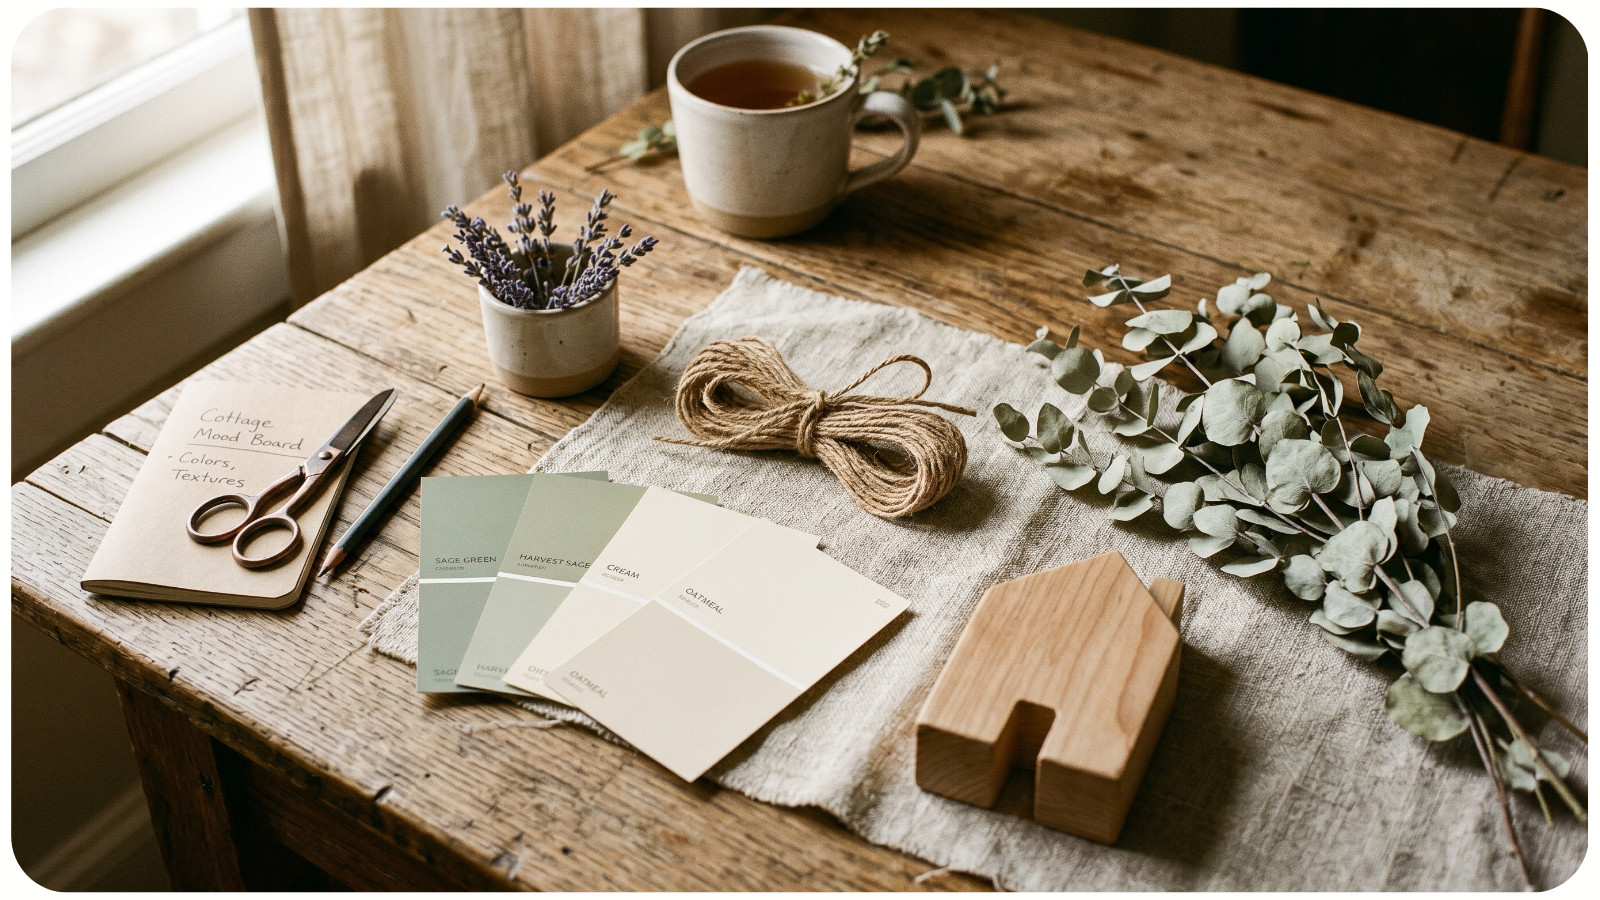
A theme helps mixed craft projects feel intentional instead of random. Before you gather supplies, decide what mood, season, or purpose your project should have.
Popular themes for US craft and lifestyle blogs include:
- Cozy farmhouse decor;
- Modern boho style;
- Cottagecore handmade gifts;
- Minimalist holiday decor;
- Coastal summer crafts;
- Rustic fall home decor;
- Handmade wedding details;
- Personalized birthday gifts;
- Back-to-school crafts;
- DIY Christmas keepsakes.
For example, if your theme is “cozy fall decor,” you might combine wood burning, acrylic painting, twine wrapping, and pressed leaves. If your theme is “boho nursery decor,” you might mix macramé, wooden beads, soft fabric, and painted shapes.
A strong theme makes it easier to choose colors, textures, and materials.
4. LIMIT YOUR COLOR PALETTE
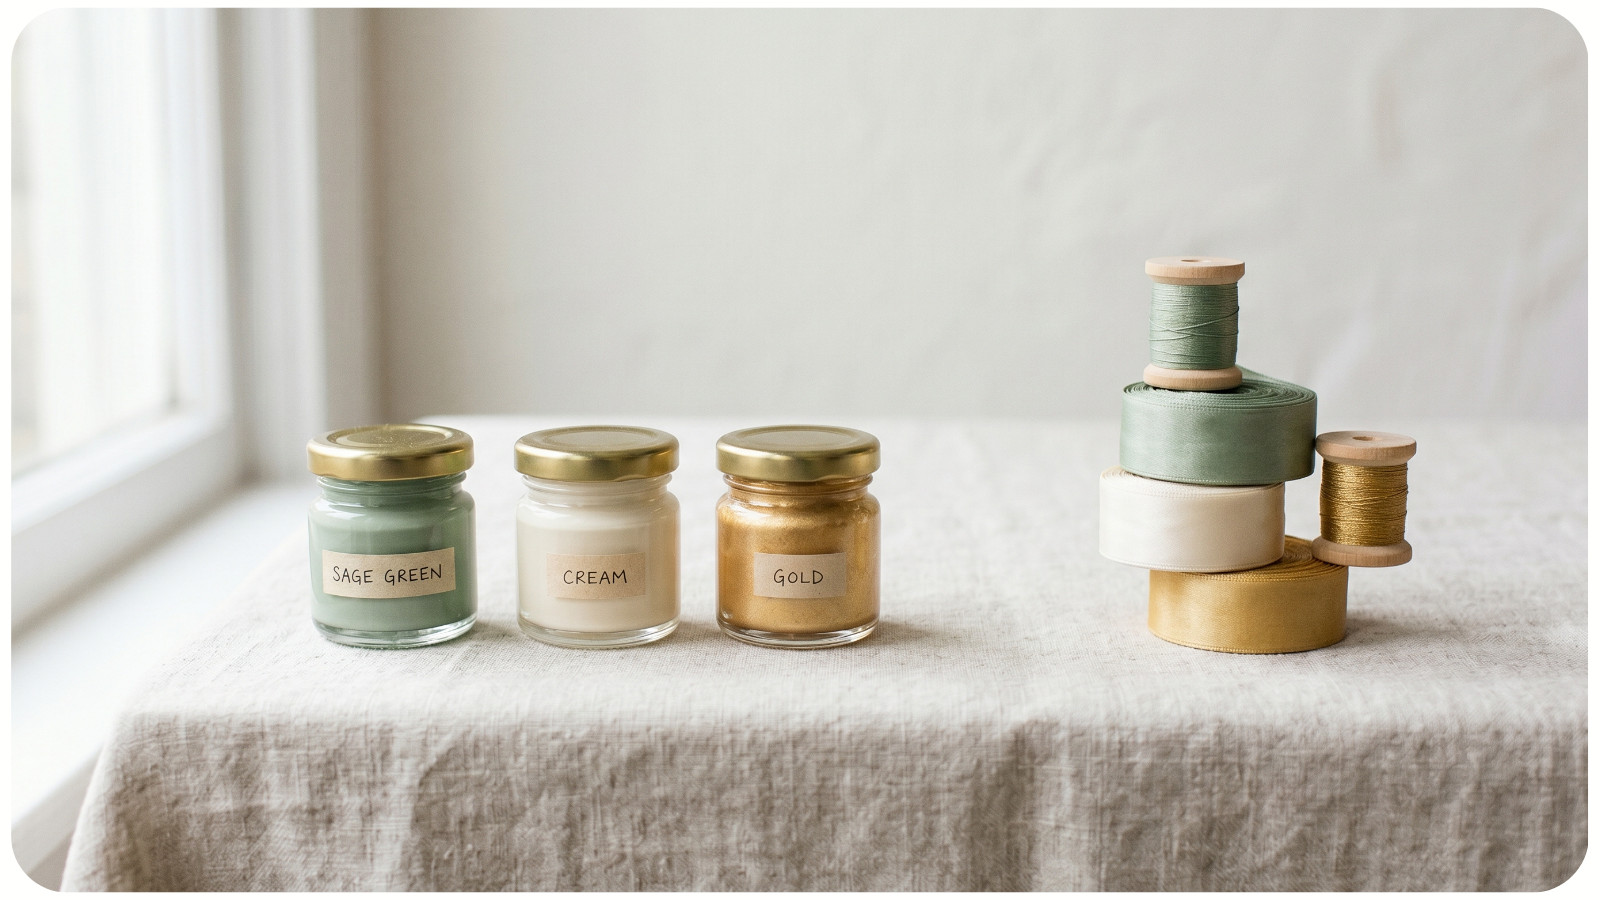
When mixing different craft techniques, color is what ties everything together. Even if you use several materials, a limited color palette can make the finished project look cohesive.
A good beginner-friendly palette usually includes:
- One main color;
- One neutral color;
- One accent color.
For example:
- Sage green, cream, and gold;
- Navy blue, white, and natural wood;
- Blush pink, beige, and rose gold;
- Terracotta, ivory, and olive;
- Black, white, and kraft brown.
If you are making seasonal crafts, use familiar holiday palettes but soften them for a modern look. For Christmas, try evergreen, warm white, and brass instead of only bright red and green. For Halloween, try matte black, pumpkin orange, and cream for a trendy spooky-cute style.
5. COMBINE TEXTURE WITH FLAT SURFACES
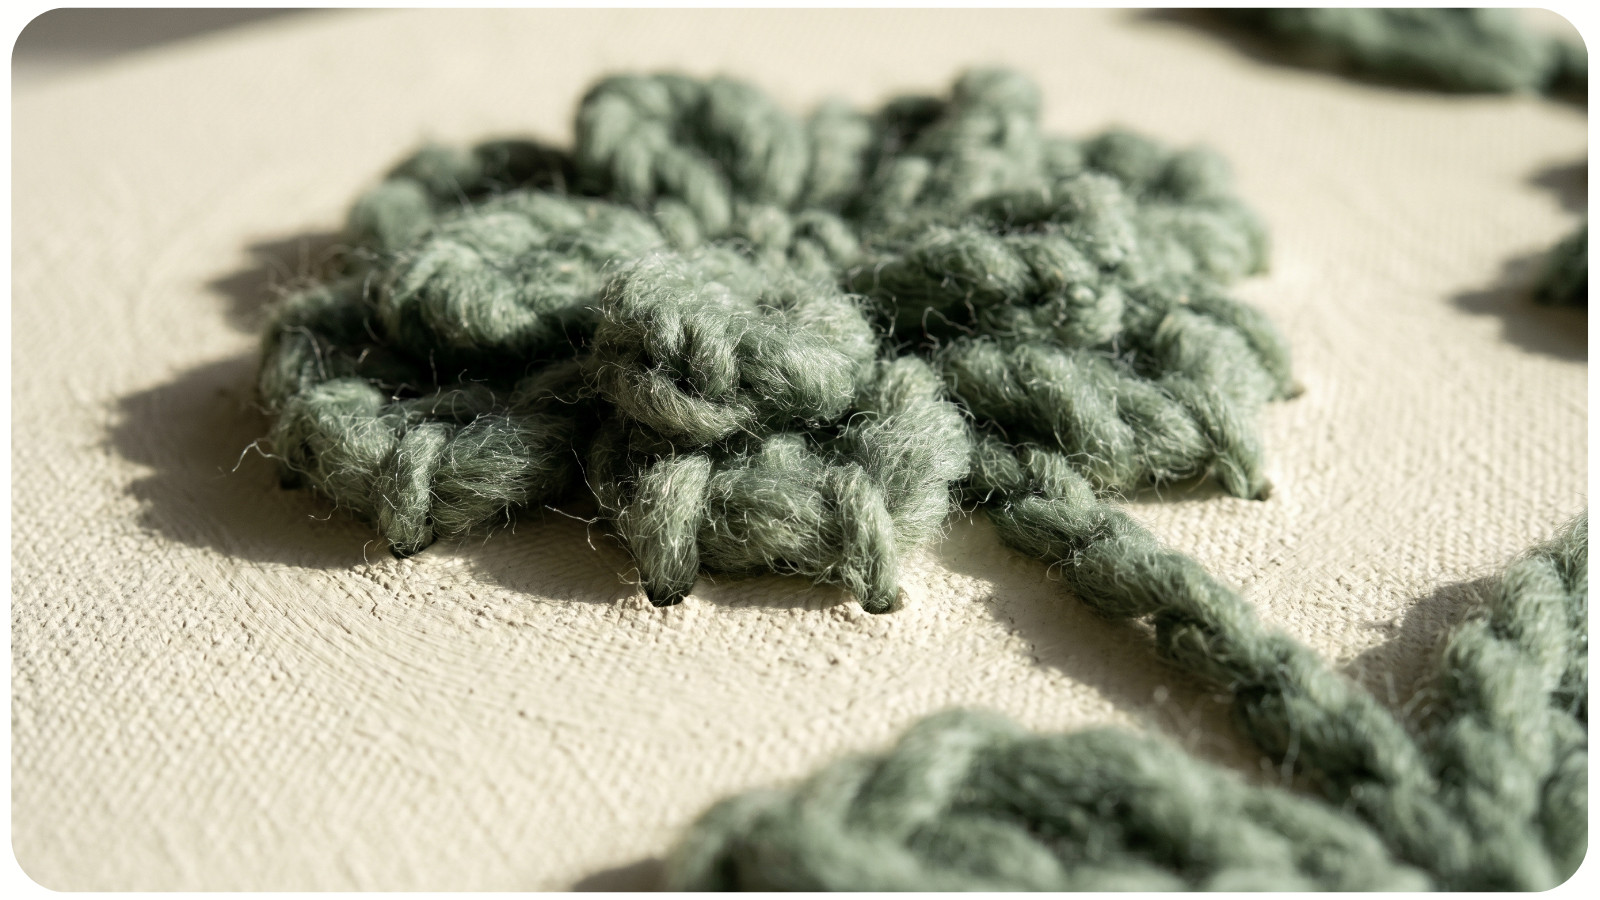
One of the best reasons to mix craft techniques is to create contrast. Flat surfaces look more interesting when you add texture, and textured pieces look more polished when paired with clean painted or printed details.
Try combinations like:
- Painted canvas with yarn embroidery;
- Paper collage with raised foam dots;
- Wooden signs with fabric bows;
- Clay tags with stamped letters;
- Macramé wall hangings with painted wooden beads;
- Resin trays with dried flowers;
- Greeting cards with stitched edges.
Texture makes handmade projects feel more expensive and visually interesting. It also photographs well for blogs, Pinterest, Etsy listings, and social media.
6. USE REPETITION TO MAKE THE PROJECT FEEL BALANCED
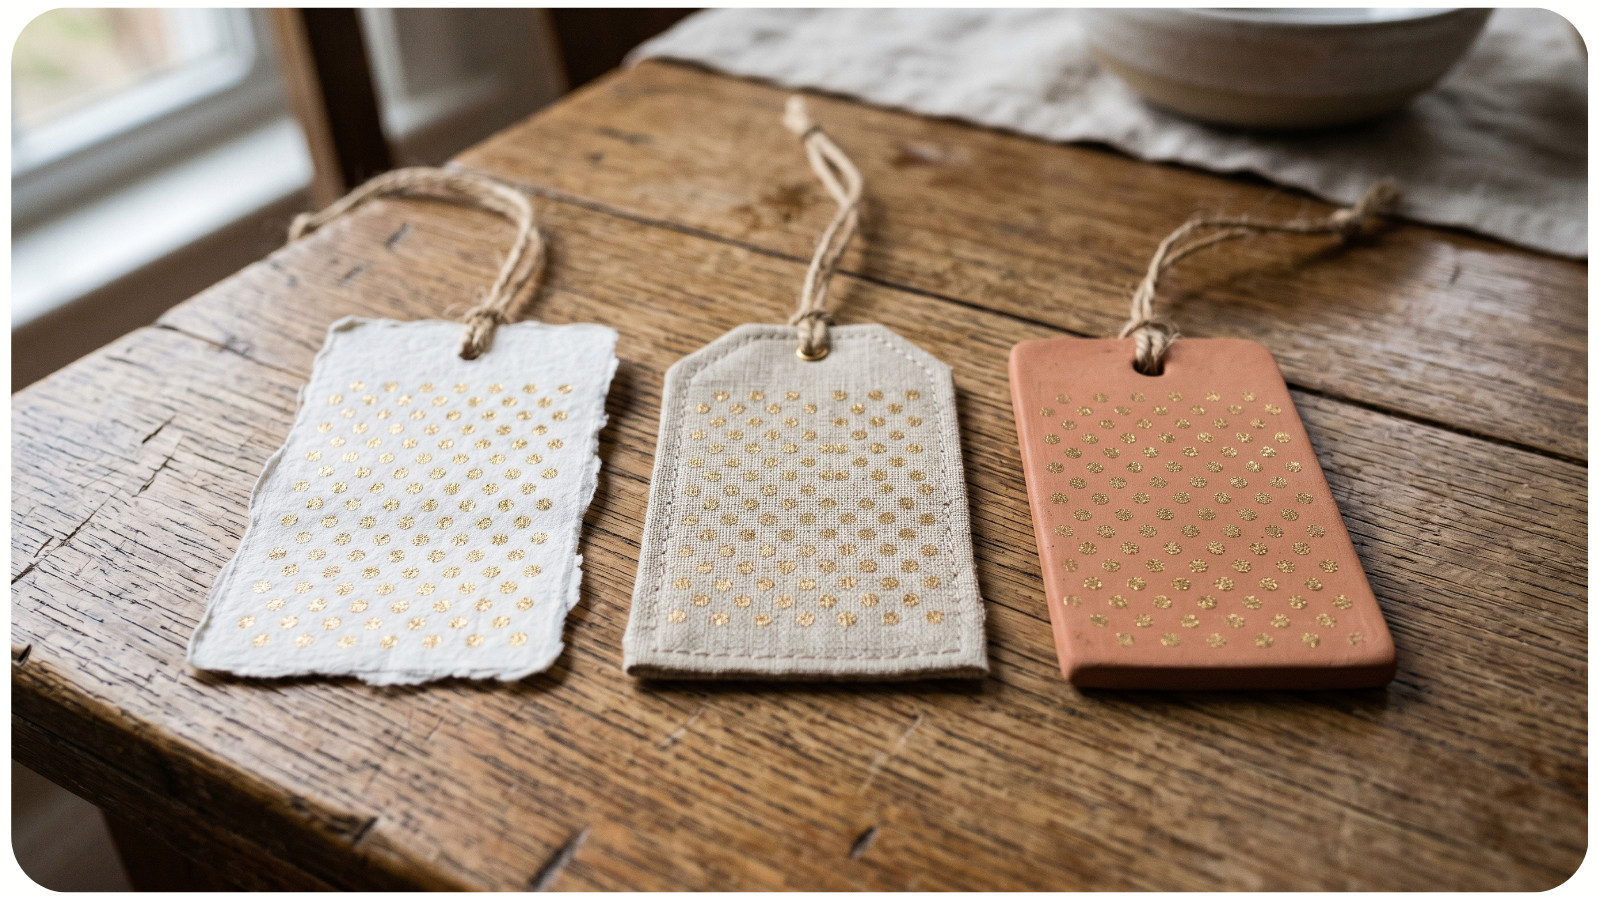
When a project includes several techniques, repetition helps everything feel connected. You can repeat a color, shape, pattern, texture, or material throughout the piece.
For example, if you add gold paint to a clay charm, repeat a small gold detail on the tag, ribbon, or frame. If your project includes floral paper, use the same flower shape in a stamped design or embroidery detail.
Simple repetition ideas include:
- Repeating the same color in three places;
- Using the same shape across different materials;
- Matching ribbon color to painted details;
- Repeating dots, stripes, or florals;
- Using the same metal finish throughout the project.
This is especially helpful for mixed media wall art, handmade cards, wreaths, ornaments, and gift packaging.
7. THINK ABOUT FUNCTION BEFORE DECORATION
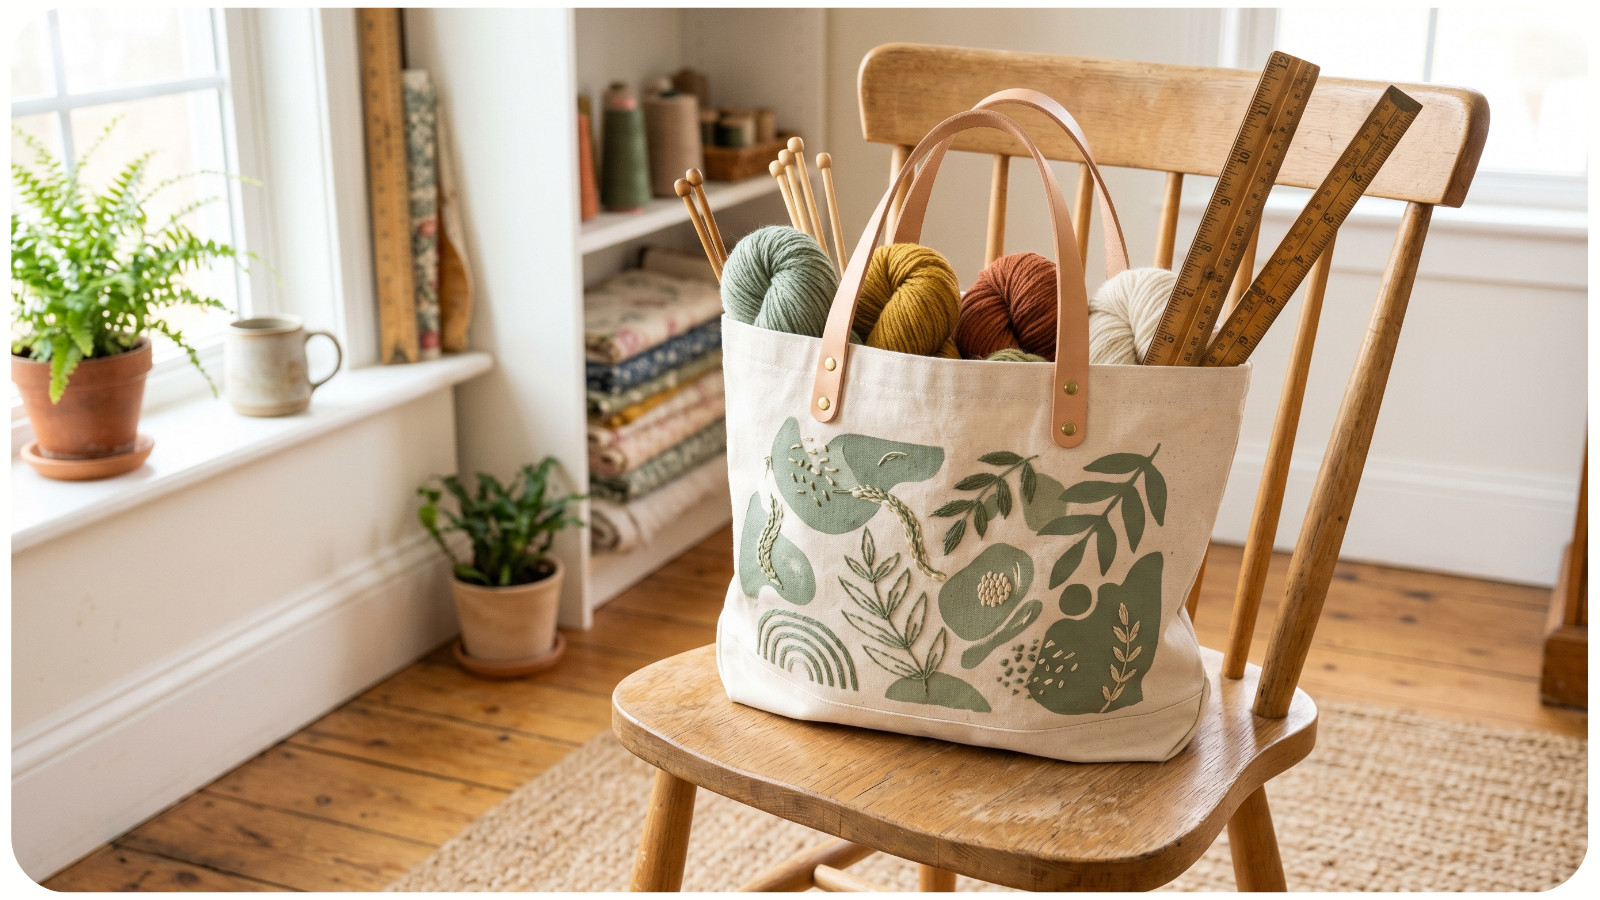
Before adding extra techniques, ask what the project needs to do. Is it decorative, wearable, washable, giftable, or meant to last for years?
This matters because some materials do not work well together in practical projects. For example, paper embellishments may not be ideal for items that need washing. Heavy clay pieces may not work on delicate fabric. Unsealed paint may not last on outdoor wood decor.
For functional DIY projects, consider:
- Will the item be handled often?
- Does it need to be washable?
- Will it be exposed to sunlight or moisture?
- Is it too heavy for the base material?
- Does it need a protective finish?
- Is it safe for kids, pets, or food contact?
A decorative shadow box can include fragile paper, fabric, dried flowers, and beads. But a tote bag should use stronger techniques like sewing, fabric paint, embroidery, or heat-transfer vinyl.
8. TEST MATERIALS BEFORE COMMITTING
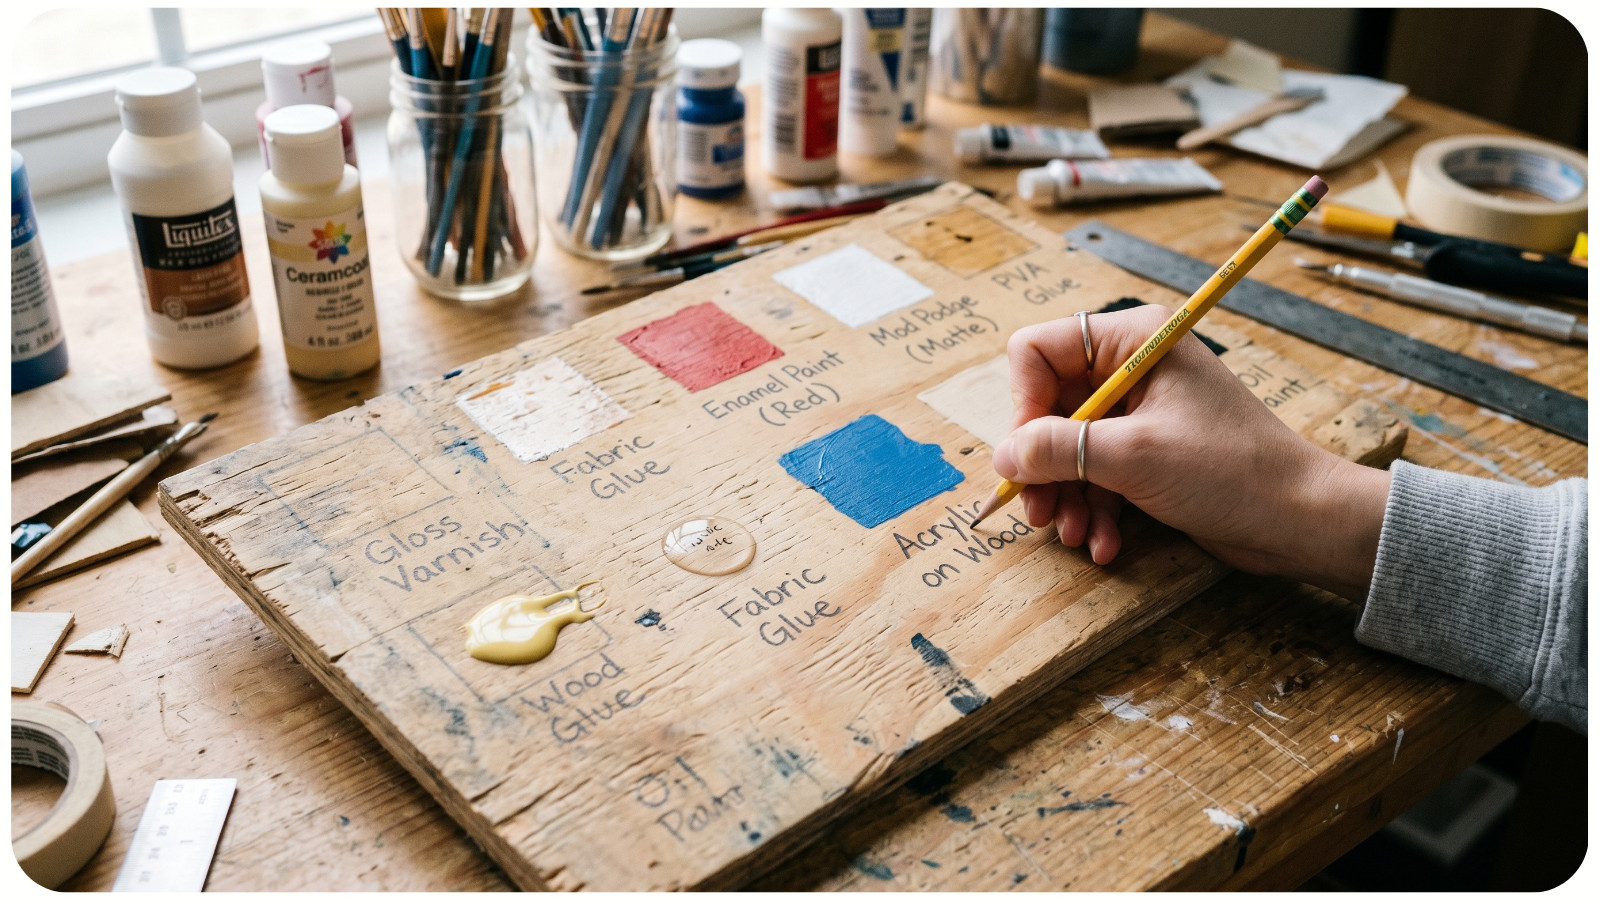
One of the most common mistakes in mixed craft projects is assuming all materials will work together. Paint may not stick to slick plastic. Glue may stain fabric. Ink may bleed on handmade paper. Resin may darken delicate botanicals.
Before you work on the final piece, test your materials on scraps.
Test for:
- Adhesion;
- Drying time;
- Color bleeding;
- Warping;
- Smudging;
- Weight;
- Flexibility;
- Finish compatibility.
This step is especially useful when combining paint, glue, fabric, resin, clay, vinyl, paper, or sealants. A small test can save an entire project.
9. CHOOSE THE RIGHT ADHESIVE FOR EACH MATERIAL
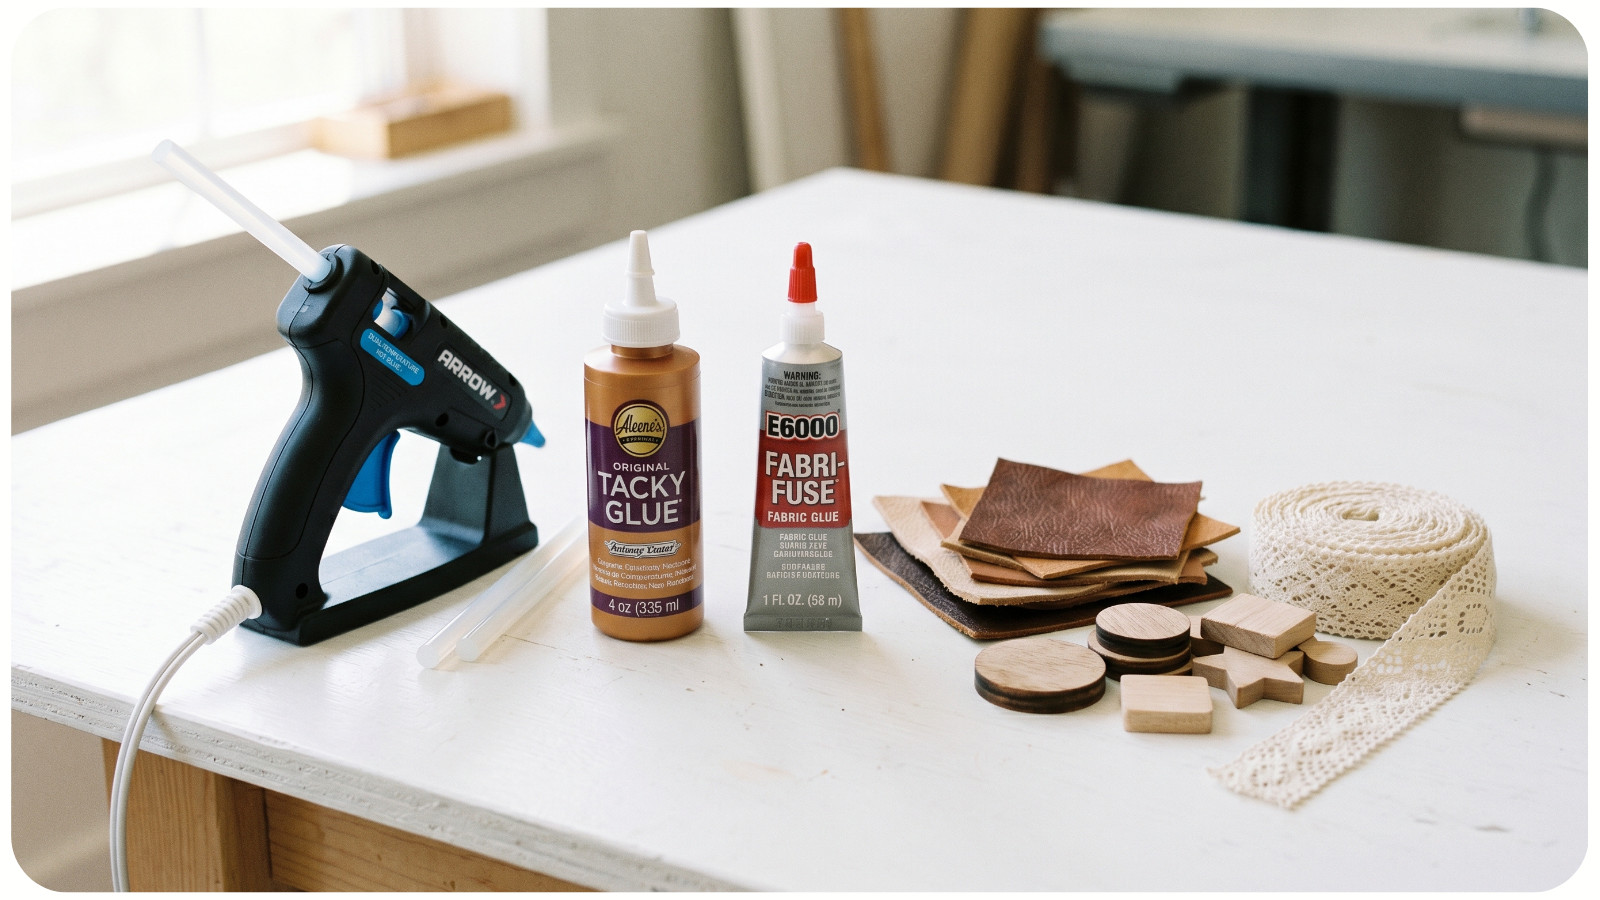
Glue matters more than many beginners realize. The wrong adhesive can make a project fall apart, wrinkle, stain, or look messy.
Common adhesive choices include:
- Craft glue for paper and lightweight embellishments;
- Hot glue for quick decor projects;
- Fabric glue for no-sew fabric crafts;
- Wood glue for wood-to-wood projects;
- E6000-style adhesive for stronger mixed material bonds;
- Mod Podge-style decoupage medium for paper layering;
- Double-sided tape for clean paper crafting;
- Epoxy or resin for durable embellishments.
For beginner-friendly home decor projects, hot glue is often convenient, but it is not always the most durable option. If the project will be handled often, use a stronger adhesive designed for the materials you are combining.
10. LAYER TECHNIQUES IN THE RIGHT ORDER
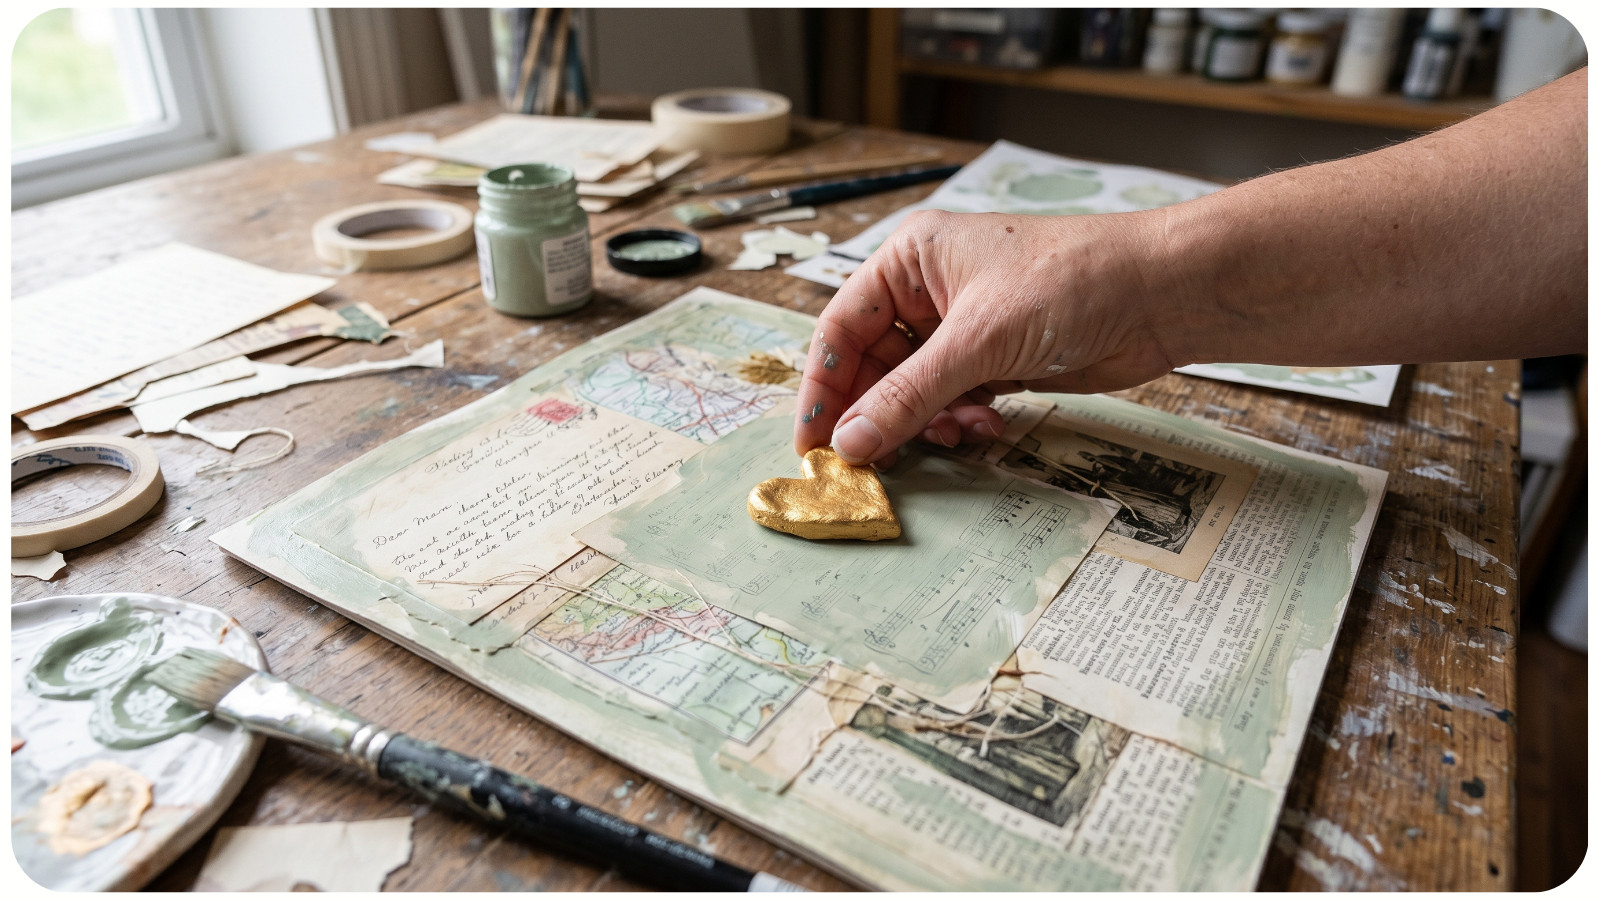
The order of your craft steps can make a big difference. In most mixed technique projects, you should work from the background to the foreground.
A simple layering order might be:
1. Prepare or paint the base.
2. Add large background details.
3. Attach fabric, paper, or texture.
4. Add lettering, embroidery, or stenciling.
5. Attach dimensional embellishments.
6. Seal or protect the finished piece.
For example, if you are making a mixed media canvas, paint the background first, then add paper collage, then add stitched or raised details. If you are making a wood sign, stain or paint the wood before adding vinyl, ribbon, or floral decorations.
Planning the order prevents smudging, uneven layers, and awkward placement.
11. TRY PAINTING WITH EMBROIDERY
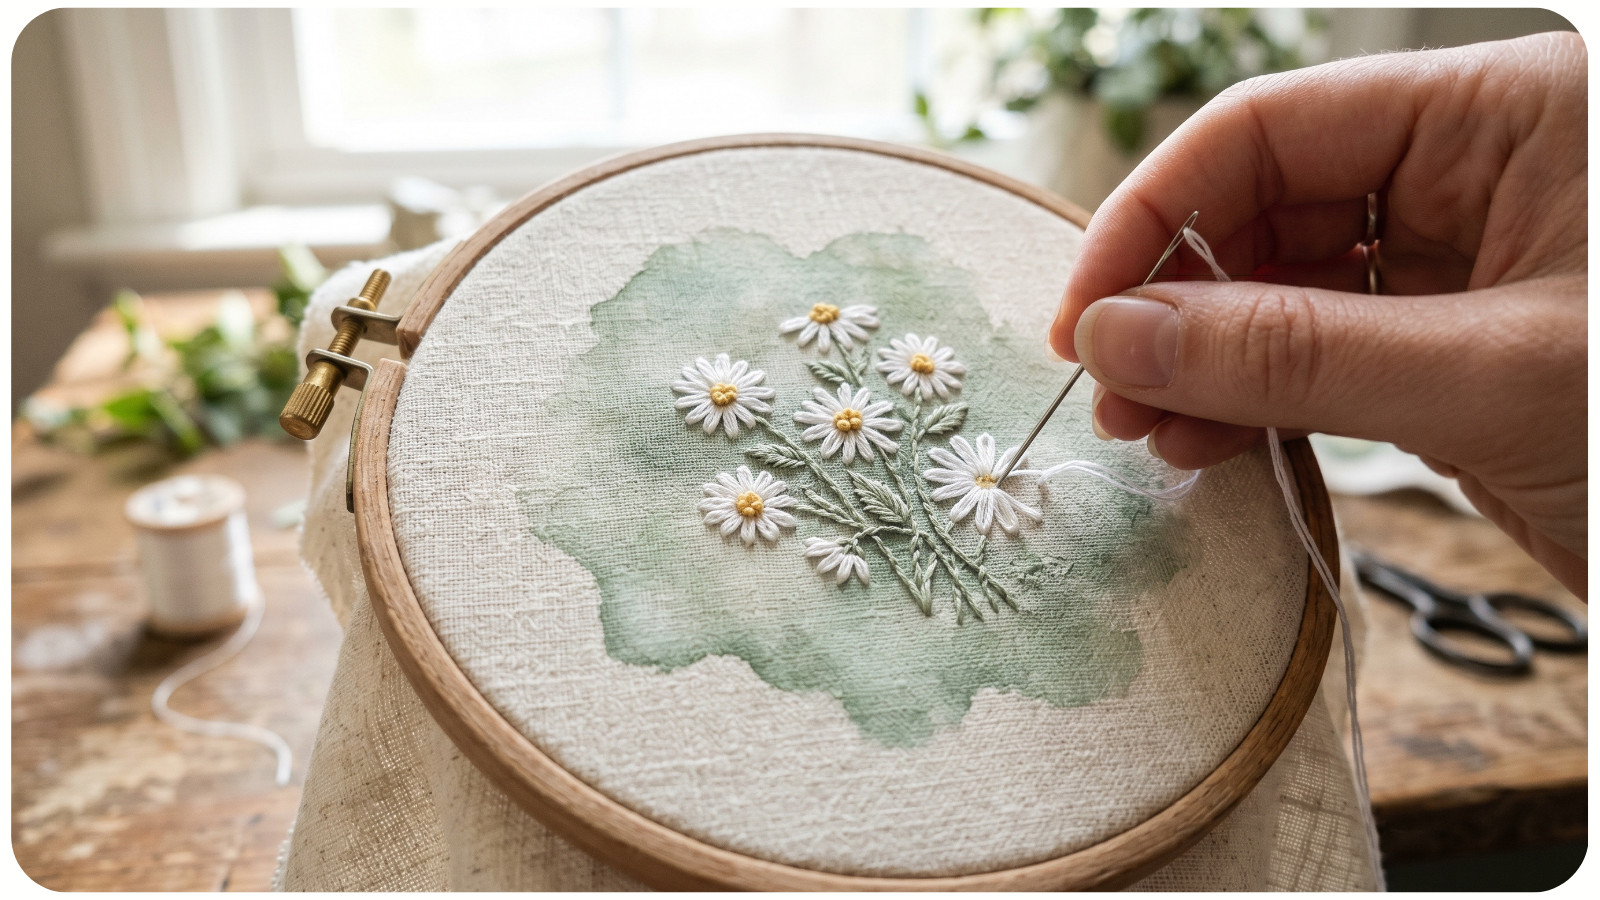
Painting and embroidery are a beautiful beginner-friendly combination. Paint can create the background, while embroidery adds texture and handmade charm.
Project ideas include:
- Painted floral canvas with embroidered stems;
- Watercolor-style fabric art with stitched outlines;
- Painted denim jacket with embroidered accents;
- Hoop art with painted fabric and simple thread details;
- Handmade cards with painted backgrounds and stitched borders.
This combination works especially well for cottagecore, botanical, spring, Mother’s Day, and handmade gift themes. For beginners, start with simple stitches like running stitch, backstitch, or French knots.
12. MIX PAPER CRAFTS WITH SEWING
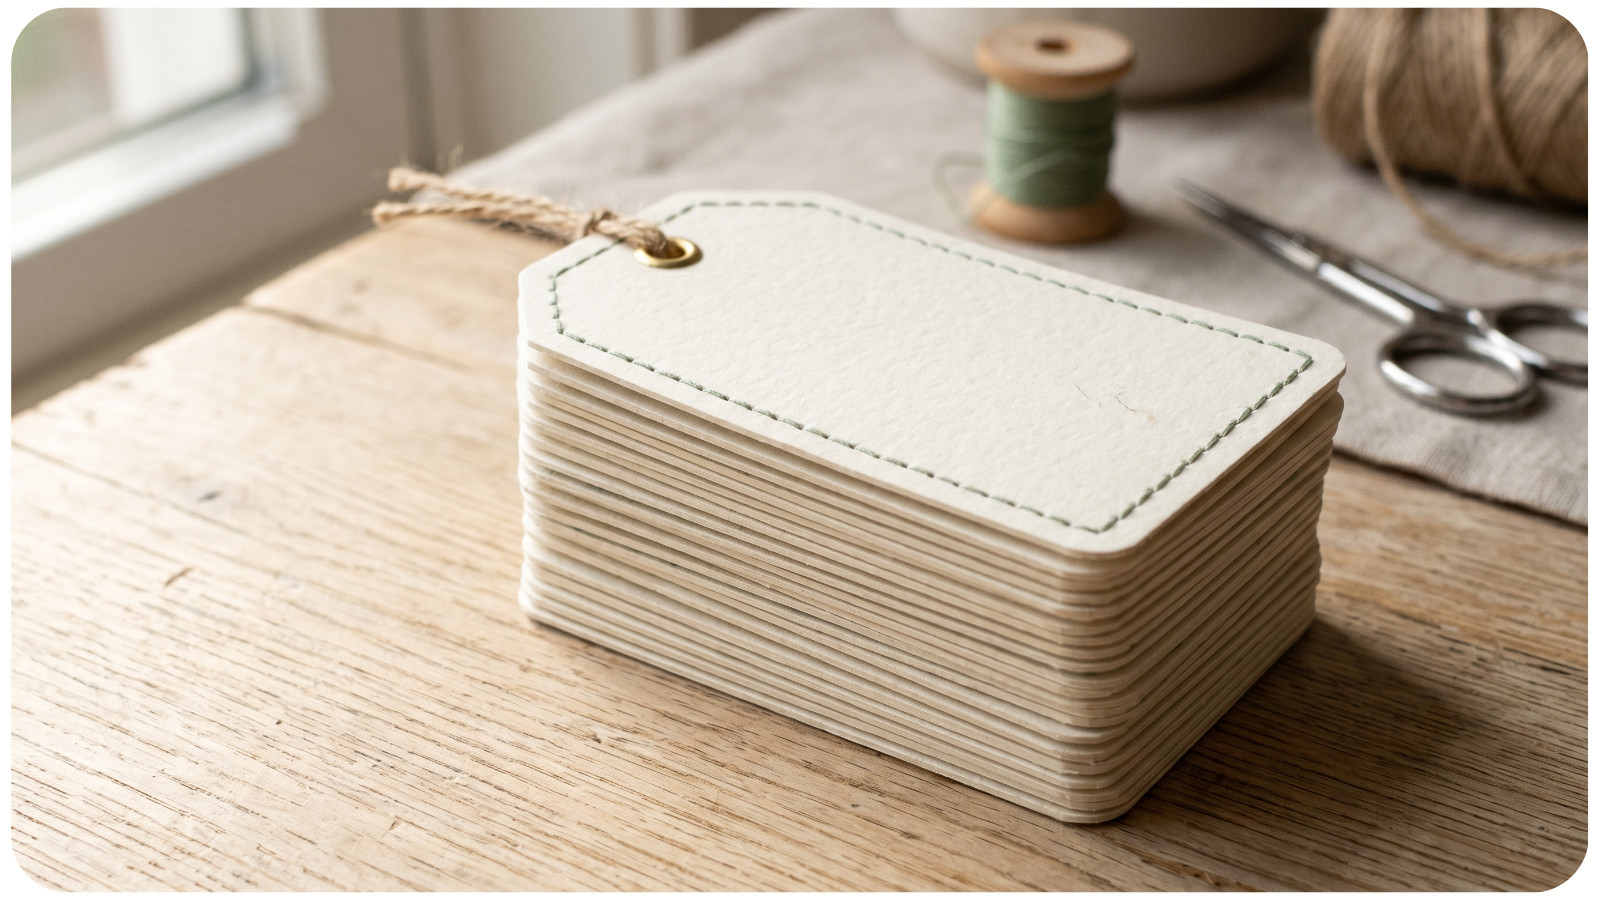
Paper and stitching create a charming handmade look. You can sew directly onto paper for cards, scrapbook pages, gift tags, and art prints.
Try this combination for:
- Handmade birthday cards;
- Scrapbook layouts;
- Christmas gift tags;
- Wedding place cards;
- Mini journals;
- Paper ornaments;
- Valentine’s Day crafts.
Use a sewing machine for straight lines or hand-stitch with embroidery floss. Stitching adds texture and makes even simple paper crafts feel custom and high-end. Use thicker cardstock so the paper does not tear too easily.
13. COMBINE CLAY WITH PAINT AND LETTERING
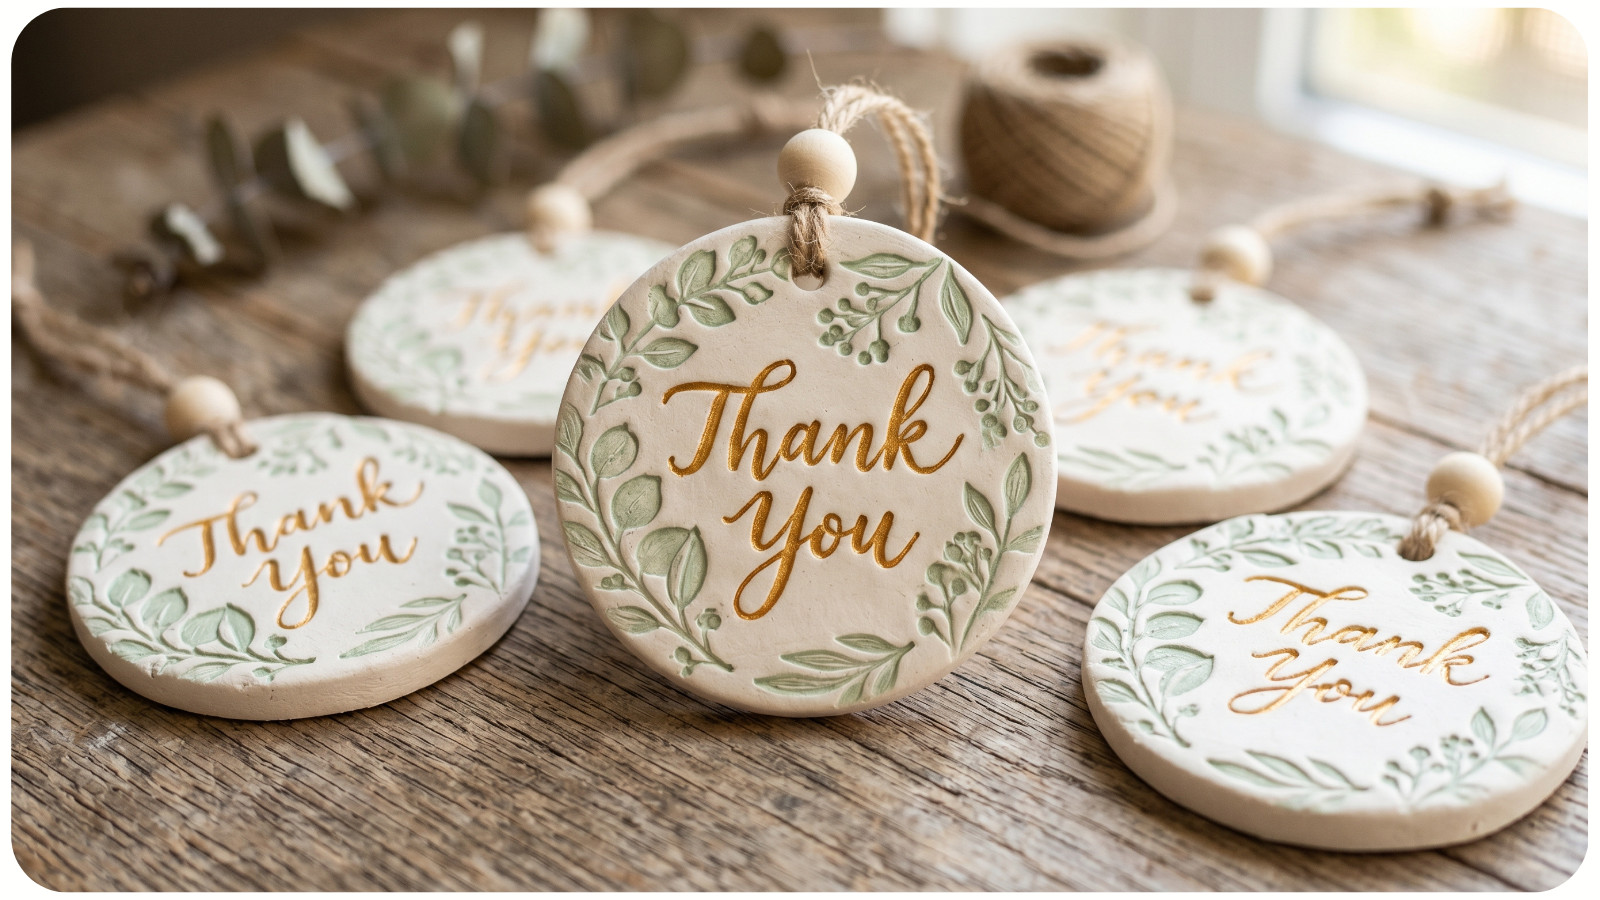
Air-dry clay and polymer clay are perfect for mixed craft projects because they can be shaped, stamped, painted, sealed, and decorated.
Beginner-friendly clay projects include:
- Personalized gift tags;
- Handmade ornaments;
- Jewelry dishes;
- Mini magnets;
- Plant markers;
- Napkin rings;
- Wall charms;
- Keychains.
After the clay dries or bakes, add acrylic paint, metallic details, hand lettering, or tiny stamped patterns. This is a great technique for Christmas ornaments, bridal shower favors, teacher gifts, and personalized home decor.
14. ADD WOOD ELEMENTS TO SOFT CRAFTS
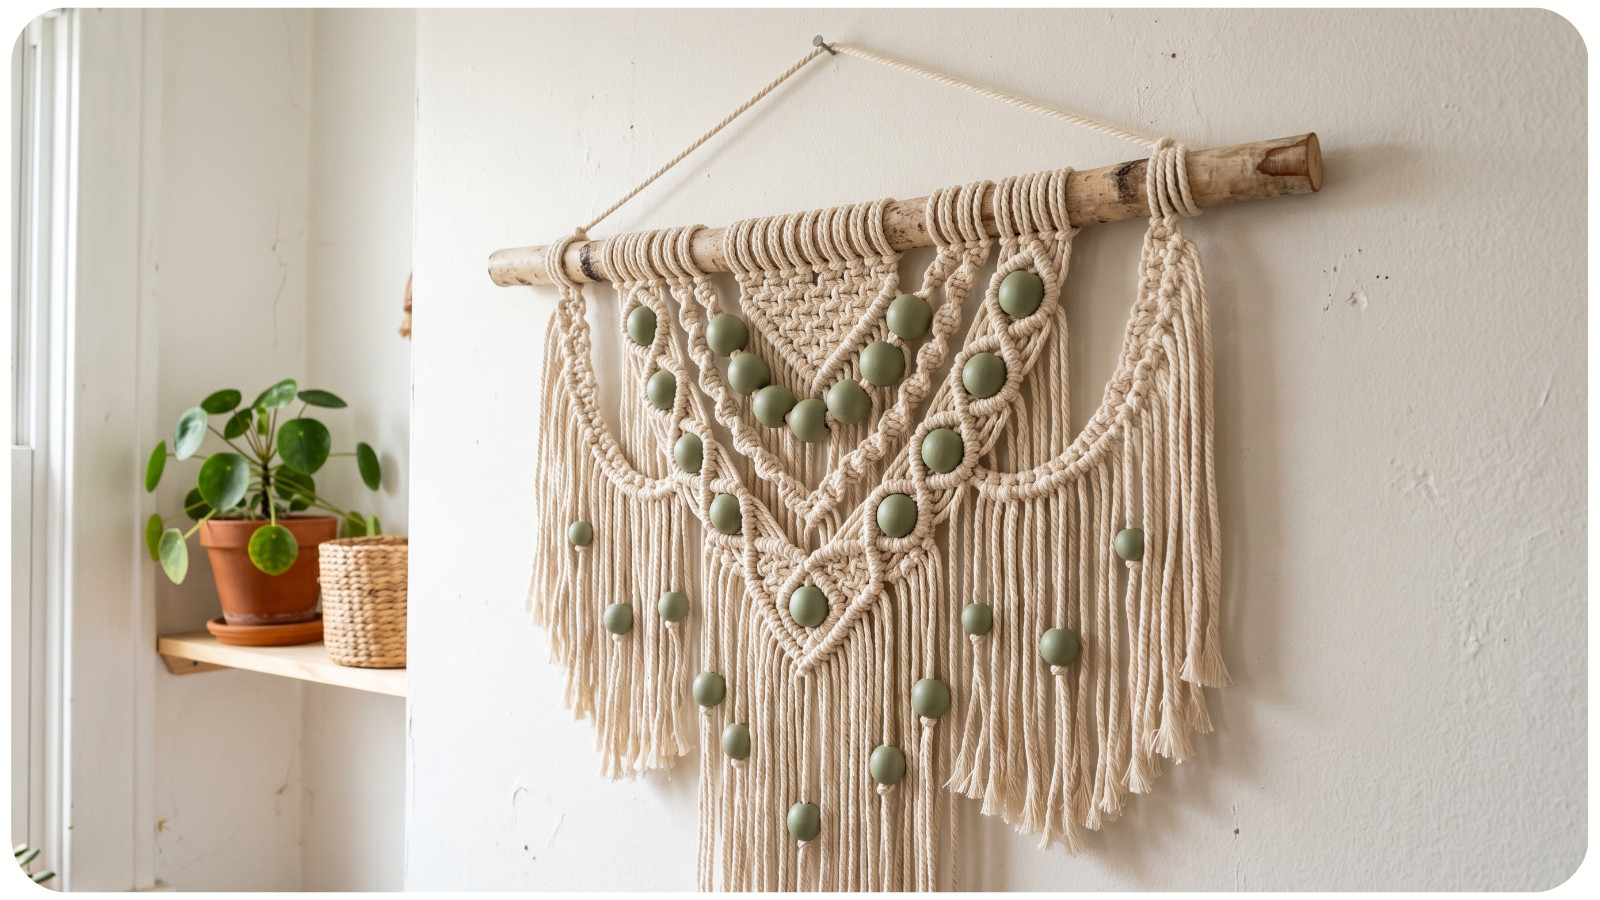
Wood adds structure and warmth to fabric, yarn, and fiber crafts. This combination is popular in modern farmhouse, boho, Scandinavian, and rustic DIY decor.
Try mixing wood with:
- Macramé;
- Crochet;
- Felt;
- Embroidery;
- Fabric banners;
- Yarn tassels;
- Beaded garlands.
Project ideas include:
- Macramé wall hanging on a wooden dowel;
- Crochet plant hanger with wooden beads;
- Felt flower wreath on a wood hoop;
- Embroidered fabric mounted in a wooden frame;
- Yarn tassel garland with wood beads.
Natural wood makes handmade decor feel grounded and stylish.
15. USE VINYL OR STENCILS FOR CLEAN DETAILS
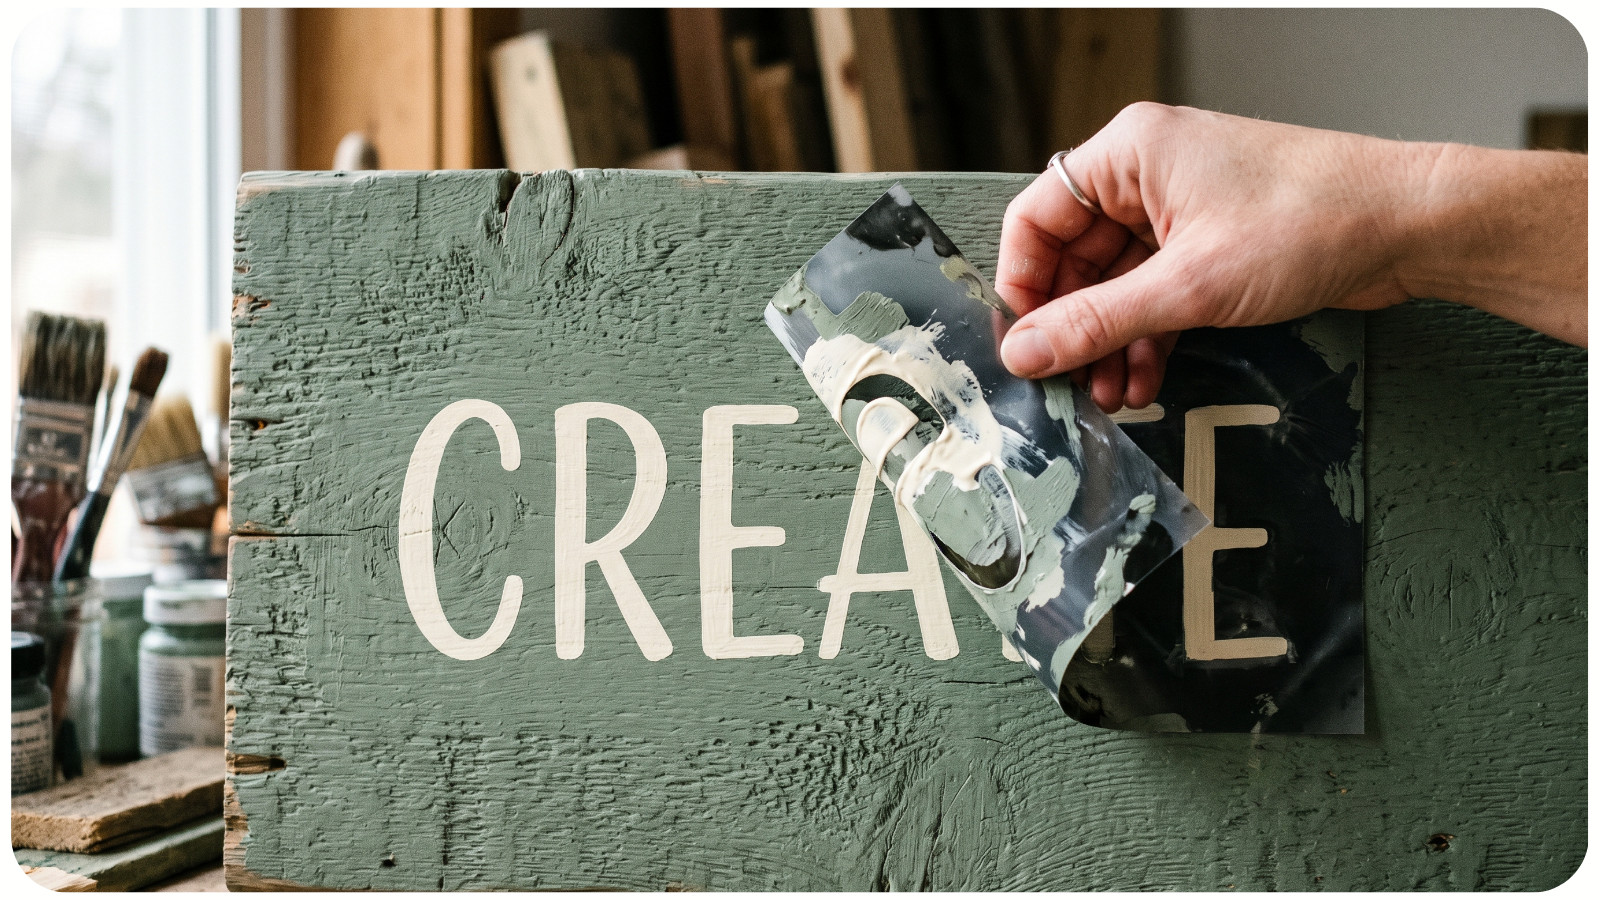
If you love handmade projects but struggle with neat lettering, vinyl decals and stencils are helpful tools. They add clean lines to projects that include painting, wood, fabric, glass, or ceramics.
Use vinyl or stencils on:
- Painted wood signs;
- Glass jars;
- Canvas totes;
- Ceramic mugs;
- Storage bins;
- Gift boxes;
- Wall art;
- Holiday ornaments.
This is a smart way to combine handmade texture with a polished finish. For example, you can paint a rustic wood sign by hand, then use a stencil for crisp lettering.
16. MIX NATURAL MATERIALS WITH MODERN CRAFT SUPPLIES
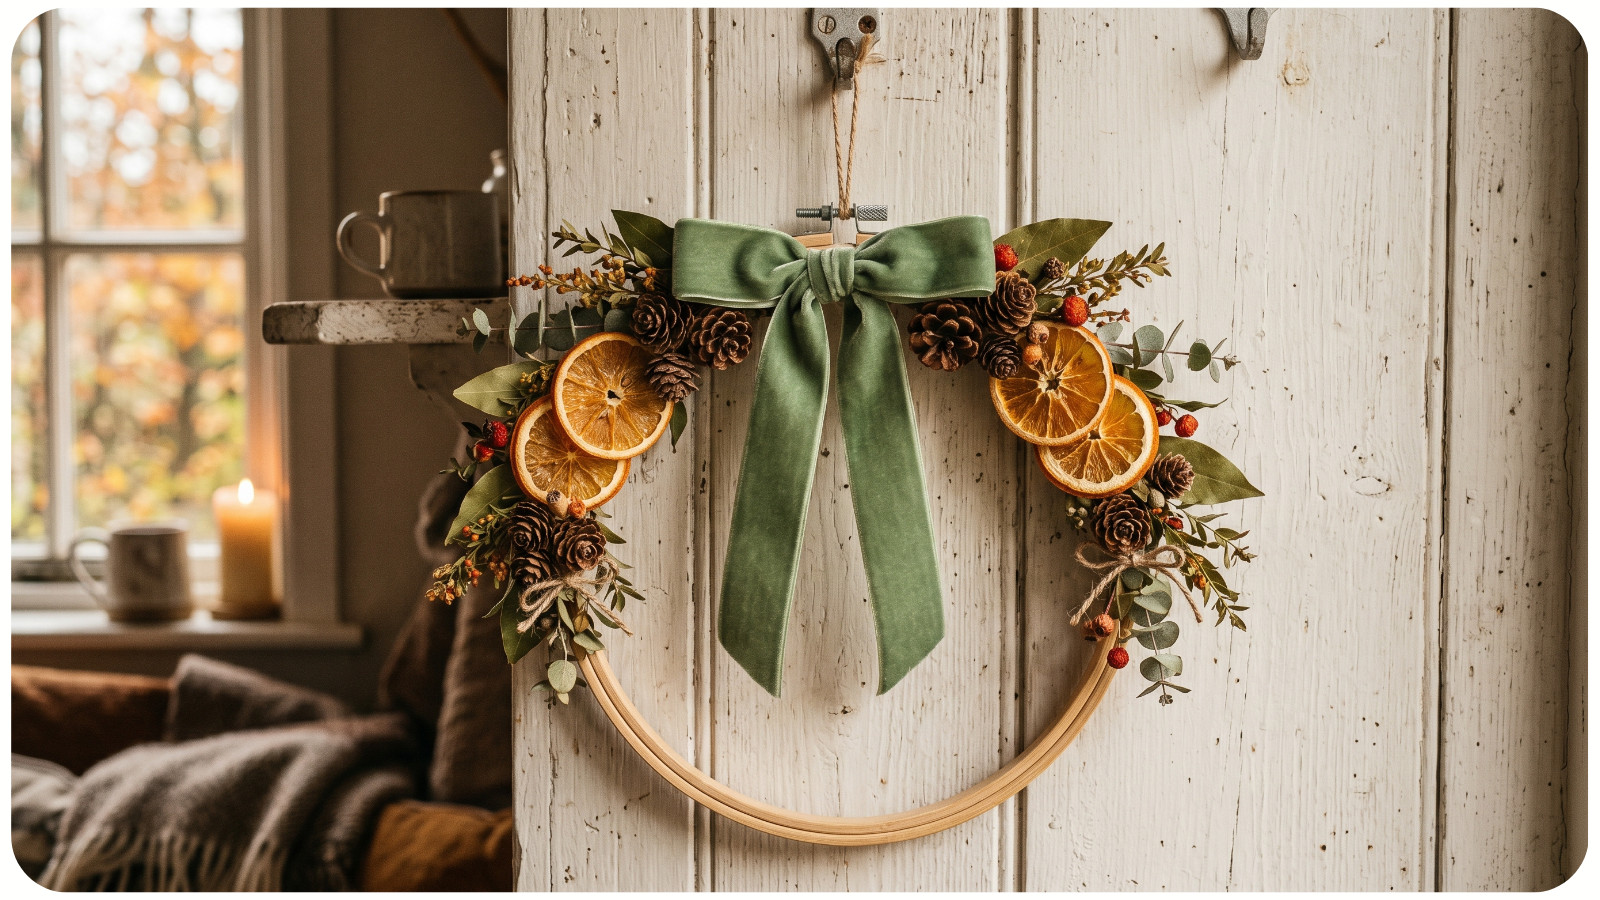
Natural materials can make mixed craft projects feel warm, organic, and seasonal. They work beautifully with paint, paper, clay, resin, wood, and fabric.
Natural materials to try include:
- Dried flowers;
- Pressed leaves;
- Twigs;
- Pinecones;
- Shells;
- Wood slices;
- Raffia;
- Linen;
- Cotton cord;
- Dried orange slices.
Modern supplies like resin, metallic paint, vinyl, or acrylic shapes can balance the rustic feel of natural elements.
For fall, combine pressed leaves with painted pumpkins or wood slices. For summer, mix shells with air-dry clay tags or coastal canvas art. For winter, pair dried orange slices with velvet ribbon and wood beads.
17. CREATE A SAMPLE BOARD BEFORE THE FINAL PROJECT
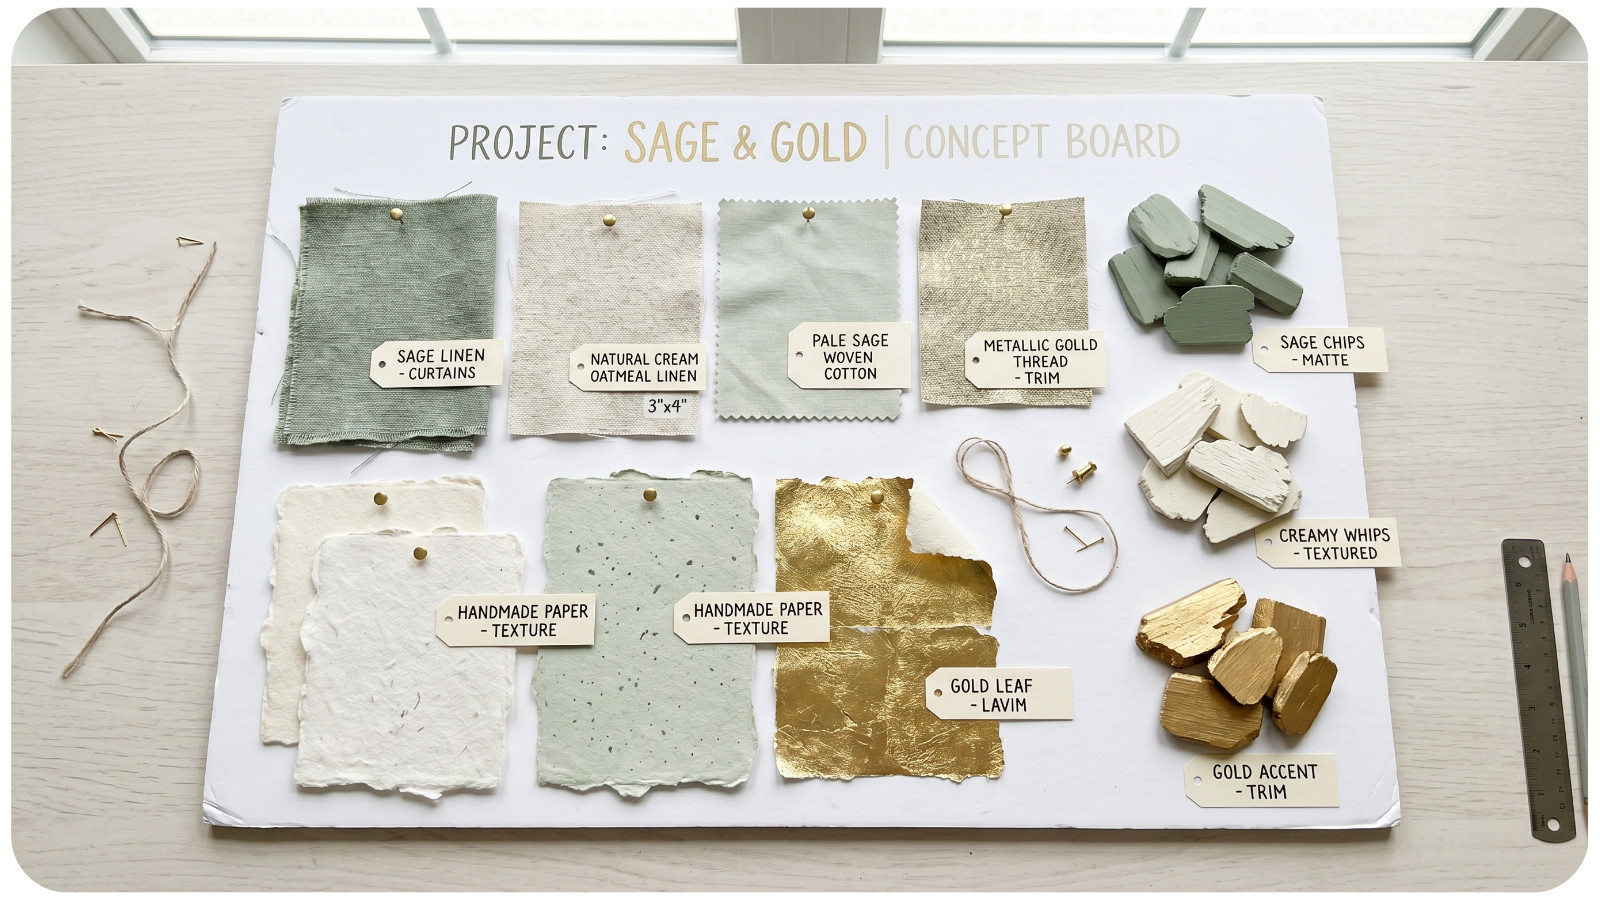
A sample board is a small test version of your project. It helps you see whether your colors, textures, and techniques work together before you commit.
Your sample board can include:
- Paint swatches;
- Fabric scraps;
- Paper samples;
- Thread colors;
- Ribbon pieces;
- Beads;
- Dried flowers;
- Clay samples;
- Small stencil tests.
This is especially helpful for larger projects like wreaths, wall art, party decor, nursery decor, wedding crafts, or handmade gifts. A sample board also makes great blog or Pinterest content because readers love seeing the creative process.
18. KEEP THE FOCAL POINT SIMPLE
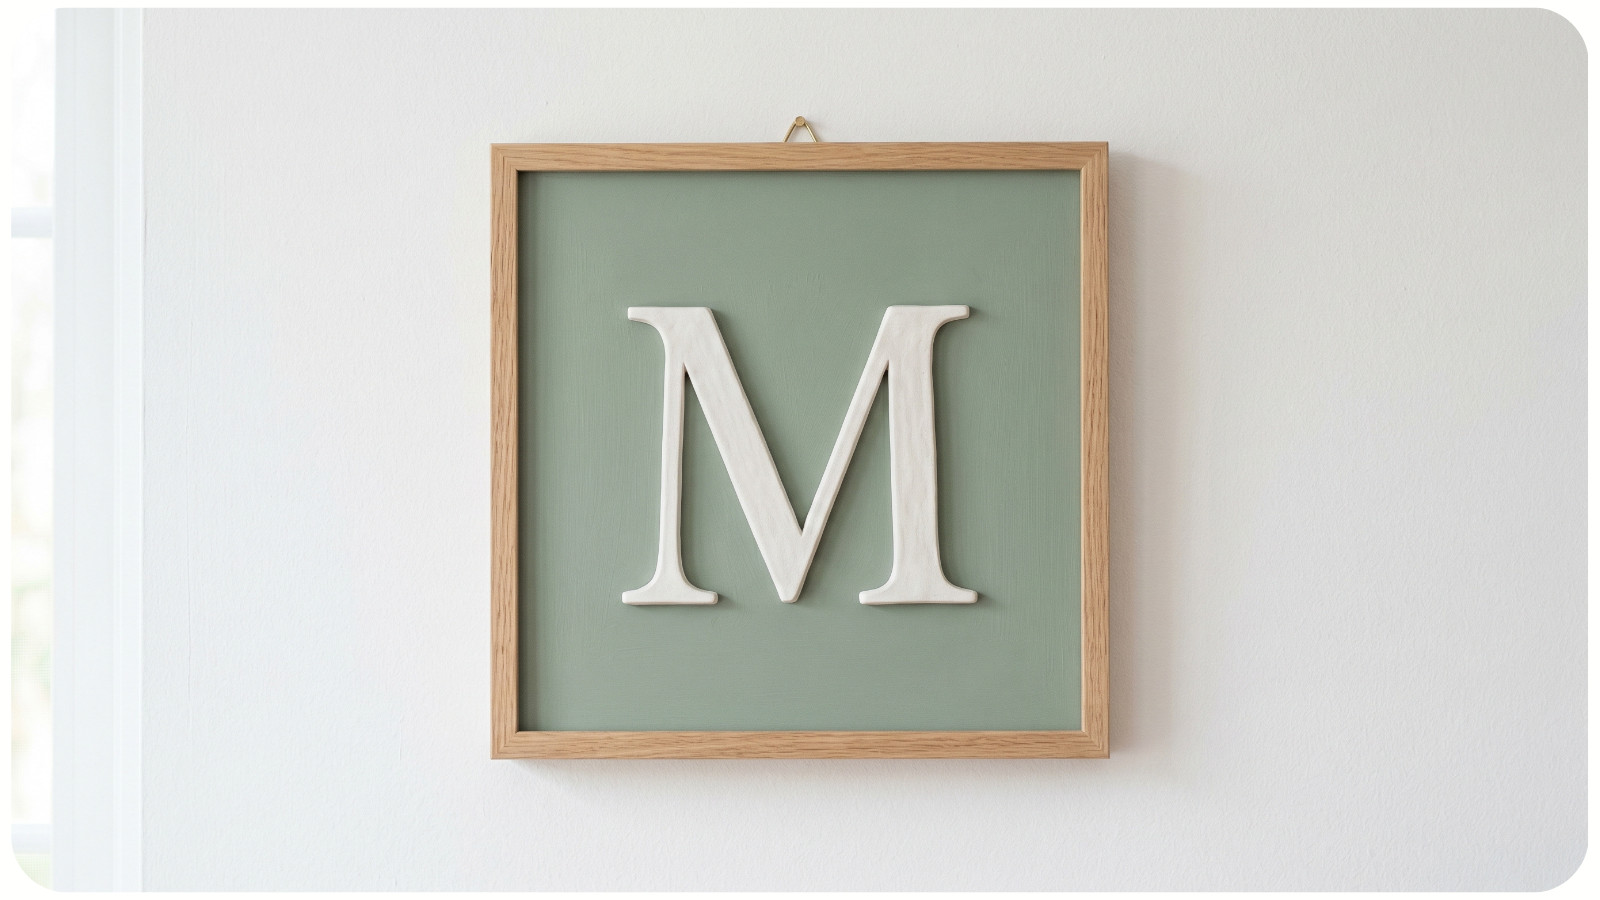
When combining craft techniques, it is easy to add too much. A strong focal point keeps the design clear.
Your focal point might be:
- A hand-lettered quote;
- A central flower;
- A framed photo;
- A large clay charm;
- A painted shape;
- A stitched monogram;
- A seasonal icon;
- A bold color block.
Once you choose the focal point, let the other techniques support it. For example, if the focal point is an embroidered flower, keep the background painting soft. If the focal point is a painted wooden word, use ribbon or beads as accents rather than competing details.
19. FINISH WITH A PROTECTIVE SEALANT
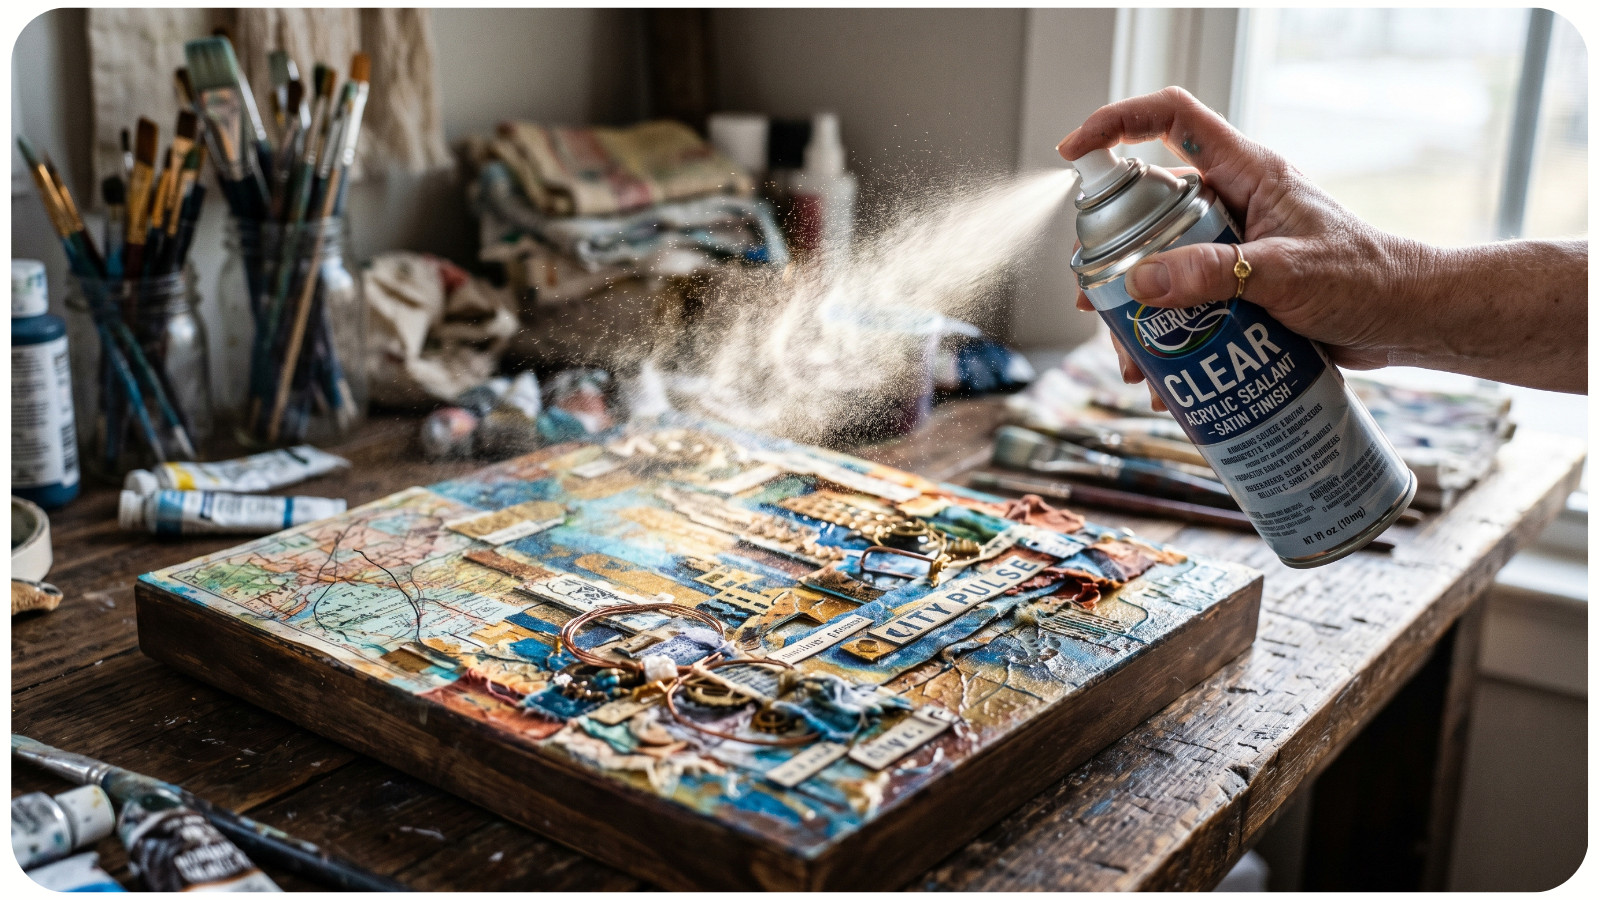
Many mixed craft projects need a final protective layer. This is especially true if you use paint, paper, wood, clay, or outdoor materials.
A sealant can help protect against:
- Dust;
- Scratches;
- Moisture;
- Fading;
- Peeling;
- Smudging.
Choose the finish based on the project. Matte finishes look modern and soft. Gloss finishes make colors brighter. Satin finishes are a nice middle ground.
Always check that your sealant works with all materials in the project. Some sprays can affect ink, photos, or delicate paper.
20. TURN ONE MIXED TECHNIQUE PROJECT INTO A SERIES
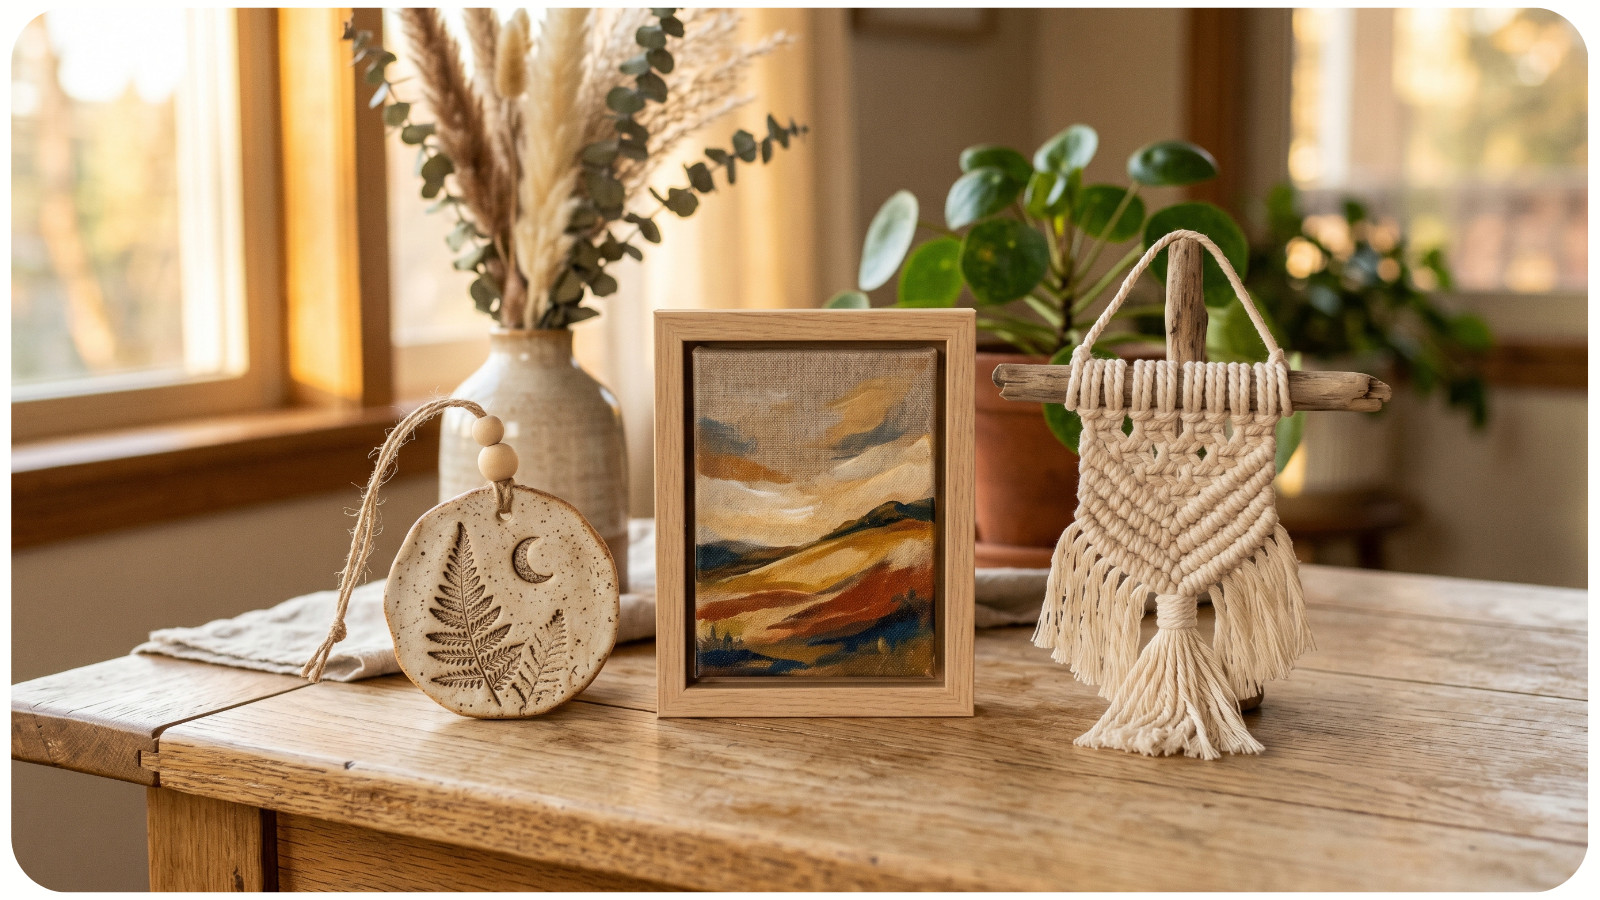
Once you find a technique combination you enjoy, repeat it in different ways. This is a great strategy for bloggers, Etsy sellers, craft fair makers, and anyone who wants to create a cohesive handmade collection.
For example, one combination can become several projects:
1. Painting + clay + ribbon
- Christmas ornaments;
- Gift tags;
- Garland charms;
- Place cards;
- Mini wall hangings.
2. Wood + vinyl + greenery
- Porch signs;
- Shelf decor;
- Holiday signs;
- Wedding signs;
- Entryway plaques.
3. Paper + stitching + stamping
- Greeting cards;
- Gift tags;
- Scrapbook pages;
- Mini journals;
- Party invitations.
A series saves time because you already know the materials, style, and process.
BEGINNER-FRIENDLY MIXED CRAFT PROJECT IDEAS
Here are easy project ideas that combine multiple techniques without requiring advanced skills.
1. Painted Wood Sign With Stenciled Lettering. Combine wood crafting, painting, stenciling, and ribbon. This is perfect for farmhouse decor, entryway signs, holiday signs, and handmade housewarming gifts.
2. Air-Dry Clay Ornaments With Painted Details. Use clay, stamping, painting, and ribbon. These work well for Christmas, baby’s first holiday, wedding favors, or personalized gift toppers.
3. Embroidery Hoop Wall Art With Fabric and Paint. Combine fabric, painting, embroidery, and framing. This is a lovely option for nursery decor, spring wall art, or Mother’s Day gifts.
4. Scrapbook Page With Paper Layers and Stitching. Mix paper crafting, collage, stamping, sewing, and hand lettering. This is ideal for memory keeping and personalized gifts.
5. Macramé Plant Hanger With Wooden Beads. Use knotting, beadwork, wood accents, and optional painted details. This project fits boho, minimalist, and apartment-friendly decor styles.
6. Resin Tray With Dried Flowers. Combine resin, botanicals, color tinting, and metallic flakes. This project feels giftable and polished, especially for birthdays, bridal showers, and home decor.
7. Fabric Tote With Paint and Embroidery. Use fabric painting, simple embroidery, and optional stenciling. This is practical, washable when done with the right supplies, and easy to personalize.
8. Handmade Card With Watercolor and Thread. Mix watercolor painting, paper crafting, stitching, and stamping. This is perfect for birthdays, thank-you cards, Valentine’s Day, or holiday mail.
COMMON MISTAKES TO AVOID
Mixing craft techniques is fun, but a few common mistakes can make a project look messy or unfinished.
Avoid these beginner mistakes:
- Using too many techniques at once;
- Skipping material tests;
- Choosing colors that do not work together;
- Using the wrong glue;
- Adding heavy embellishments to weak surfaces;
- Forgetting drying time;
- Not sealing paint or paper;
- Making every detail compete for attention;
- Starting without a clear theme;
- Ignoring the project’s function.
The goal is not to use every technique you know. The goal is to combine techniques in a way that makes the final project more beautiful, useful, or meaningful.
BEST CRAFT TECHNIQUES TO COMBINE FOR DIFFERENT PROJECT TYPES
1. For Home Decor. Best combinations:
- Wood + paint + vinyl;
- Macramé + beads + dyed cord;
- Canvas + collage + embroidery;
- Clay + paint + sealant;
- Wreath making + florals + ribbon.
These pairings work well for wall art, shelf decor, seasonal signs, wreaths, and entryway decorations.
2. For Handmade Gifts. Best combinations:
- Clay + stamping + painting;
- Fabric + embroidery + appliqué;
- Paper + stitching + hand lettering;
- Resin + dried flowers + metallic flakes;
- Crochet + sewing + buttons.
These combinations feel personal and thoughtful, which makes them ideal for birthdays, holidays, Mother’s Day, teacher appreciation, and housewarming gifts.
3. For Holiday Crafts. Best combinations:
- Ornaments + paint + ribbon;
- Wood slices + lettering + greenery;
- Paper garlands + stitching + stamping;
- Clay tags + metallic paint + twine;
- Wreaths + fabric + seasonal picks.
Seasonal projects are a great place to experiment because small details can make a big visual impact.
4. For Kids’ Crafts. Best combinations:
- Paper + stickers + washable paint;
- Felt + glue + buttons;
- Popsicle sticks + paint + yarn;
- Clay + stamps + markers;
- Cardboard + collage + pom-poms.
For kids, choose safe, washable, and age-appropriate supplies. Keep the techniques simple and focus on creativity over perfection.
SIMPLE FORMULA FOR MIXING CRAFT TECHNIQUES
Use this beginner-friendly formula when planning your next project: Base + Color + Texture + Detail + Finish.
For example:
- Wood slice + acrylic paint + twine + stamped letters + matte sealant
- Canvas + watercolor + embroidery thread + beads + frame
- Clay tag + blush paint + ribbon + gold lettering + gloss sealant
- Cardstock + patterned paper + stitching + sticker accents + envelope
This formula keeps the project organized while still allowing room for creativity.
CONCLUSION
Mixing different craft techniques in one project is a wonderful way to make your DIY creations feel more creative, personal, and professional. The key is to start with one main technique, choose materials that work well together, limit your color palette, test your supplies, and build each layer with intention.
You do not need to master every craft method before trying mixed technique projects. Start small with simple pairings like painting and stenciling, clay and acrylic paint, paper crafts and stitching, or macramé and beads. As your confidence grows, you can experiment with more textures, materials, and styles.
Whether you are making handmade gifts, seasonal decorations, wall art, party decor, or keepsakes, combining craft techniques gives every project more depth and personality. The best mixed craft projects are not just beautiful; they tell a story through color, texture, and handmade detail.