


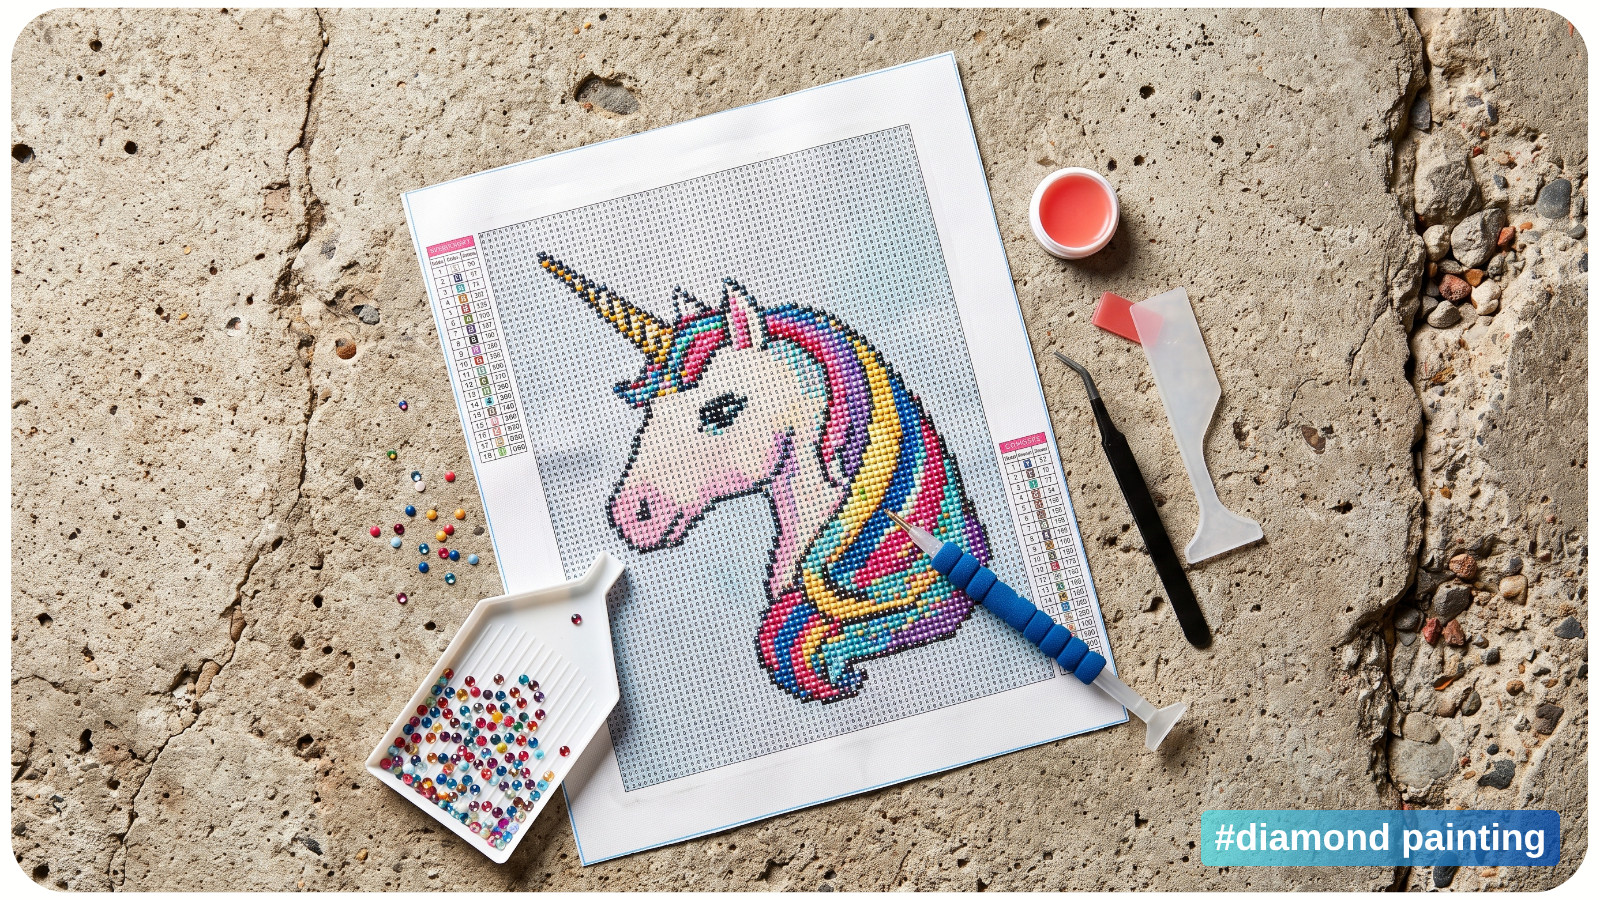
Diamond painting may look simple – pick up a drill, place it on the canvas, and repeat – but consistently straight placement requires technique. Small inaccuracies can accumulate across a section, causing uneven rows, crowded drills, or gaps that become especially noticeable under bright light.
The good news is that precise placement is not about working slowly. It is about controlling a few technical variables: canvas position, hand stability, drill orientation, pressure, and row alignment.
With the right setup and method, you can place drills accurately every time while maintaining a comfortable, relaxing rhythm.
TOOLS FOR PRECISE DRILL PLACEMENT
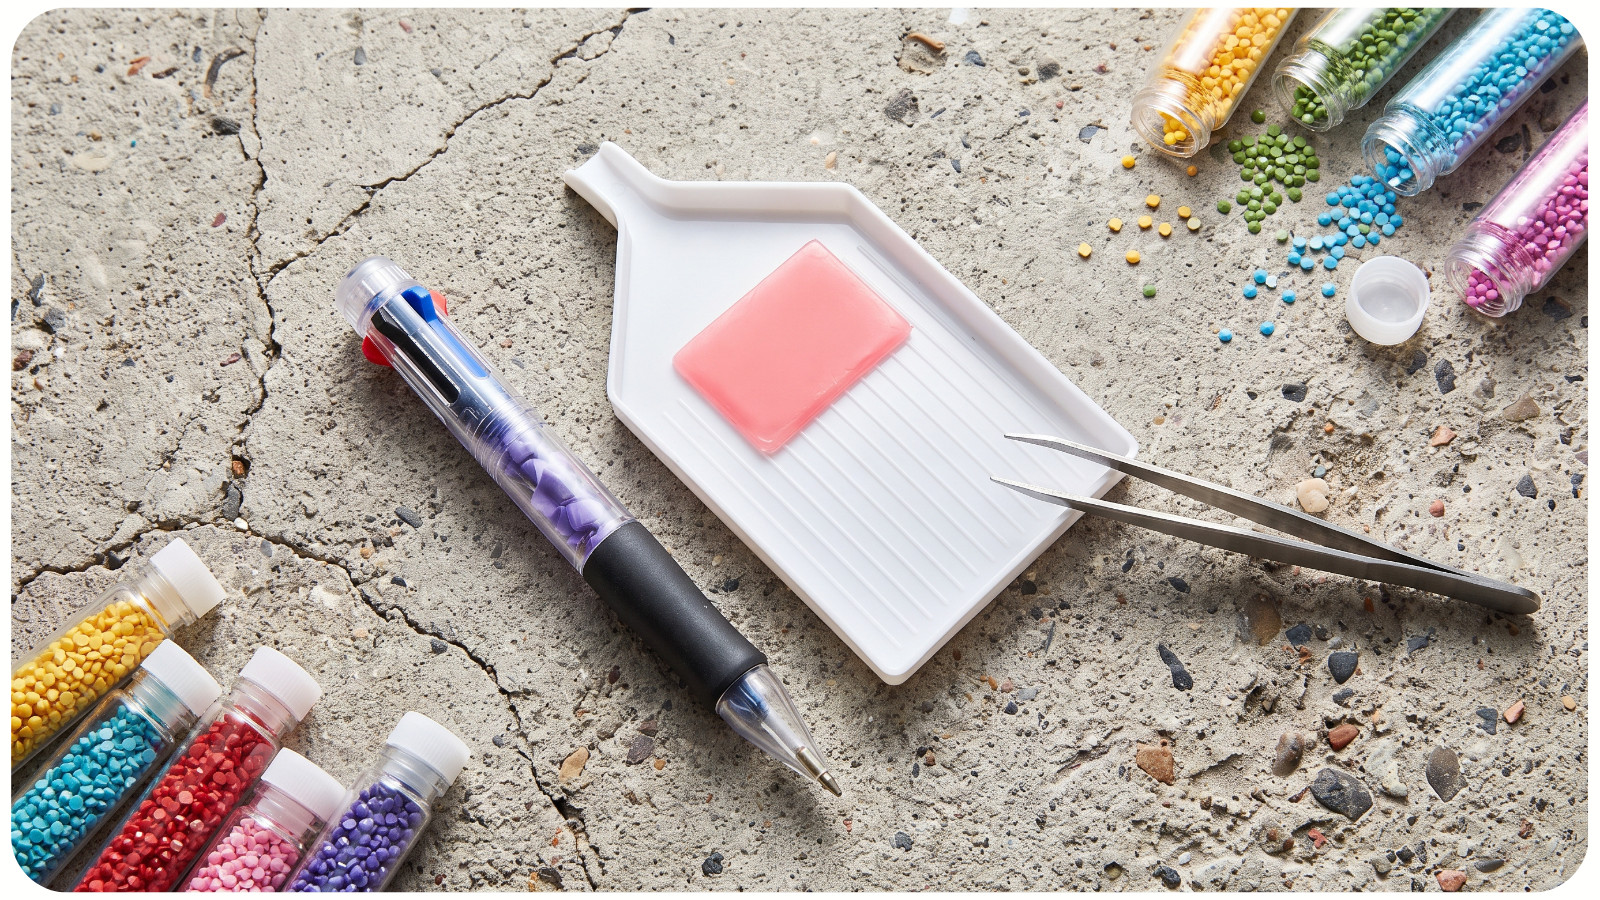
- Diamond painting pen with a single-placer tip;
- Multi-placer attachment for straight rows;
- Fresh pink wax or reusable putty;
- Light pad;
- Straightening tool or craft scraper;
- Diamond painting ruler;
- Tweezers with a fine tip;
- Drill tray with clearly defined ridges;
- Washi tape or release paper;
- Flat, stable work surface;
- Small roller or brayer.
START WITH A FLAT, STABLE CANVAS
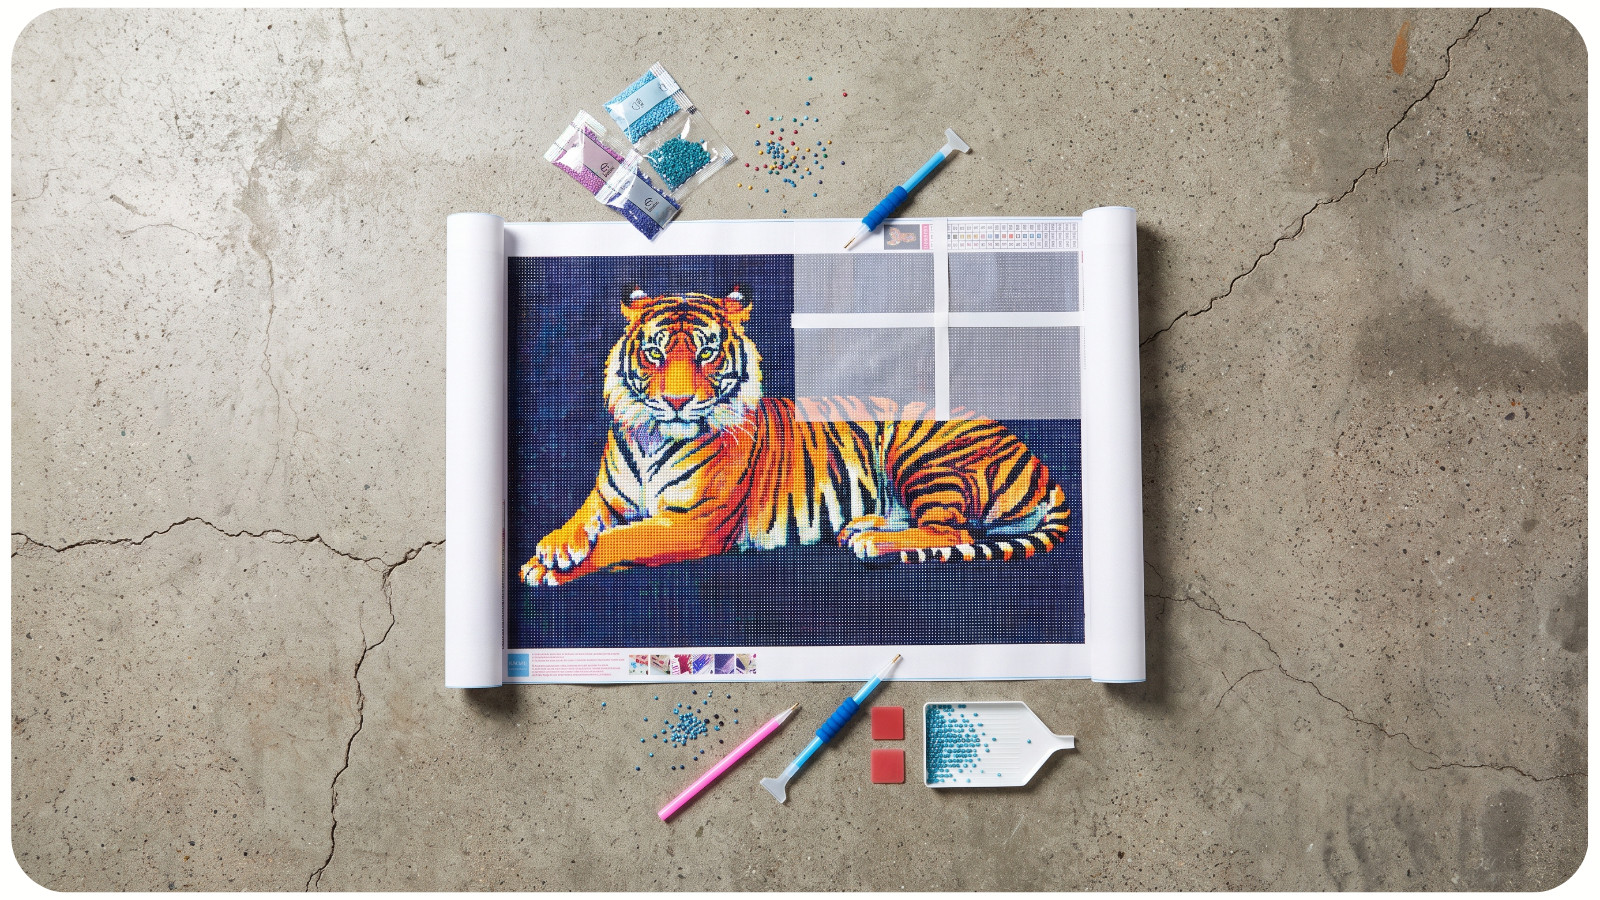
Accurate drill placement begins before you pick up the first drill.
Your canvas must lie completely flat. Creases or raised areas change the angle of the adhesive surface, making drills appear straight while you place them but crooked when the canvas is flattened later.
Place the canvas beneath a clean protective sheet and weigh it down with books overnight. For stubborn creases, gently roll the canvas in the opposite direction. Avoid applying direct heat to the adhesive because excessive heat can weaken the glue or distort the printed symbols.
Secure the canvas to your work surface using low-tack tape. Even slight movement can shift your placement angle and create uneven rows.
POSITION THE CANVAS SQUARELY IN FRONT OF YOU
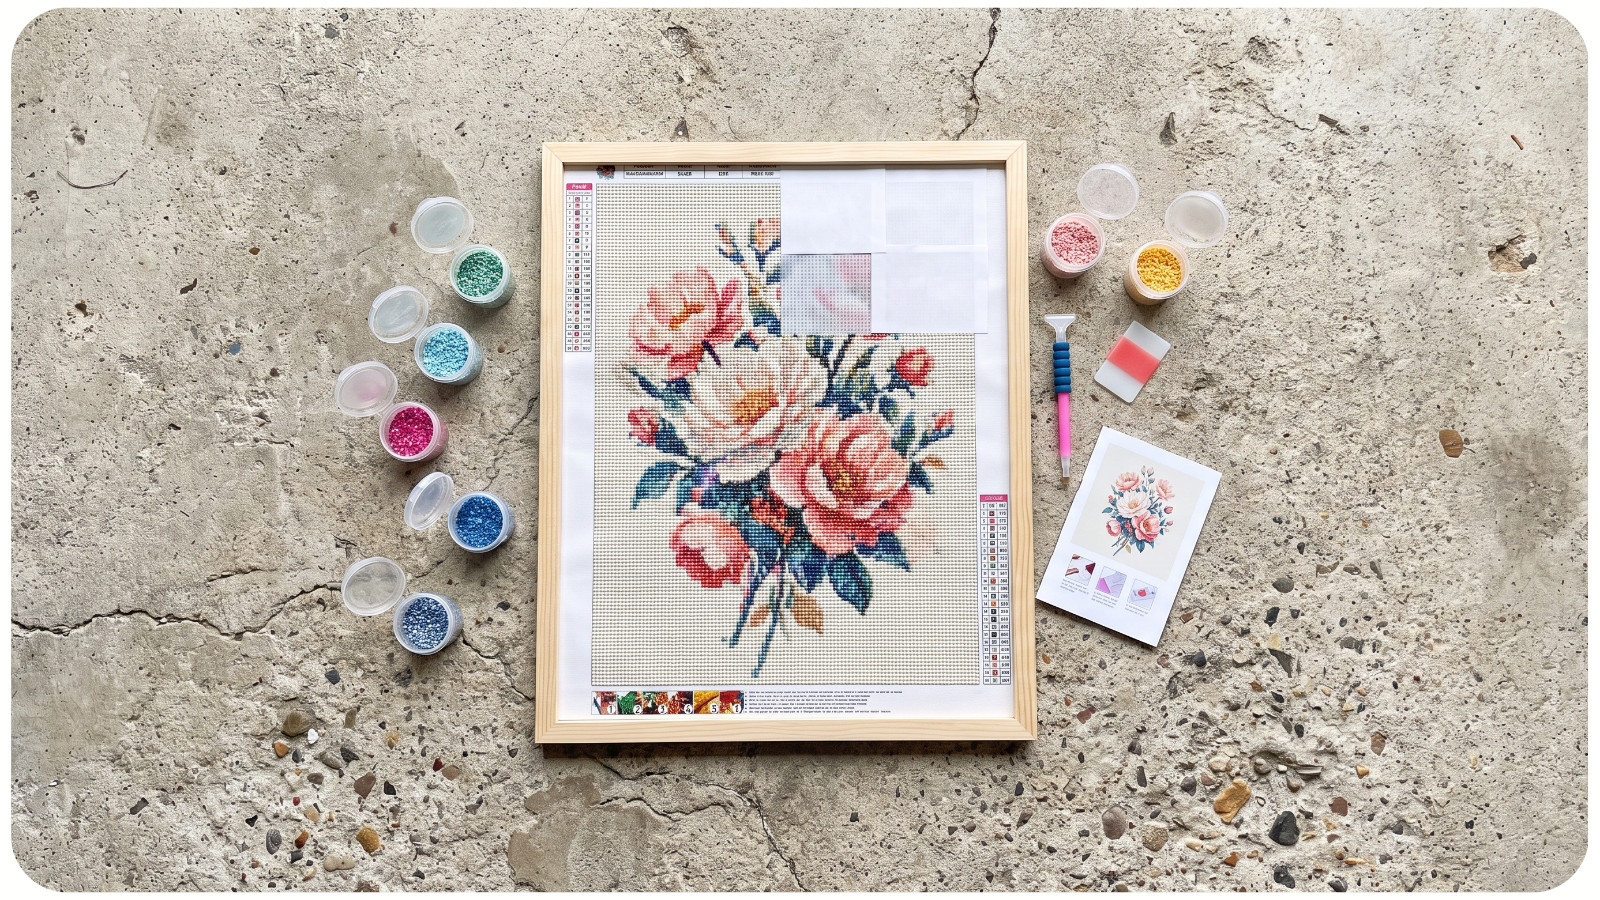
Many alignment problems come from viewing the canvas at an angle.
Rotate the project so the section you are working on is directly in front of your dominant hand. Your forearm should move naturally toward the canvas rather than reaching across it.
Keep the working area approximately perpendicular to your line of sight. When the canvas is angled too far left or right, straight rows can look correct from your seated position even when they are slightly diagonal.
A light pad makes the printed grid easier to see, but avoid using excessive brightness. Very intense backlighting can reduce contrast between the drills and the grid lines, especially when working with pale colors.
LOAD THE DRILL TRAY CORRECTLY
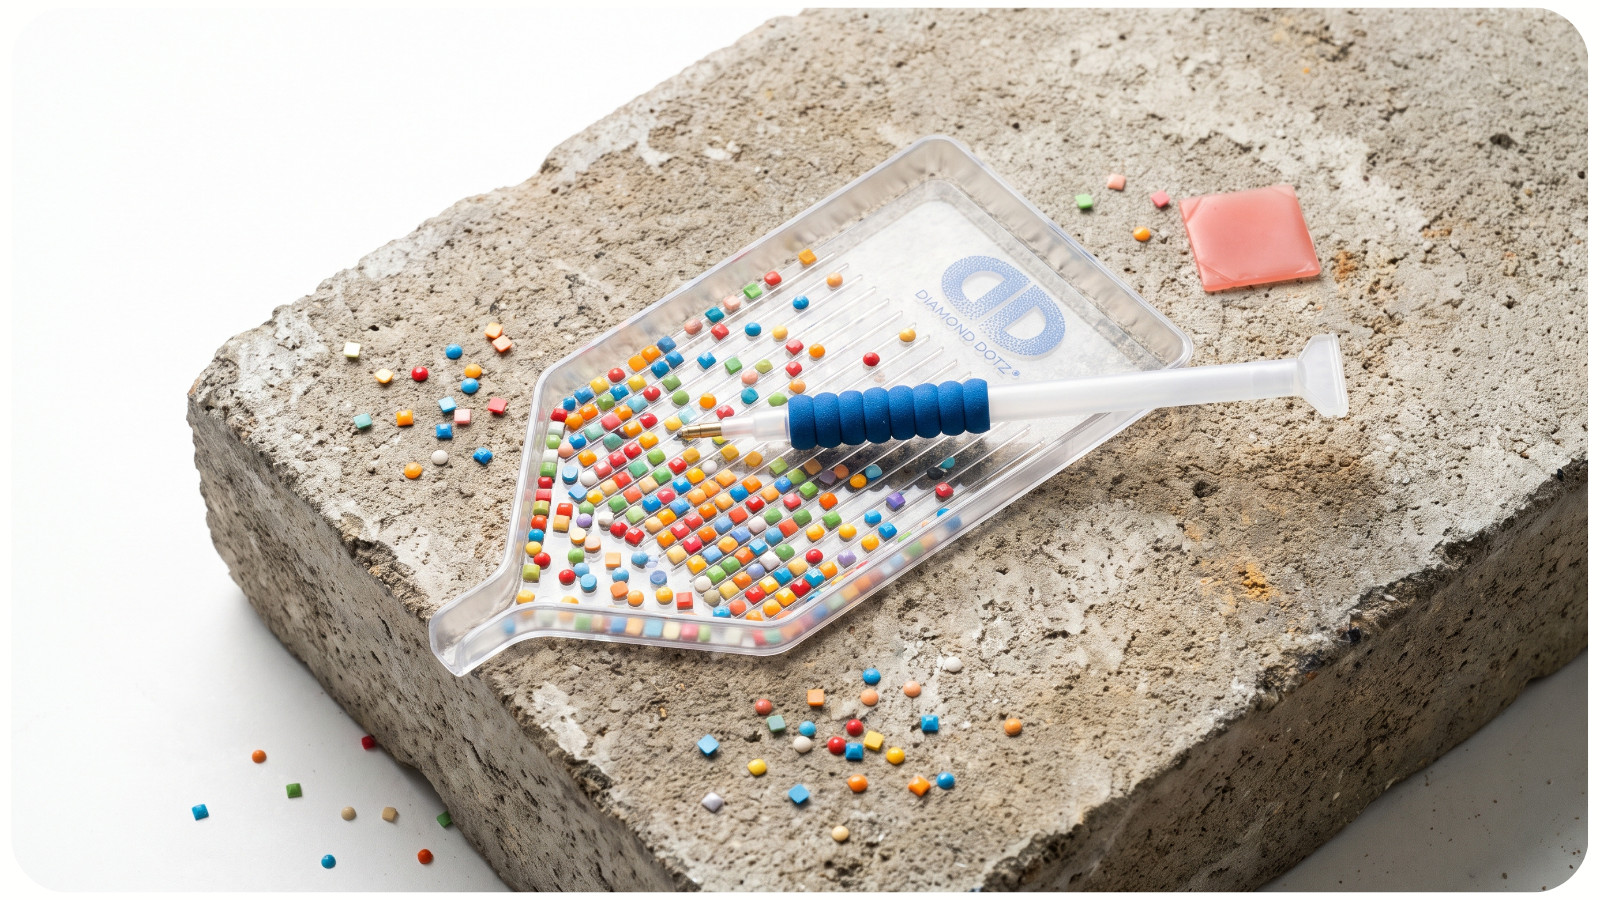
Drills must sit flat-side down before they can be placed accurately.
Pour a small number of drills into the tray. Overfilling prevents them from settling evenly between the ridges. Hold the tray at a slight downward angle and shake it gently from side to side.
The ridges should guide the drills into parallel lines with the faceted side facing upward.
Do not shake the tray aggressively. Strong movement causes drills to overlap, rotate, or jump between rows. A controlled, shallow motion produces a more organized line for both single-placement and multi-placement.
Inspect the drills before loading your pen. Remove any pieces with tabs, bubbles, concave bottoms, or irregular edges. Defective drills can push neighboring pieces out of alignment and contribute to popping drills later.
USE THE CORRECT AMOUNT OF PINK WAX
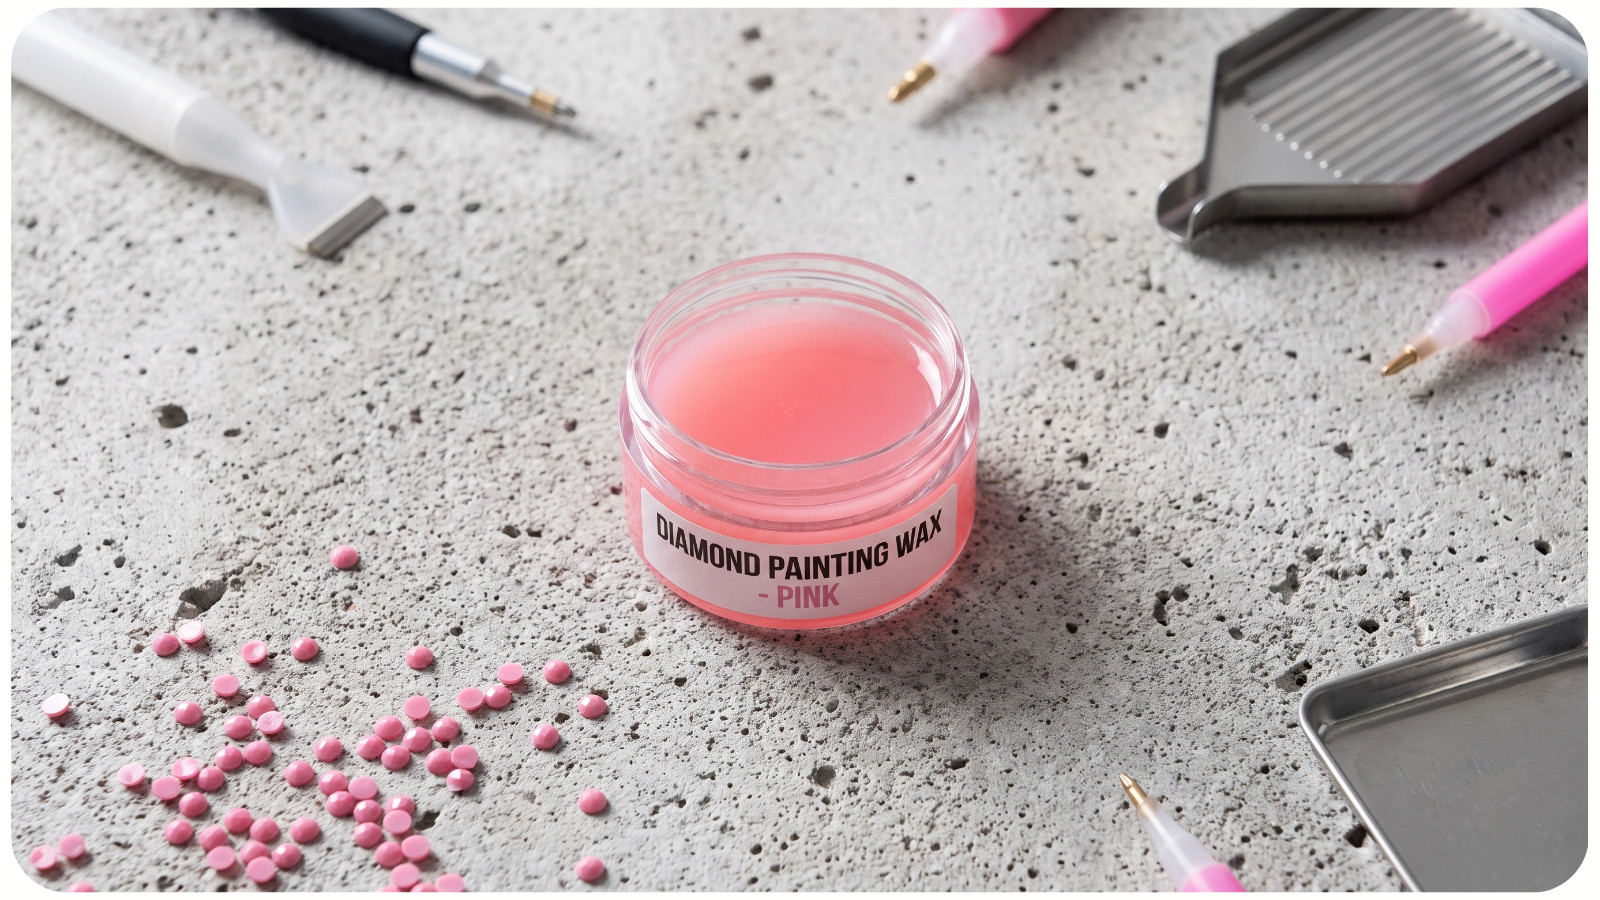
Too much wax reduces placement control. When loading a single-placer tip, press the pen into the pink wax once or twice, then remove any excess material protruding from the tip. The wax should grip the drill securely without surrounding its edges.
If wax transfers onto the top of the drill, the tip is probably overfilled. Excess wax can also make the drill rotate when you release it, leaving square drills at inconsistent angles.
Replace the wax when drills begin falling from the pen or require excessive pressure to pick up. Do not compensate for worn wax by pressing harder against the canvas. Increased pressure can force drills into the adhesive unevenly.
HOLD THE PEN VERTICALLY
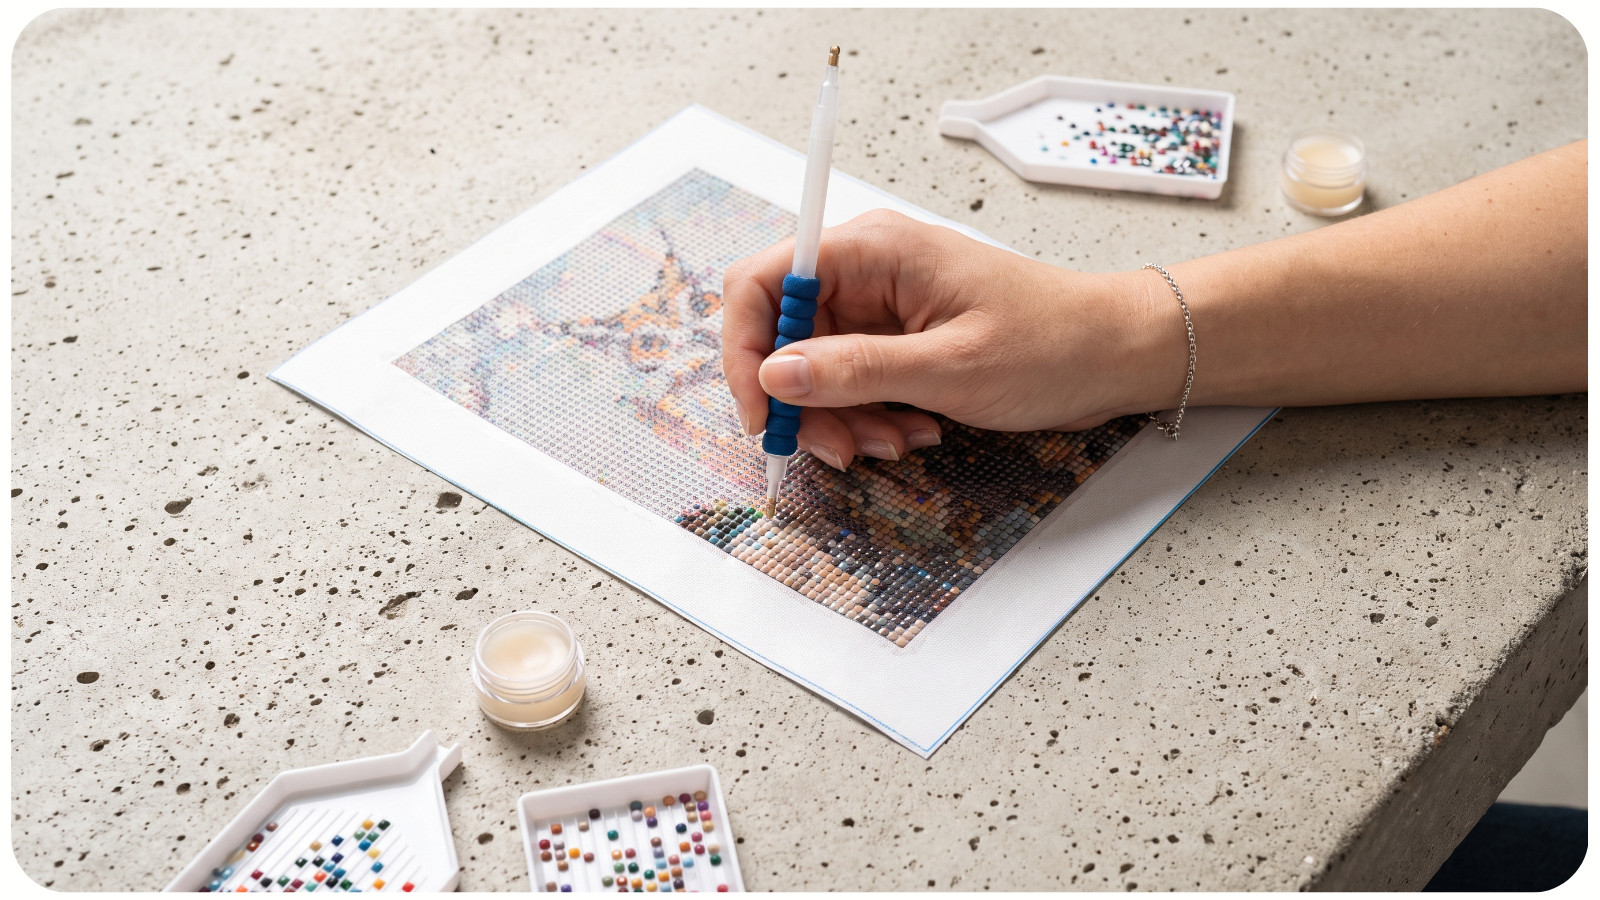
Pen angle has a direct effect on drill alignment. Hold the diamond painting pen as close to vertical as comfortably possible. A tilted pen applies uneven force and may cause the drill to slide as it touches the adhesive.
Approach the placement square from directly above. Lower the drill until it makes contact, then release it with minimal pressure.
Avoid dragging the drill across the canvas. Sliding can collect adhesive residue, distort the spacing, or move previously placed drills.
For square drills, align one flat edge with the printed grid before pressing down. For round drills, center the drill over the symbol rather than aligning its outer edge with the grid line.
APPLY LIGHT, CONSISTENT PRESSURE
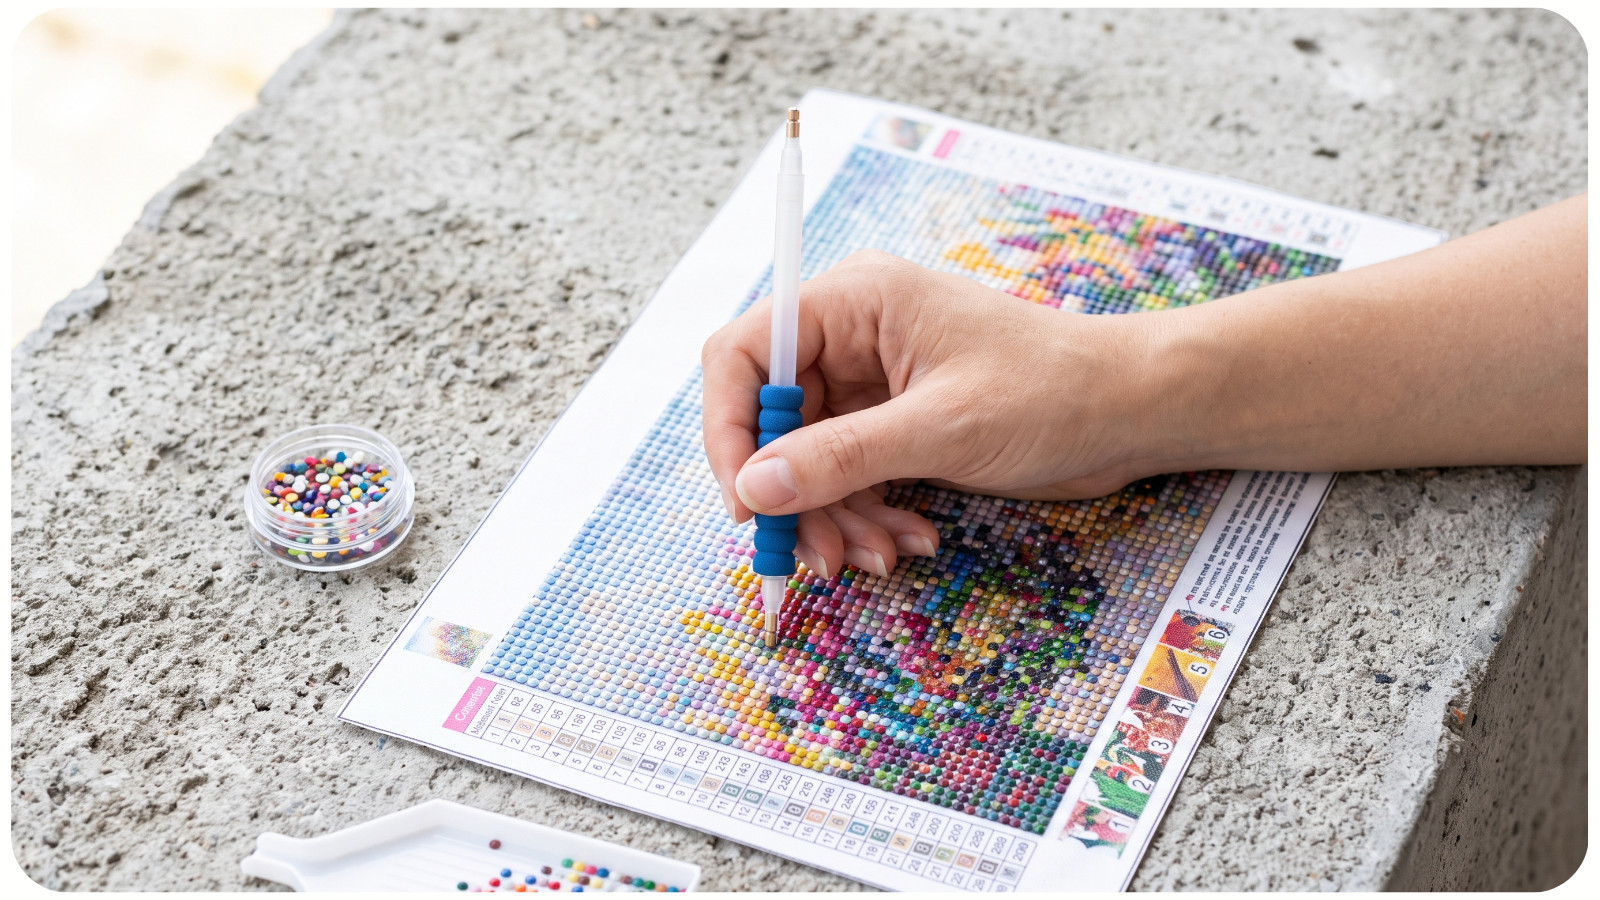
A drill only needs enough pressure to make full contact with the adhesive. Pressing too hard may push the drill sideways or create uneven heights across the finished section. Heavy pressure can also force wax deeper into the pen tip, reducing pickup reliability.
Use the same controlled motion for every drill:
1. Position the drill above the center of the symbol.
2. Check its angle relative to the grid.
3. Lower it vertically.
4. Apply light pressure.
5. Lift the pen straight upward.
Consistency matters more than force. The adhesive will secure the drill as long as the base makes complete contact.
USE THE CHECKERBOARD METHOD FOR SQUARE DRILLS
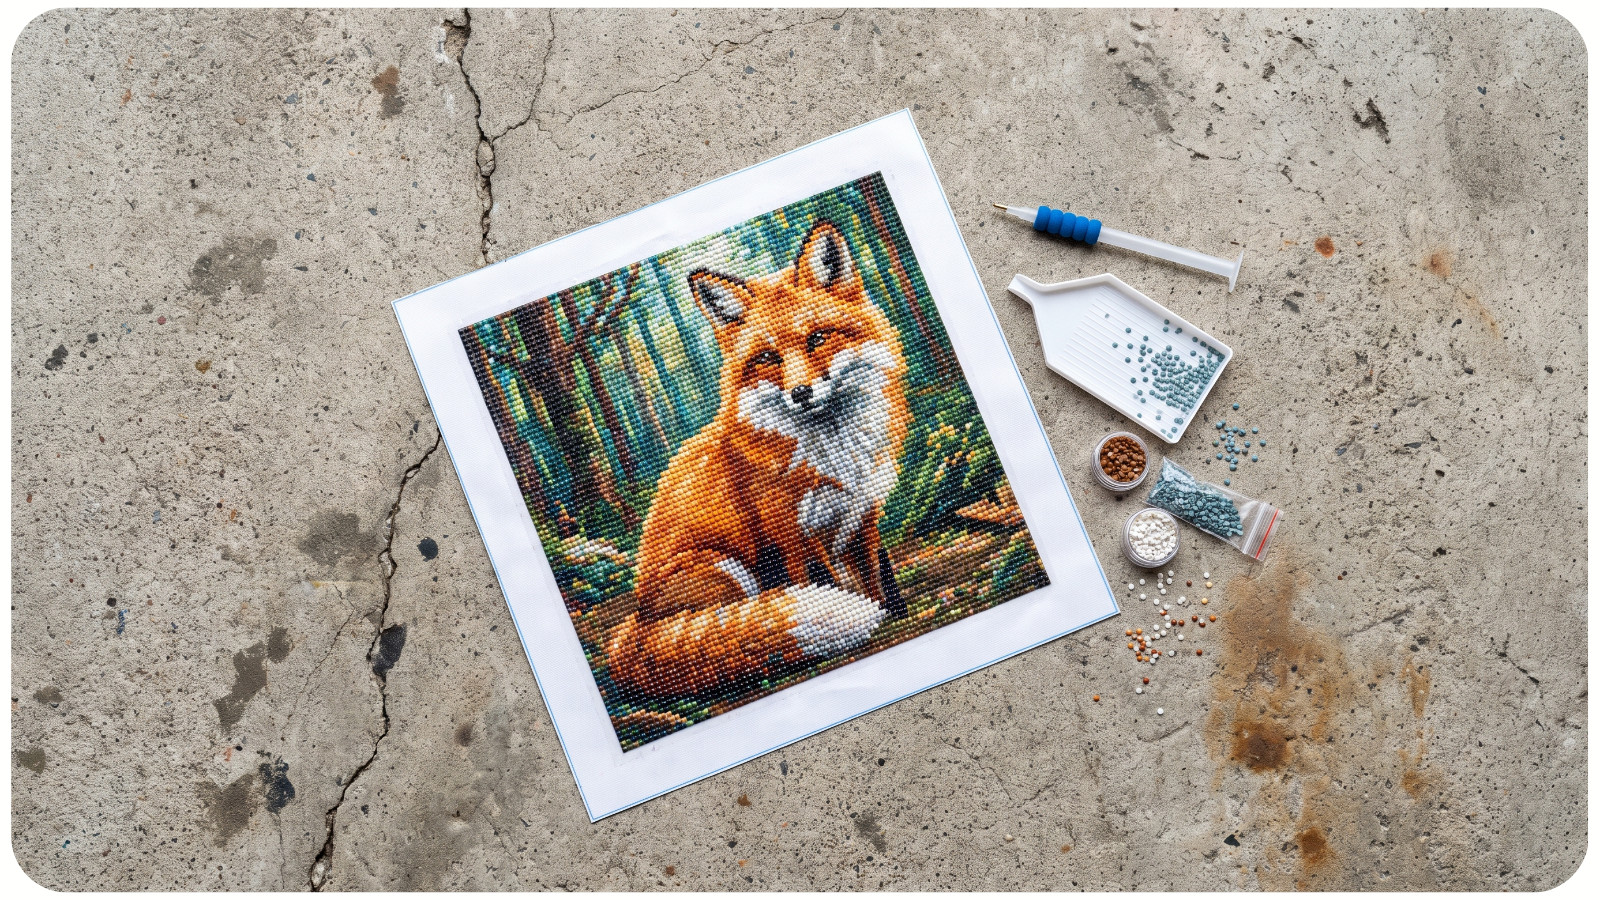
The checkerboard method is one of the most reliable techniques for maintaining straight square-drill placement.
Place every other drill in a row, leaving one empty square between each drill. On the next pass, fill the empty spaces.
The first set of drills creates physical boundaries for the second set. As the gaps are filled, the drills settle against one another and form straighter lines.
This method is especially effective in large areas of a single color. It reduces row drift, prevents overcrowding, and creates a satisfying clicking sensation as each drill fits into position.
For best results, complete a small block at a time rather than checkerboarding an entire large section. Long unfinished rows are easier to disturb with your hand or release paper.
WORK FROM A REFERENCE EDGE
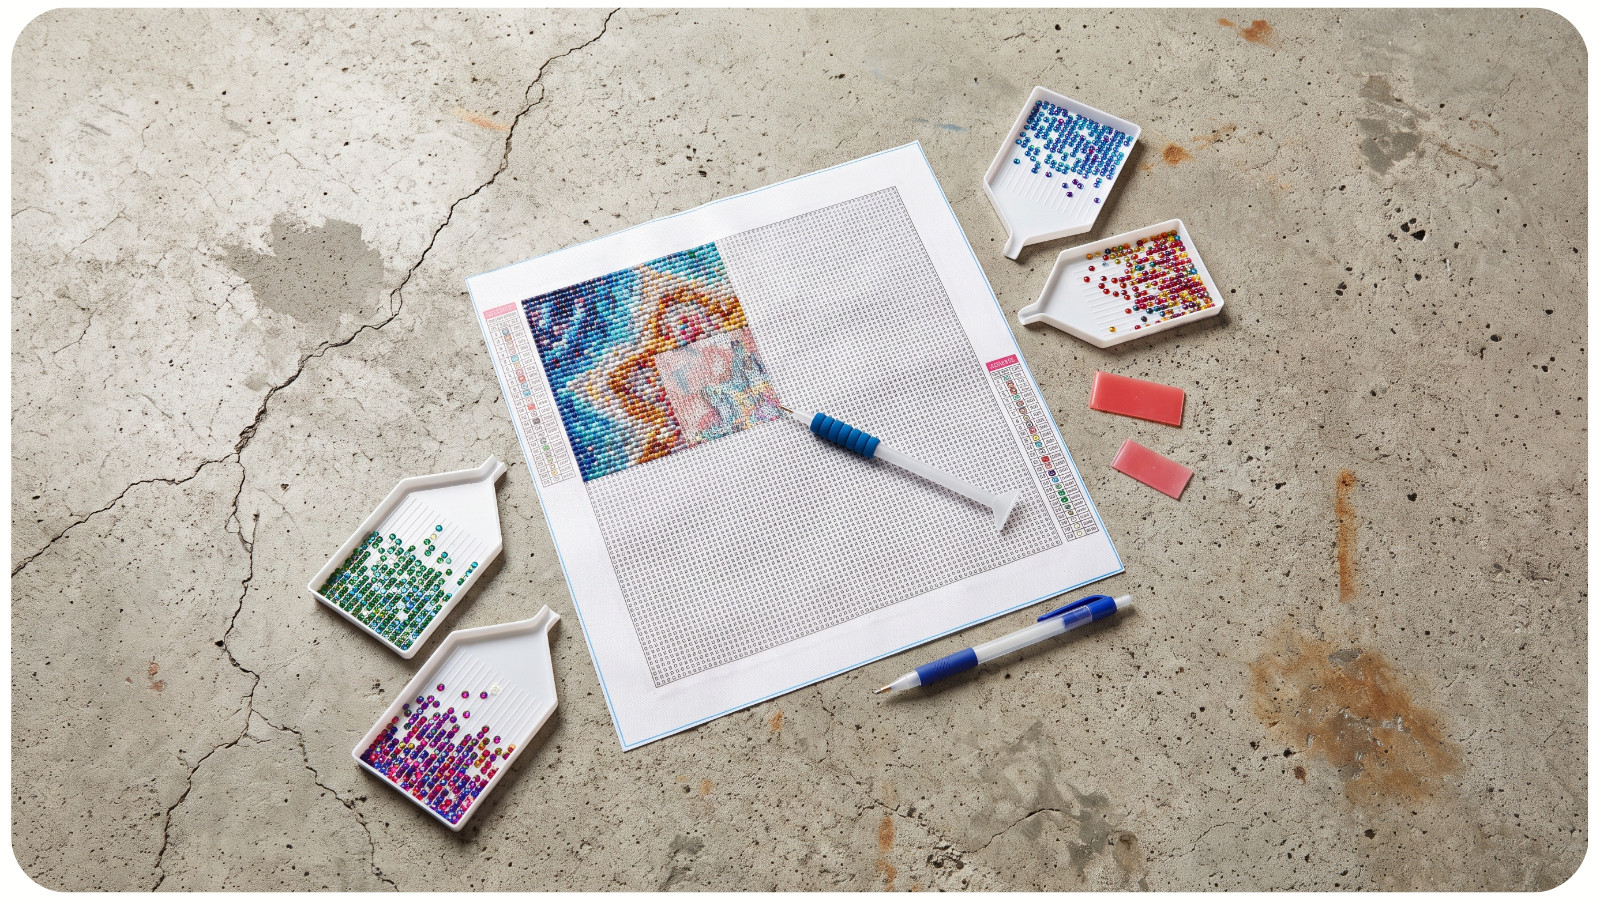
Do not build a large section from random points. Start from one clearly defined edge and expand in a controlled direction. Many diamond painters work from top to bottom to reduce contact with completed sections. Others begin near the center and work outward.
The exact direction is less important than consistency. Use the printed grid, a straight canvas boundary, or an existing line of accurately placed drills as your reference. Check the alignment every few rows. Correcting a small deviation early is much easier than straightening an entire completed block.
If you are right-handed, working from left to right may reduce accidental contact with fresh drills. Left-handed painters may prefer the opposite direction.
CONTROL MULTI-PLACER ALIGNMENT
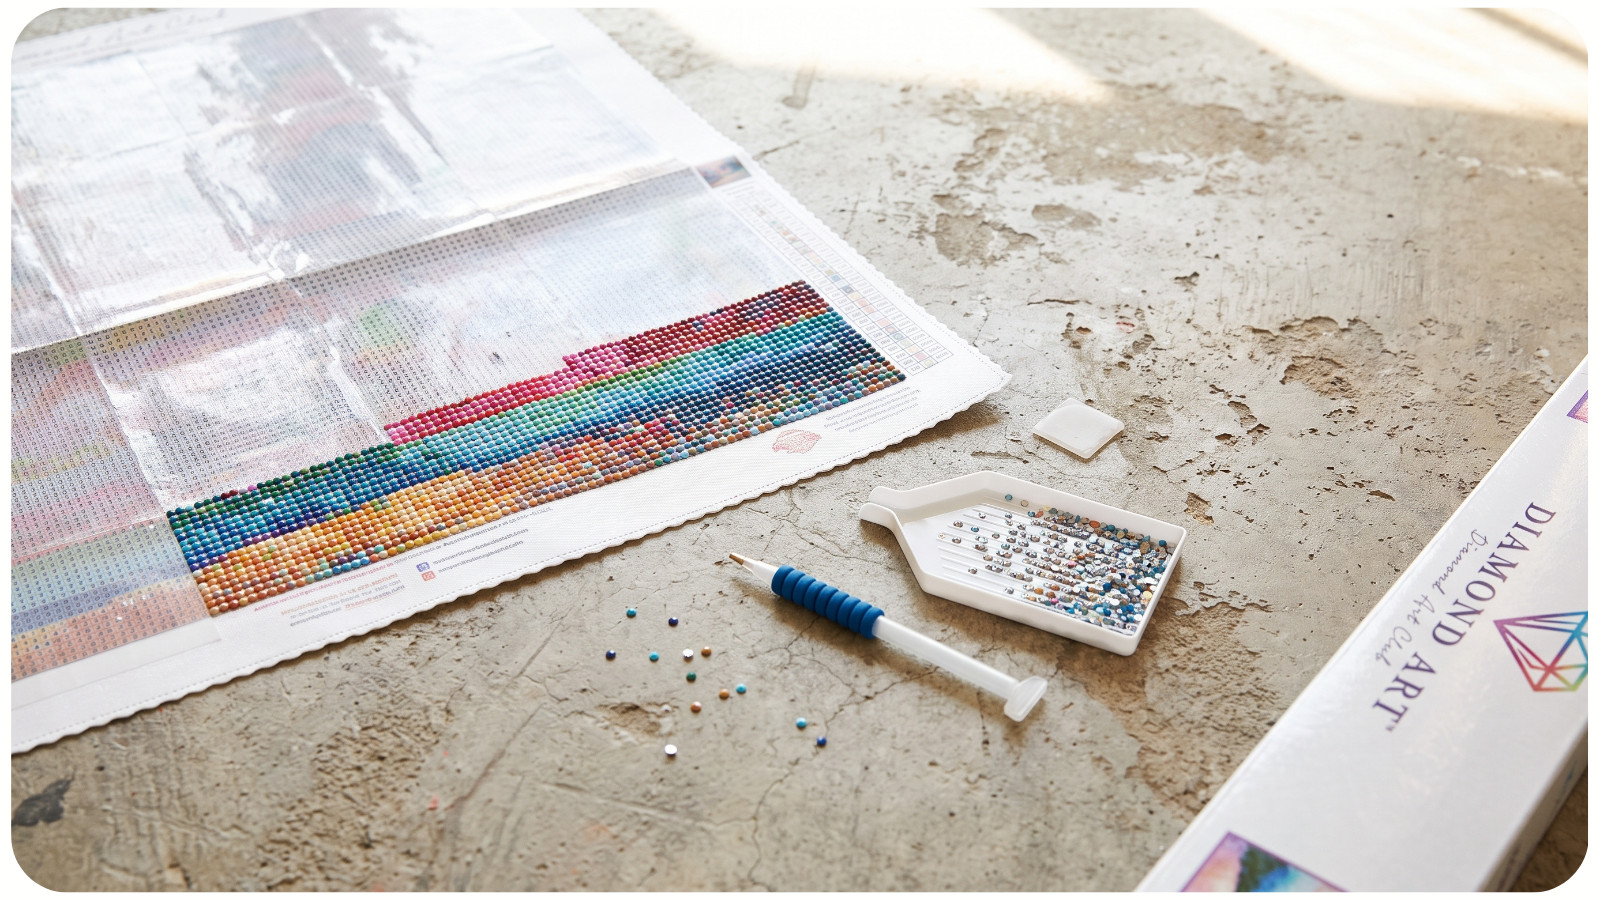
Multi-placers increase speed, but they can magnify small errors. Before picking up drills, make sure they are arranged in one straight line in the tray. Press the multi-placer down evenly so each drill enters the tip at the same depth.
When placing the drills, align both ends of the row before making contact with the canvas. If only one end is aligned, the row may pivot and land diagonally.
Use a gentle rocking motion only when necessary. Excessive rocking can widen the spacing between drills. Multi-placers are most accurate in large color-blocking areas. Use a single-placer near edges, detailed sections, color changes, and irregular shapes.
A three- or four-drill multi-placer generally offers more control than a large attachment. Very wide multi-placers require a perfectly prepared drill line and a steady hand.
USE A DIAMOND PAINTING RULER CAREFULLY
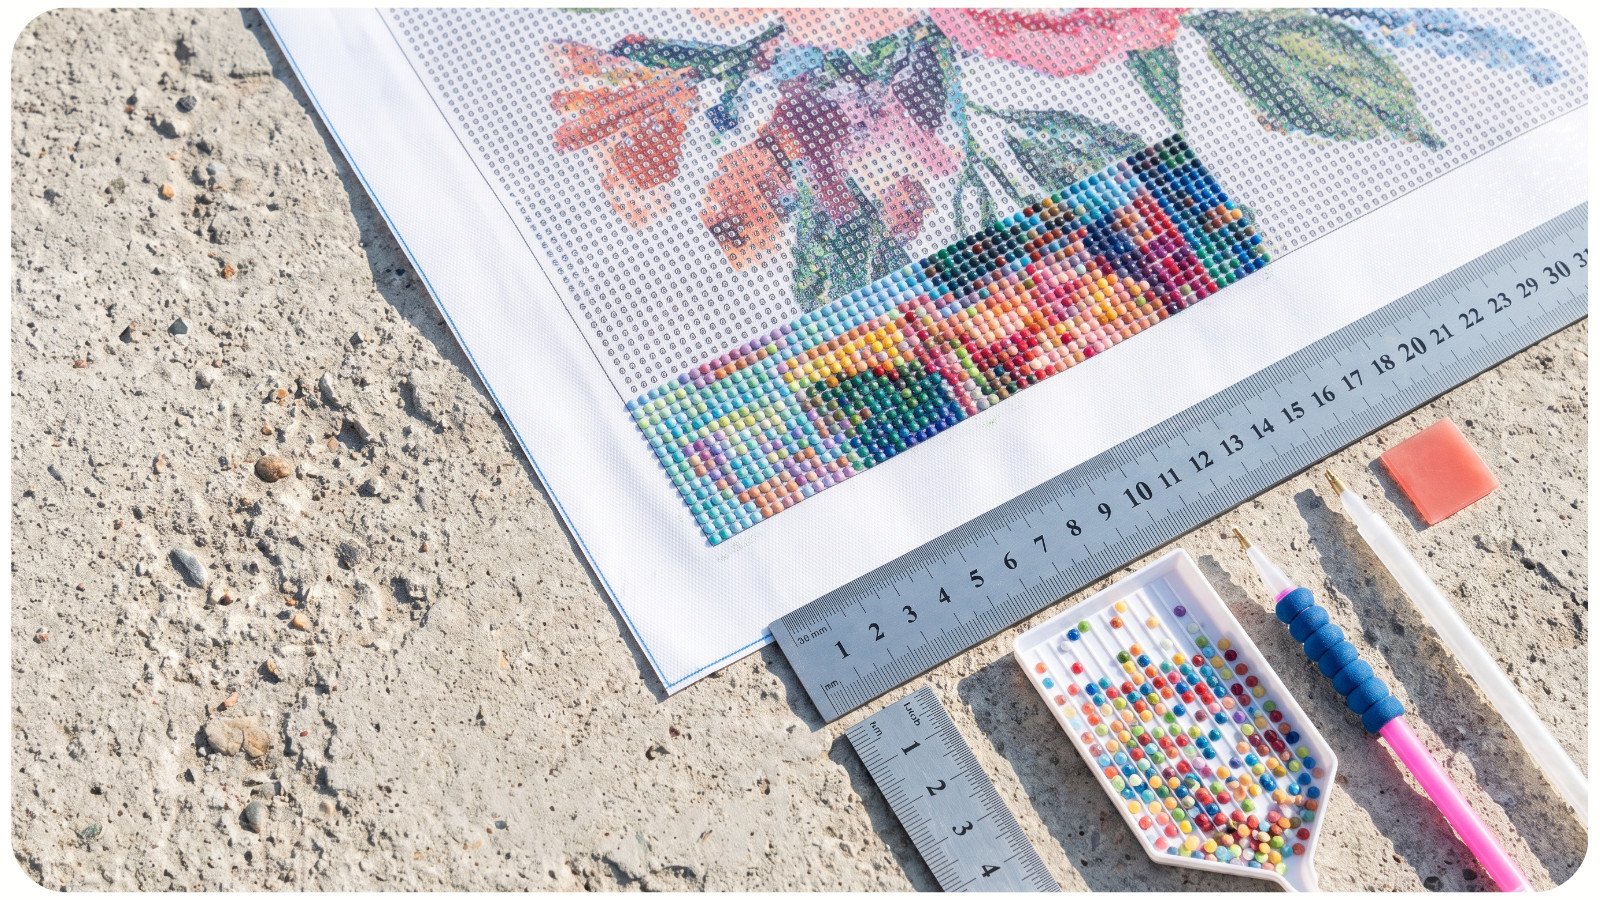
A ruler can improve spacing, particularly with round drills.
Place the ruler over the adhesive so its openings align precisely with the printed symbols. Anchor one edge first, then lower the rest of the ruler gradually. Check several grid points before pressing it fully into position.
Place drills through the openings without forcing them against the metal or plastic edges.
Remove the ruler before the adhesive grips it too strongly. Lift it slowly and evenly from one side. Pulling it upward abruptly can dislodge drills or stretch the adhesive layer.
Not every canvas has identical grid spacing, so select a ruler that matches the drill size and canvas pitch. A ruler with incorrect spacing may create more alignment problems than freehand placement.
STRAIGHTEN DRILLS BEFORE THE SECTION IS FULLY SET
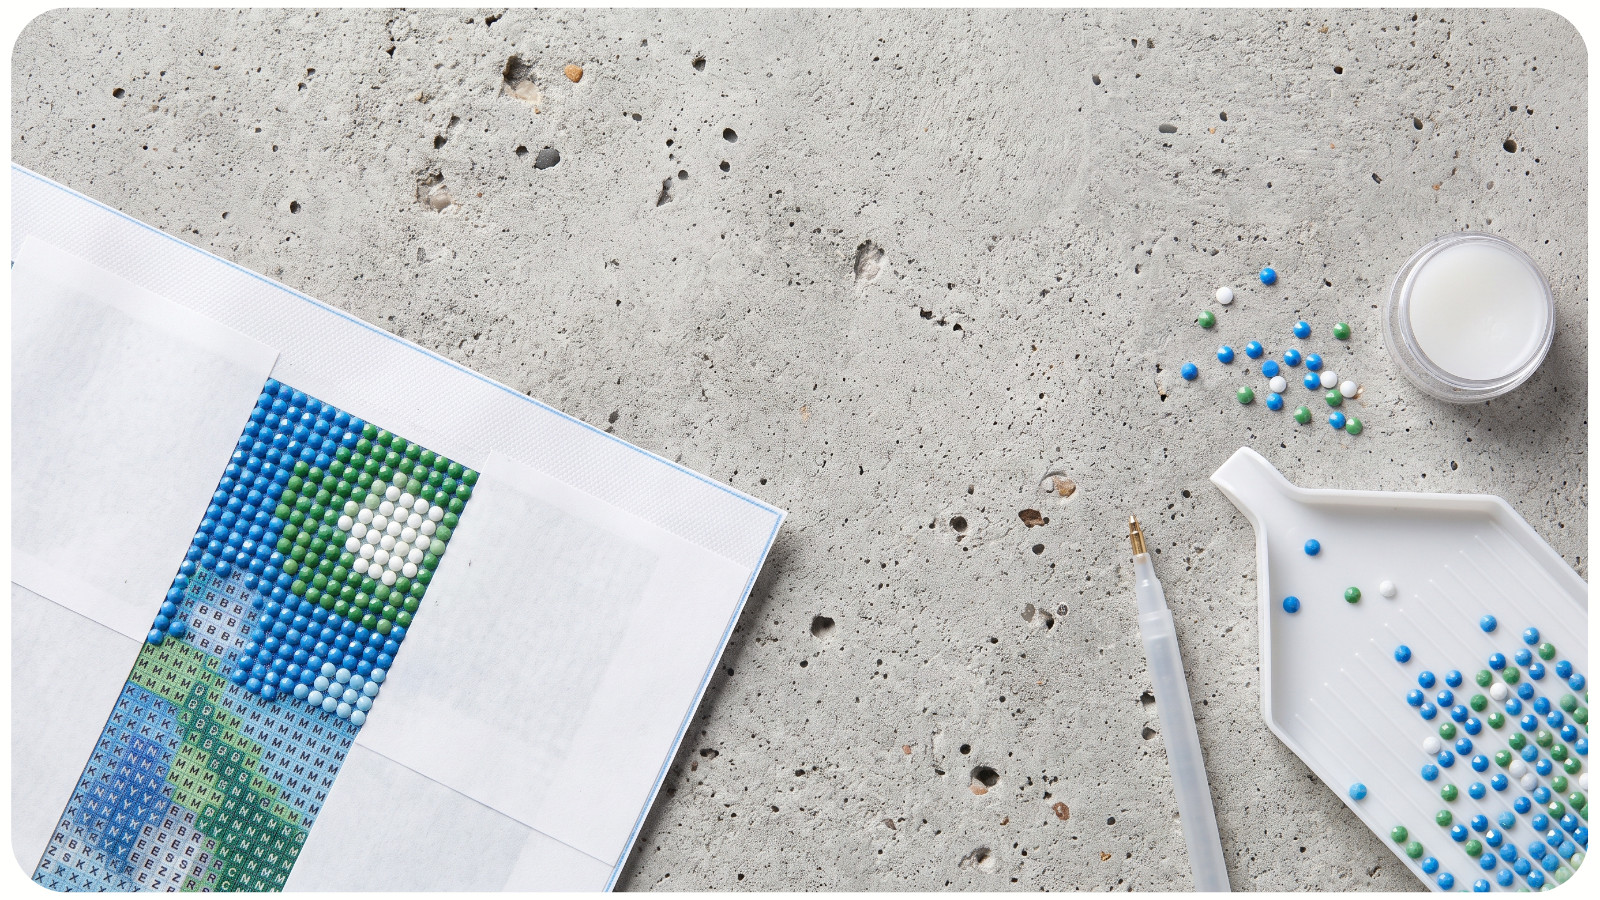
Inspect each completed block from several angles. Use a straightening tool, craft scraper, or the flat edge of a clean ruler to gently push rows into alignment. Apply pressure along the side of the drills rather than directly on top of them.
Straighten both horizontal and vertical lines. Adjusting only one direction can create compressed rows or uneven spacing.
For individual crooked drills, use fine-tip tweezers. Grip the drill gently, lift it straight up, and reposition it. Avoid twisting aggressively, as this can damage the adhesive beneath it.
Correct alignment problems while the section is still small. Once surrounding drills are placed, movement becomes more difficult.
PREVENT GAPS BETWEEN DRILLS
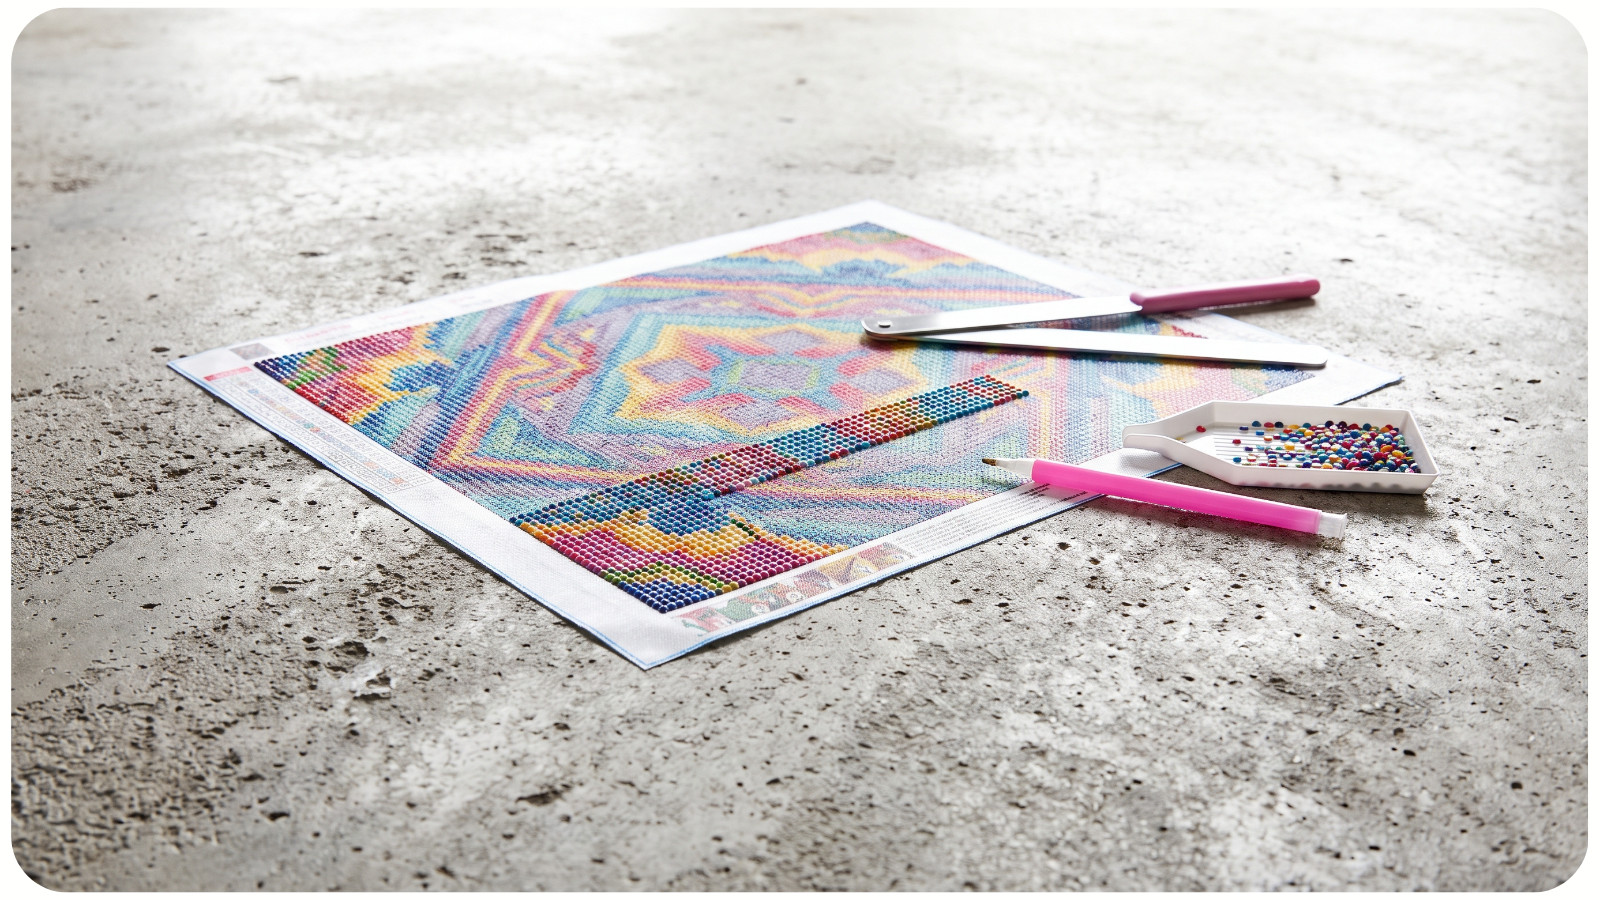
Visible gaps usually result from inconsistent placement rather than incorrect drill size.
Center each drill within its symbol. Do not place drills according to the position of a neighboring crooked drill. Continue referencing the printed grid.
Square drills should sit close enough to create a continuous mosaic without overlapping or buckling. Round drills will naturally leave small areas of visible canvas between their curved edges.
A dark printed symbol may appear like a gap between pale drills. Examine the section under normal room lighting before deciding that the spacing is incorrect.
If the canvas adhesive allows excessive movement, place smaller sections and straighten them more frequently.
PREVENT POPPING DRILLS
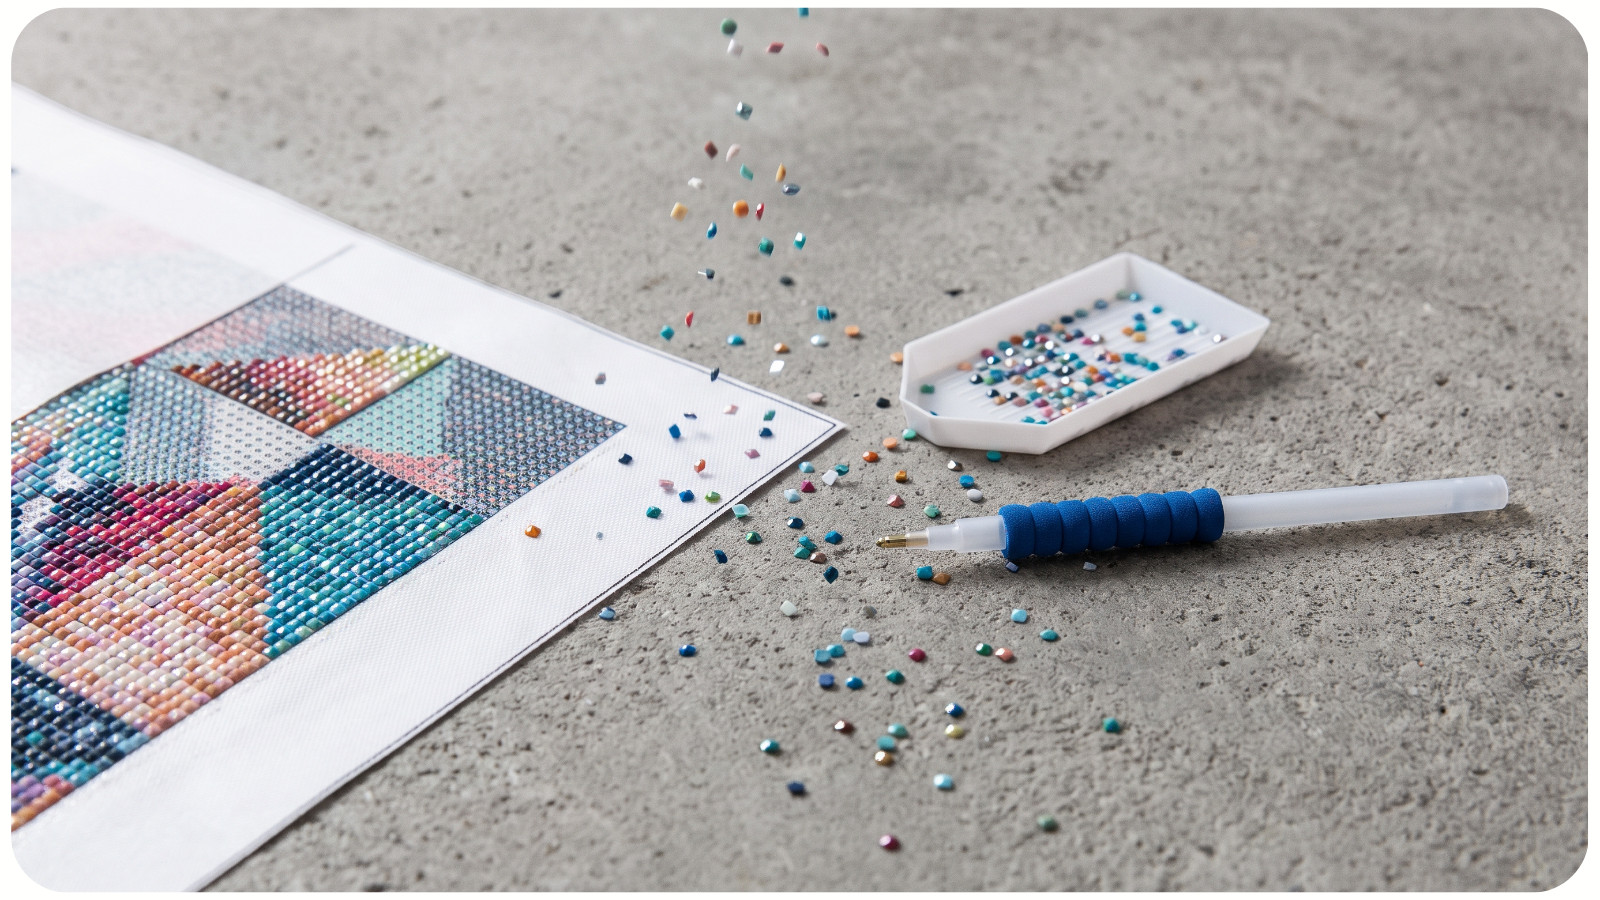
Popping drills occur when drills are crowded, defective, or poorly adhered. Remove oversized and misshapen drills before placement. Check that each drill sits flat against the canvas rather than resting on an edge or neighboring piece.
Avoid forcing additional drills into a row that is already too tight. Instead, identify where the alignment began to drift and correct that area.
After completing a section, cover it with clean release paper and press it lightly with a roller. Roll in several directions using moderate pressure. The goal is to improve adhesive contact—not to crush or deform the drills.
If drills repeatedly lift from the same area, inspect the canvas for weak adhesive. A small amount of diamond painting glue may be applied beneath individual drills, but it should be used sparingly.
KEEP THE ADHESIVE CLEAN
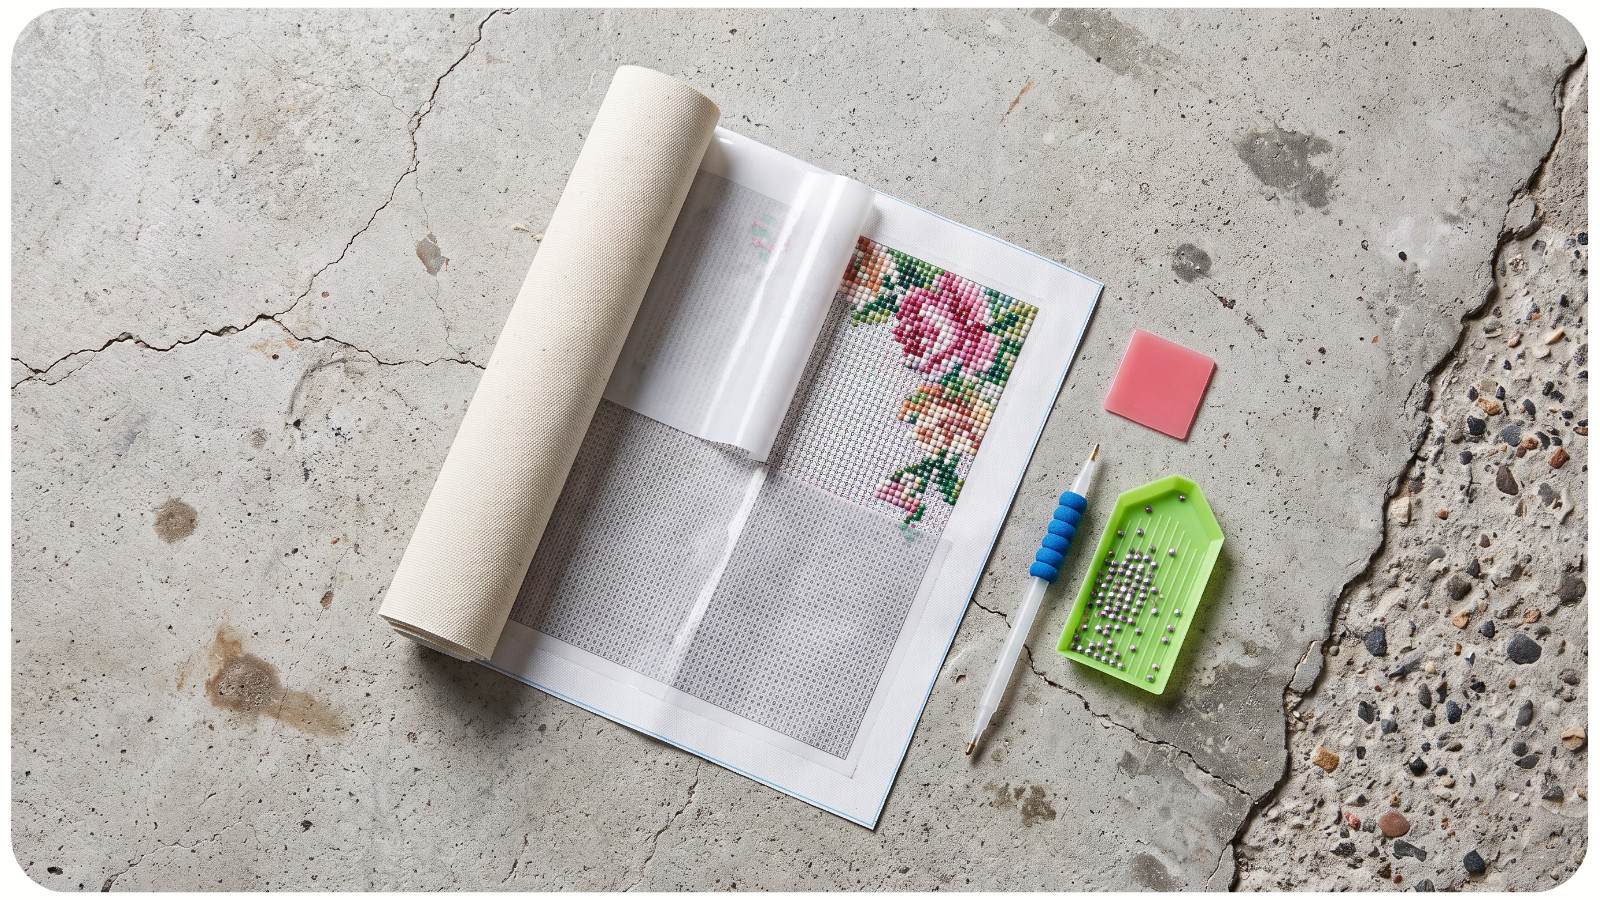
Dust, pet hair, skin oils, and wax residue reduce adhesion. Expose only the section you are actively working on. Divide the protective film into smaller areas using washi tape, or replace it with precut release paper.
Avoid resting your hand directly on uncovered adhesive. Use a sheet of release paper beneath your palm when working near an exposed section.
If the adhesive becomes slightly dirty, use clean tweezers to remove visible debris. Do not wipe it with fabric or paper towels, which may leave fibers behind.
CHECK YOUR WORK UNDER DIFFERENT LIGHTING
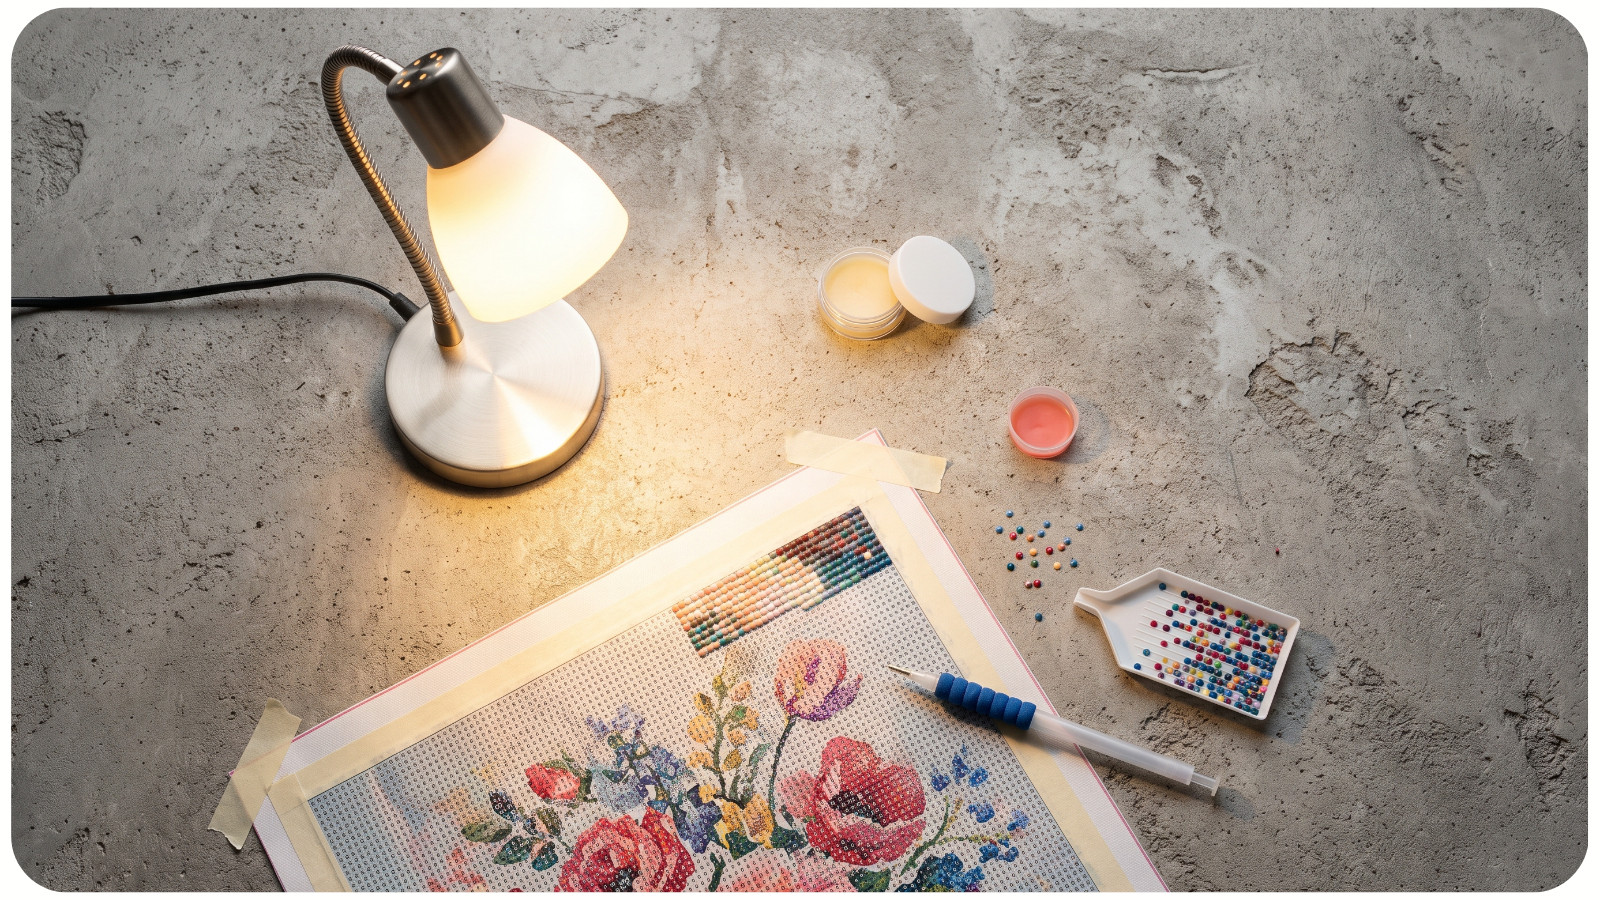
A section that appears straight on a light pad may look different under overhead lighting.
Turn off the light pad periodically and inspect the drills from the front, side, and diagonal angles. Reflections across the facets make uneven rows easier to detect.
You can also take a photograph of the section. The camera’s fixed perspective often reveals diagonal rows or irregular spacing that your eyes have adapted to while working.
Review the section before moving to the next large area.
PRO-LEVEL PLACEMENT ROUTINE
For the most consistent results, use the same sequence throughout the project:
1. Flatten and secure the canvas.
2. Expose a small working section.
3. Prepare only the required drill color.
4. Remove defective drills from the tray.
5. Align your first row carefully.
6. Use the checkerboard method or short multi-placer rows.
7. Inspect every few rows.
8. Straighten the completed block.
9. Roll the section under release paper.
10. Cover the finished area before continuing.
This routine limits the number of variables that can affect placement. It also makes it easier to identify the cause of a problem before it spreads across the canvas.
CHOOSE A DESIGN THAT REWARDS PRECISION
Clear symbols and well-defined color fields make precise placement easier and more enjoyable. Awesome Pattern Studio diamond painting designs offer decorative artwork that can become polished wall decor when completed with careful alignment and consistent technique.
Select a project size that matches your comfort level. Large canvases provide more detail, but they also require greater control over section alignment. Beginners may improve faster by practicing on smaller designs with a mixture of color blocks and detailed areas.
CONCLUSION
Perfect drill placement comes from controlled repetition. Keep the canvas flat, hold the pen vertically, use light pressure, work from a reference edge, and inspect your alignment frequently.
Do not wait until the entire canvas is complete to correct crooked rows. Small adjustments during the process produce cleaner lines, stronger adhesion, and a more professional finished piece.
Which placement technique improves your results most – the checkerboard method, a diamond painting ruler, or careful single-drill placement?