


An embroidery hoop should hold fabric smooth and stable - not force it into ripples or leave it permanently distorted. Hoop fit, uneven tension, fabric stretch, and thread tension all affect how the surface behaves. Most problems are preventable once you know what to check.
First, Identify the Kind of Wrinkling You See
Several problems are often described as “wrinkling,” but they do not have the same cause. Identifying the symptom first will keep you from solving the wrong problem.
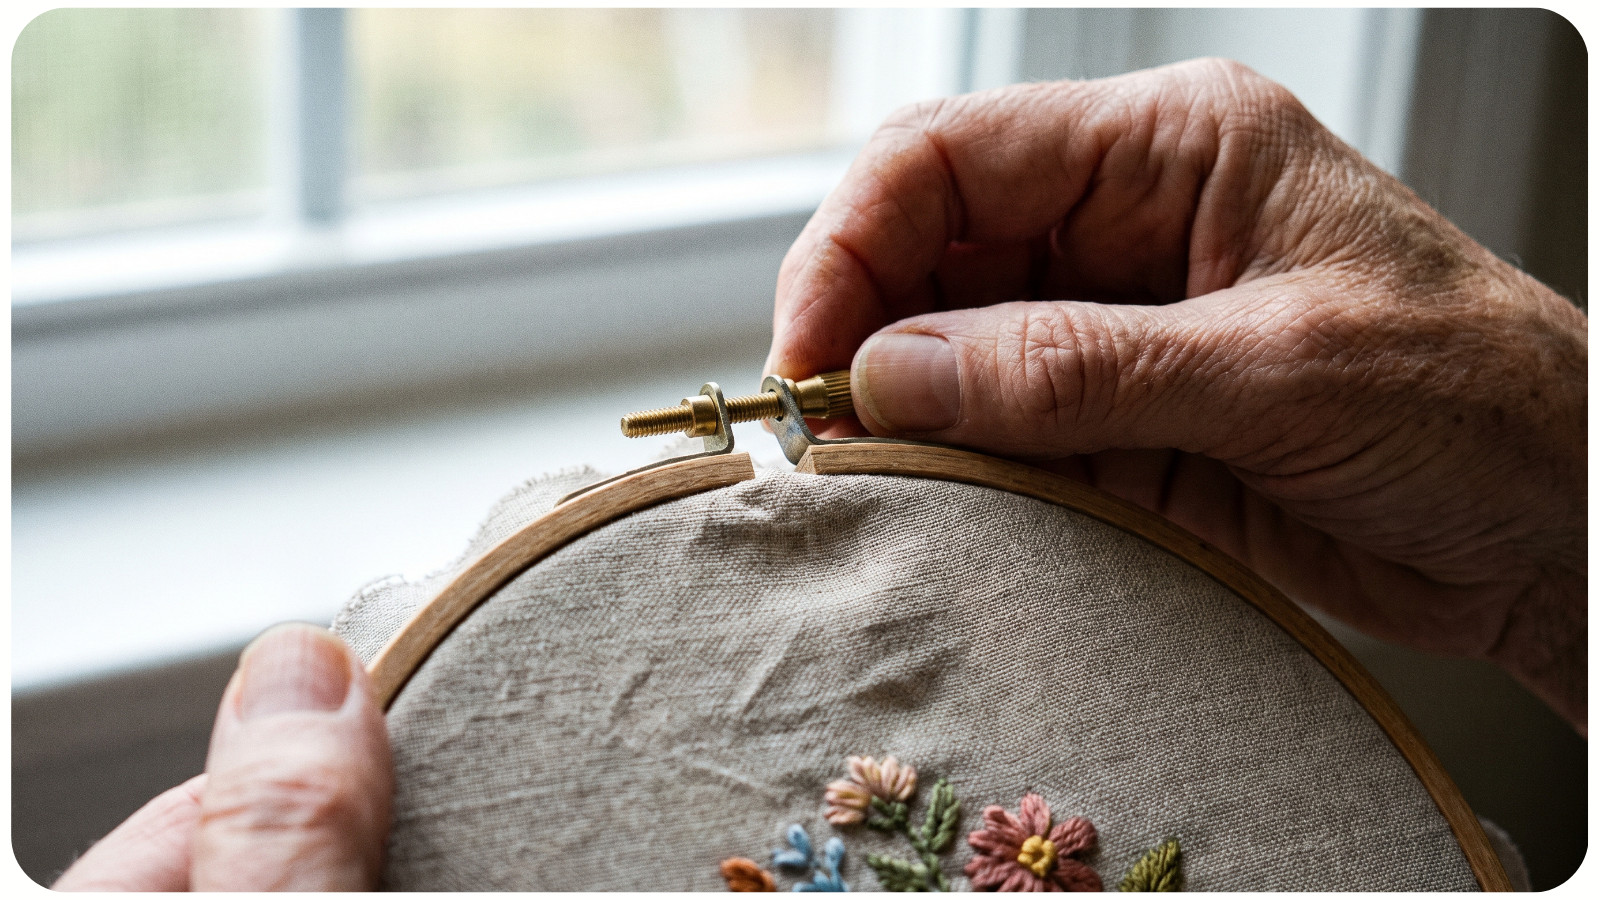
Hoop wrinkles are folds or ripples that appear while the fabric is mounted. They usually mean the fabric was not smoothed evenly, the hoop is slipping, or one area was pulled more strongly than another.
Hoop marks are circular creases or compressed areas left by the rings after the fabric is removed. A light mark may relax after pressing or washing if the materials allow it. A deep crease can become difficult to remove when a project has been left in the hoop for a long time.
Puckering is a gathered or dimpled area around the embroidery itself. It is commonly caused by stitches pulled too tightly, a stretchy or unstable fabric, or a dense design that needs more support. Repositioning the fabric will not fully solve puckering if the stitches are already drawing the fabric inward.
Loosen the hoop and examine the fabric without tension. If the ripples disappear, the hooping method is the likely cause. If gathering remains around the stitches, investigate stitch tension and stabilization too.
Prepare the Fabric Before Hooping
Fabric is easiest to hoop evenly when it begins clean, flat, and relaxed.
If the finished item will be washed and its care instructions permit it, prewash and dry the fabric before transferring the design. This allows predictable shrinkage to happen before embroidery is added. Not every specialty fabric or printed design should be washed, so check first.
Press out storage folds using the method recommended for the fabric, and test unfamiliar material on a scrap. A pressing cloth protects delicate surfaces. Starting with a sharp fold inside the hoop makes even tension much harder to achieve.
Leave enough fabric around the design for the hoop to grip securely. A narrow margin can slip between the rings and tempt you to overtighten the screw.
Choose a Hoop That Holds Even Tension
A useful hoop is not simply one that fits around the design. It must also grip the fabric consistently. If you are building your first setup, the APS embroidery tools guide explains which supplies are essential and which are optional.
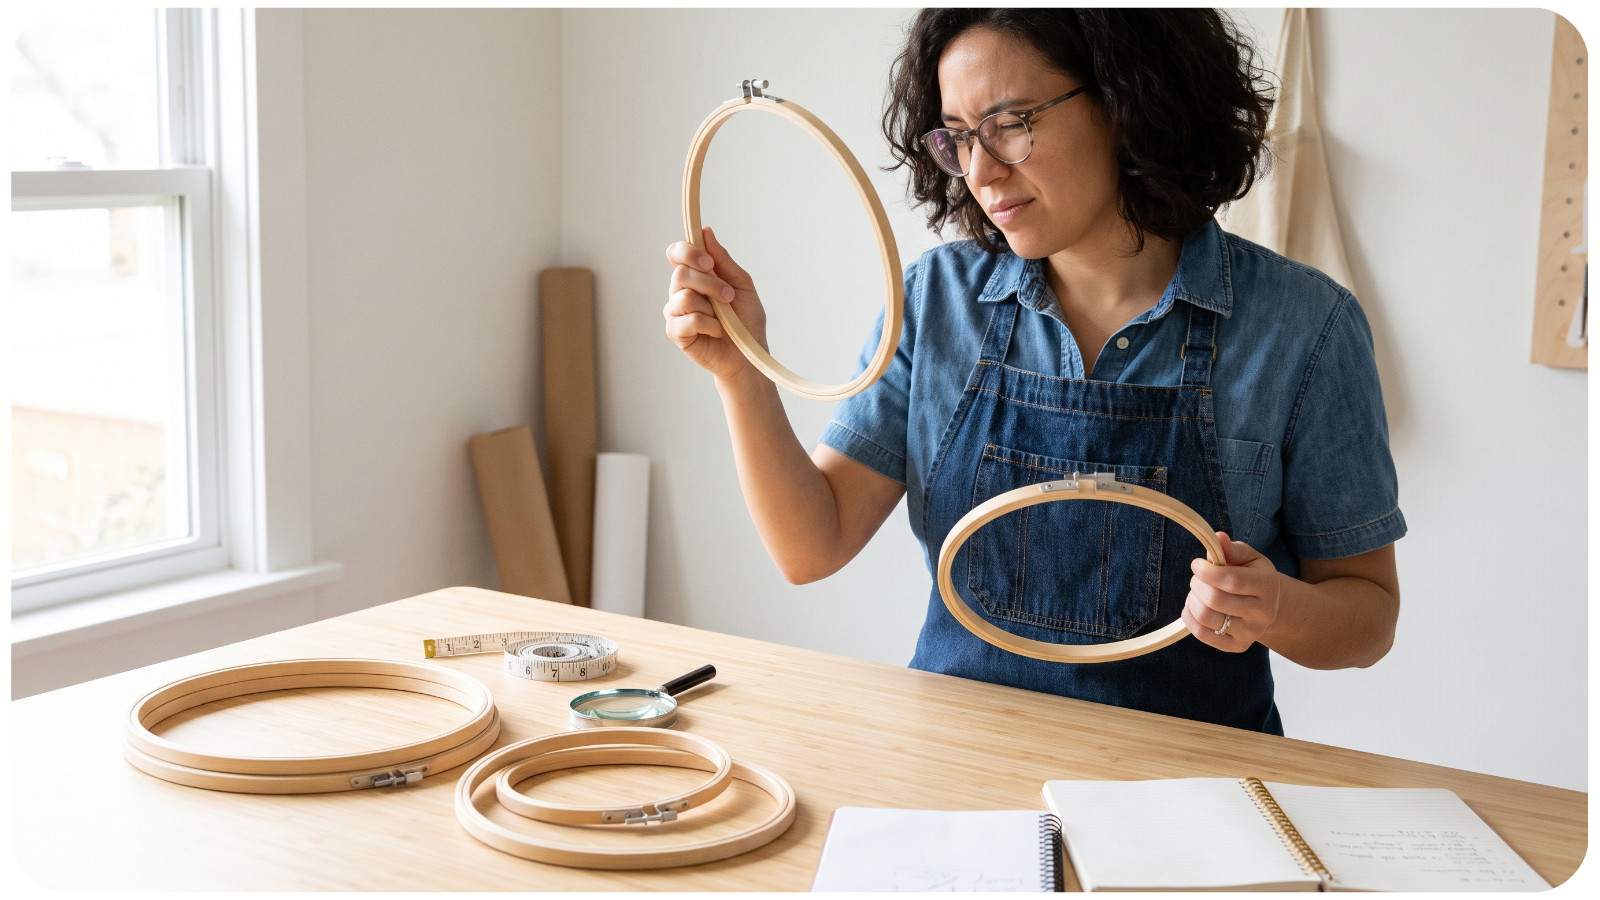
Check that both rings are round, smooth, and free from splinters or rough edges. The outer ring should tighten evenly. A warped hoop may pinch one section while leaving another loose.
For ordinary surface embroidery, a smaller hoop is often easier to tension evenly than a very large one, but the working area still needs room for comfortable needle movement. A large design can be moved section by section if the hoop will not crush completed stitches. For padded stitches, beads, or other raised elements, a frame may be safer.
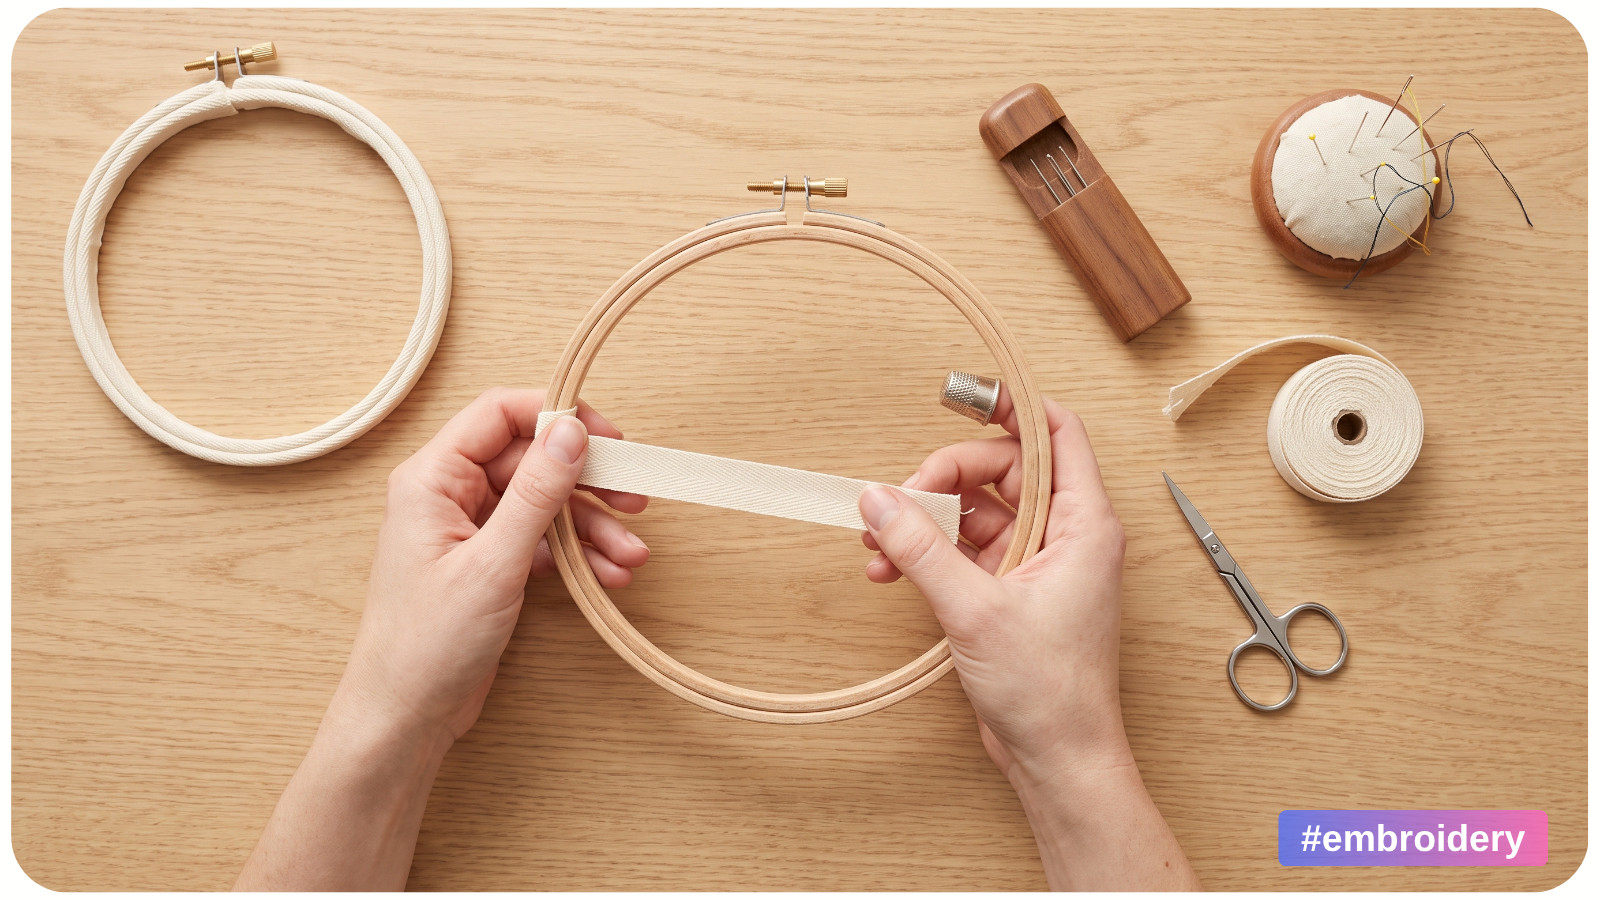
Hoop binding can help when smooth fabric slips. Wrap the inner ring with cotton bias tape or narrow twill tape to add grip and a slightly cushioned contact surface. Keep the wrapping flat and even so it does not create new pressure points.
How to Hoop Fabric Without Creating Wrinkles
The goal is even tension in every direction. The fabric should be taut and flat, while its weave remains square rather than stretched into a distorted shape.
1. Loosen and separate the rings. Place the inner ring on a clean, flat surface. Loosen the outer ring enough that it can be pressed into place without forcing it.
2. Center the fabric over the inner ring. Smooth it with your hands. On woven fabric, use visible warp and weft threads, a selvage, or marked centerlines to keep the grain straight.
3. Place the outer ring over the fabric. Press it down evenly. Tighten the screw only until the hoop begins to grip; do not fully tighten it yet.
4. Smooth and tension gradually. Pull gently outward in small sections, alternating between opposite sides: top, bottom, left, right, and then the spaces between.
5. Tighten the screw in stages. After each adjustment, smooth the fabric and check the grain. Stop pulling if straight weave lines begin to bow or a printed motif changes shape.
6. Check the surface. It should be flat, with no folds near the rings or lines radiating from one over-pulled point. “Drum-tight” should mean evenly taut - not stretched beyond the fabric's natural shape.
Avoid tightening the screw first and then yanking hard on the fabric. That method can stretch the edges, distort the weave, and stress the area trapped between the rings.
Keep the Fabric Smooth While You Stitch
Even correctly hooped fabric may relax during a long stitching session. Check the surface periodically, especially if the fabric begins to move with the needle.
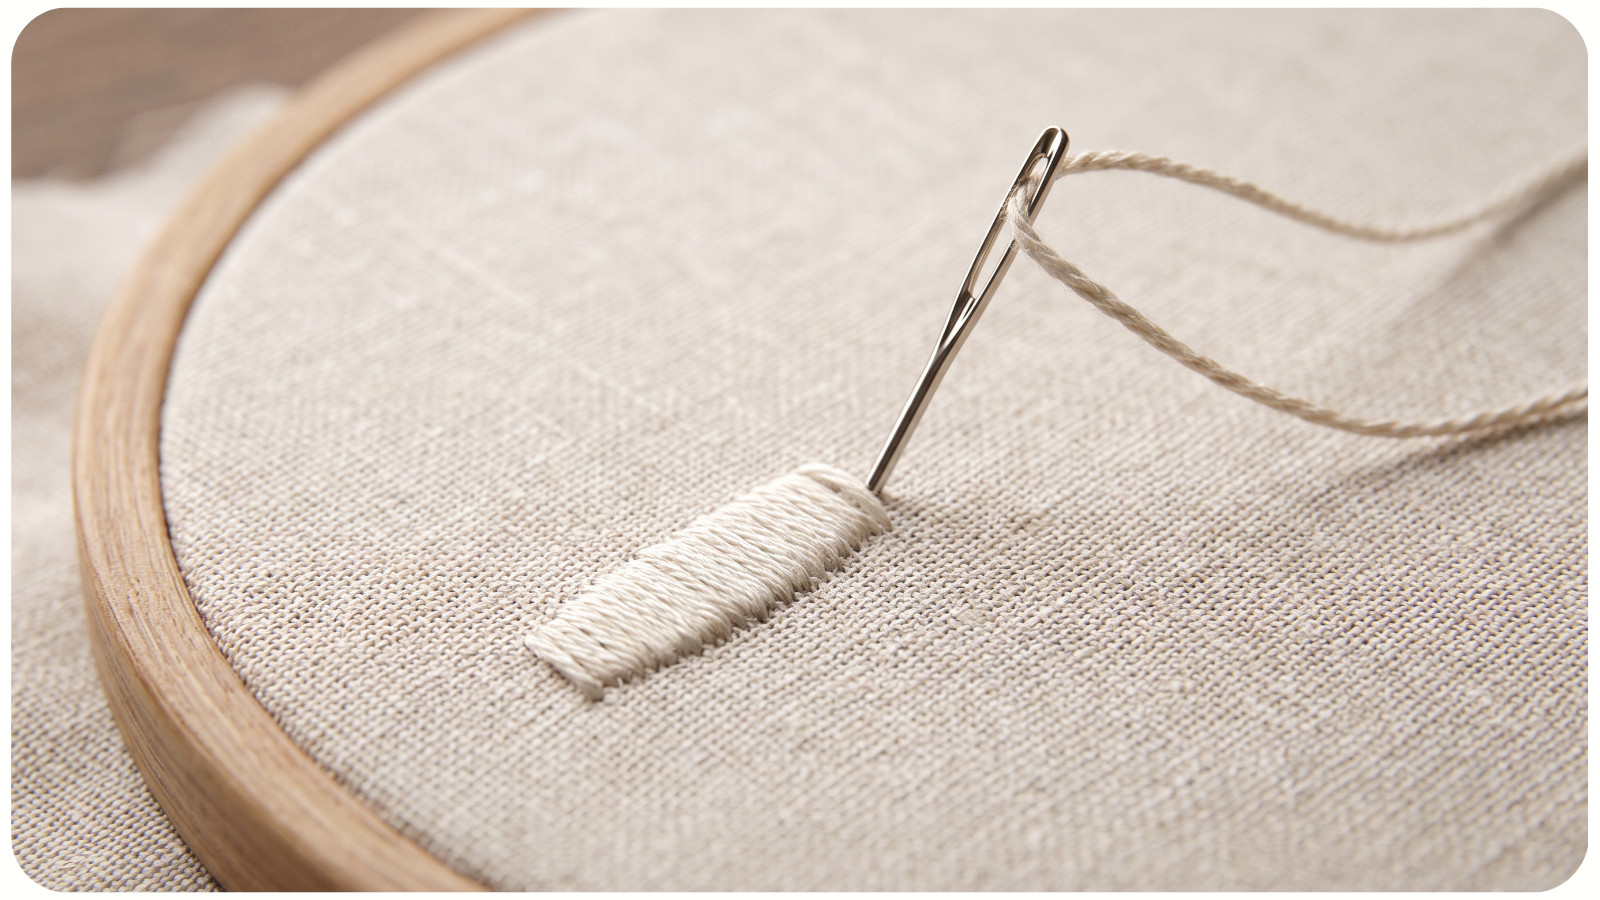
If the fabric loosens, stop stitching. Loosen the screw slightly, retension the entire circumference, and tighten it again. Pulling only the visibly loose section can move the wrinkle elsewhere.
Each stitch should lie neatly without drawing the fabric inward. If a small dimple appears as you pull the thread, ease the tension. Delicate fabrics and long stitches usually need a lighter hand than firm cotton.
Do not use the hoop to stretch puckers out of completed stitching. The embroidery may look flat under strong hoop tension and gather again as soon as the hoop is removed. Correct thread tension during stitching instead.
When Stabilizer Helps
Stabilizer is temporary or permanent support placed behind - or sometimes on top of - the fabric to limit unwanted movement while stitching. It is especially useful for knits, lightweight fabrics, loosely woven cloth, and areas with dense stitching.
The right stabilizer depends on whether the item will be washed, whether the back remains visible, and whether the support should tear away, wash away, or remain permanently. Test the fabric, stabilizer, thread, and stitches together on a scrap.
Stabilizer is not a substitute for correct hooping. If the fabric and stabilizer enter the hoop with folds or uneven tension, both layers can still wrinkle.
Remove the Hoop Between Stitching Sessions
Remove the work when you finish for the day. Leaving fabric clamped for an extended period can create difficult creases, particularly on delicate or easily marked materials.
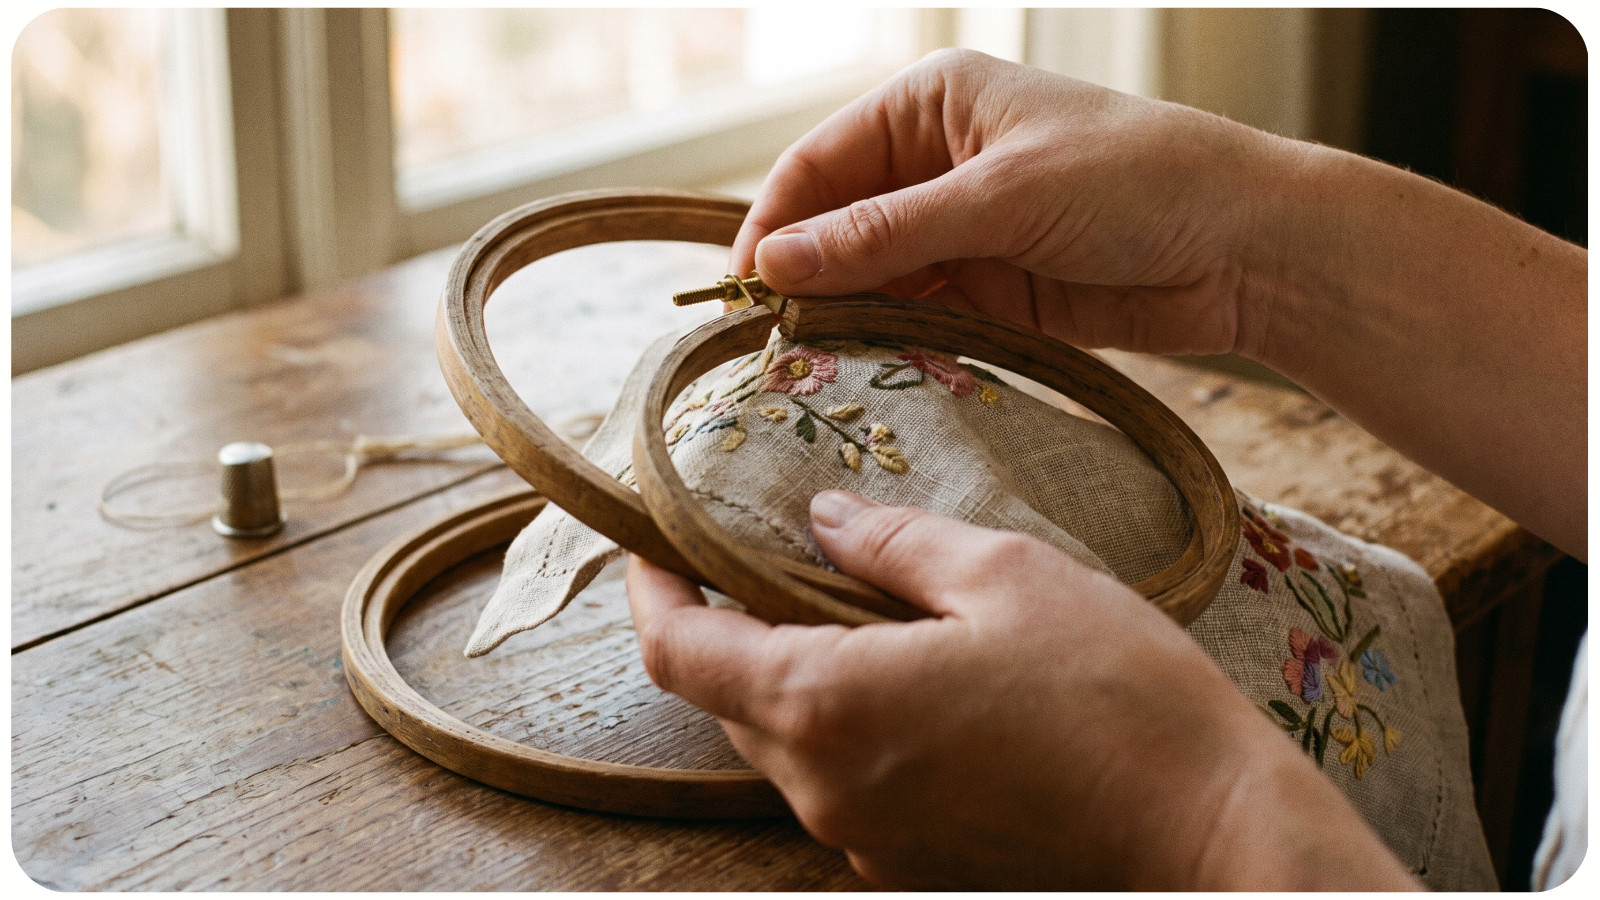
Secure the needle, loosen the screw, and separate the rings without pulling against full pressure. Store the project flat or rolled with the embroidery facing outward; do not fold through the stitched area.
Placement marks or centerlines can help you align the fabric again. Rehooping takes a few minutes but avoids compressing the same fibers for days.
Troubleshooting Common Hoop Problems
Use the symptom to trace the likely cause, then start with the least aggressive correction. For related issues beyond hooping, see 10 common embroidery mistakes and how to fix them.
• Ripples appear immediately: The fabric was trapped unevenly or pulled in one direction. Remove it and rehoop from the beginning, alternating between opposite sides.
• Fabric becomes loose: The hoop is slipping or the screw is not holding. Retension evenly, inspect the hoop, and bind the inner ring if needed.
• Straight weave lines curve: The fabric has been overstretched. Loosen the hoop, let the fabric relax, and rehoop with gentler tension.
• Dimples form around stitches: Thread tension is too tight. Ease each stitch so it rests on the surface without pulling the fabric inward.
• Thin or knit fabric gathers: The fabric may need support, or the design may be too dense for it. Test a suitable stabilizer and reduce stitch or thread bulk when the design allows.
• A circular crease remains: The work stayed in the hoop too long or the ring compressed the fabric. Follow the material's care instructions for pressing or washing, and avoid direct heat on stitches.
How to Relax Existing Hoop Marks Safely
Remove the hoop and leave the fabric flat and unstretched for several hours. Light impressions may relax on their own.
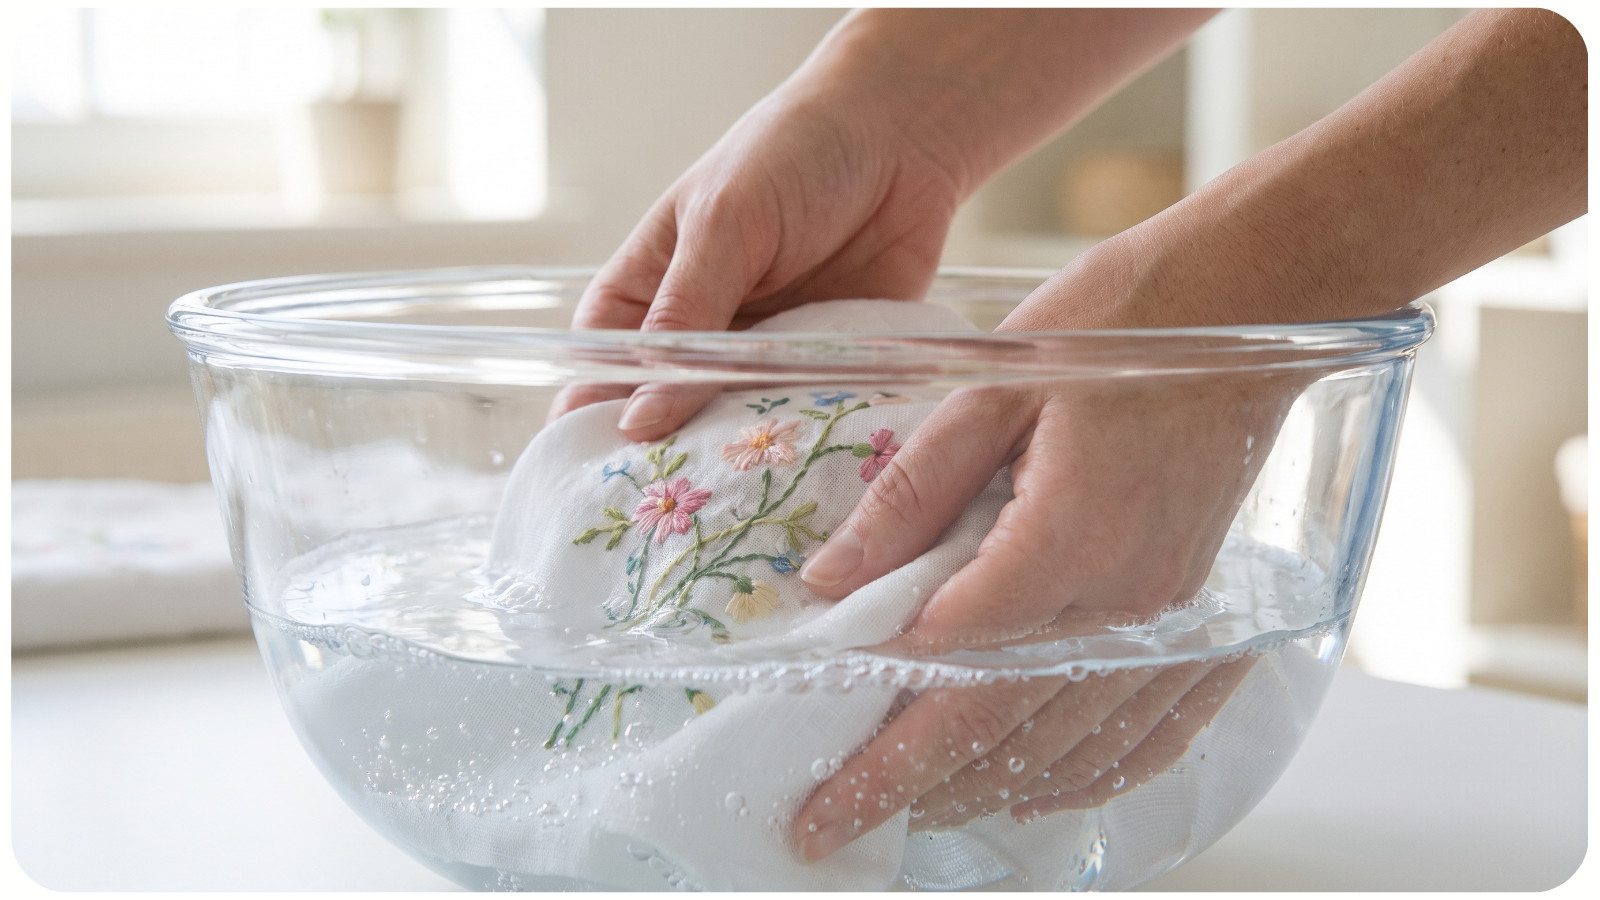
If a crease remains, check the care instructions for the fabric and thread. When pressing is safe, work from the back on a padded surface, use a pressing cloth, and avoid flattening raised stitches. If the project is washable, washing and drying as directed may relax the fibers more evenly than spot treatment.
Do not assume that high heat, heavy steam, or aggressive stretching is safe. Synthetic fibers, hand-dyed threads, metallics, beads, transfer lines, and dimensional embroidery may all require special handling.
A Simple Routine for Smooth Embroidery
Begin with flat, prepared fabric and a smooth hoop that grips evenly. Tighten in stages while alternating between opposite sides, then confirm that the surface is taut and the grain is still straight. While stitching, keep thread tension gentle enough that the fabric does not dimple. Finally, remove the project from the hoop when the session ends.
That routine prevents most wrinkles before they become part of the finished piece - and makes neat, consistent stitches much easier to achieve. Explore more technique-focused lessons in the APS embroidery article collection.