


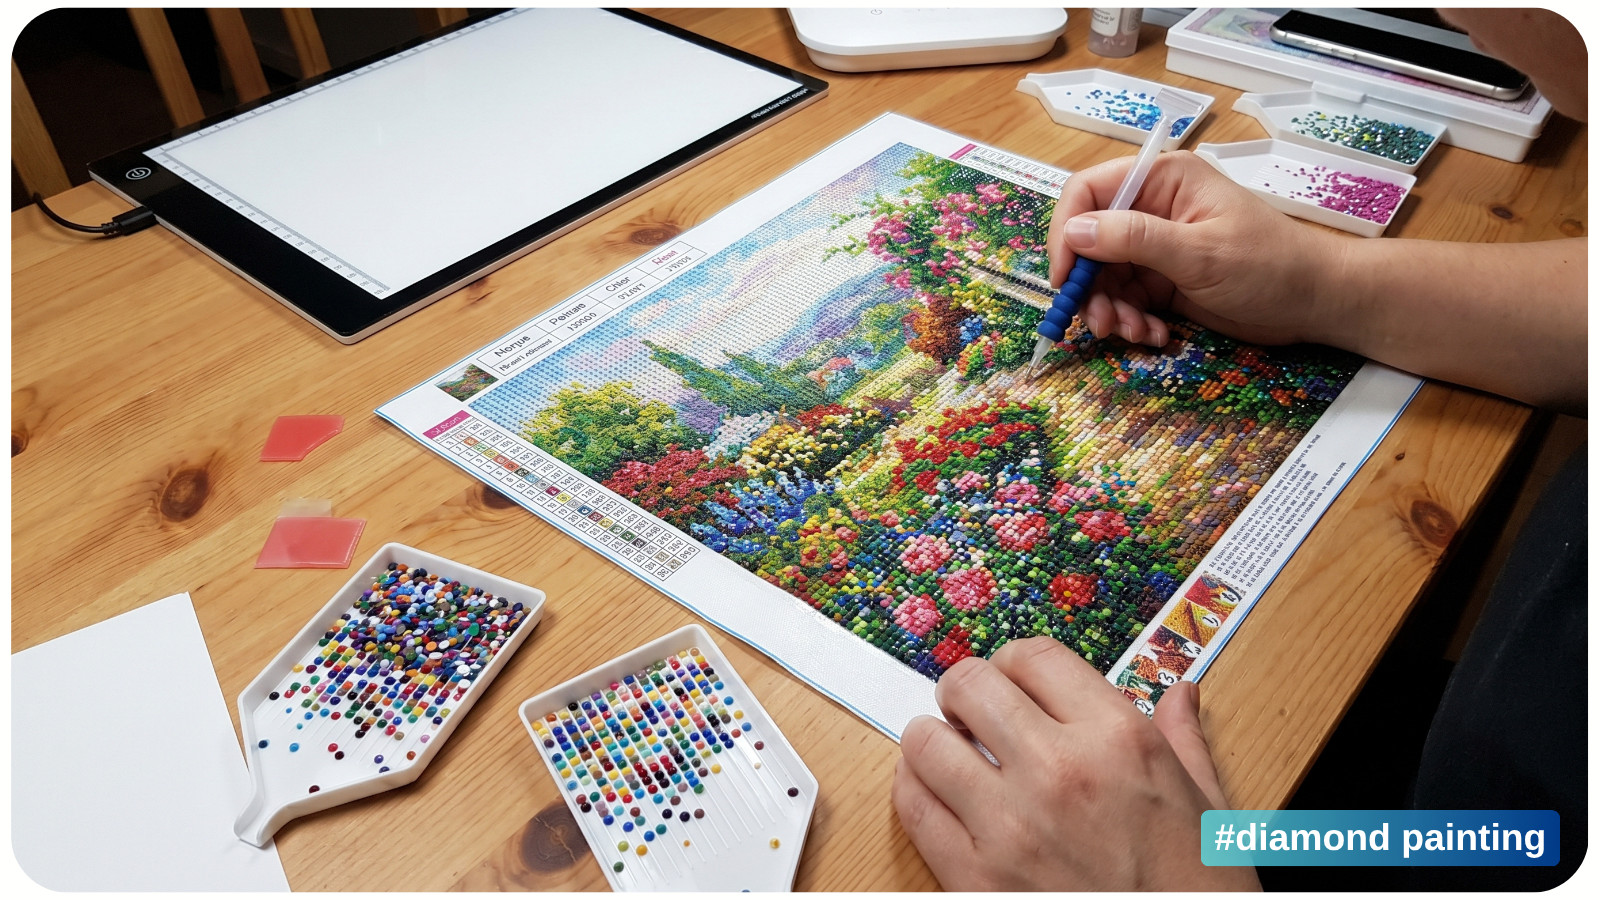
WHY DIAMOND PAINTING IS THE PERFECT BEGINNER CRAFT
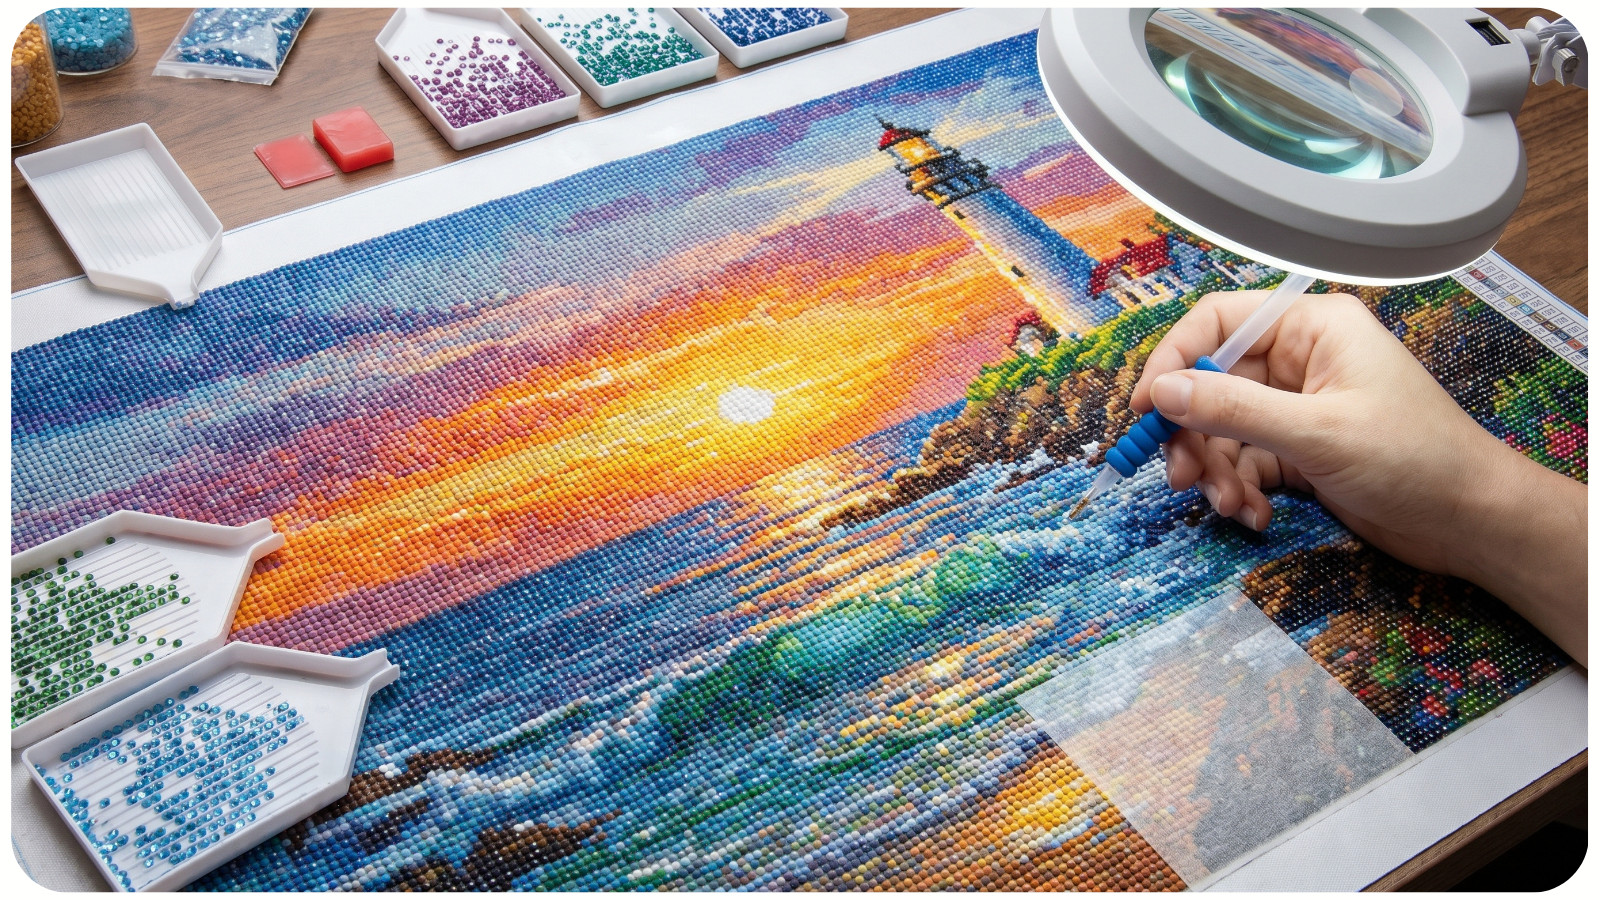
Diamond painting has quickly become one of the most relaxing creative hobbies in the USA – and it’s easy to see why. The gentle rhythm of picking up tiny drills and placing them onto a sticky canvas creates an almost ASMR-like experience that helps melt away stress after a long day.
Unlike some crafts that require advanced skills or expensive tools, diamond painting is beginner-friendly from the start. You don’t need to know how to draw, paint, or sew. All you need is a little patience, a comfortable workspace, and the excitement of watching a sparkling image slowly come to life.
Whether you want calming self-care time or beautiful DIY home décor, your first project is the perfect place to begin.
TOOLS YOU’LL NEED BEFORE YOU START
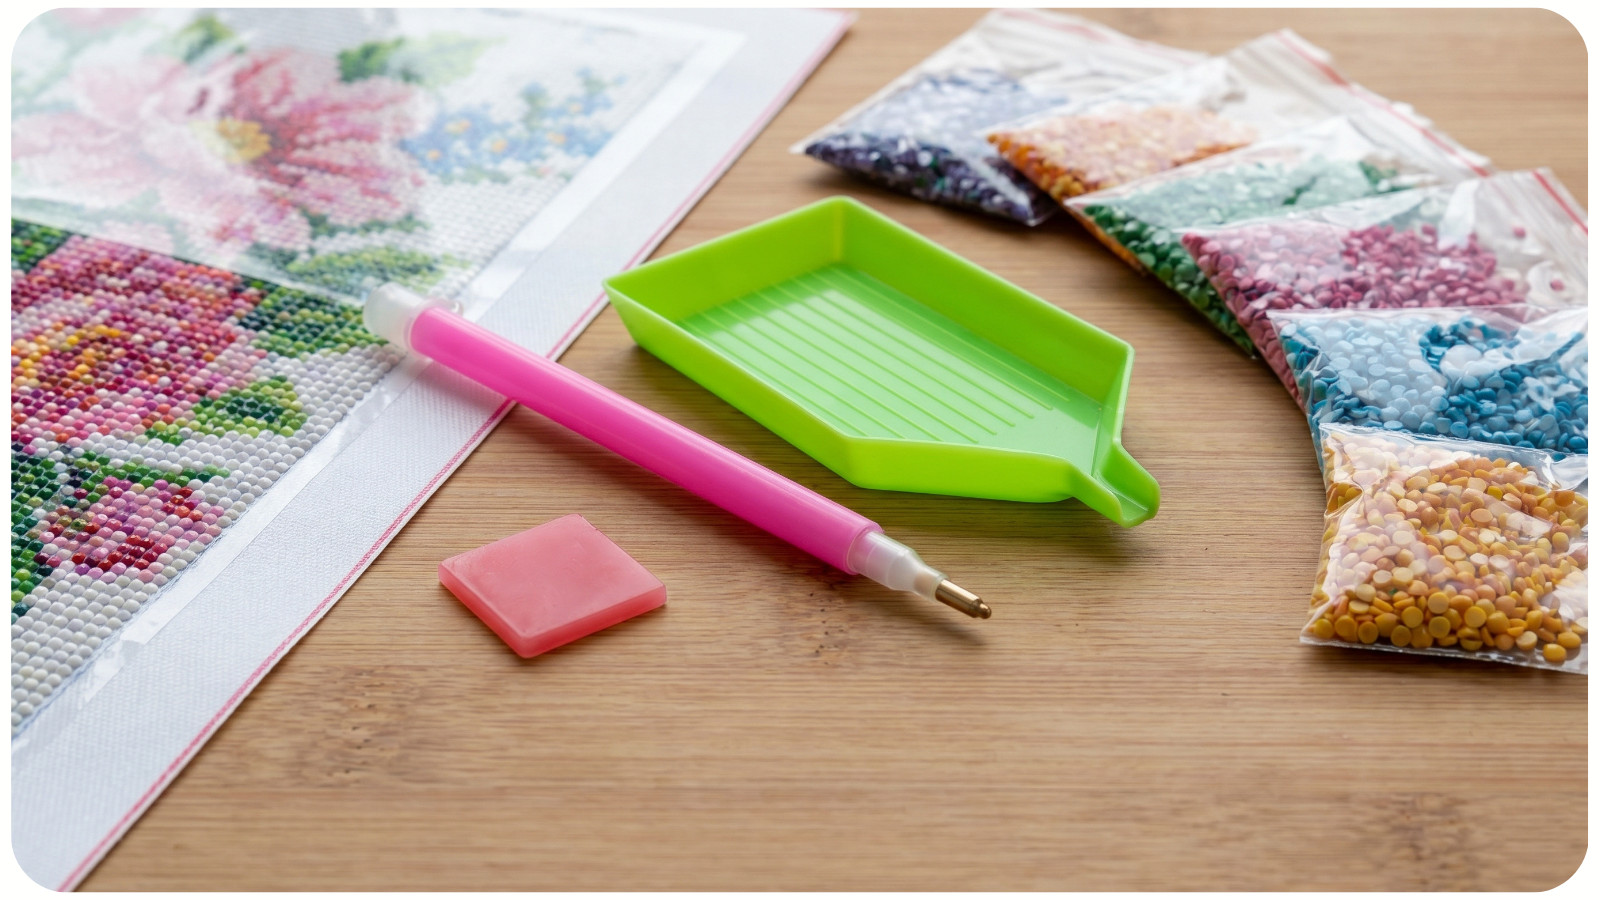
Most beginner kits already include everything required, but here’s a quick checklist:
- Diamond painting canvas;
- Colorful resin drills;
- Diamond applicator pen;
- Pink wax pad;
- Drill tray;
- Tweezers (optional);
- Light pad (optional but very helpful);
- Storage containers or zip bags.
Many beginners love starting with smaller canvases before moving into detailed full-drill masterpieces. If you’re searching for aesthetic beginner-friendly designs, Awesome Pattern Studio offers beautiful options that work wonderfully for first-time crafters.
STEP 1: SET UP YOUR WORKSPACE
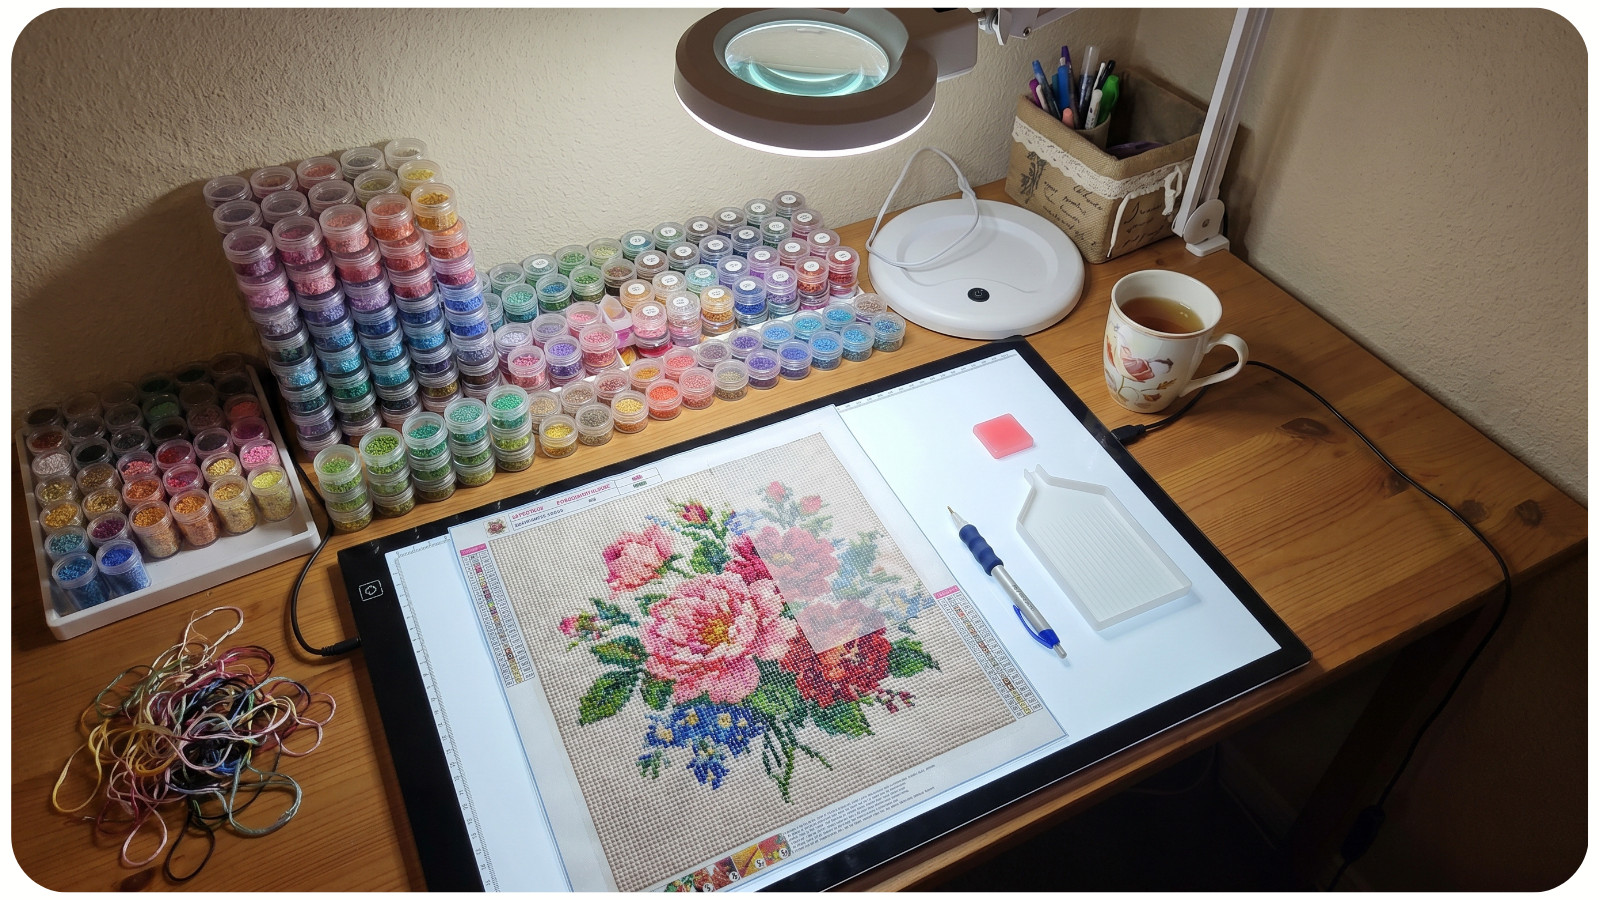
Before opening your kit, create a cozy and organized crafting space. A flat table with good lighting is essential. Natural daylight works beautifully, but many diamond painters prefer using a light pad because it makes the symbols on the canvas easier to see.
Keep drinks and snacks away from the sticky surface to avoid accidents. You’ll also want enough room to separate your drills by color. A calm environment turns diamond painting into a true relaxation ritual.
STEP 2: UNDERSTAND THE CANVAS SYMBOLS
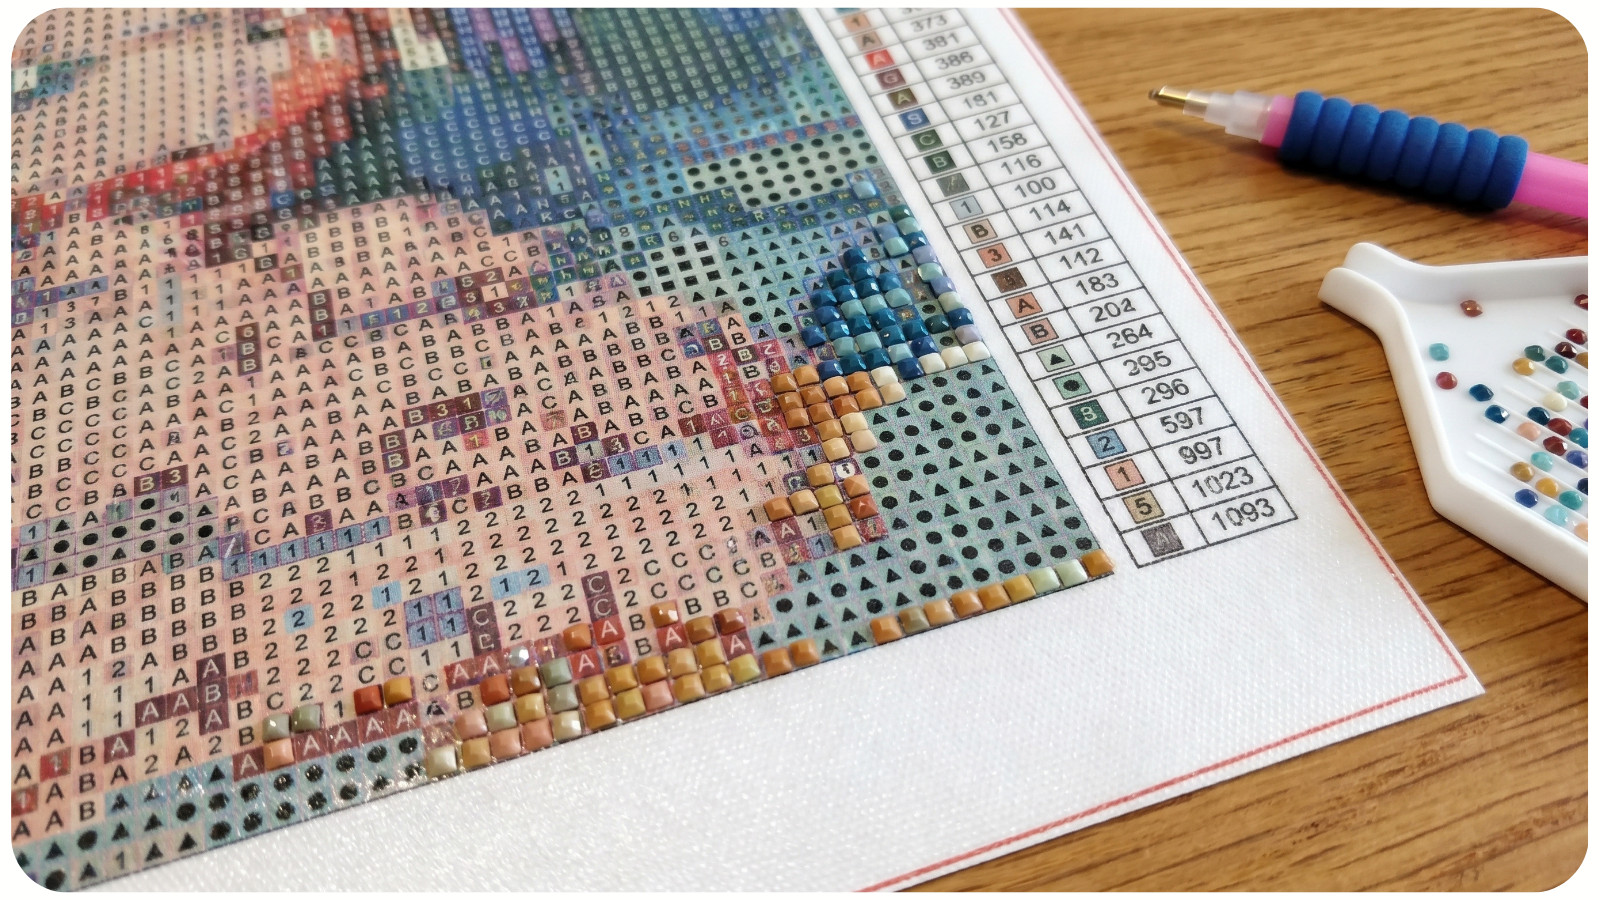
At first glance, your canvas may look confusing. Don’t worry – every diamond painting follows a simple symbol chart.
On the side of your canvas, you’ll find:
- Symbols or letters;
- Corresponding DMC color numbers;
- Matching drill bag numbers.
Each symbol represents a drill color. Think of it like a paint-by-number system, but with sparkling resin gems instead of paint. Before starting, compare your drill packets with the chart to make sure everything matches correctly.
STEP 3: ORGANIZE YOUR DRILLS
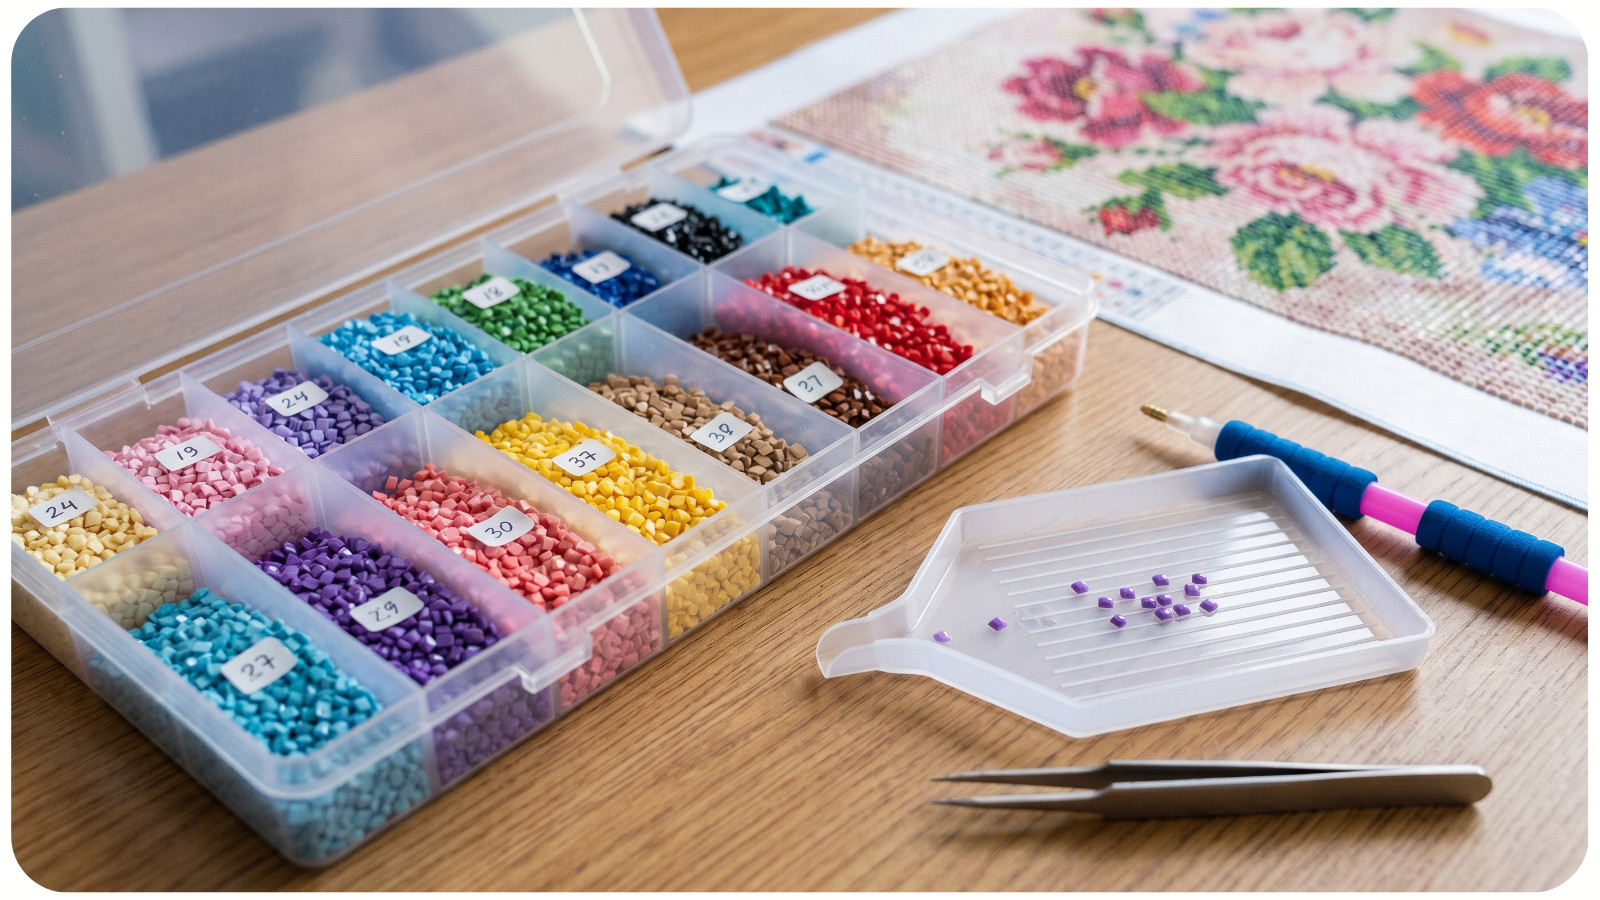
This is one of the most important beginner steps. Pour one color of drills into the tray and gently shake it side to side. The drills will flip into neat rows with the flat side facing down. This makes them much easier to pick up with the applicator pen.
Many beginners skip organization and end up mixing colors accidentally. Using labeled containers or zip bags can save a lot of frustration later.
Pro tip: Only open one drill color at a time when learning.
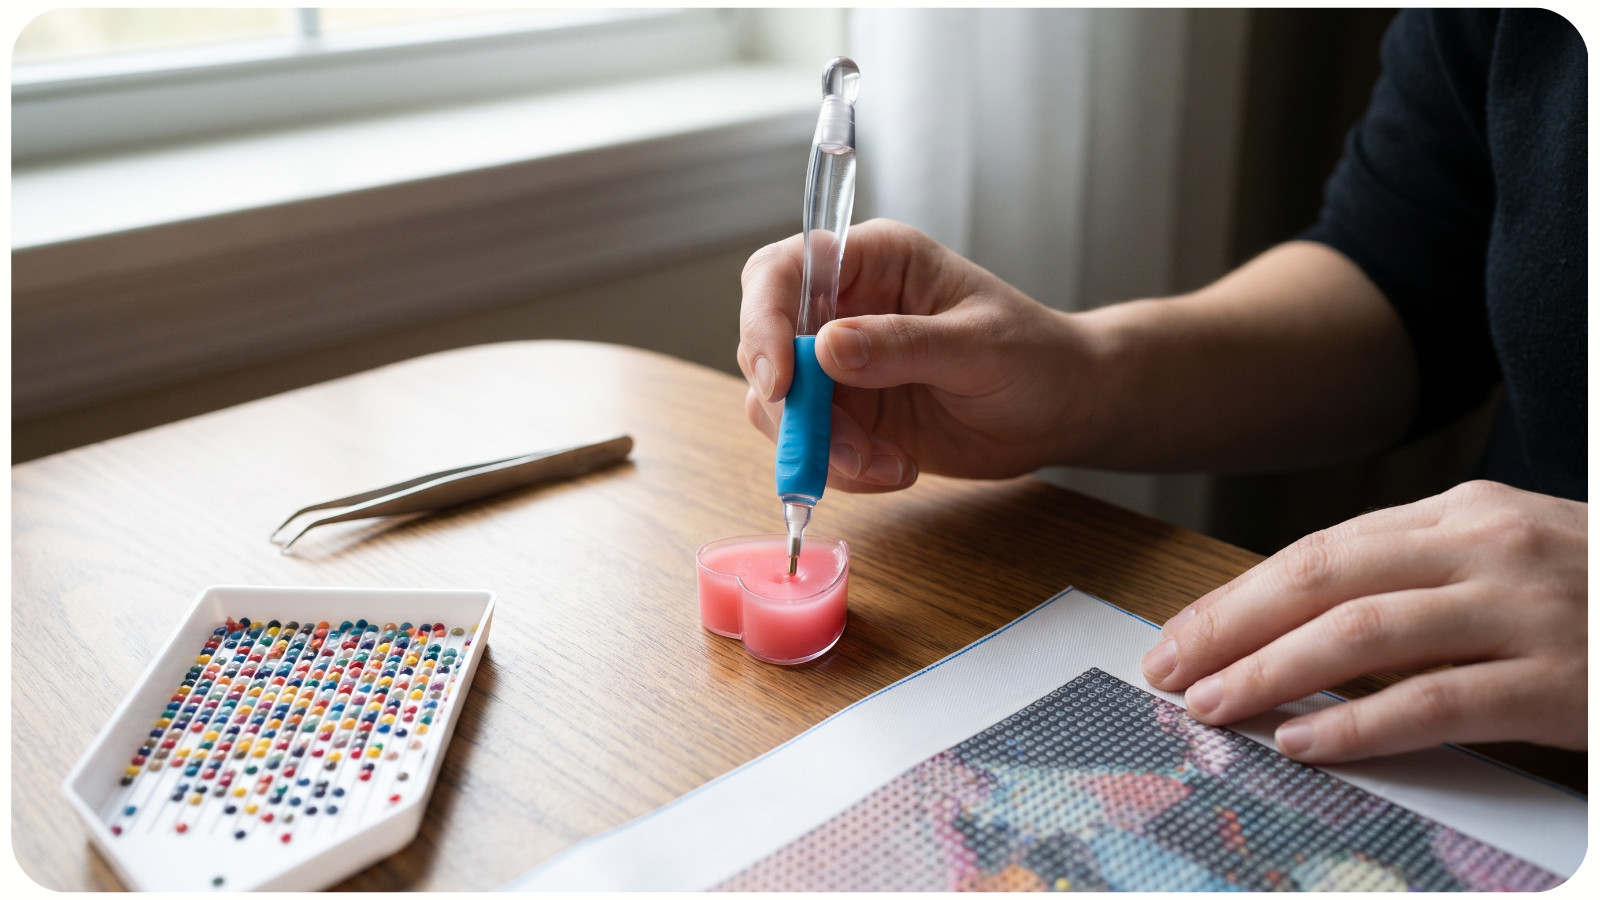
STEP 4: PREPARE YOUR DIAMOND PEN
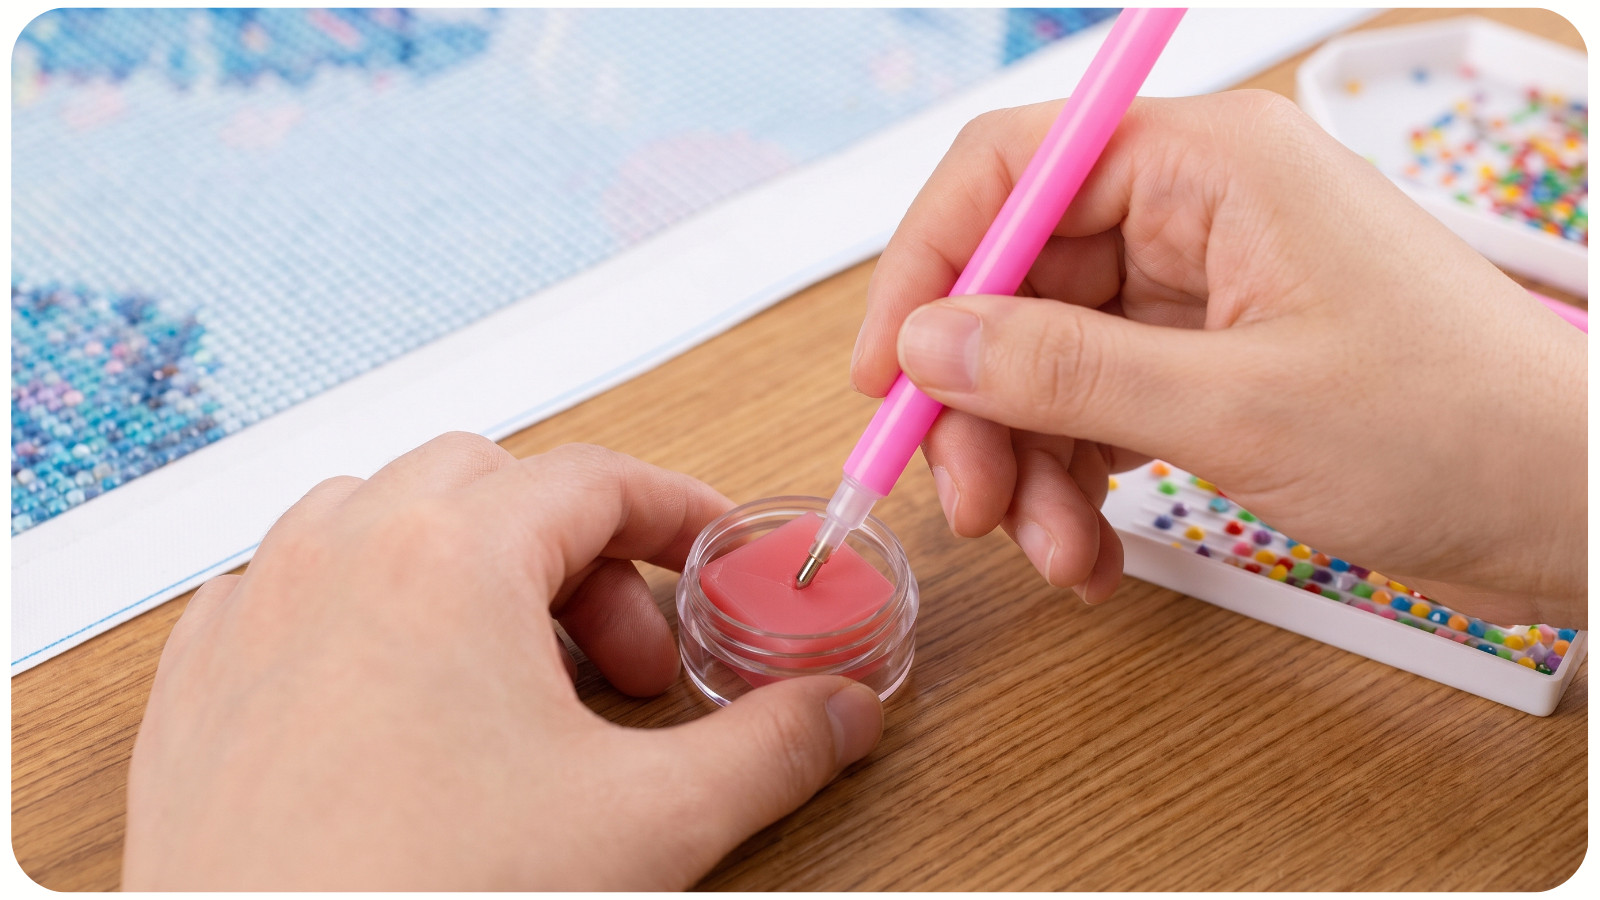
Your applicator pen works with pink wax to grab drills.
Here’s how:
1. Peel back the protective film on the pink wax;
2. Press the pen tip gently into the wax;
3. Test the pen by picking up a single drill.
You’ll notice the drill sticks perfectly to the pen tip, making placement easy and satisfying. The tiny “click” feeling of placing drills onto the canvas is one of the most relaxing parts of diamond painting.
STEP 5: START SMALL - DON’T PEEL THE ENTIRE CANVAS
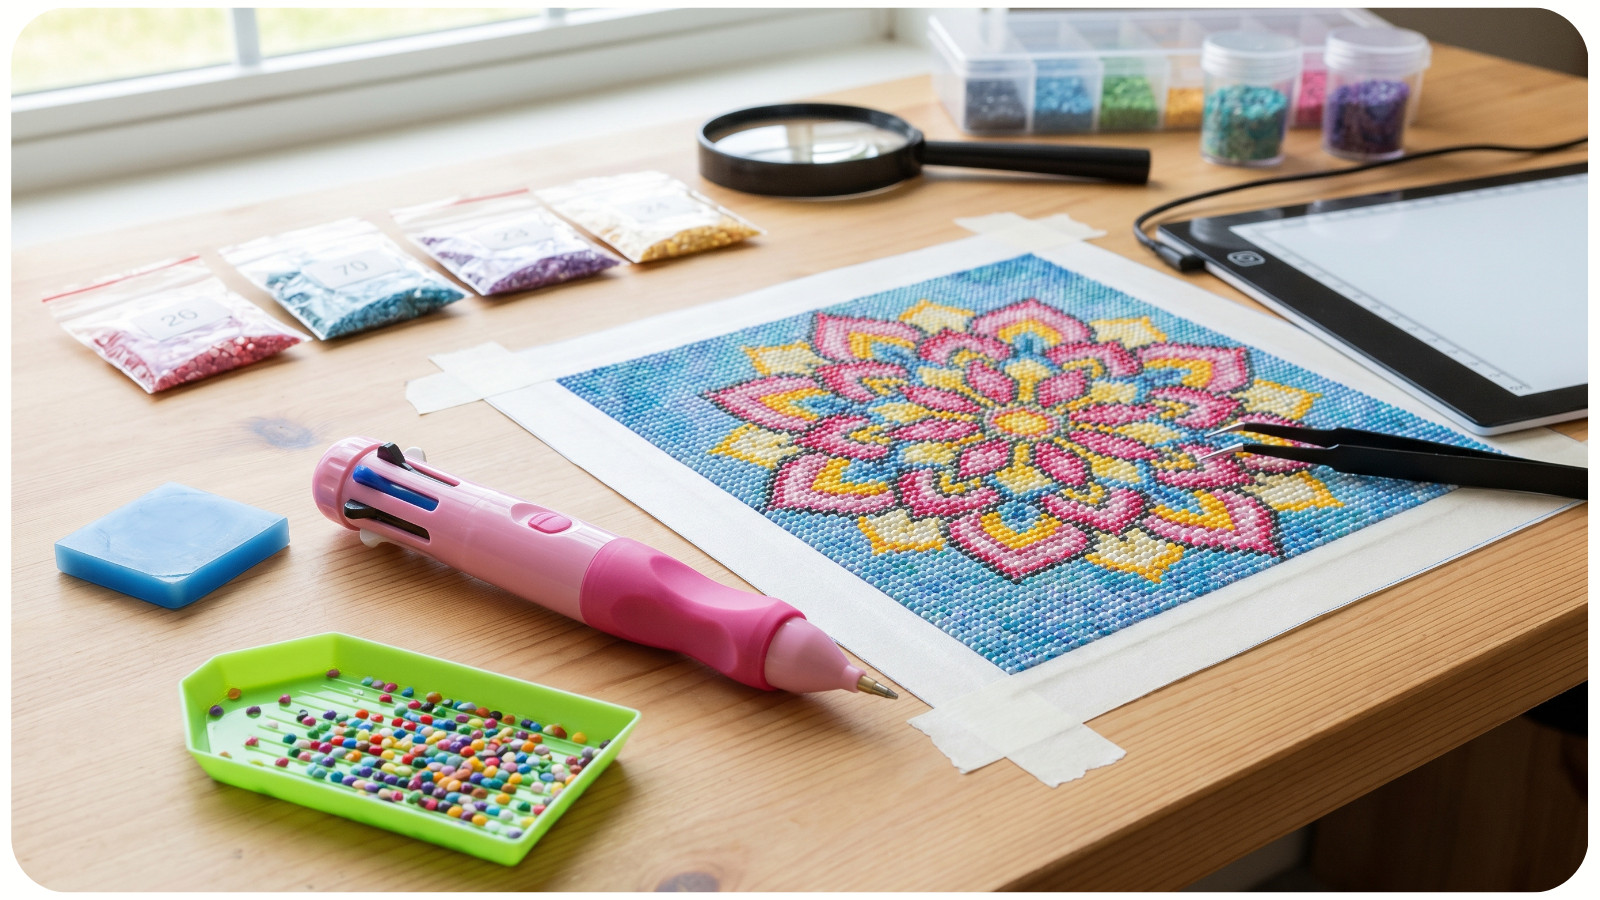
One of the biggest beginner mistakes is removing the entire protective sheet at once.
Instead:
- Peel back only a small section;
- Work area by area;
- Keep the remaining adhesive covered.
This prevents dust, pet hair, and wrinkles from ruining the sticky surface. Starting with a corner section also helps build confidence before moving into larger color blocks.
STEP 6: PLACE YOUR FIRST DRILLS
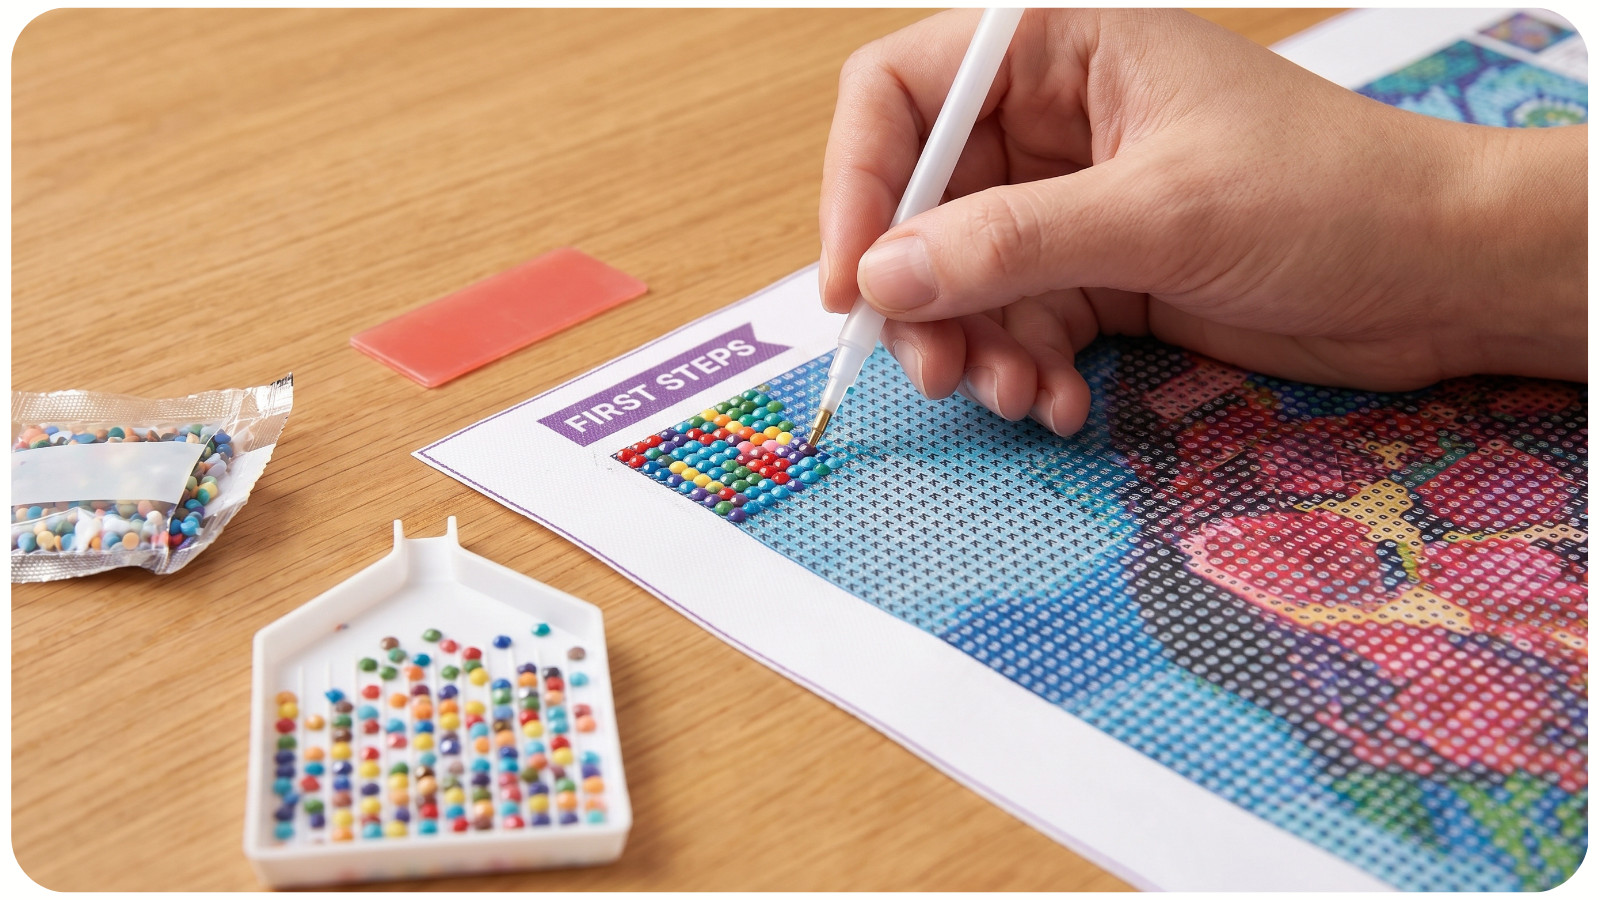
Now comes the fun part. Match the correct drill color to the symbol on the canvas and gently press each drill into place. The adhesive will hold it securely.
Don’t stress about perfect alignment immediately. As you continue, your rows naturally become straighter.
Some beginners prefer placing drills checkerboard-style first and filling gaps afterward. Others enjoy working line by line. Experiment and discover what feels most satisfying for you.
STEP 7: FIX COMMON BEGINNER PROBLEMS
Every new diamond painter encounters a few tiny frustrations. Luckily, they’re easy to solve.
1. Popping Drills
Sometimes drills lift slightly from the canvas.
- Press them down firmly with a roller or book;
- Ensure your canvas is on a flat surface.
2. Creased Canvas
If your canvas arrives folded:
- Place heavy books on top overnight;
- Use low heat carefully on the backside if needed.
3. Mixed-Up Colors
Accidentally spilling drills happens to everyone.
- Work slowly;
- Use labeled storage;
- Keep trays separated.
Remember: perfection isn’t the goal. Relaxation is.
STEP 8: FINISH AND SEAL YOUR PAINTING
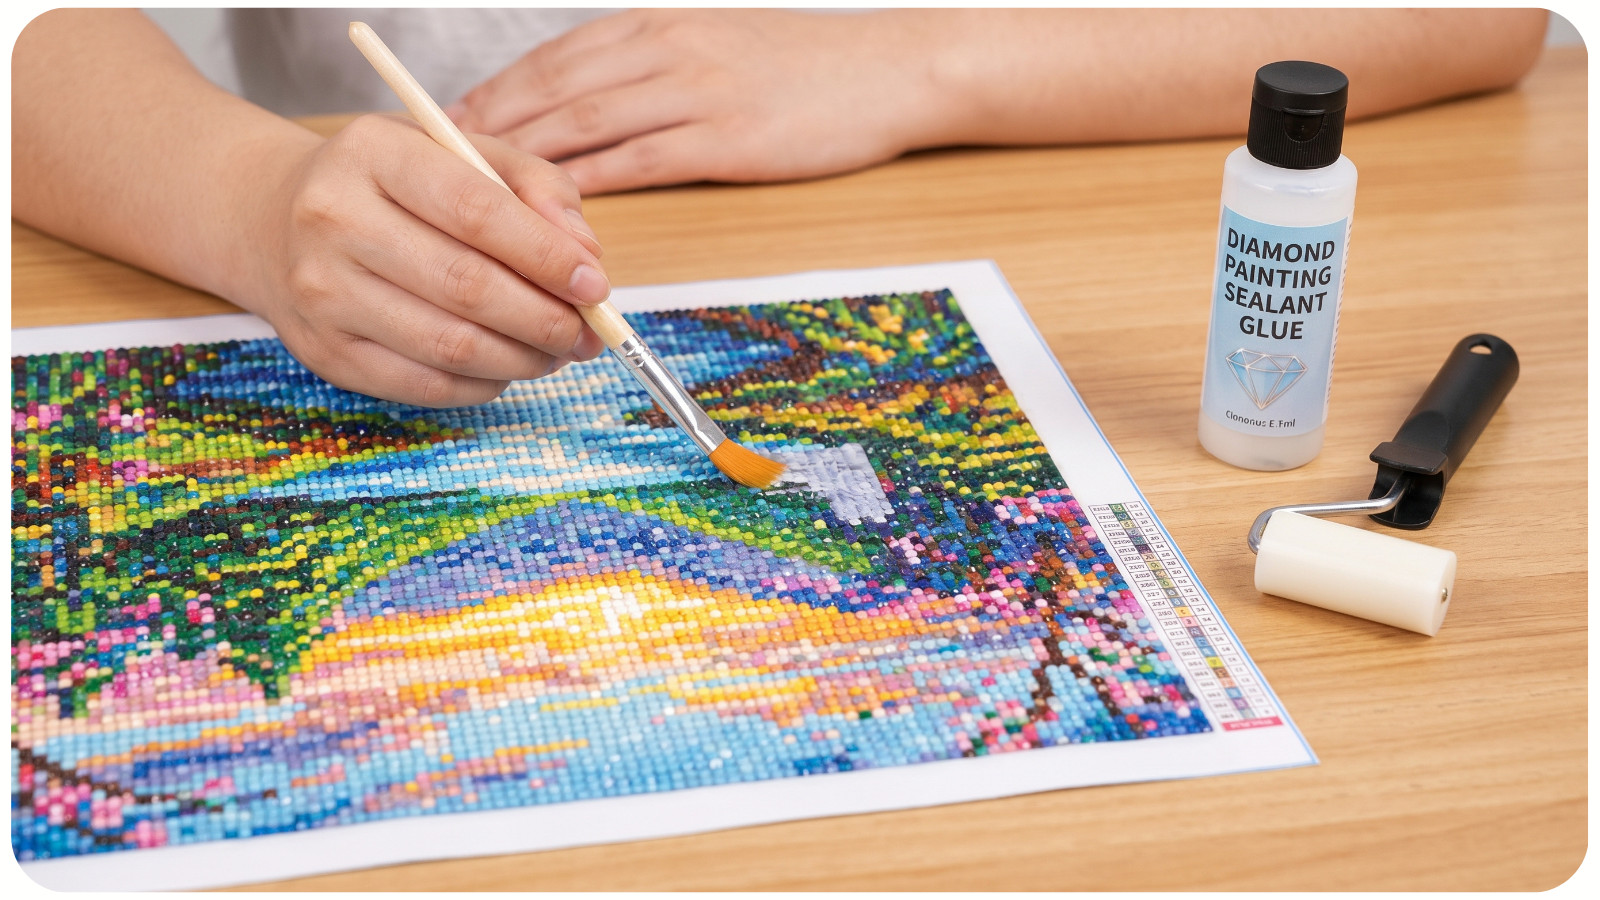
Once every drill is placed:
- Double-check for missing spaces;
- Press the painting flat with a heavy book;
- Optionally apply a diamond painting sealer.
Sealing helps secure drills long-term, especially for framed wall art.
Finished diamond paintings can become gorgeous sparkling décor pieces. Many crafters love displaying seasonal or floral designs from Awesome Pattern Studio around their homes for an extra cozy atmosphere.
WHY BEGINNERS FALL IN LOVE WITH DIAMOND PAINTING
Diamond painting combines creativity, mindfulness, and satisfying repetition in a way few hobbies can match. The soft tapping of drills, the shimmer of finished sections, and the calming focus make it an ideal stress-relief activity.
It’s also incredibly rewarding because even beginners can create stunning artwork on their very first project. The best part? There’s always another sparkling canvas waiting when you finish.
CONCLUSION
Starting your first diamond painting doesn’t have to feel intimidating. With a little organization, patience, and the right beginner mindset, you’ll quickly discover why so many people become obsessed with this relaxing hobby.
From arranging colorful drills to watching your artwork sparkle under the light, every step becomes part of the calming experience.