


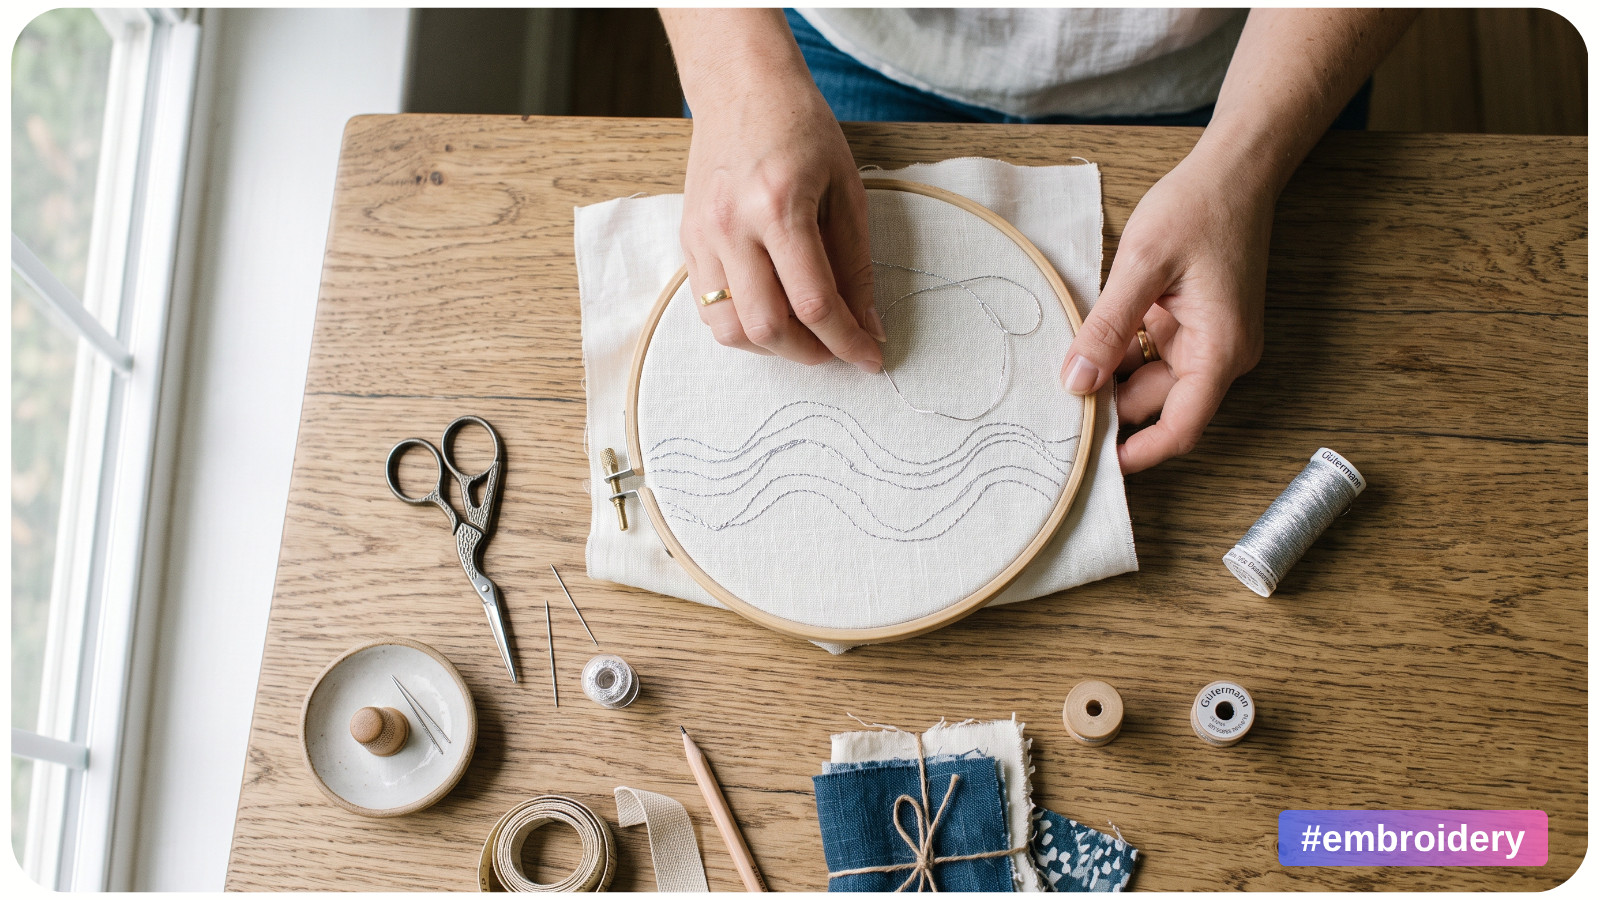
Cross stitch is built on a square grid, but many subjects are not. Flower petals curve, faces have rounded cheeks and delicate eyelids, animals have flowing outlines, and lettering often includes sweeping strokes. Even geometric borders may contain circles, arches, and diagonals that need to look continuous rather than stair-stepped.
The challenge is simple: how do you create a smooth curve when every full cross occupies a square?
Experienced stitchers solve this through a combination of resolution, stitch selection, thread placement, and optical blending. A curve does not have to be mathematically continuous to appear smooth. It only needs enough carefully positioned visual information for the eye to interpret it as one continuous line.
Once you understand how fractional stitches, backstitch, fabric count, tension, and color transitions work together, you can stitch cleaner curves and evaluate a pattern more confidently before you begin. If you are still learning the fundamentals, review these basic cross stitch techniques first.
Materials Needed
For accurate curves and clean line work, prepare:
• Cross stitch fabric, such as Aida, evenweave, or linen;
• Embroidery floss in the colors specified by your pattern;
• Tapestry needles appropriate for your fabric count;
• A sharp embroidery needle for certain fractional stitches on Aida;
• Embroidery scissors;
• A cross stitch pattern or chart;
• A hoop, Q-snap, or preferred fabric-holding system;
• Good task lighting;
• A magnifier for higher fabric counts;
• Optional washable fabric marker or gridding thread.
Fabric choice affects how easily you can place fine details. Evenweave and linen give you access to individual fabric threads, while quarter stitches on Aida may require piercing the center of a fabric block. The needle matters too. This overview of essential cross-stitch tools can help you check whether your basic setup suits the fabric and level of detail.
How Curves Work on a Cross Stitch Grid
A cross stitch chart works much like pixel art: each full stitch represents one square unit. As a curved edge moves across the grid, it must periodically shift horizontally or vertically. If those shifts are too large or too regular, the edge develops obvious stair steps.
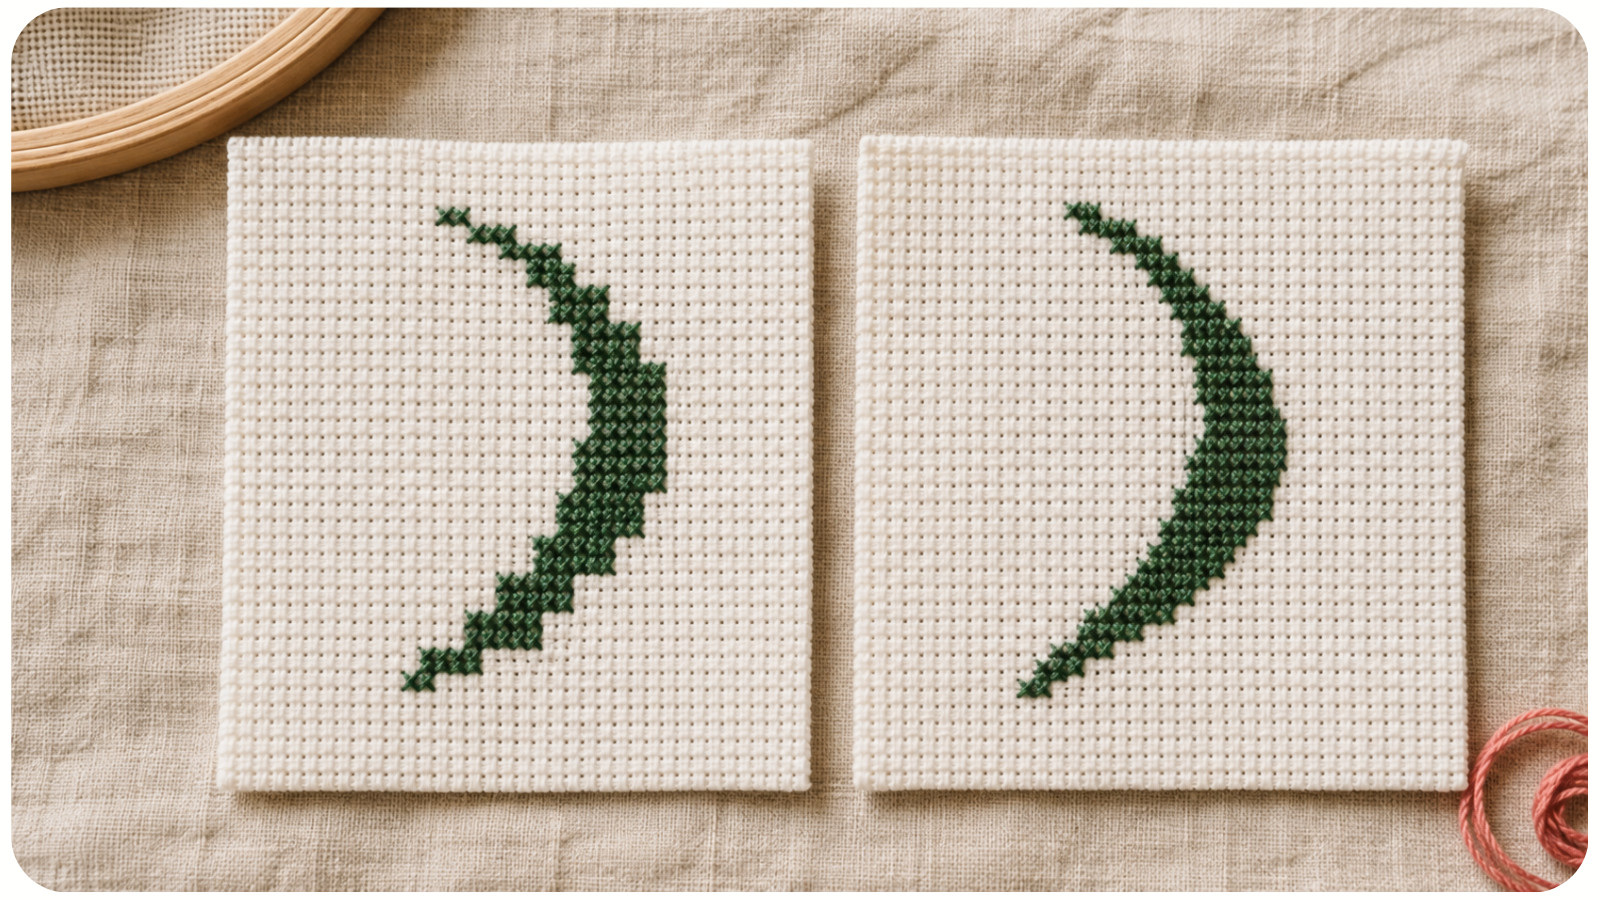
For example, an outline that repeatedly moves three stitches across and one stitch down can look mechanical. A better-charted curve varies the intervals – perhaps one across, one down, then two across, one down – so the change in direction appears more gradual.
Digital artists call a related process anti-aliasing. Cross stitch designers create a similar optical effect with fractional stitches, carefully placed backstitch, and intermediate colors. From normal viewing distance, the eye blends those elements into a smoother boundary.
Use Fractional Stitches to Refine Curves
Fractional stitches let a design use only part of a grid square. They are especially useful when a boundary crosses diagonally through a square or when a small feature is too delicate for a full cross.
Quarter Stitches
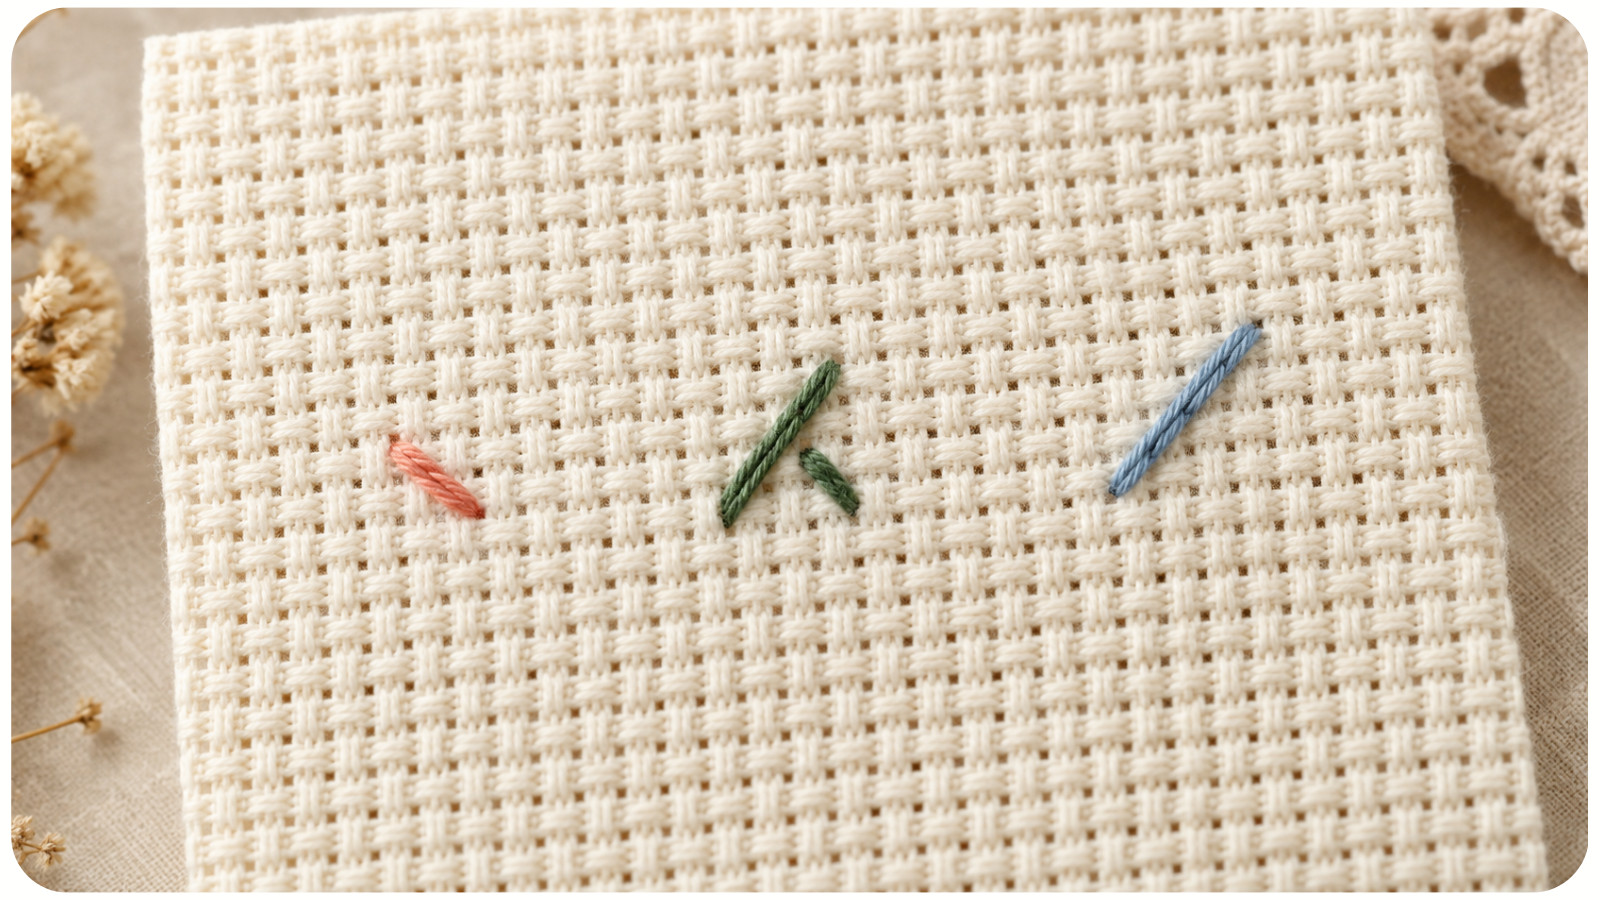
A quarter stitch travels from one corner of the stitch square to its center. It can refine faces, eyes, fingers, flower petals, animal ears, rounded lettering, and small circular motifs without filling the entire square with color.
On evenweave or linen, the center point is naturally defined by the fabric threads. On Aida, you may need to pierce the center of the block. A sharp embroidery needle usually makes this easier than a blunt tapestry needle, but work gently so you do not enlarge the hole or distort the fabric.
Three-Quarter Stitches
A three-quarter stitch combines one full diagonal with one quarter stitch. It allows two colors – or a fill color and an outline – to share a square more naturally. This is particularly effective when the boundary between two colors passes diagonally through the grid.
Always check its orientation. Two three-quarter stitches facing opposite directions create completely different edges, even if they occupy the same square.
Half Stitches
Half stitches usually soften a curve through lighter coverage rather than define its exact outline. Designers often use them in clouds, fur, feathers, backgrounds, and shadows where a full cross would look too heavy.
Let Backstitch Define Fine Curves
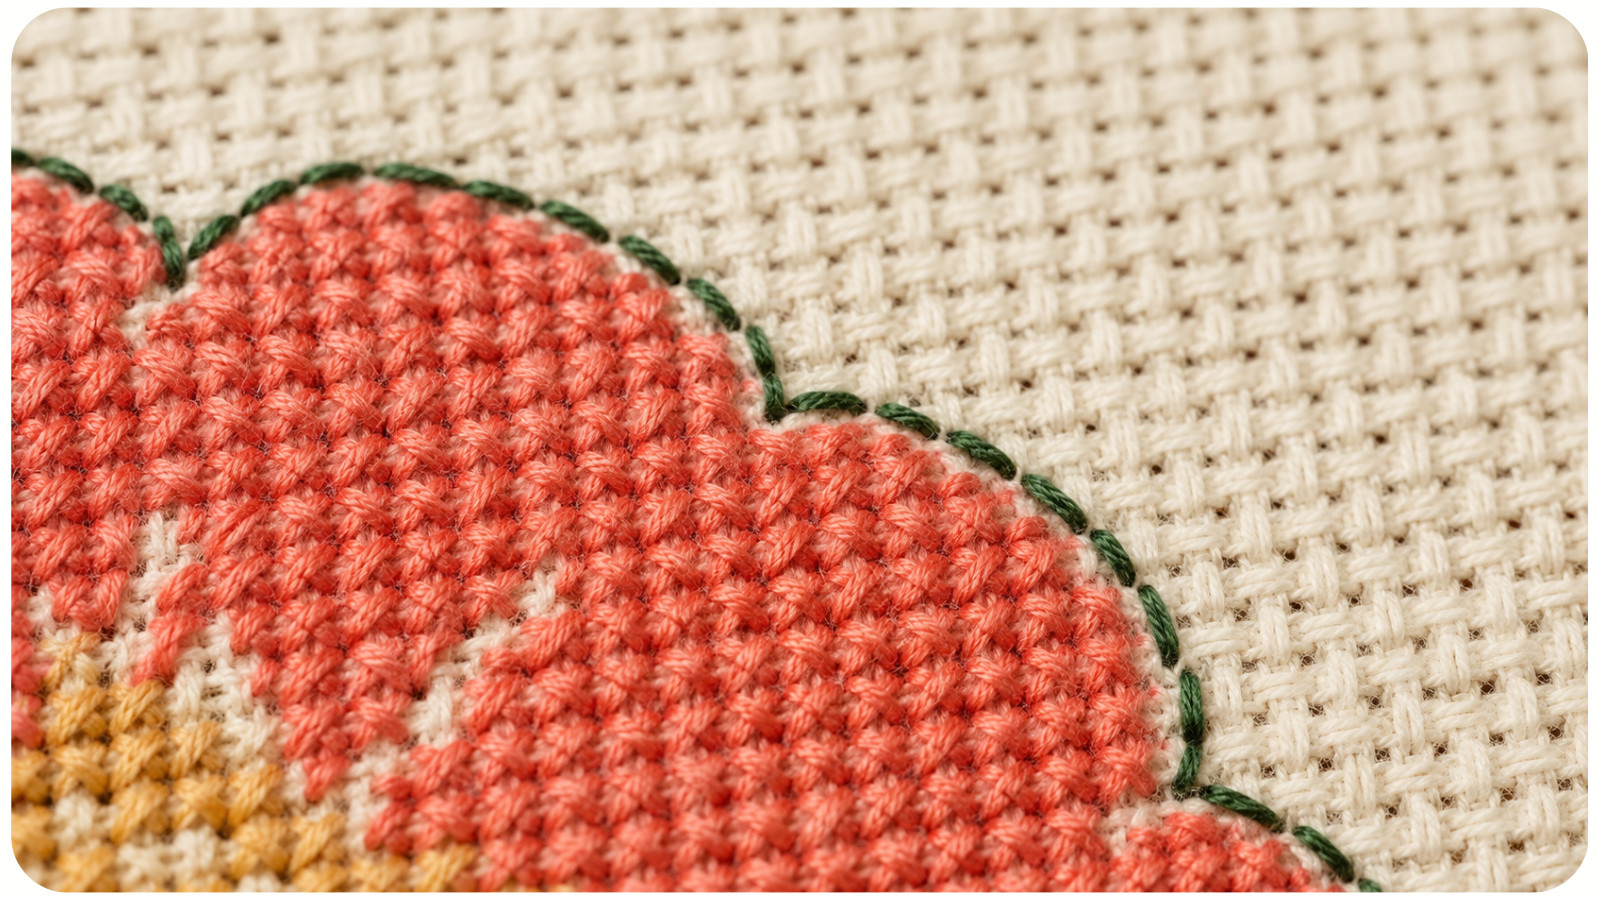
Backstitch is essential when a line is too narrow to represent cleanly with full crosses. A single strand of floss can create a precise contour without adding the visual weight of another row of stitches.
Follow the Intended Shape
Backstitch does not always have to travel from corner to corner inside one square. A chart may direct a line across several squares, through the center of a stitch, or between fractional points. Follow the charted geometry instead of automatically connecting the nearest holes.
Choose a Controlled Segment Length
Very long stitches can loosen, snag, or float above the fabric. Divide a long curve into shorter segments where the shape naturally changes direction. However, do not break every diagonal into one-square pieces if that creates visible corners. The best segment length is the shortest one that still preserves the intended curve.
Maintain Even Tension
Backstitch should rest against the fabric without pulling it. Excessive tension can flatten a curve, distort the weave, or create sharp kinks. Too little tension leaves thread floating above the surface. Aim for consistent contact while allowing the thread to follow the line naturally.
Match Fabric Count to the Level of Detail
Fabric count functions much like image resolution. Fourteen-count Aida provides 14 stitch positions per inch when stitched over one square. A finer fabric offers more positions within the same physical area, which makes the visual steps along a curve smaller.
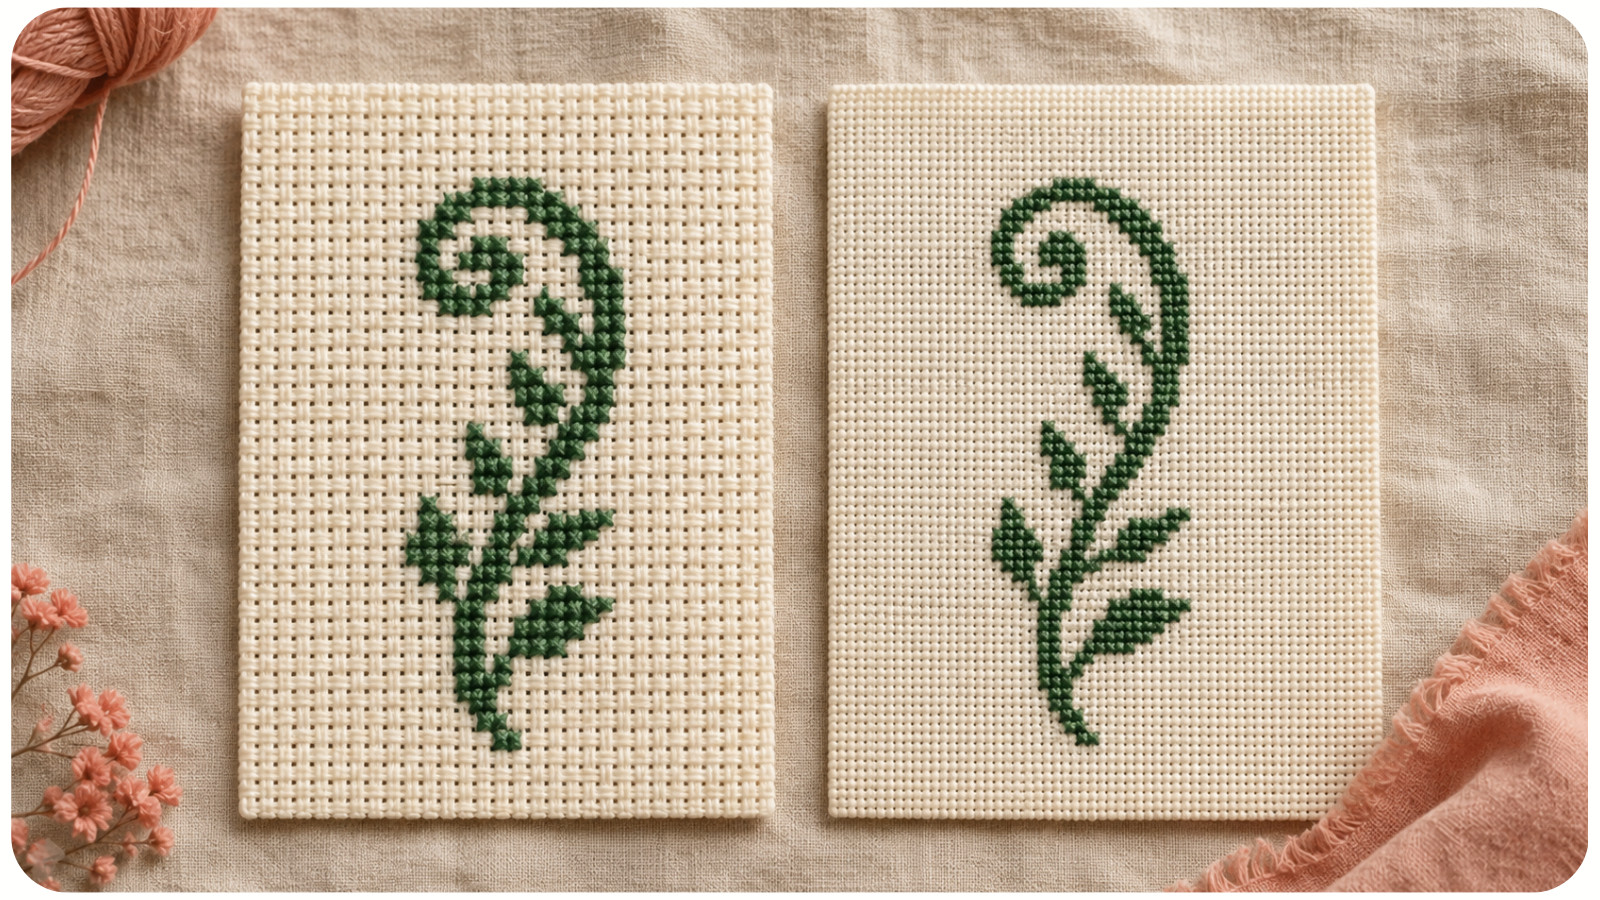
That is why detailed portraits, lettering, and sophisticated samplers often look especially refined on higher-count fabric. However, changing the fabric count cannot repair a poorly charted curve. Pattern quality and fabric resolution must work together.
Before changing fabric, confirm how the finished dimensions and thread coverage will be affected. See how Aida fabric count works for a practical comparison.
Keep Stitch Direction and Tension Consistent
Perfect charting can still produce uneven lines if individual stitches vary. Every top leg of your crosses should run in the same direction throughout the project. Uniform orientation lets light reflect consistently from the floss; alternating top legs can make a curved edge look irregular even when the counting is correct.
Tension matters for the same reason. A tight stitch occupies slightly less visual space, while a loose stitch looks fuller. Along a curve, these small differences can interrupt the edge.
Keep the fabric evenly supported and aim for tension that is:
• Firm enough for neat coverage;
• Loose enough to avoid fabric distortion;
• Consistent across individual stitches;
• Similar when beginning and ending threads.
If two strands twist together, selectively railroad the most visible stitches. Separating the strands with your needle before completing the stitch helps them lie flatter and can improve solid borders, lettering, and high-contrast curves. When working on Aida, using the correct needle size also protects the grid and makes fractional placement easier; see these tips for stitching on Aida cloth.
Use Color Transitions to Soften Edges
Smooth curves are not created by geometry alone. If a dark object curves against a pale background, using only the darkest shade along the boundary can make the edge look harsh or pixelated. A well-designed pattern may introduce an intermediate color near the edge so the eye blends the transition at normal viewing distance.
Do not automatically remove an isolated medium-tone stitch because it looks unnecessary up close. It may be functioning as optical blending. Place the work on a flat surface and evaluate it from its intended display distance before changing the chart.
Detailed Awesome Pattern Studio cross stitch patterns often use controlled color changes around florals, animals, lettering, and facial features to translate non-square shapes onto the grid.
Stitch Curves in a Logical Order
A consistent sequence keeps detailed sections easier to read and reduces the risk of trapping or distorting outline stitches.
1. Complete the major color areas. The primary fill establishes the shape and gives you a clear boundary to evaluate.
2. Add fractional stitches. Check the chart symbol, occupied corner, and diagonal direction before placing each one.
3. Add backstitch near the end. Later cross stitches cannot trap or partially cover an outline that has not yet been placed.
4. Inspect from a normal distance. Make corrections only after viewing the complete combination of crosses, fractional stitches, color transitions, and outlines.
If the chart contains several similar curved motifs, complete the first one fully before stitching the rest. It becomes a visual reference for checking fractional-stitch orientation, spacing, and backstitch length.
Handle Diagonal Lines and Circles Carefully
Diagonal lines and circles make grid changes especially visible. Use the following checks to judge their rhythm, balance, and symmetry before committing to a detailed section.
Diagonal Lines
A 45-degree line fits the grid naturally because it moves one square horizontally and one square vertically at each step. Shallower or steeper angles are more difficult. Good charting varies the horizontal and vertical intervals so the line does not form an obvious repeating staircase. Fractional stitches and backstitch can refine the remaining visual steps.
Circles and Rounded Motifs
A well-charted circle should normally show balanced transitions across its four quadrants unless shading or perspective intentionally changes the shape. Compare corresponding areas of wreaths, eyes, ornaments, moons, floral centers, and round frames before stitching.
Symmetry is also a useful error check. If one side changes direction at a different point from the matching side, verify your count before assuming the pattern is asymmetrical.
Avoid Common Curve Mistakes
• Adding full stitches to fill tiny gaps. A small exposed area beside a diagonal boundary may be intentional. An extra full cross can make the edge more blocky.
• Pulling backstitch too tightly. The floss should define the shape, not reshape the fabric.
• Ignoring fractional-stitch orientation. Always identify which corner contains the partial stitch and which direction the full diagonal travels.
• Using backstitches that are too long. Unsupported thread can sag or snag, particularly on curves that change direction.
• Changing the chart before viewing it from a distance. Cross stitch is an optical medium; a group of squares that looks irregular from six inches away may form a clean curve from several feet away.
• Forcing detail onto unsuitable fabric. If a pattern depends on fractional placement or very fine contours, confirm that the chosen fabric and needle can support them cleanly.
Practice and Correct Curves Safely
Before tackling a highly detailed pattern, stitch a small practice grid containing a circle, an S-shaped curve, a flower petal, a spiral, and diagonal lines at several angles. First use only full crosses. Then repeat the shapes with fractional stitches and backstitch. Comparing the samples side by side makes the function of each technique immediately visible.
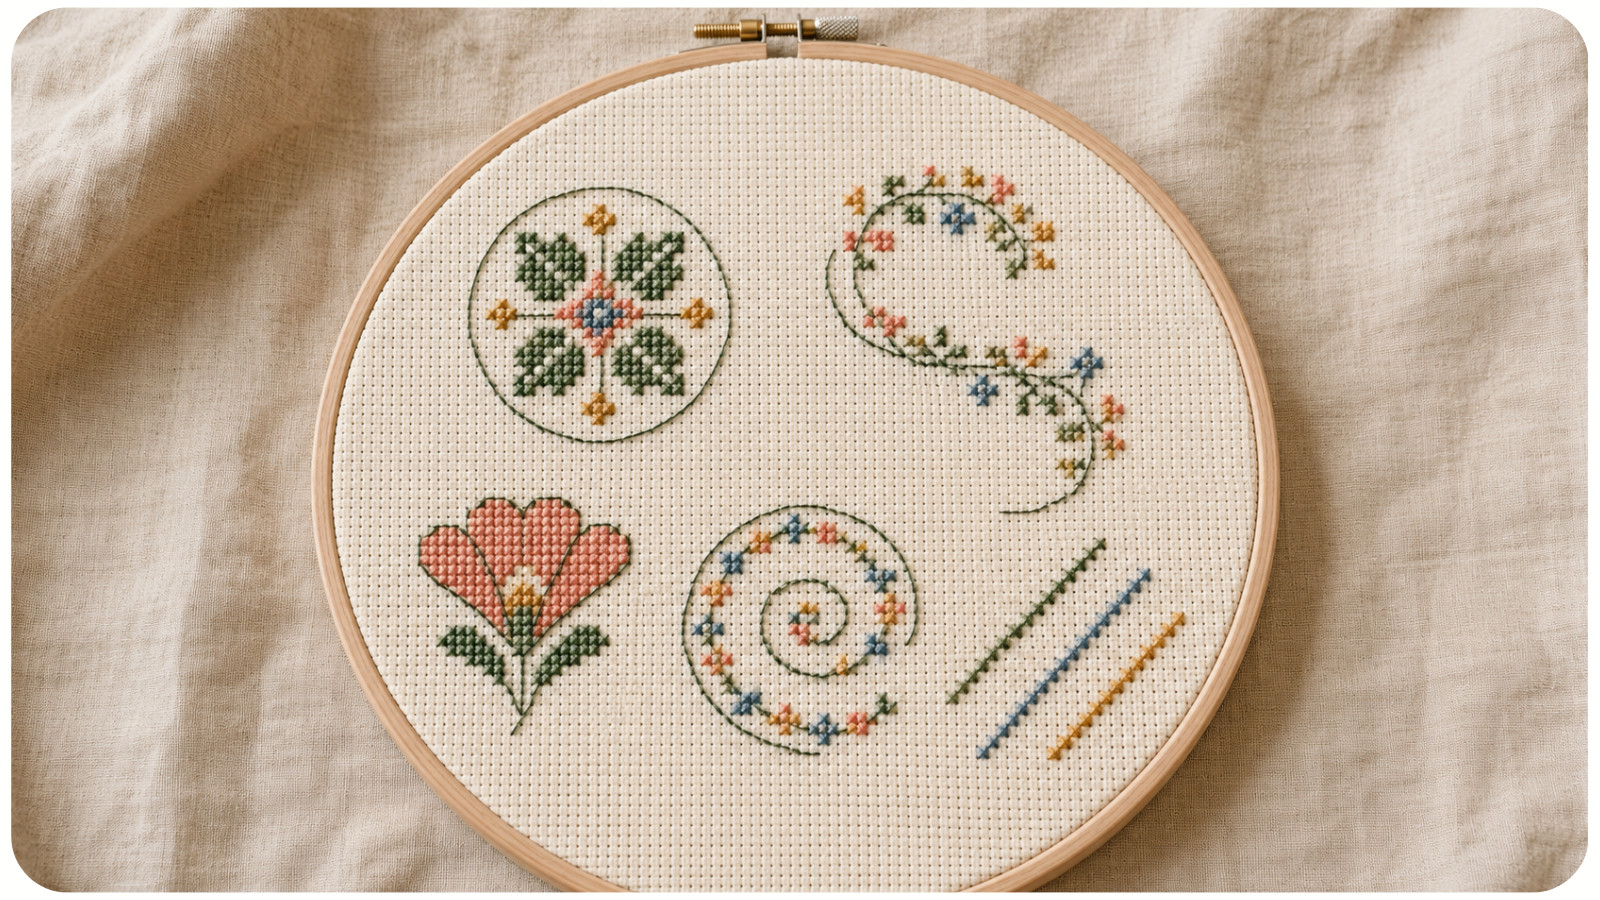
If you discover a counting error, remove detailed stitches individually with the tip of your needle or fine embroidery scissors. Do not pull a long section of floss aggressively through the fabric. Fractional stitches and dense backstitch can distort the grid when removed too quickly.
After frogging, use the needle tip to reposition displaced fabric threads before restitching. This is especially important on linen and evenweave, where a distorted thread can remain visible around a fine curve.
Frequently Asked Questions
These common questions clarify when fractional stitches and backstitch are useful, and how to apply them without overworking the fabric.
Do I Need Fractional Stitches for Every Curve?
No. Large curves can look smooth with well-placed full crosses, especially on higher-count fabric. Fractional stitches are most useful for small features, tight curves, and diagonal color boundaries.
Can I Stitch Quarter Stitches on Aida?
Yes. You may need to pierce the center of the Aida block with a sharp needle. Support the fabric, work slowly, and avoid enlarging the center hole more than necessary.
Should Backstitch Cross Several Squares?
It can, if the chart requires a continuous line. Keep the segment long enough to preserve the intended curve but short enough to remain controlled and close to the fabric.
A Reliable Routine for Smoother Curves
Smooth curves in cross stitch come from several technical decisions working together. Full crosses establish the main form, fractional stitches refine boundaries, backstitch creates precise contours, and intermediate colors soften transitions. Suitable fabric provides enough visual resolution, while consistent stitch direction and tension keep the surface uniform.
The most reliable approach is to stitch the major color areas first, place fractional stitches carefully, add controlled backstitch near the end, and judge the completed shape from its intended viewing distance.
You are not trying to eliminate the grid. You are using carefully placed stitches to convince the eye to see beyond it. Once you start reading curves in terms of geometry, fractional placement, color transitions, and line tension, rounded shapes become more predictable – and much easier to stitch cleanly.