


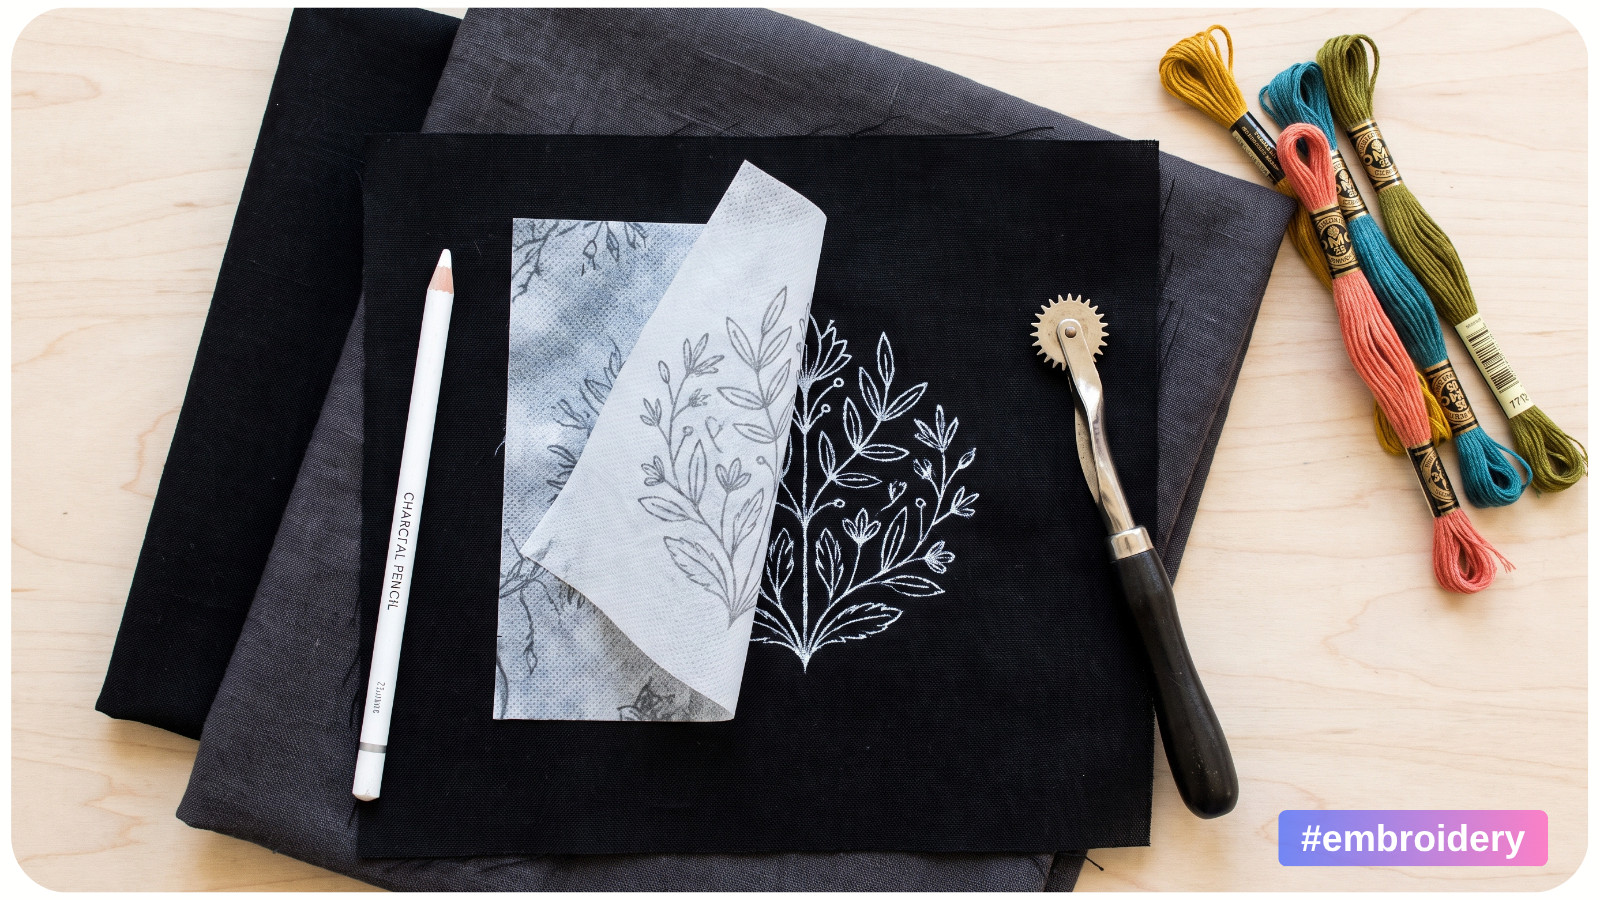
Transferring an embroidery pattern onto dark fabric takes more planning than tracing onto white cotton. A blue pen may disappear against black, navy, burgundy, or forest green, while chalk can rub away during stitching. The transfer must remain visible, preserve the design’s proportions, and come off safely.
There is no single best method. A bold outline may need only a white pencil, while a detailed portrait is easier to stitch from printed water-soluble stabilizer. Choose according to the fabric, design complexity, and cleaning method.
Choose the Right Transfer Method
Use the simplest method that will keep the entire design readable for as long as you need it. If you are still assembling your setup, this guide to essential embroidery tools explains which basic supplies are genuinely useful.
• Light-colored transfer paper: Best for clear outlines on stable woven fabric. Excessive pressure can create thick or smudged lines.
• White fabric pencil or chalk marker: Useful for small, simple designs and freehand adjustments. Some marks fade or brush away while you work.
• Water-soluble adhesive stabilizer: Ideal for intricate patterns on any color. Every material must tolerate rinsing.
• Removable stabilizer: Helpful when the pattern is easier to trace away from the fabric. Removal requires care around dense or delicate stitches.
• Thread tracing: A residue-free choice for valuable, textured, or non-washable fabric, although it is slower and less suitable for tiny details.
Always test on a project scrap or hidden area. Make the mark, leave it in place, stitch across it, and remove it as directed. Marks can behave differently after weeks in a hoop, exposure to hand oils, or heat.
Method 1: Use Light-Colored Transfer Paper
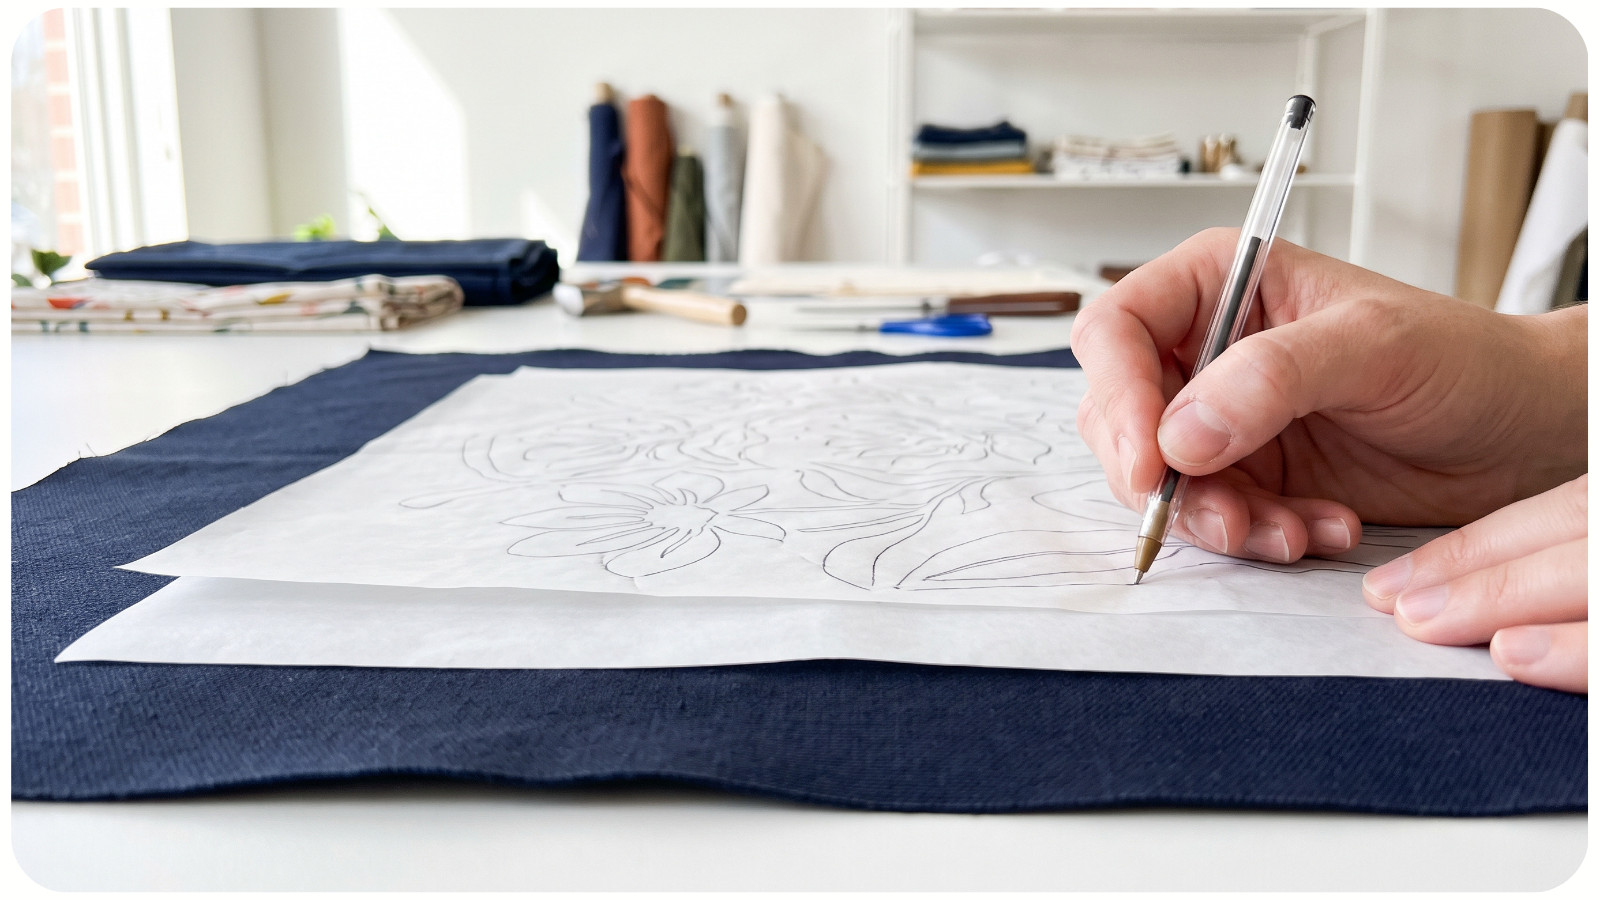
Embroidery transfer paper works like carbon paper. On dark, smooth woven fabric, choose a visible light color such as white or yellow. This method works especially well on cotton, linen, and canvas.
What You Need
• A printed pattern
• Light-colored, wax-free embroidery transfer paper
• A blunt stylus, empty ballpoint pen, or fabric tracing wheel
• Removable tape
• A firm, smooth work surface
How to Transfer the Design
1. Press the fabric according to its care instructions. Keep it flat and relaxed rather than stretching it in a hoop.
2. Mark the vertical and horizontal center of the fabric with a crease or removable basting stitches. Mark the paper pattern the same way.
3. Place the fabric right side up. Position the transfer paper colored side down, place the pattern on top, align the center marks, and secure the paper outside the design area.
4. Trace with steady, moderate pressure, working from top to bottom to avoid rubbing completed areas.
5. Keeping the other edges fixed, lift one corner and inspect the transfer. Retrace only missing sections.
6. Remove the papers and reduce any overly dark marks only with the removal method recommended for that product.
The line should be thin enough to cover with stitching. Heavy pressure often creates dusty lines and may shift the paper.
Method 2: Draw With a White Fabric Pencil
A white fabric pencil or chalk marker suits simple motifs, lettering, and broad curves. Chalk wheels produce long straight lines, while mechanical-style fabric pencils are generally better for small details.
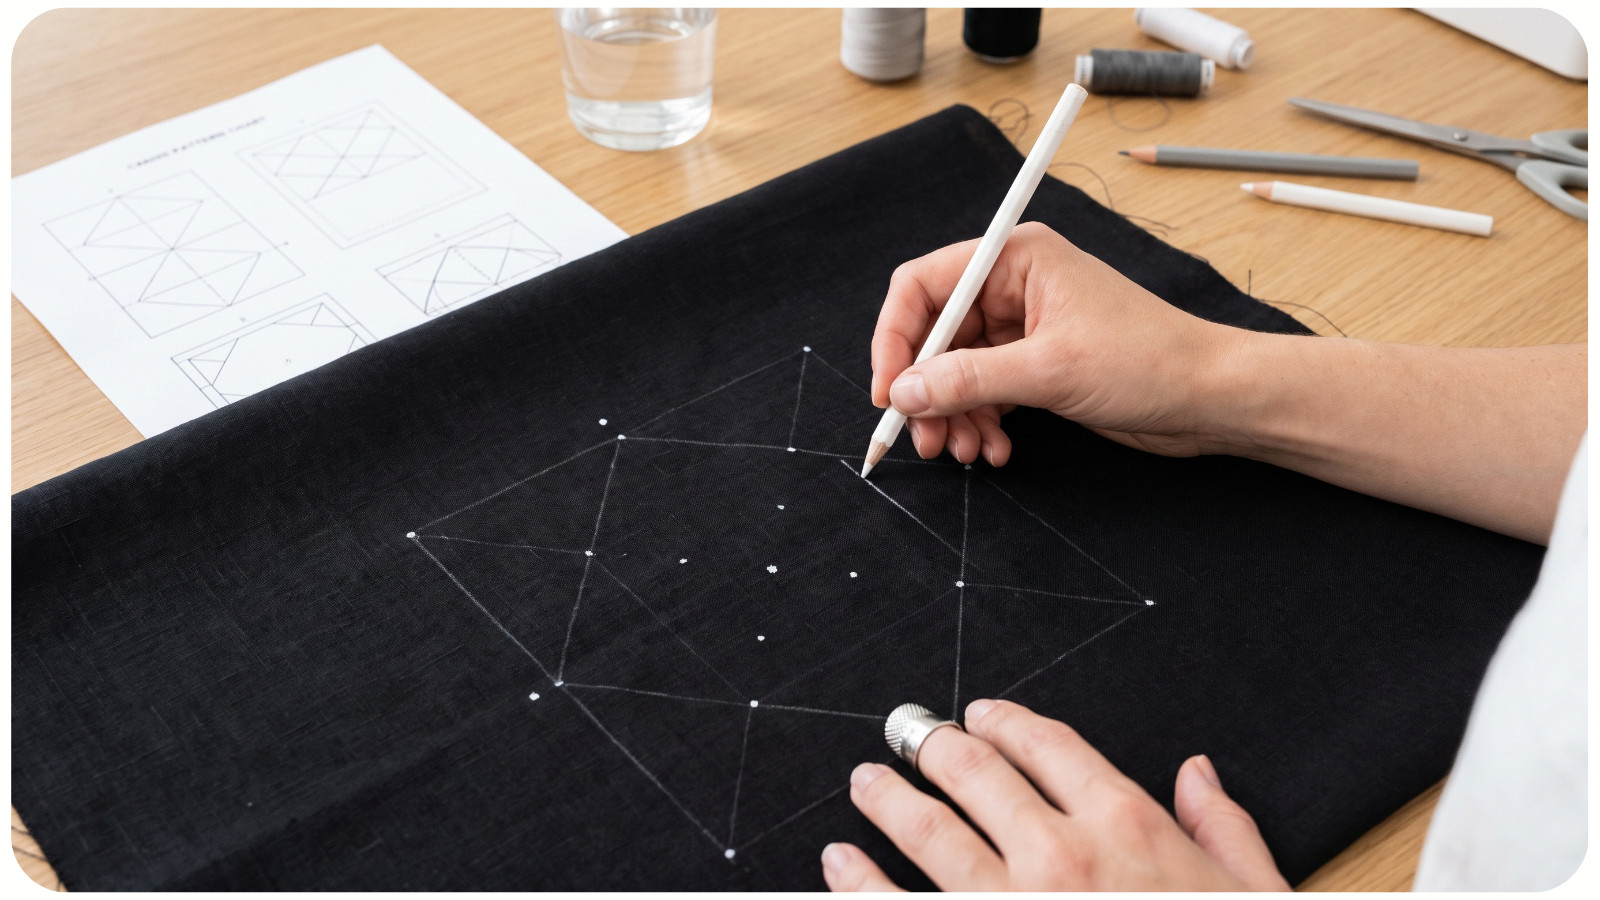
Mark the center, endpoints, intersections, and extremes of each shape. Connect them with short, controlled strokes.
Keep the mark inside the intended stitch path whenever possible. If it sits beside a narrow line of backstitch, it may remain visible in the finished embroidery.
Chalk can fade from friction. For a long project, transfer one section at a time or reinforce reference points with basting stitches. Some white marks erase, some brush away, and others require washing; follow the product instructions.
Method 3: Print on Water-Soluble Stabilizer
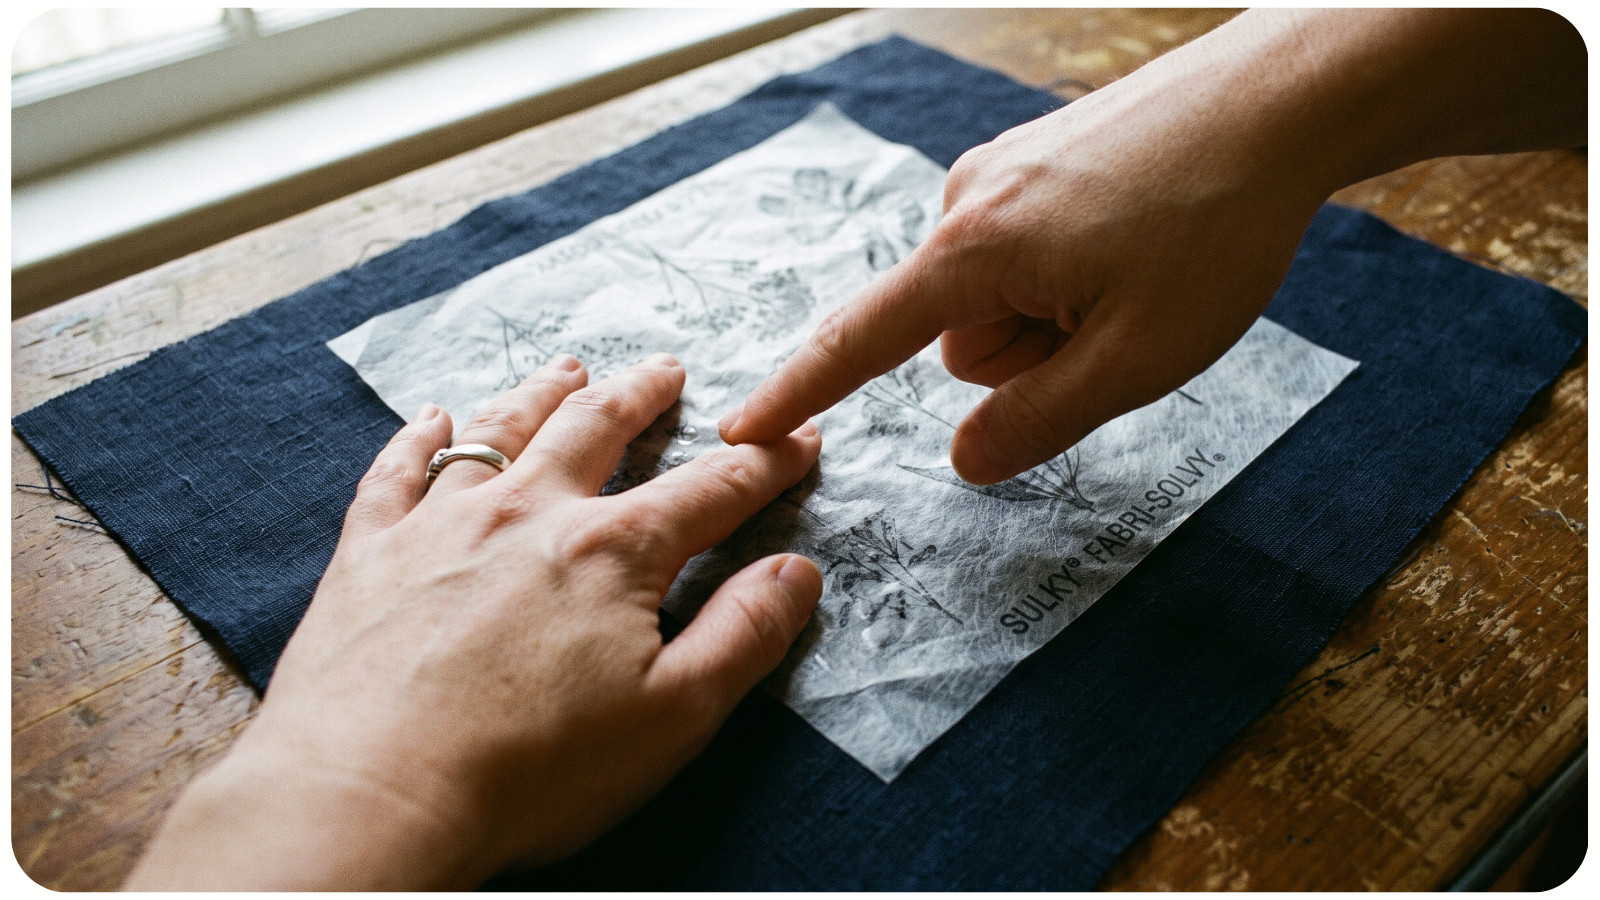
For detailed designs, printable water-soluble adhesive stabilizer is often the clearest option. Adhere the printed pale sheet to the fabric’s right side, stitch through both layers, and rinse it away after the embroidery is complete.
How to Use It Accurately
1. Confirm that the fabric, floss, and embellishments are washable and colorfast. Test them together, not just the fabric.
2. Print at 100% or “actual size.” Turn off “fit to page” unless the pattern instructions specifically require scaling.
3. Check one known measurement on the printed design before using the stabilizer.
4. Cut around the design with a small handling margin. An oversized patch makes the fabric unnecessarily stiff.
5. Place the fabric flat and relaxed. Align the stabilizer using center marks, lower it gradually from one edge, and smooth it without stretching either layer.
6. Hoop both layers together. Keep the surface smooth and stable without pulling the weave out of shape. For more help, see how to prevent fabric wrinkling in embroidery hoops.
7. Stitch through both layers. If adhesive collects on the needle, clean or replace it rather than forcing it through the fabric.
8. Follow the manufacturer’s rinsing directions. Remove residue from under dense stitches, reshape the piece, and let it dry flat.
Washable fabric alone does not make soaking safe. Hand-dyed fabric, overdyed floss, metallic thread, beads, painted details, or internal structure may react badly to water. Test the complete material combination first.
Method 4: Trace Onto Removable Stabilizer
If you cannot print the design, copy it onto translucent removable stabilizer, secure it according to the product directions, and stitch through both layers.
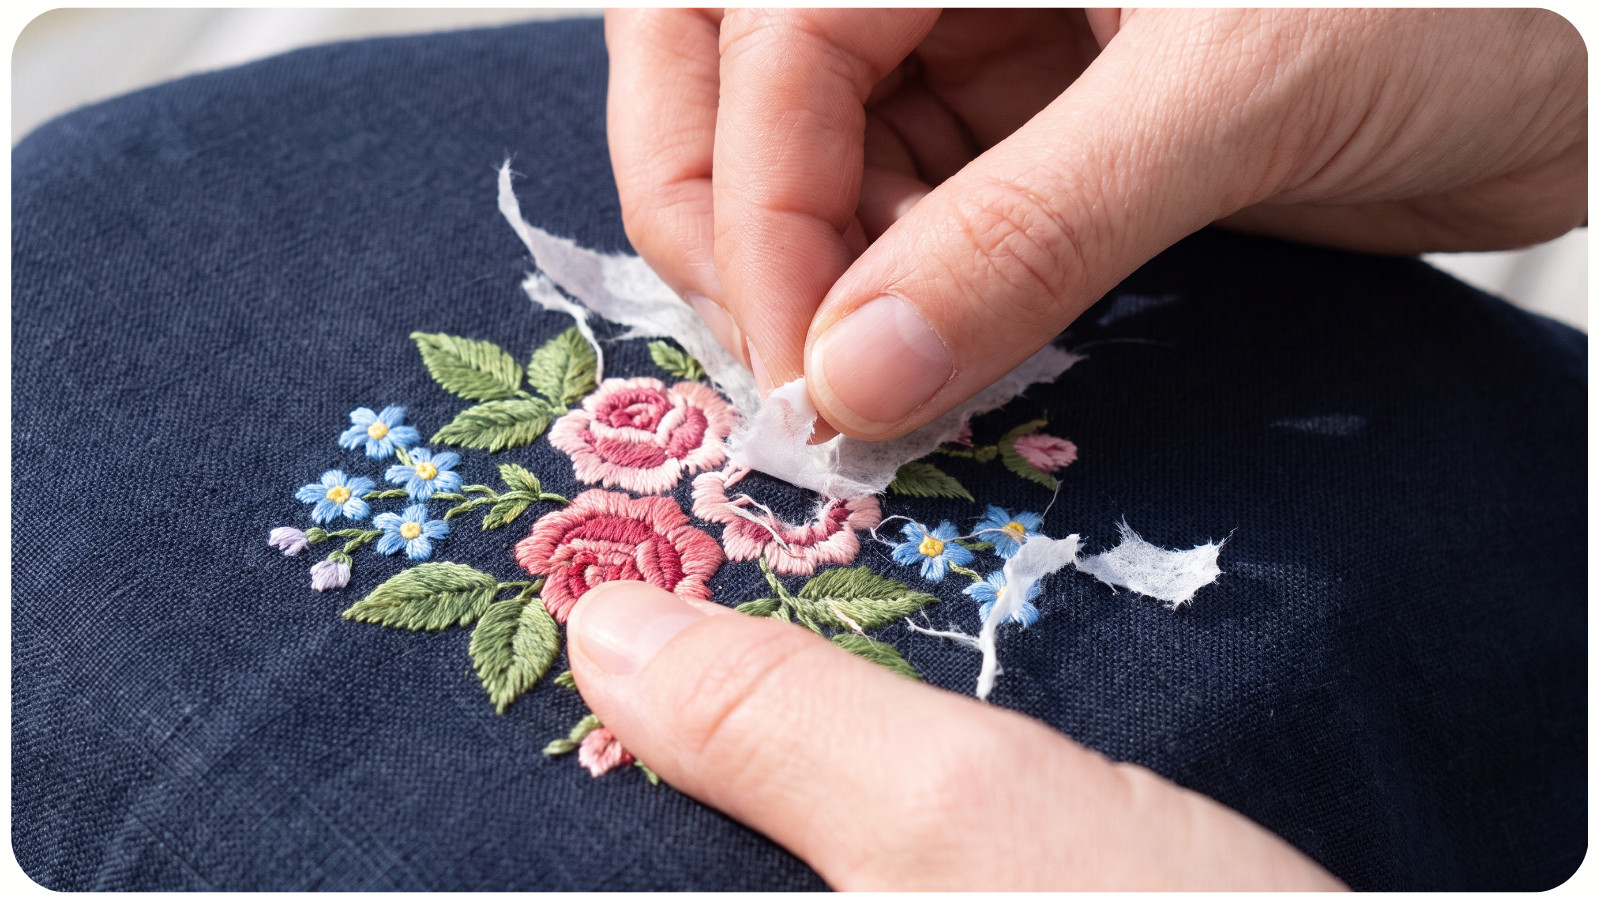
Water-soluble film works when the finished piece can be rinsed. Tear-away material avoids soaking, but it is better for open designs with sturdy stitches than for dense satin stitch, tiny curves, or fragile details.
When removing tear-away stabilizer, support the embroidery with one hand and tear toward the stitching in small sections. Never pull the material sharply away from a finished area.
Method 5: Transfer the Main Lines With Thread
Thread tracing avoids ink, chalk, adhesive, and water. This makes it useful for wool, velvet, heirloom textiles, and projects that cannot be washed.
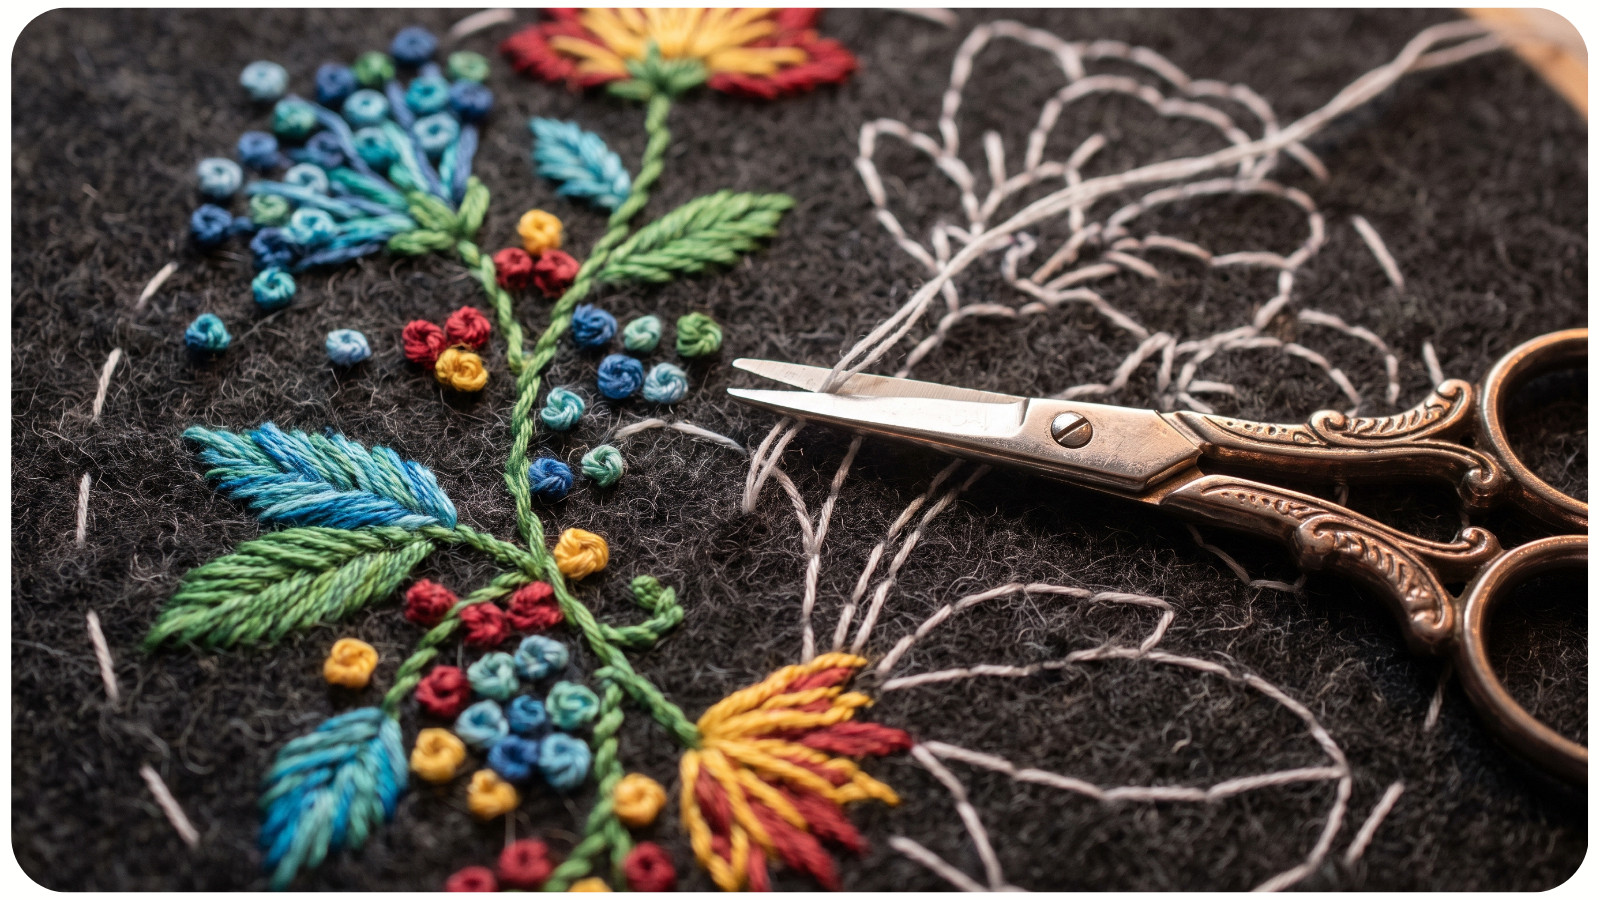
Secure a paper copy over relaxed fabric. With contrasting sewing thread, make loose running stitches through the paper and fabric along the essential outlines. Use shorter stitches around curves. Carefully tear away the paper, then remove the tracing thread section by section as your embroidery reaches it.
Use one strand of smooth sewing thread rather than embroidery floss. It is easier to remove and less likely to become trapped beneath decorative stitches.
How to Position the Pattern Correctly
A precise transfer can still fail if the design is placed incorrectly. Before making marks that are permanent or slow to remove, confirm the following points.
• Orientation: Identify the top of both the design and the fabric.
• Centering: Match the center lines of the pattern with the intended embroidery area.
• Finishing allowance: Leave enough fabric for hoop framing, sewing, hemming, or mounting.
• Grain: On woven fabric, align major straight elements with the grain unless the composition intentionally uses an angle.
• Hoop access: Keep the design far enough from seams, pockets, and edges to hoop and stitch comfortably.
For a garment or bag, try the item on or use a paper mockup before choosing the final placement. A motif that appears centered on a flat piece may shift visually when the item is worn or filled.
Common Transfer Problems and Fixes
The Lines Are Too Thick
Use less pressure or a finer tool. Follow one consistent edge of a thick line, and test removal instead of assuming the stitches will hide it.
The Pattern Shifted While Tracing
Stop rather than connecting mismatched lines. Realign the original center marks, remove the incorrect section if the tool allows it, and retrace. Add more tape outside the design or work on a firmer surface.
The White Mark Keeps Disappearing
Transfer smaller sections and handle the fabric surface less. If the chalk still brushes away, switch to adhesive stabilizer or thread tracing.
Marks Remain After Stitching
Do not apply heat until you know how the tool reacts; heat can set some marks. Use only the manufacturer’s removal method and avoid aggressive rubbing. Review this guide to washing and caring for finished embroidery before rinsing a completed piece.
The Fabric Puckers After Removal
Apply stabilizer to relaxed fabric, avoid distorting the weave in the hoop, keep stitch tension moderate, and dry the rinsed piece flat in its natural shape.
A Reliable Routine for Dark Fabric
For a simple design on stable cotton or linen, start with light-colored transfer paper or a fine white fabric pencil. For intricate work on washable materials, choose printable water-soluble adhesive stabilizer. For non-washable, textured, or especially valuable fabric, use thread tracing or test a removable stabilizer with great care.
Once you are comfortable with the process, explore the full collection of embroidery patterns and kits and choose a design suited to your preferred fabric and transfer method.
Whatever method you choose, test the complete process first: make the mark, leave it in place, stitch across it, and remove it. That small sample tells you more than the label alone—and prevents the transfer lines from becoming the most permanent part of your embroidery.