



A small cross-stitch design can become a holiday ornament without a special ornament kit. The key is to plan the finished size before you stitch, leave enough fabric to wrap around a backing, and attach a secure hanging loop. This guide shows one reliable way to make a flat, lightly padded ornament with a neat felt back.
Choose a pattern that works at ornament size
Start with a compact motif that reads clearly from a few feet away: a snowflake, bird, stocking, gingerbread house, tree, or a short holiday word. Look at the chart's stitch count, not just its picture. A design with many tiny details may lose its impact when displayed on a tree.
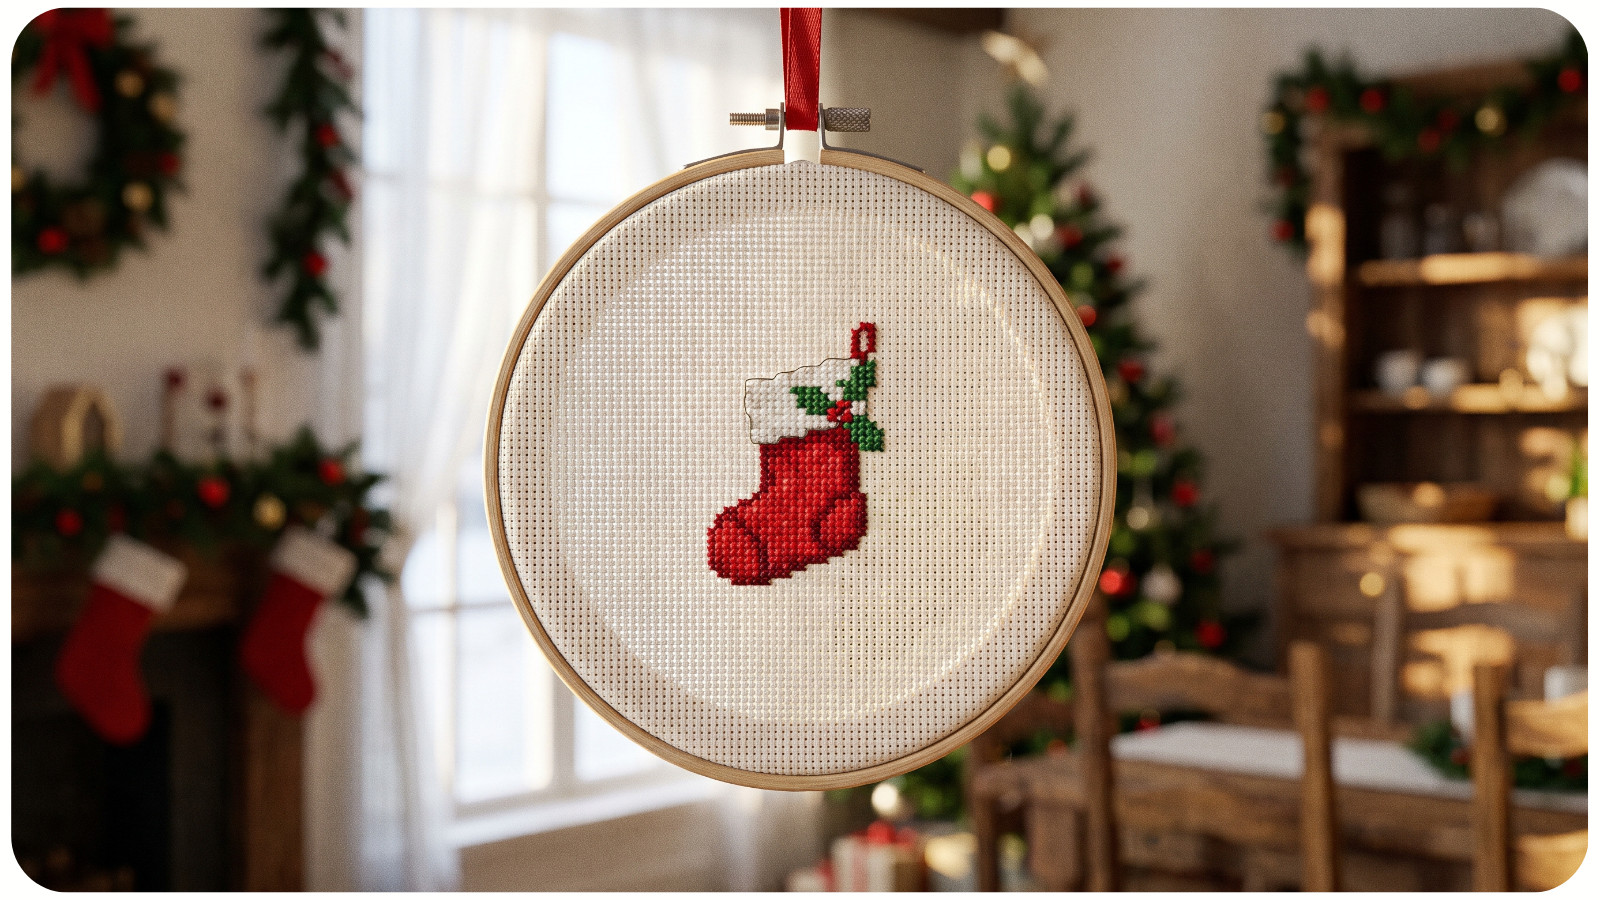
Check the chart for backstitch, beads, or specialty stitches before you begin. Backstitch can sharpen a small face or outline. Beads add weight and may catch on branches, so consider where the ornament will hang. If you plan to sell ornaments stitched from a purchased chart, check the designer’s terms for finished items. Do not share or resell the chart itself.
The stitched motif does not have to fill the entire ornament. A quiet border of unstitched fabric can make a small design feel more balanced. Plan the shape around the motif, rather than cutting the fabric to the outline of the stitches.
Work out the size before cutting fabric
For a design stitched over one square on Aida, divide its stitch width and height by the fabric count. For a fuller explanation, see our cross-stitch fabric size guide. For example, a chart that is 42 stitches wide and 42 stitches high on 14-count Aida will stitch to about 3 by 3 inches. On 18-count Aida, the same chart will be about 2⅓ by 2⅓ inches. A design stitched over two threads on evenweave needs a different calculation: divide the stitch count by half the fabric thread count.
Now decide how much blank fabric you want around the design and how much you need to turn to the back. For a 3-inch stitched motif, you might choose a 4-inch backing circle so the stitches have about ½ inch of space around them. Cut the fabric with enough extra beyond that 4-inch circle to wrap securely behind the board. With a ¾ to 1-inch wrapping margin on each side, the starting fabric cut would be about 5½ to 6 inches square; check the template before trimming. A generous initial cut is easier to adjust after stitching than a cut that is too small. The exact margin depends on the backing shape and thickness, so lay the finished stitching over a paper template before trimming.
A circle, oval, square, or simple tag shape is easiest for a first ornament. You can browse APS holiday cross-stitch designs, then check the stitch dimensions carefully: many full-size patterns will be too large for a small tree ornament without selecting a small standalone motif or changing the project format. If the chart is wider than it is tall, an oval or rectangle may waste less fabric. Keep the design away from the edge so the stitches will not disappear into the fold.
Gather the materials
• A small cross-stitch chart and an appropriately sized piece of Aida or evenweave
• Embroidery floss, a tapestry needle, and embroidery scissors
• A paper template, pencil, ruler, and scissors for paper and felt
• Two pieces of sturdy mat board or other suitable backing board, cut to the same ornament shape
• A thin piece of quilt batting, optional for a little padding
• Felt or another backing fabric, cut with enough margin to wrap the second board
• Strong sewing thread or embroidery floss, a sewing needle, and ribbon or cord for the hanger
• A small amount of suitable craft glue, optional for securing a felt cover or trim
Keep glue away from the visible stitches. If long-term preservation matters, choose materials and mounting methods with conservation in mind; ordinary adhesive and board may not be appropriate for an heirloom piece.
Stitch and prepare the design
Follow the chart, keeping the crosses even and the top legs of the stitches in the same direction. Secure thread ends under nearby stitches on the back rather than making bulky knots. If the pattern uses backstitch, add it after the crosses so the lines stay visible.
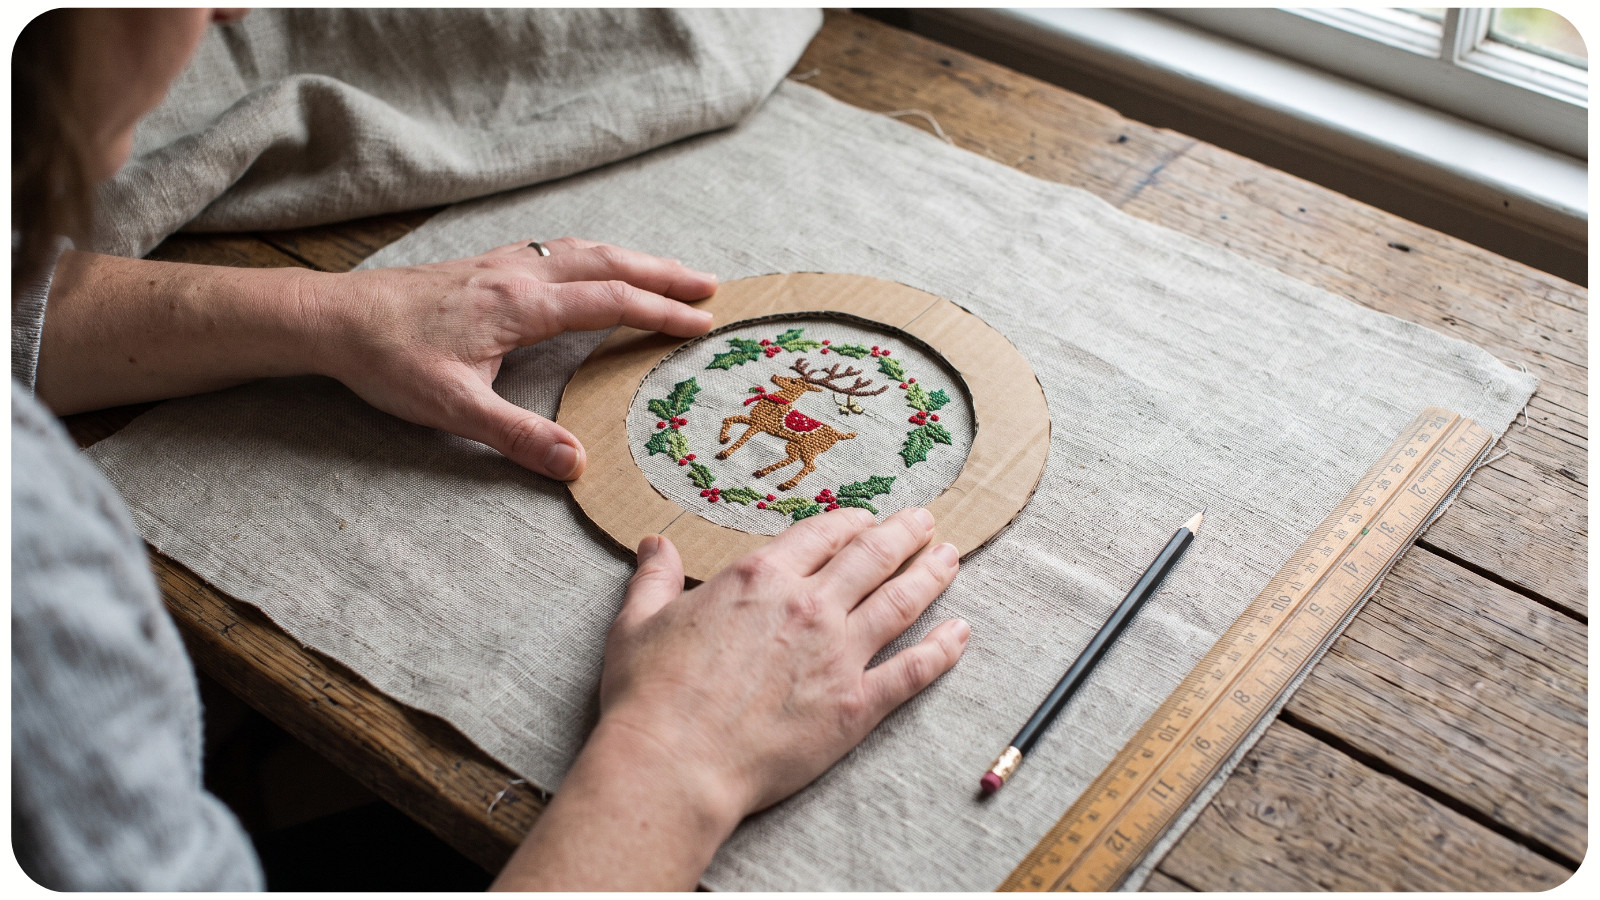
Before assembly, inspect the front in good light. Check for missed stitches, loose thread ends, and any marks on the fabric. If cleaning is needed, follow the thread and fabric makers' care instructions first, especially for hand-dyed floss or specialty fibers. Let the piece dry fully. Press it from the back on a soft towel, using a setting suitable for the materials, so the stitches keep their texture.
Do not cut the stitched fabric to its final shape yet. First, trace and cut the backing template, then set the piece over it and check that the motif is centered.
Make a flat cross-stitch ornament in six steps
1. Cut the support. Cut two matching board shapes. If using batting, cut one piece to fit the front of the first board. Hold the stitched fabric over the support to check the design's position and the amount of blank fabric showing on every side.
2. Trim with a wrapping margin. Place the stitching face down and center the front board on its back. Trim the fabric outside the board, leaving enough to fold around its edge and fasten behind it. For a small ornament, roughly ¾ to 1 inch can be a useful starting point, but check the actual shape before cutting. For a circle, ease the extra fabric into small, even folds on the reverse. Do not cut toward the stitched area; if a fold is bulky, trim only loose excess on the back after the fabric is secure.
3. Wrap the front. Position the batting between the stitched fabric and board if using it. Fold opposite sides of the fabric to the back and secure them with a few long stitches across the reverse. Work around the shape, alternating sides and easing in small folds. Pull just enough to smooth the front. If the fabric grid bends or the motif shifts, loosen the thread and recenter it.
4. Attach the hanger. Fold a length of ribbon or cord into a loop. Stitch both ends firmly to the folded fabric on the upper back, with the loop extending beyond the edge. Do not rely on glue alone to hold the hanger. Check the top and bottom of the motif first: the loop should sit above the design when the ornament hangs. Give it a gentle pull before closing the back.
5. Cover the reverse. Wrap the second board with felt or backing fabric, folding its margin to the inside. Set the two covered boards back to back, hiding the fabric folds and hanger ends between them. Join the front fabric and back covering with small whip stitches around the outer edge, catching only the fabric at each side, not the board. Keep the stitch tension even so the edges meet without puckering. If you prefer adhesive, follow its directions and apply it sparingly between the boards, away from the visible stitching.
6. Check the finish. Turn the ornament over and check that the motif is centered, the edge is smooth, and no glue shows on the front. Hold it by the loop for a few seconds. If it tips to one side, adjust the loop attachment or balance the trim before putting it on the tree.
A narrow ribbon around the outside edge can hide uneven joins, but add it only after the basic construction is secure. Let any glue dry completely before hanging or packing the ornament.
Other ways to finish the same stitched motif
A small embroidery hoop can act as both the frame and ornament body. Center the design, tighten the hoop, gather the spare fabric at the back, and cover it with felt. The hoop is visible, so allow room for its ring when selecting the motif. A small frame also works if its opening fits the stitched area and it can hold the fabric without crushing the stitches. For a different kind of stitched keepsake, read the story of needlework samplers.
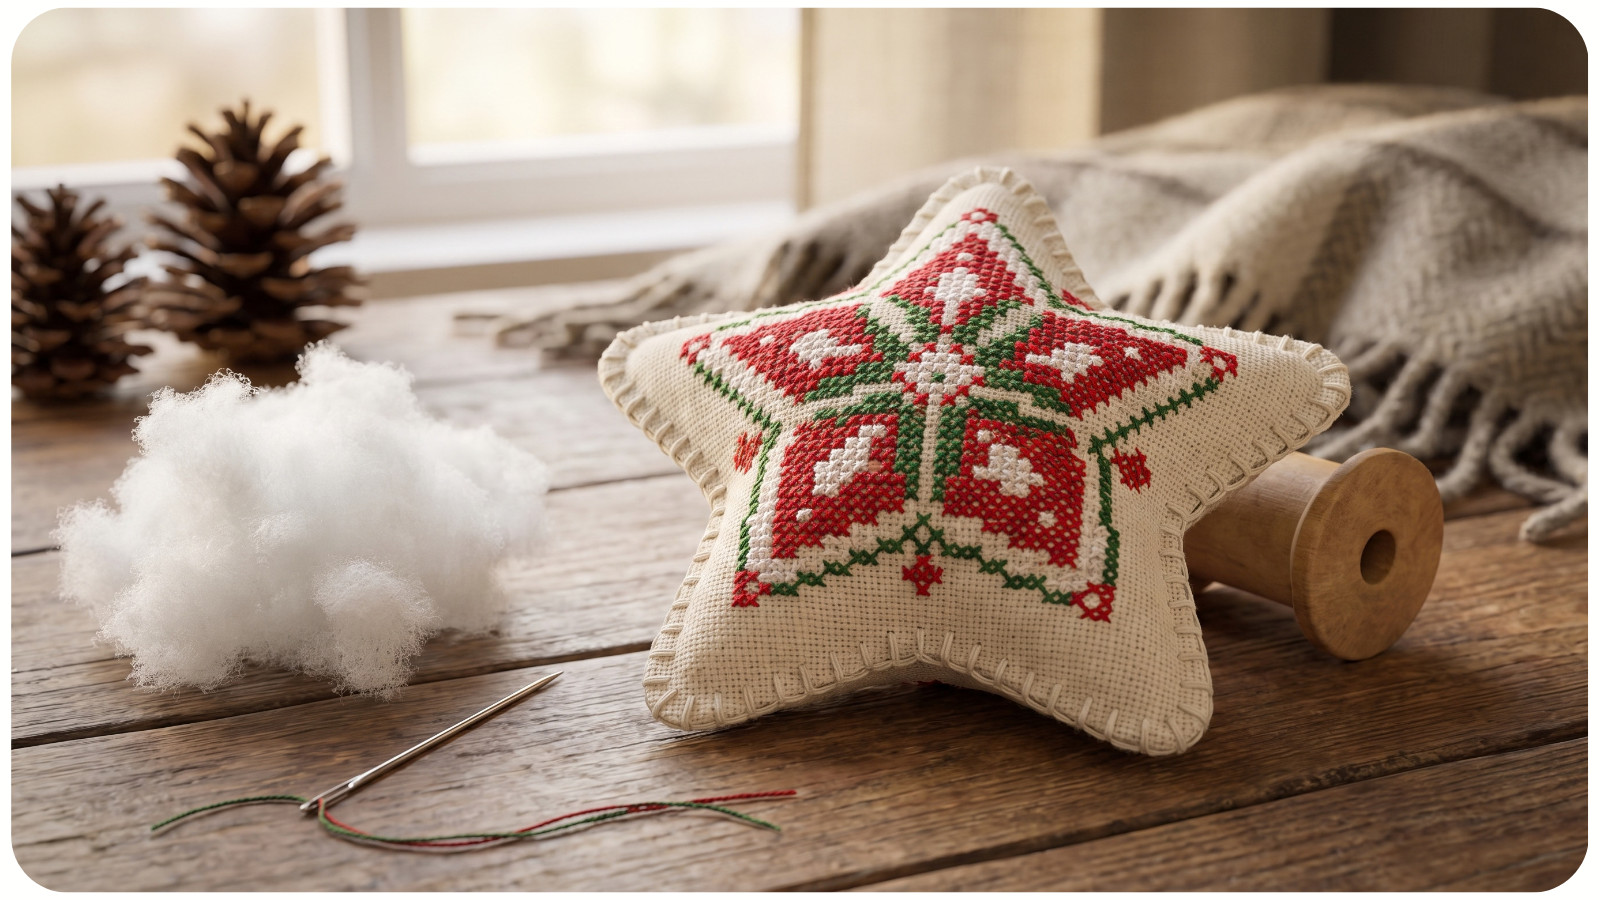
For a soft ornament, sew the stitched fabric to a backing fabric, leaving an opening to turn it right side out, then add a little stuffing and close the opening. This is a different construction: it needs a seam allowance, and a narrow shape with sharp corners can be harder to turn neatly. Try a simple square or rounded shape first.
Common problems and quick fixes
The ornament looks crowded. Increase the blank border or choose a larger backing. A few more visible fabric squares can make the motif easier to read.
The front puckers. Open the back before it is fully closed. Ease the fabric around the edge and reduce the pull on the wrapping thread. Batting should lie flat without a thick lump under the center.
The hanger tilts. Check that its two ends are attached evenly around the top center. Test the hang before covering the reverse.
The edges fray while you work. Handle the cut margin gently and avoid cutting close to the stitching. You can finish the raw edges before mounting if your fabric sheds threads easily, but leave enough material to wrap.
A well-planned ornament begins with the chart dimensions and ends with a simple hanging test. Once you know the size, you can use the same finishing method for holiday gifts, gift tags, and a set of small seasonal designs.