


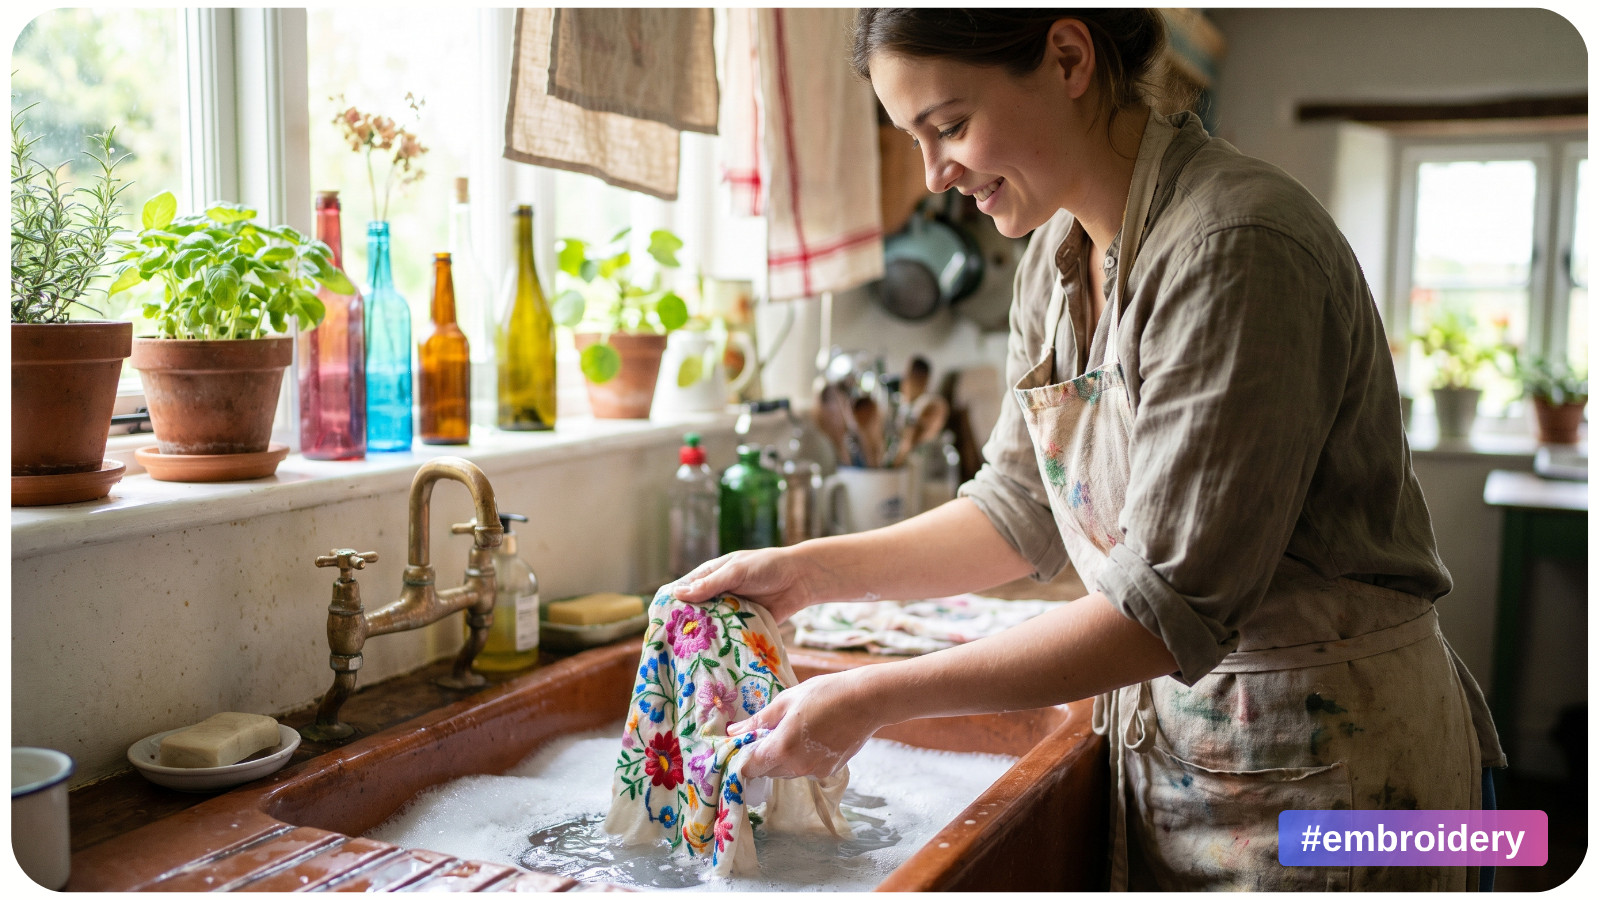
Embroidery is more than thread on fabric – it is texture, patience, and artistry stitched into every hoop. Whether you create delicate floral hoop art, embroidered clothing, or heirloom samplers, proper care is essential for preserving the crispness of your stitches and the brilliance of your floss colors.
Many stitchers spend dozens of hours perfecting satin stitches, french knots, long-and-short shading, and intricate backstitch details, only to accidentally damage the finished piece during washing or storage. Improper cleaning can lead to color bleeding, puckered fabric, flattened texture, weakened fibers, or permanent creases.
The good news? With the correct techniques, hand embroidery can remain beautiful for decades. In this guide, you’ll learn exactly how to wash, dry, iron, store, and display finished embroidery safely and professionally.
WHY PROPER EMBROIDERY CARE MATTERS
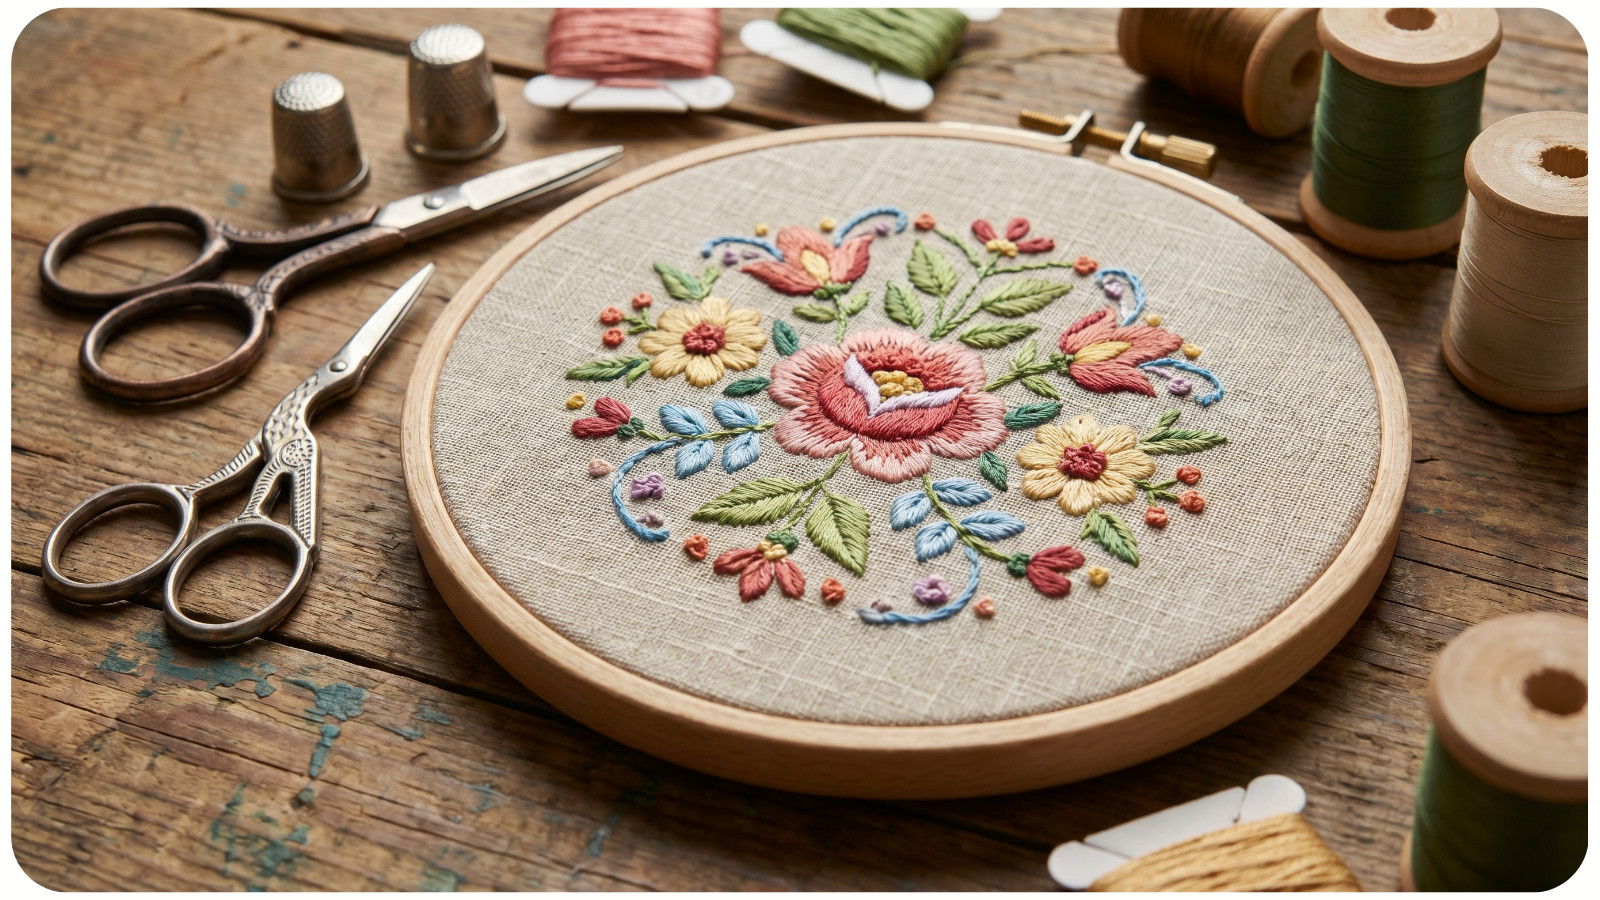
Embroidery combines multiple delicate materials:
- Cotton, linen, or specialty fabrics;
- Embroidery floss and specialty threads;
- Stabilizers and backing materials;
- Beads or decorative embellishments.
Each element reacts differently to water, heat, detergents, and friction. For example:
- Cotton floss may bleed if exposed to harsh detergents;
- Linen can shrink under hot water;
- Metallic threads may tarnish or kink;
- Satin stitches can lose their smooth sheen if scrubbed aggressively.
Because embroidery adds dimensional texture to fabric, even gentle handling matters. Raised stitches, especially padded satin stitch and bullion knots, can flatten under pressure.
That’s why professional embroidery care always focuses on minimal agitation and controlled drying.
WHEN SHOULD YOU WASH FINISHED EMBROIDERY?
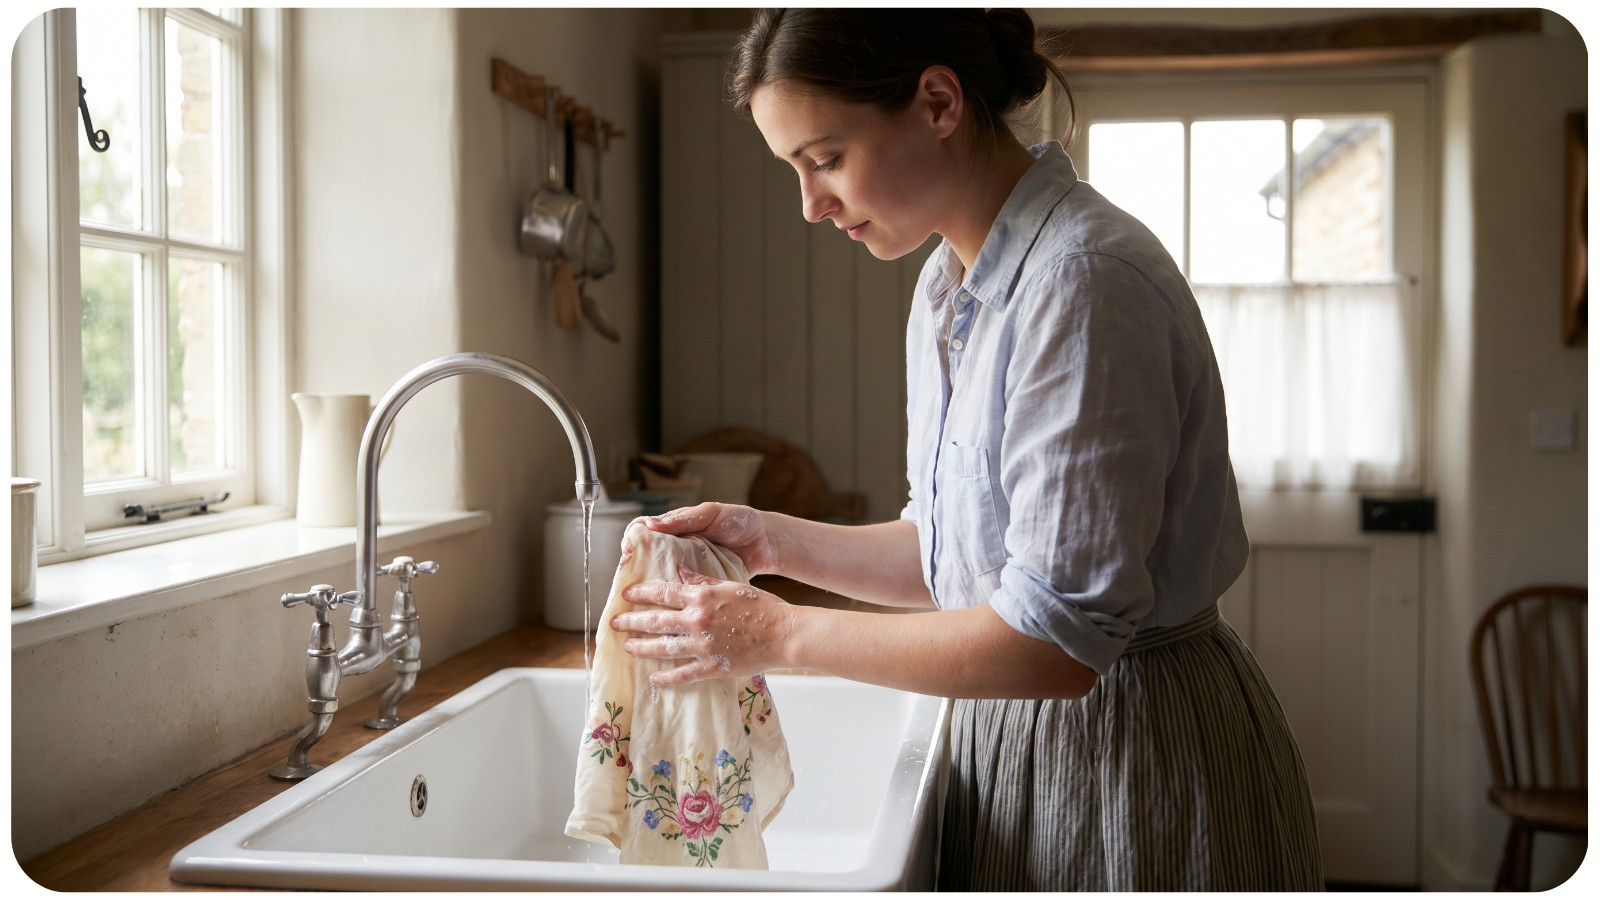
Not every finished piece needs a full wash immediately.
You should wash embroidery if you notice:
- Hoop marks;
- Hand oils or makeup transfer;
- Water-soluble pen residue;
- Dust accumulation;
- Fabric discoloration from handling;
- Stabilizer residue.
If your project has been framed behind glass and protected from moisture, washing may not be necessary at all.
For wearable embroidery, such as jackets, denim, or tote bags, routine cleaning becomes more important because fabrics absorb sweat, dirt, and environmental oils over time.
TEST FOR COLORFASTNESS FIRST
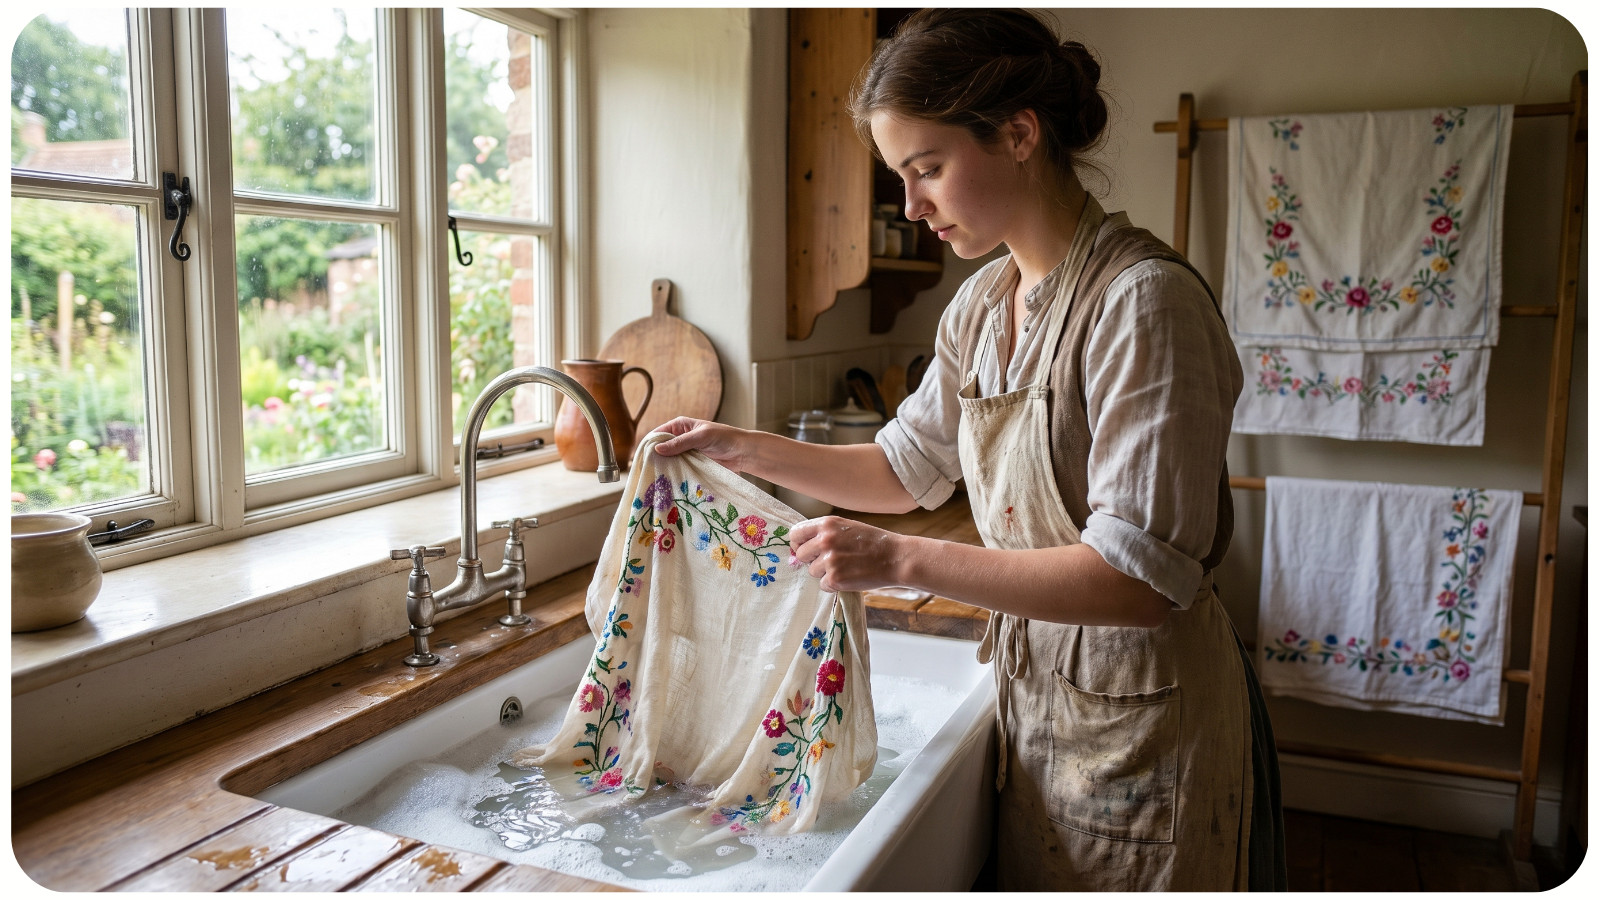
Before submerging any embroidery project in water, test the floss for colorfastness.
This is especially important for:
- Deep reds;
- Navy blues;
- Black floss;
- Hand-dyed threads;
- Vintage thread collections.
How to Test Embroidery Floss
1. Dampen a white cotton cloth with cool water;
2. Press it gently against the stitched area;
3. Hold for 30 seconds;
4. Check for transferred dye.
If color transfers onto the cloth, avoid soaking the entire piece. Instead, use highly controlled spot-cleaning methods. Some hand-dyed or artisan threads intentionally release pigment slightly during the first wash, so caution is critical.
THE SAFEST WAY TO WASH HAND EMBROIDERY
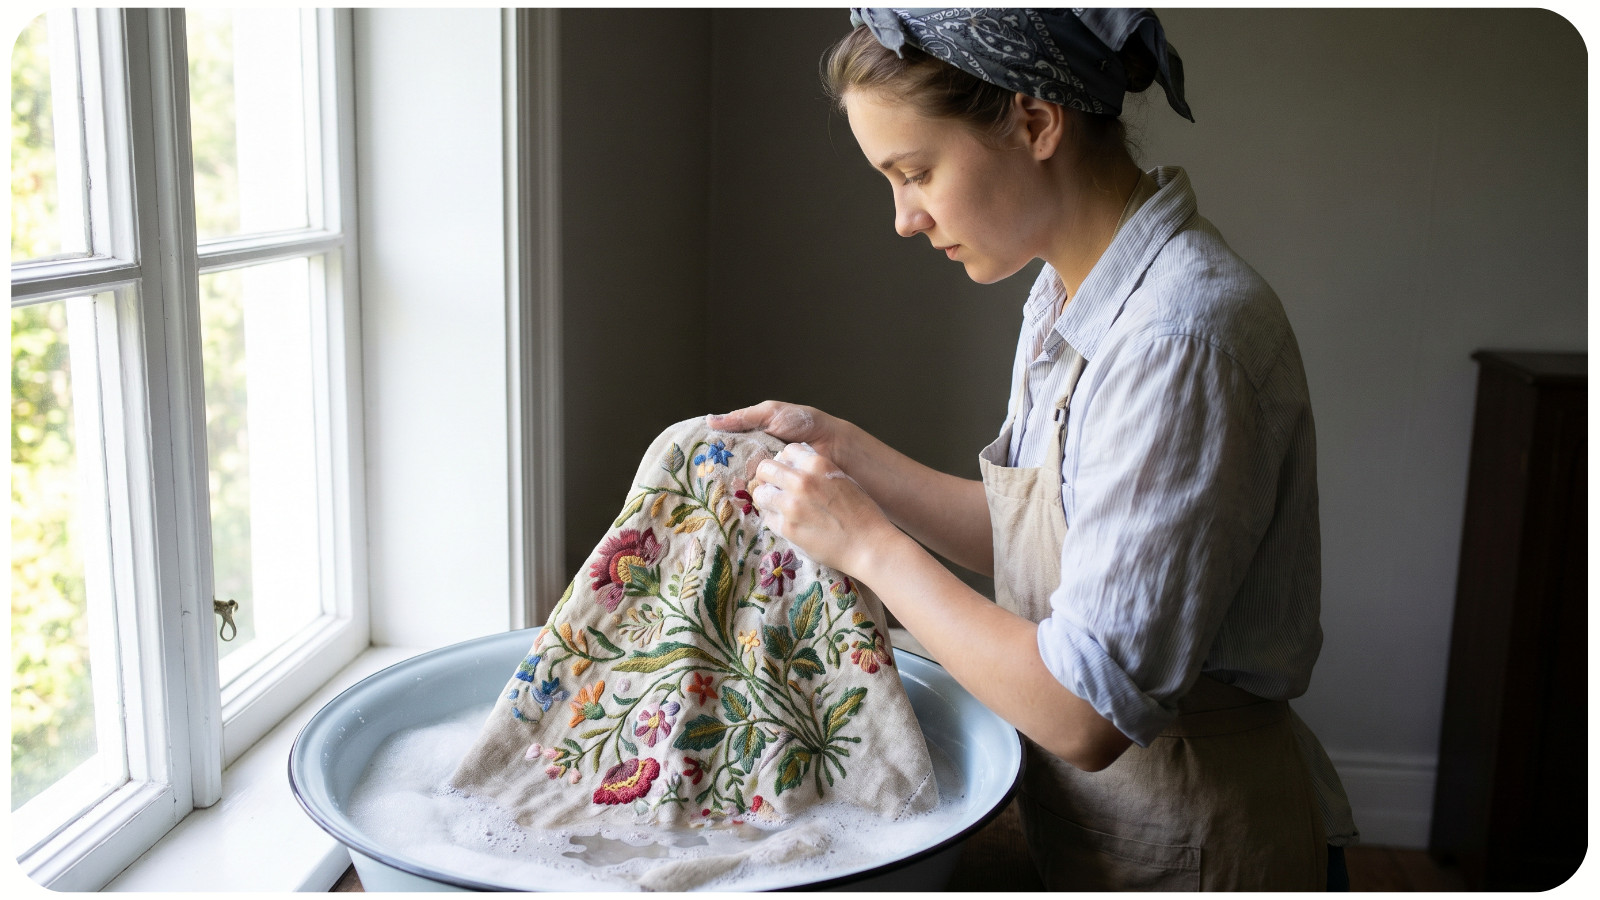
Hand washing is always the preferred method.
Machine washing, even on delicate cycles, creates friction that can:
- Fray stitches;
- Distort fabric tension;
- Tangle metallic threads;
- Damage french knots and textured stitching.
Step 1: Fill a Basin with Cool Water
Use:
- Cool or lukewarm water only;
- A clean sink or white basin;
Avoid hot water completely because it may:
- Shrink fabric;
- Set stains permanently;
- Cause floss bleeding.
Step 2: Use a Gentle Soap
Choose:
- Mild fragrance-free soap;
- Textile-safe detergent;
- pH-neutral soap.
Avoid:
- Bleach;
- Fabric softener;
- Strong stain removers;
- Enzyme detergents.
Add only a tiny amount of soap. Excess detergent can remain trapped beneath dense stitching.
Step 3: Submerge Gently
Lower the embroidery slowly into the water. Do not twist or scrub.
Instead:
- Swish the fabric carefully;
- Let water flow through the fibers;
- Support the fabric underneath with your hands.
This protects dimensional texture and prevents distortion around densely stitched areas. Satin stitch especially benefits from gentle handling because aggressive rubbing roughens the smooth thread surface that creates its signature shine.
Step 4: Soak Briefly
Most embroidery only needs: 5-10 minutes of soaking
Long soaking times increase the risk of:
- Dye migration;
- Fabric weakening;
- Thread fuzzing.
If stains remain after soaking, repeat gently instead of scrubbing harder.
Step 5: Rinse Thoroughly
Drain the basin and refill with clean cool water.
Rinse repeatedly until:
- Water runs completely clear;
- No soap residue remains.
Soap left in embroidery can stiffen fibers and dull floss over time.
HOW TO REMOVE STAINS SAFELY
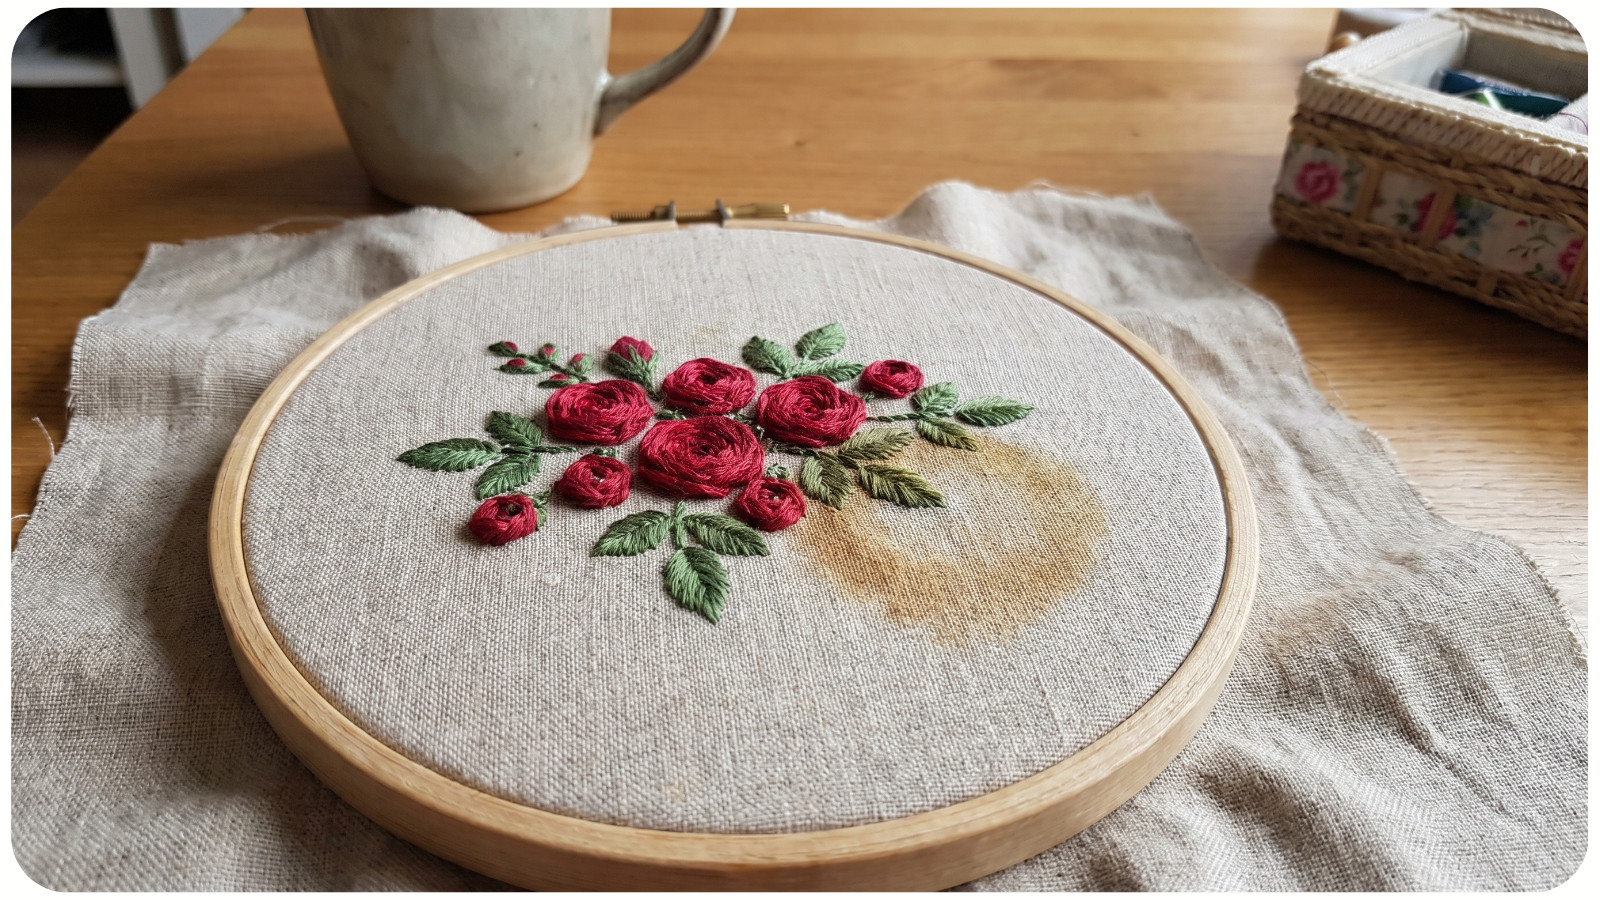
Embroidery stains require patience. Never apply harsh stain removers directly onto stitches.
For Light Marks Use:
- Diluted gentle soap;
- Cotton swab;
- Soft pressing motions.
For Hoop Marks. Often, hoop compression disappears naturally after washing and drying.
Persistent hoop marks can sometimes be eased with:
- Light steaming;
- Damp blocking.
For Pencil or Water-Soluble Marks. Always follow the pen manufacturer’s instructions.
Some fabric markers disappear permanently only with:
- Distilled water;
- Specific temperatures.
Incorrect removal methods may permanently set the marks into fabric fibers.
DRYING EMBROIDERY CORRECTLY
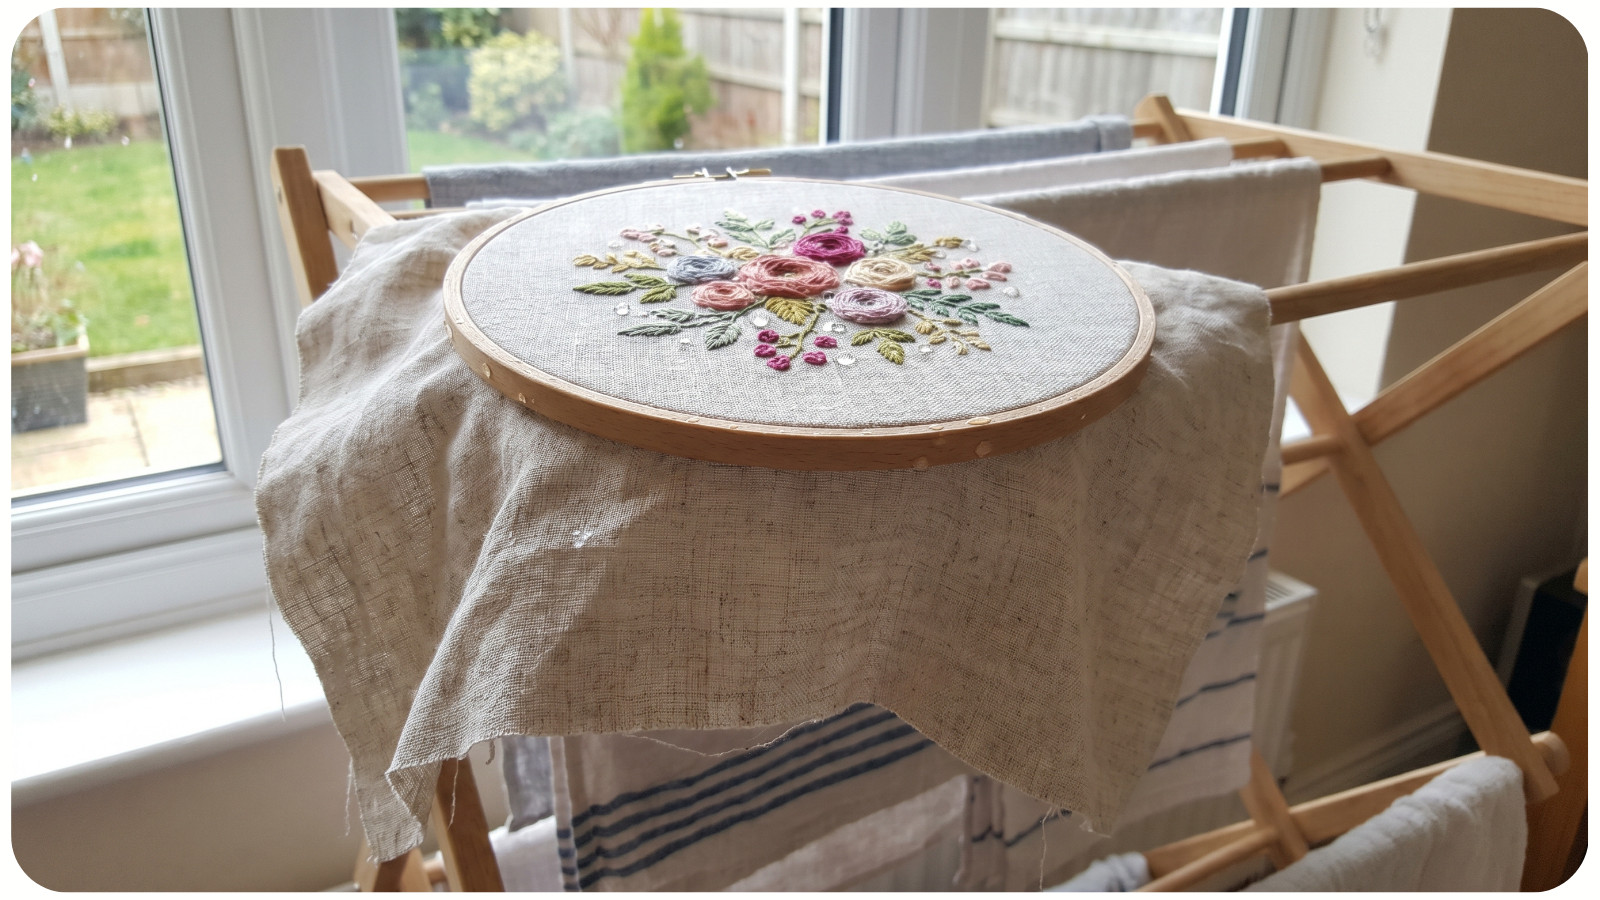
Improper drying ruins more embroidery than washing itself.
Never Wring Embroidery. Twisting stretches stitches unevenly and can permanently distort fabric grain.
Instead:
1. Lay the embroidery flat on a clean towel;
2. Roll the towel gently;
3. Press lightly to absorb moisture.
This technique protects delicate stitch texture beautifully.
Flat Drying Is Best
After towel pressing:
- Lay the embroidery flat on a dry towel;
- Reshape carefully;
- Smooth edges gently with your fingers.
Avoid hanging wet embroidery because gravity can stretch the fabric unevenly.
HOW TO IRON FINISHED EMBROIDERY
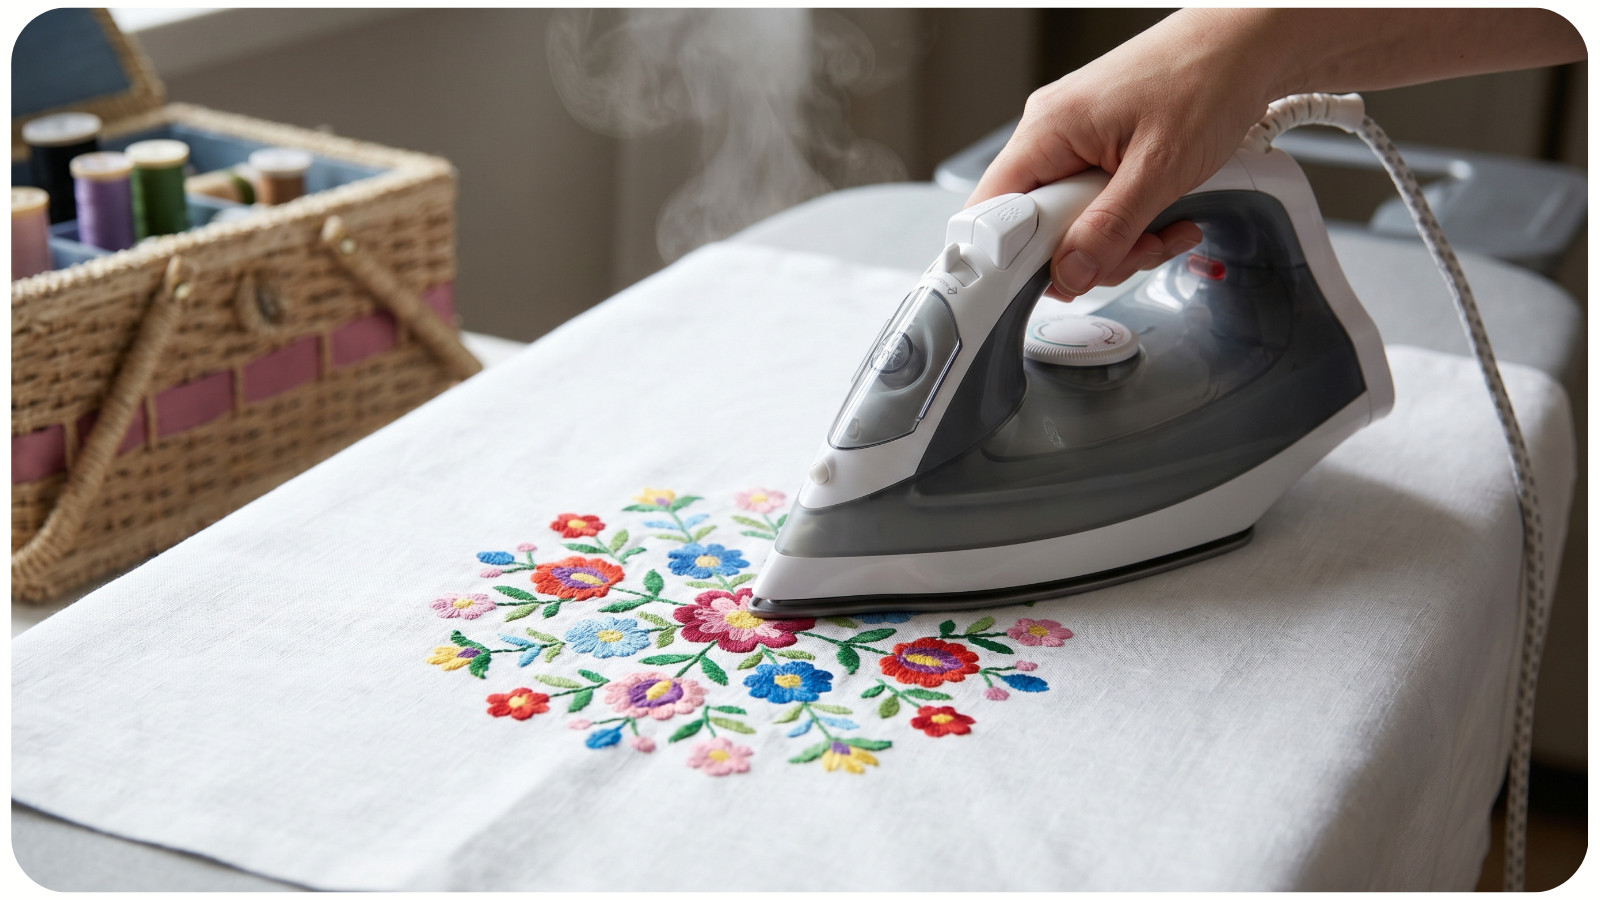
Ironing embroidery requires extreme care to preserve dimensional stitches. Always Iron from the Back.
Place:
- A thick towel underneath the embroidery;
- The stitched side facing downward.
The towel cushions raised stitches like:
- French knots;
- Satin stitch;
- Bullion knots;
- Turkey work.
This preserves texture and prevents flattening.
Use Low to Medium Heat
Recommended settings:
- Cotton for cotton fabric;
- Linen setting for linen;
- No steam for metallic threads.
Too much heat can:
- Melt synthetic stabilizers;
- Flatten texture;
- Damage specialty threads.
Press gently instead of dragging the iron. Dragging distorts tension and may pull stitches out of alignment.
CARING FOR EMBROIDERED CLOTHING
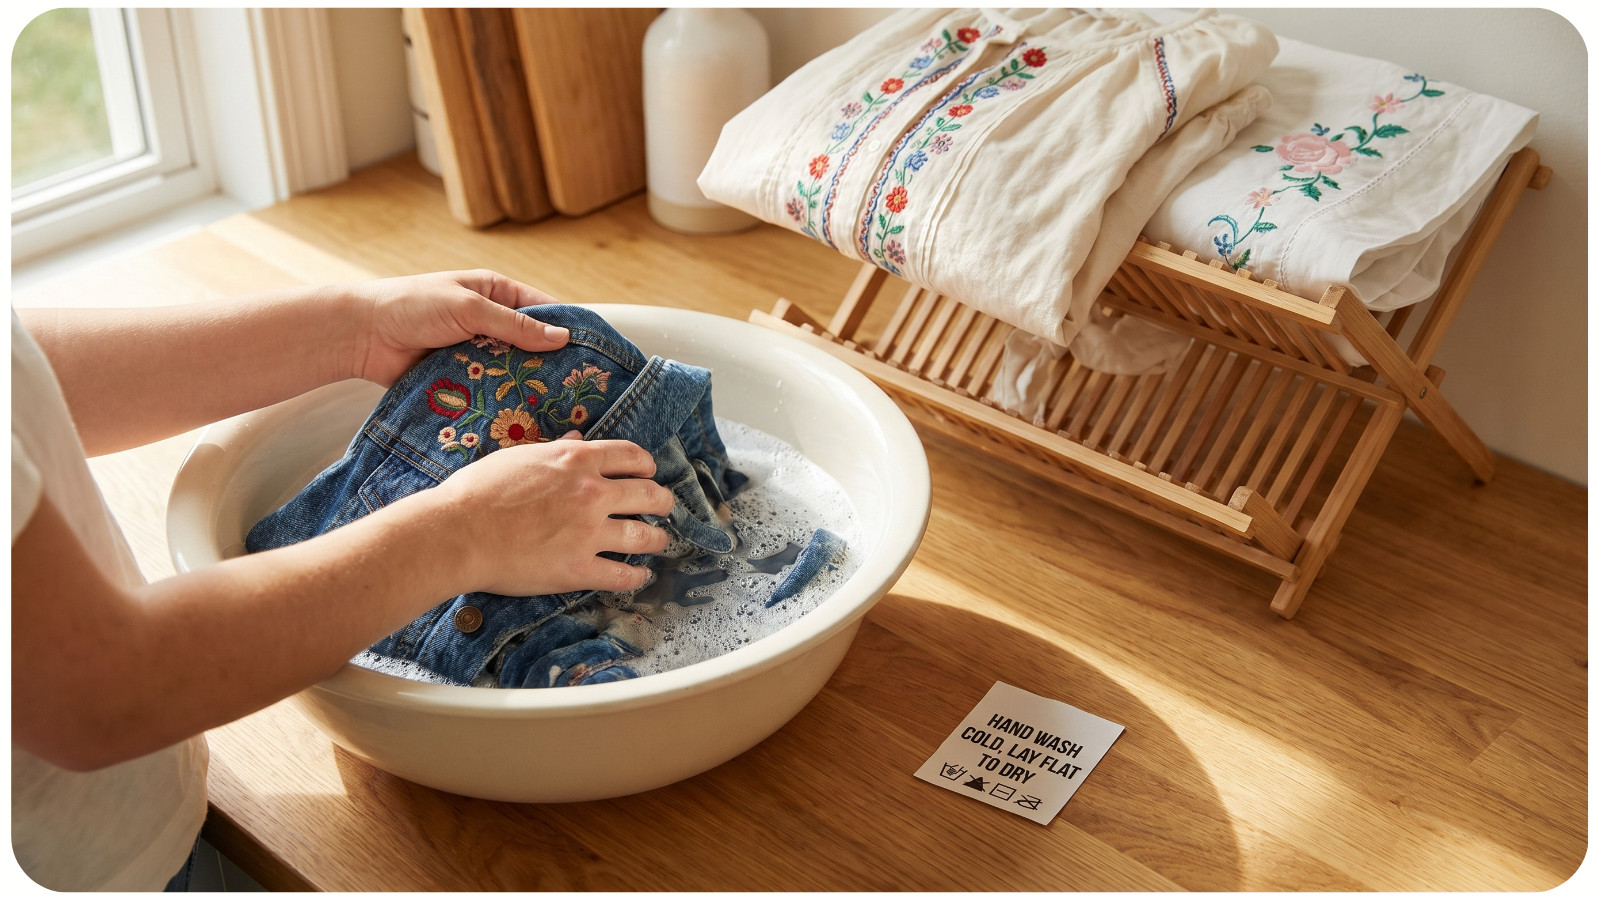
Wearable embroidery needs additional protection:
- Wash Inside Out;
- Turning garments inside out reduces abrasion during cleaning.
This is especially important for:
- Denim jackets;
- Sweatshirts;
- Tote bags;
- Embroidered collars.
Use Mesh Laundry Bags
If machine washing becomes unavoidable:
- Place garments inside a mesh bag;
- Use delicate cycle;
- Wash with cold water only.
However, hand washing still provides the best longevity.
LONG-TERM EMBROIDERY STORAGE
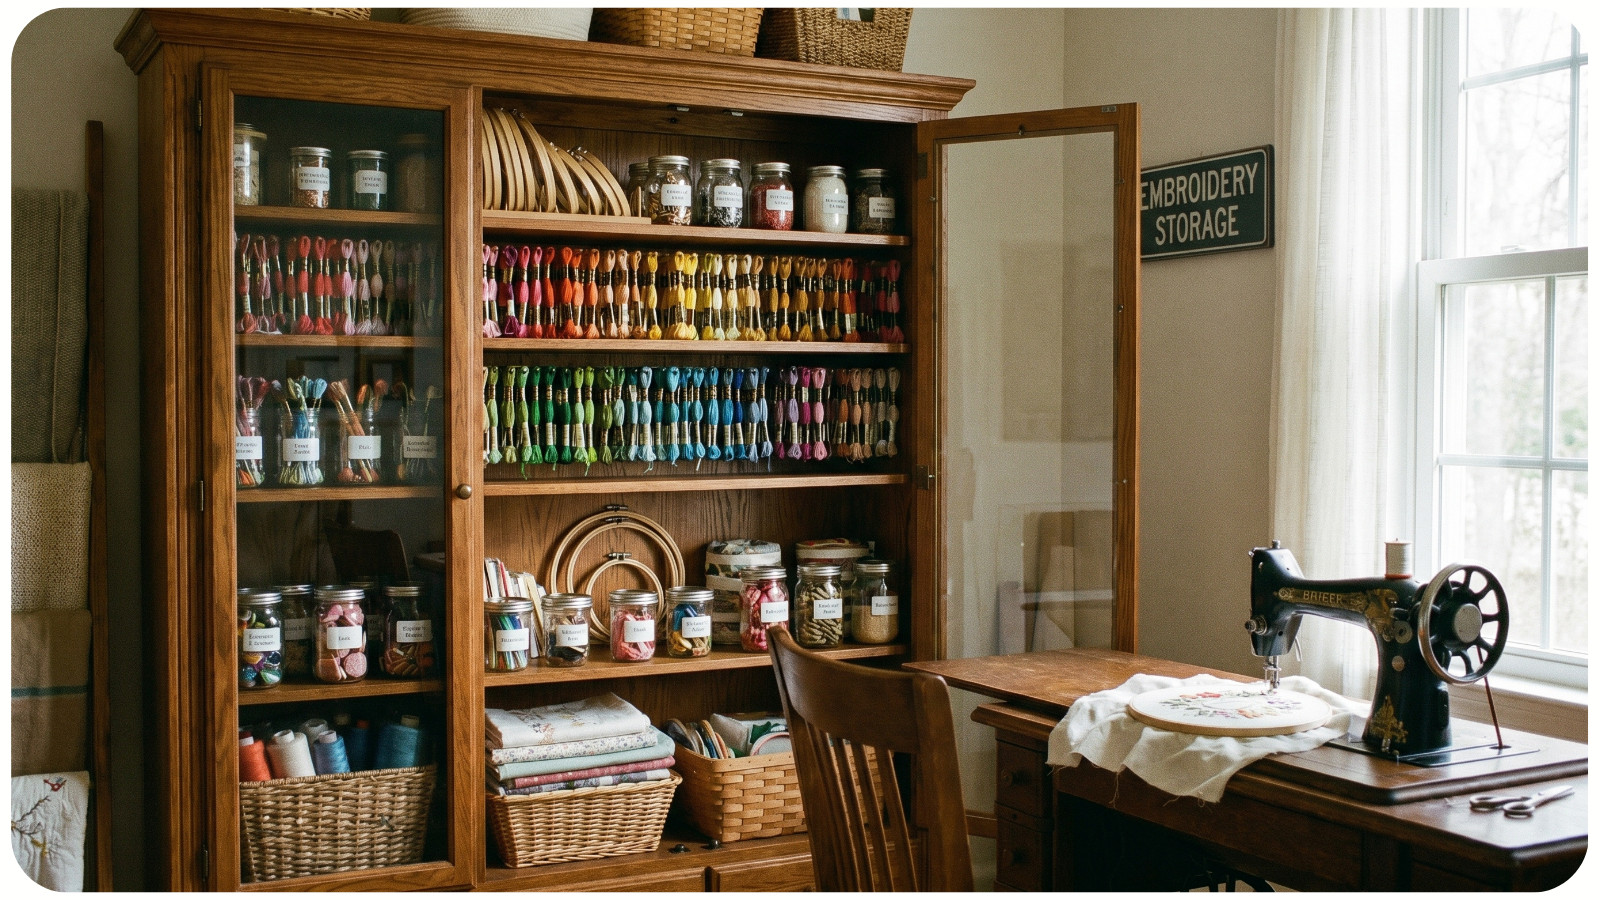
Storage conditions dramatically affect embroidery lifespan. Avoid Plastic Containers for Long-Term Storage.
Plastic traps humidity, which can lead to:
- Mildew;
- Yellowing;
- Fiber deterioration.
Instead use:
- Acid-free tissue paper;
- Cotton pillowcases;
- Archival boxes.
Protect from Sunlight
Direct sunlight fades floss rapidly, especially:
- Reds;
- Purples;
- Pastels.
UV exposure also weakens fabric fibers over time.
Framed embroidery should ideally use:
- UV-protective glass;
- Acid-free matting.
DISPLAYING FINISHED EMBROIDERY BEAUTIFULLY
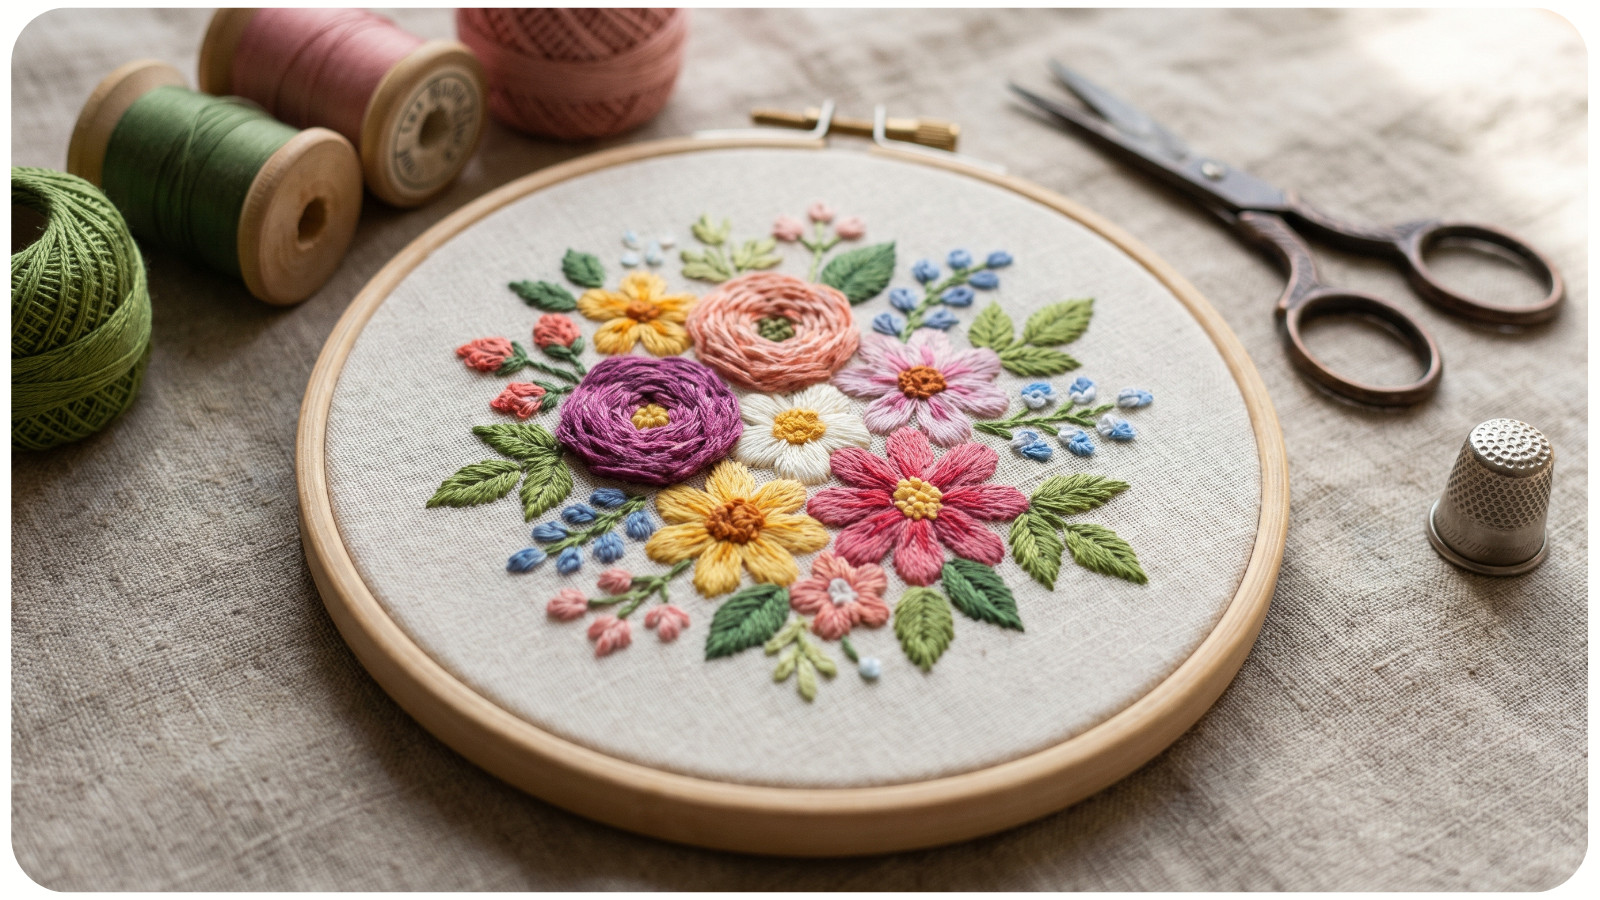
Modern embroidery deserves thoughtful presentation.
Popular display options include:
- Natural wood hoops;
- Floating frames;
- Textile hangers;
- Gallery walls.
Textured embroidery looks especially striking under soft indirect lighting, where raised satin stitches and layered french knots create subtle shadows and depth.
Many stitchers love pairing cozy modern embroidery with seasonal decor, and curated patterns from Awesome Pattern Studio can help create elegant collections for walls, gifts, or handmade interior accents.
COMMON EMBROIDERY CARE MISTAKES
Avoid these frequent errors:
1. Scrubbing Stitches. This causes thread fuzzing and destroys smooth stitch definition.
2. Using Hot Water. Heat increases color bleeding risks dramatically.
3. Drying in Direct Sunlight. Strong sunlight fades floss quickly.
4. Ironing from the Front. Direct pressure crushes textured stitches permanently.
5. Storing in Damp Areas. Humidity encourages mildew and fiber breakdown.
PRO-TIP: Before washing a large or detailed embroidery project, photograph it in natural light. If any thread bleeding or distortion occurs, you’ll have a reference image for restoration or re-blocking. Professional textile conservators often document embroidery before cleaning for this exact reason.
FINAL THOUGHTS
Beautiful embroidery deserves equally beautiful care. Gentle washing, controlled drying, proper ironing, and thoughtful storage preserve the texture, color, and artistry of your finished work for years to come. The goal is not only cleanliness but also protecting the dimensional beauty created by every carefully placed stitch
Whether you create minimalist hoop art, richly textured florals, or intricate decorative pieces, maintaining your embroidery properly ensures that your hard work continues to look vibrant and refined long after the final knot is tied. And when you’re ready for your next elegant stitching project, exploring thoughtfully designed patterns from Awesome Pattern Studio can inspire even more timeless creations.