



Your embroidery outline looks smooth on the pattern, but once stitched, a curve seems bumpy or a small letter loses its shape. Should you use split stitch or stem stitch? For a fine outline that blends into a shape or sits under satin stitch, choose split stitch. For a visible, flowing outline with a soft rope-like texture, choose stem stitch. Both can follow curves beautifully. The smoother choice depends on the look you want, the thread you use, and the size of the detail.
The difference you can see
In split stitch, the needle comes up through the previous stitch. The stitches join in a line with tiny, chain-like links. In stem stitch, the needle comes up beside the previous stitch while the working thread stays on the same side of the needle. Those overlapping stitches form a continuous line with a gentle twist.
That construction explains the choice. Split stitch can look fine and closely joined, especially with a thin thread. Stem stitch gives the edge more presence and a textured finish. Neither stitch automatically fixes a wobbly design line or uneven tension.
Choosing an embroidery outline stitch | ||
If you want to stitch... | Try first | What to expect |
|---|---|---|
A narrow, delicate visible outline | Split stitch | A fine line with subtle, linked stitches |
A flower stem or sweeping decorative curve | Stem stitch | A flowing line with a soft rope effect |
An edge that will sit under satin stitch or long and short stitch | Split stitch | A defined guide that helps the filling make a neat edge |
Tiny lettering or a tight curl | Split stitch with fine thread | More control over small changes of direction |
Bold lettering or a line meant to stand out | Stem stitch | A fuller, textured outline |
These are starting points, not strict rules. Thread, fabric, stitch length, and tension can change how either line looks.
How to make a smooth split stitch outline
Use fabric held comfortably taut in a hoop and an embroidery needle suited to your fabric and thread. Draw a simple curve on a spare piece of your project fabric. You can use a single strand of stranded cotton for a delicate practice line; thicker thread makes the structure easier to see.
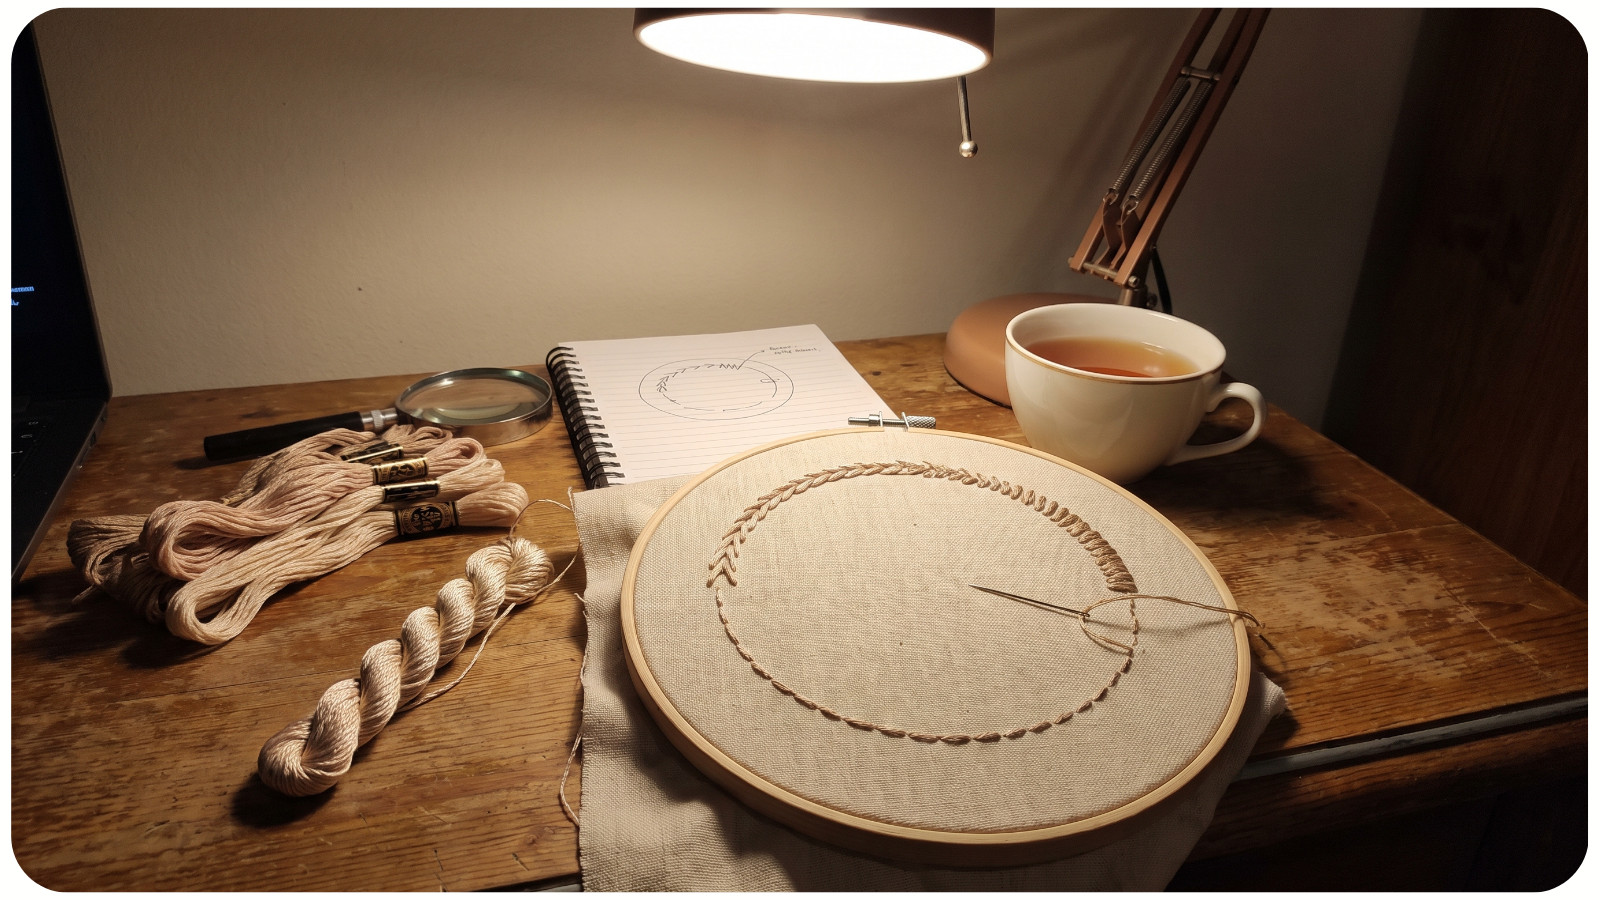
1. Bring the needle up at the start of the drawn line. Take it down a short distance ahead to make the first straight stitch.2. Bring the needle up from the back through the middle of that first stitch, parting the thread. Pull through gently.
3. Take the needle down farther along the line. Continue by bringing it up through the middle of the stitch you just made.
4. Shorten your stitches as the curve becomes tighter. Look at the whole line every few stitches and adjust the next stitch before the curve develops a corner.
The needle passes through the thread itself, not through the same fabric hole as the last stitch. Seen from the front, the joins should sit on the line without loose loops. If you instead pierce the stitch while taking the needle down from the front, you are making split backstitch. It is a valid variation, but its individual stitches may look more distinct. Bringing the needle up through the old stitch generally helps them blend.
For a visible outline, test the thread first. One strand of cotton floss can create a particularly fine line, while a thicker or more tightly twisted thread may take more care to split cleanly. If the thread snags, check that you are splitting the old stitch cleanly. A softer, less tightly twisted thread may be easier to work with.
How to make a smooth stem stitch outline
Stem stitch works well when you want the outline to be part of the design, such as a leafy stem, a vine, or larger lettering. Its line has a slight twist rather than the small linked look of split stitch.
1. Bring the needle up at the start of the line. Take it down a short distance ahead, leaving a small loop of working thread on the surface.
2. Keep that loop to one side of the line. Bring the needle up beside the first stitch, roughly halfway back toward its starting point, then pull the thread through without tugging the fabric.
3. Take the needle down farther along the line. Keep the working thread on the same side of the needle as you repeat the overlapping stitches.
4. On a tight curve, make shorter stitches. If the line changes direction, turn the hoop so you can keep your thread placement and stitch rhythm consistent.
Check the surface after a few stitches. The line should look continuous, with a regular twist. If some sections turn the opposite way or look flatter, check whether the working thread switched sides. If the line pulls the fabric into little ridges, ease your tension.
Which stitch is smoother on curves?
For a tiny or sharply turning curve, fine split stitch can be a useful first choice. You can shorten each stitch and place the next split close to the drawn path. The result can look delicate even when the curve changes direction quickly.
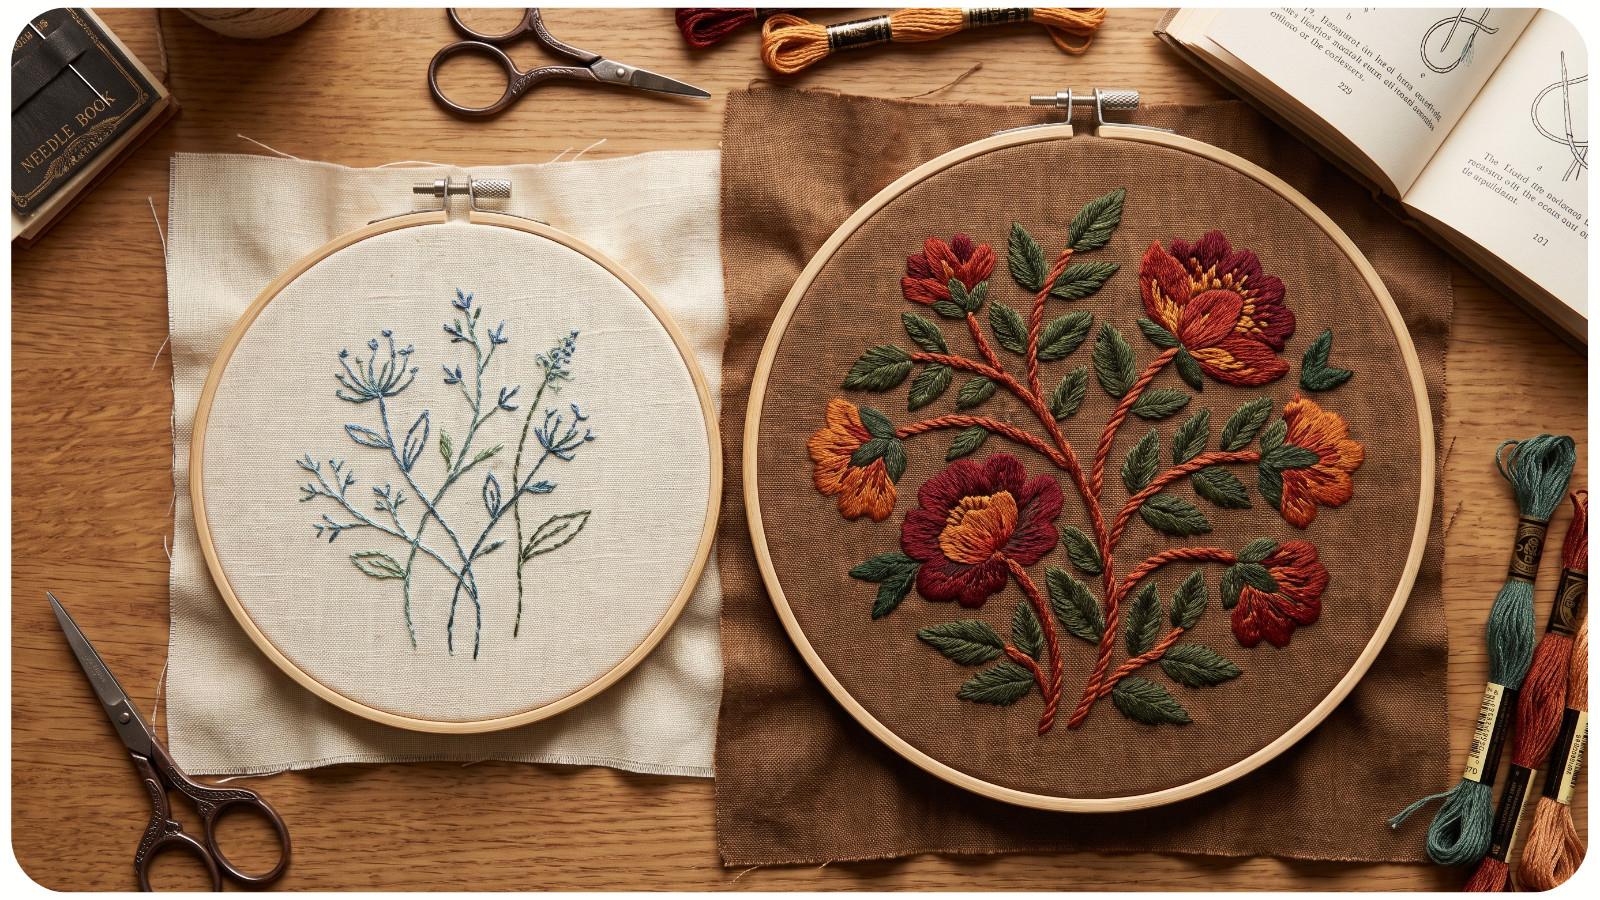
For a long, open curve, stem stitch often looks wonderfully fluid. Its overlapping stitches follow the bend while its rope-like texture stays visible. Shorter stitches help it round a tight bend without looking angular. If the curve is very small relative to your thread, try a finer thread before deciding that the stitch itself is the problem.
“Smooth” can also mean different things. If you mean a fine line with less visible texture, try split stitch. If you mean a continuous, flowing line that is easy to notice, try stem stitch. The two stitches draw different kinds of lines.
What if the outline will be covered by filling?
Choose split stitch when you need a guide beneath satin stitch or long and short stitch. Work a fine outline along the edge of the shape, then place the filling stitches over it so the guide does not show. This can help keep the edge even and give it a little lift. The Royal School of Needlework's stitch guide describes this as a common use of split stitch.
You can still use stem stitch as a visible finishing outline around a filled shape if that texture suits your design. That is a different effect from a hidden guide beneath the filling. Before you commit, stitch a short sample to check whether the added line looks too heavy beside your fill.
Why does my outline look uneven?
The curve has little corners. Your stitches are likely too long for the bend. Undo a short section and restitch with smaller steps around the tightest part. There is no need to make every stitch in the entire design equally tiny.
The line changes thickness. Check whether your stitch lengths, thread strands, or pull on the thread have changed. On stem stitch, also check that the working thread has stayed to one side throughout the section.
The fabric puckers. You may be pulling the thread too hard or working with fabric that is loose in the hoop. Ease the tension, smooth the fabric, and retry the affected stitches. The thread should lie against the surface without drawing the fabric together.
Split stitch looks like separate little links. Make sure you bring the needle up through the previous stitch. Splitting from the front on the downward motion can make the links more defined. Try a short sample both ways to see which finish fits your project.
Stem stitch looks too thick. Try fewer strands or a finer thread before changing the design. For a very small detail, switch to split stitch and compare the result.
A quick way to choose before you stitch the project
On scrap fabric similar to your project, draw two matching curves: one open curve and one tight curl. Stitch one set in split stitch and the other in stem stitch using the same thread and number of strands. Hold the fabric at normal viewing distance, then look closely at the bends. Choose the line that suits the design at both distances.
If you want to see split stitch named in a real APS pattern, the Aquarius Constellation EM366 embroidery design lists it among its stitches. For more technique ideas, browse APS embroidery articles. When your project is complete, see our guide to framing embroidery at home.
If you want the shortest answer: split stitch is the first pick for a fine, quiet outline or a hidden guide under filling. Stem stitch is the first pick for a smooth-looking, visible line with a gentle twist. On either stitch, shorten the steps around tight curves and let the thread rest on the fabric without pulling it tight.