


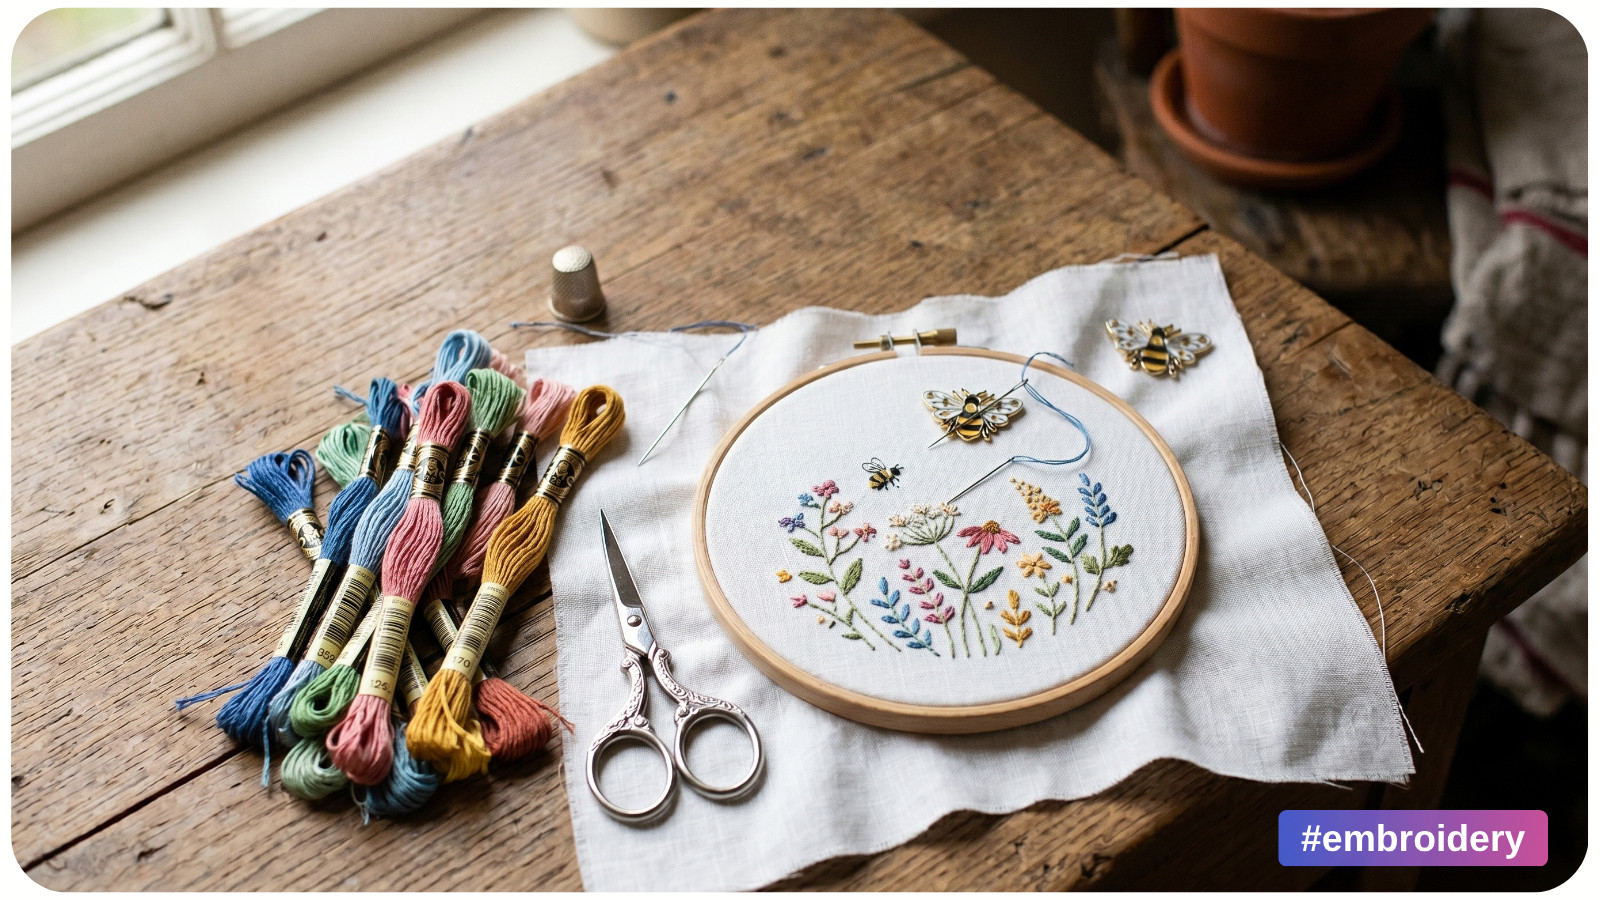
Embroidery is beautifully creative, but the tool aisle can feel overwhelming. Hoops, needles, stabilizers, scissors, floss, fabric, transfer pens – what is essential, and what is just nice to have?
The truth is simple: you do not need a giant kit to make polished embroidery. You need the right basic tools, chosen with accuracy and purpose. Good tools improve stitch tension, protect your fabric, make details cleaner, and help your hands work more comfortably.
Whether you want to stitch floral hoop art, personalize clothing, or create modern wall decor, this guide explains what you actually need – and why each tool matters.
ESSENTIAL EMBROIDERY TOOLS
1. Embroidery Needles. Embroidery needles, also called crewel needles, are one of the most important tools in your kit. They have a sharp point and a longer eye than regular sewing needles, making them suitable for cotton floss.
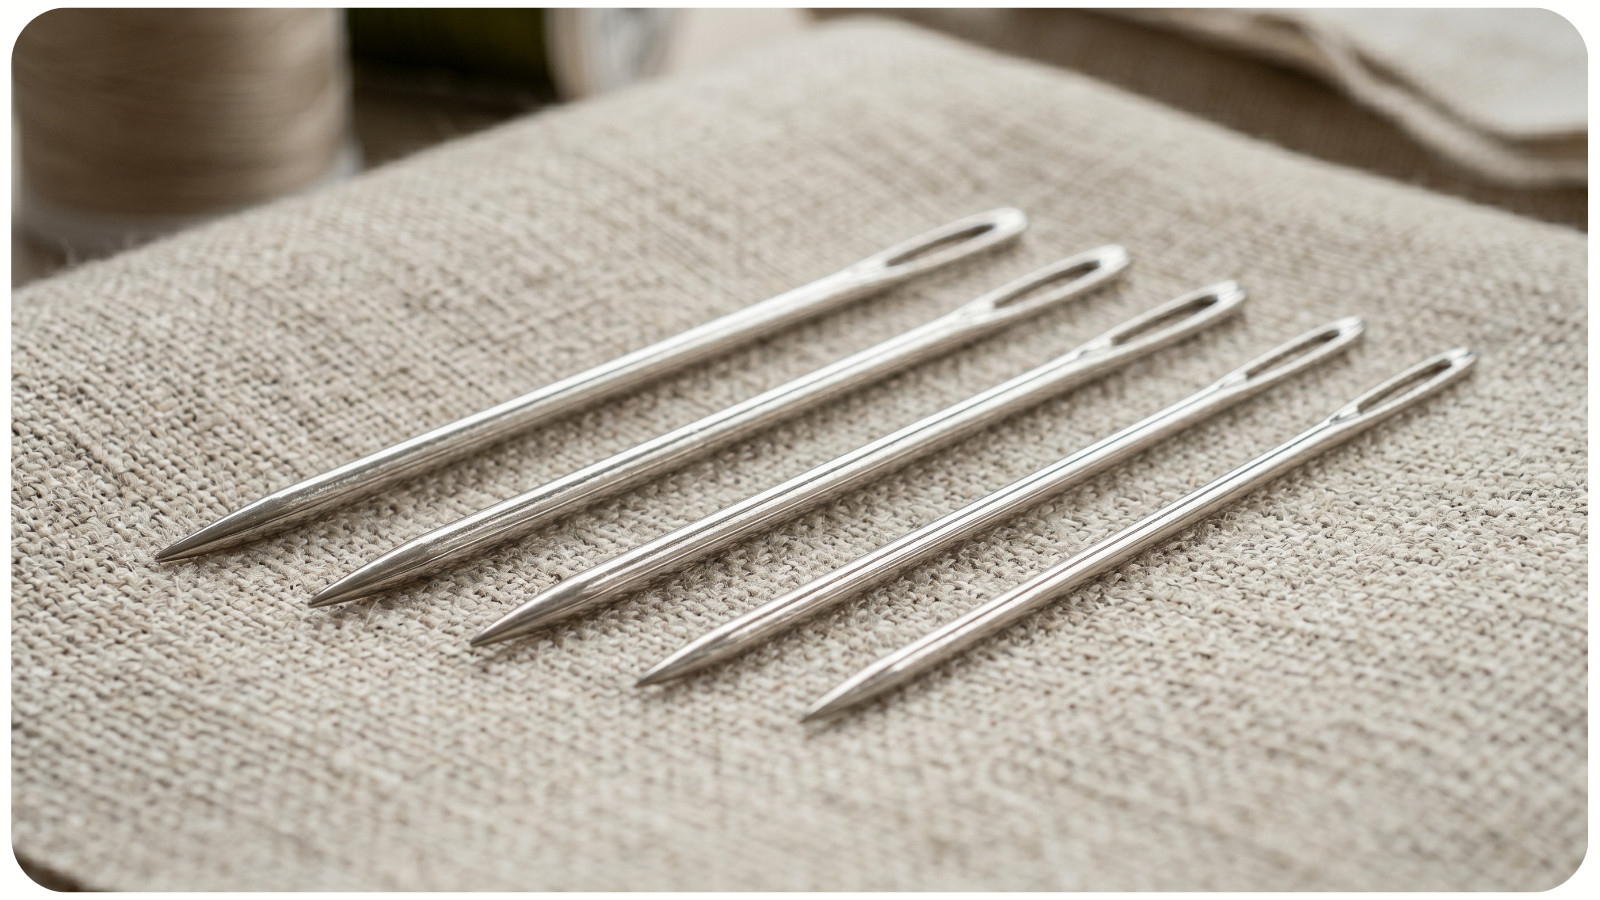
Needle size matters. A needle that is too large can leave visible holes in the fabric. A needle that is too small can shred the floss or make threading difficult.
For most hand embroidery, sizes 5-9 are useful. Use larger needles for thicker thread or multiple strands of floss, and smaller needles for delicate details with one or two strands.
2. Embroidery Hoop. A hoop holds your fabric under tension so your stitches stay even. Without proper tension, satin stitch can look lumpy, french knots may sit unevenly, and outlines can pucker.
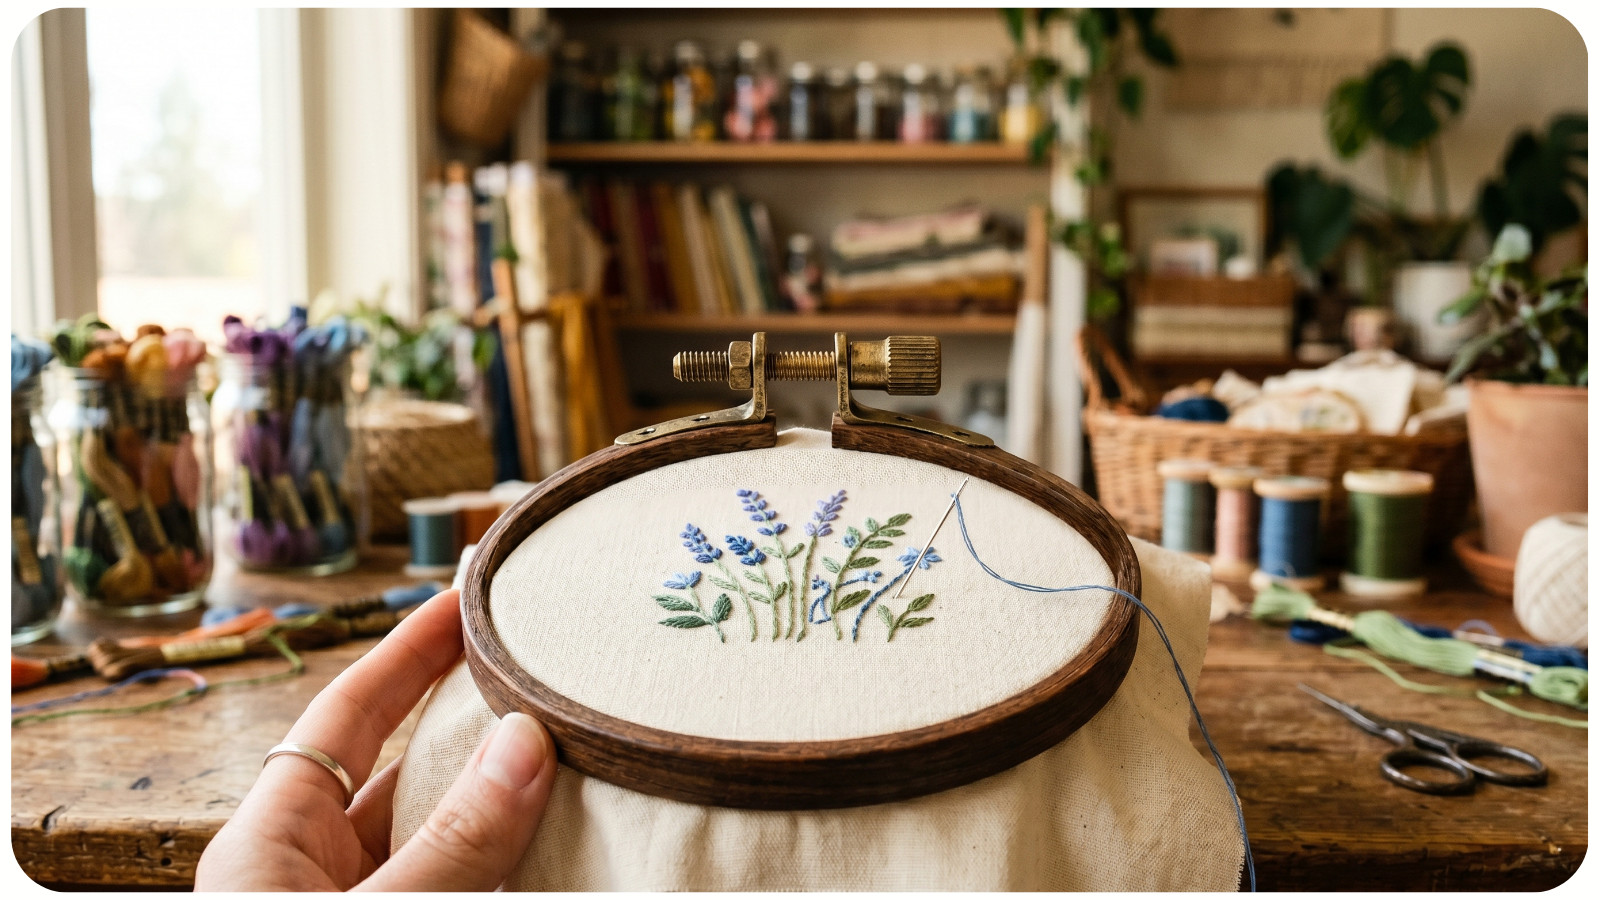
Wooden hoops are popular because they grip fabric well and feel comfortable in the hand. Plastic hoops can also work, especially if they have a strong tightening screw.
Choose a hoop slightly larger than your design area. A 6-inch hoop is excellent for beginners because it is easy to hold and gives enough space for small to medium designs.
3. Embroidery Floss. Cotton embroidery floss is the standard thread for modern hand embroidery. It usually comes in six strands, which can be separated depending on the texture you want.
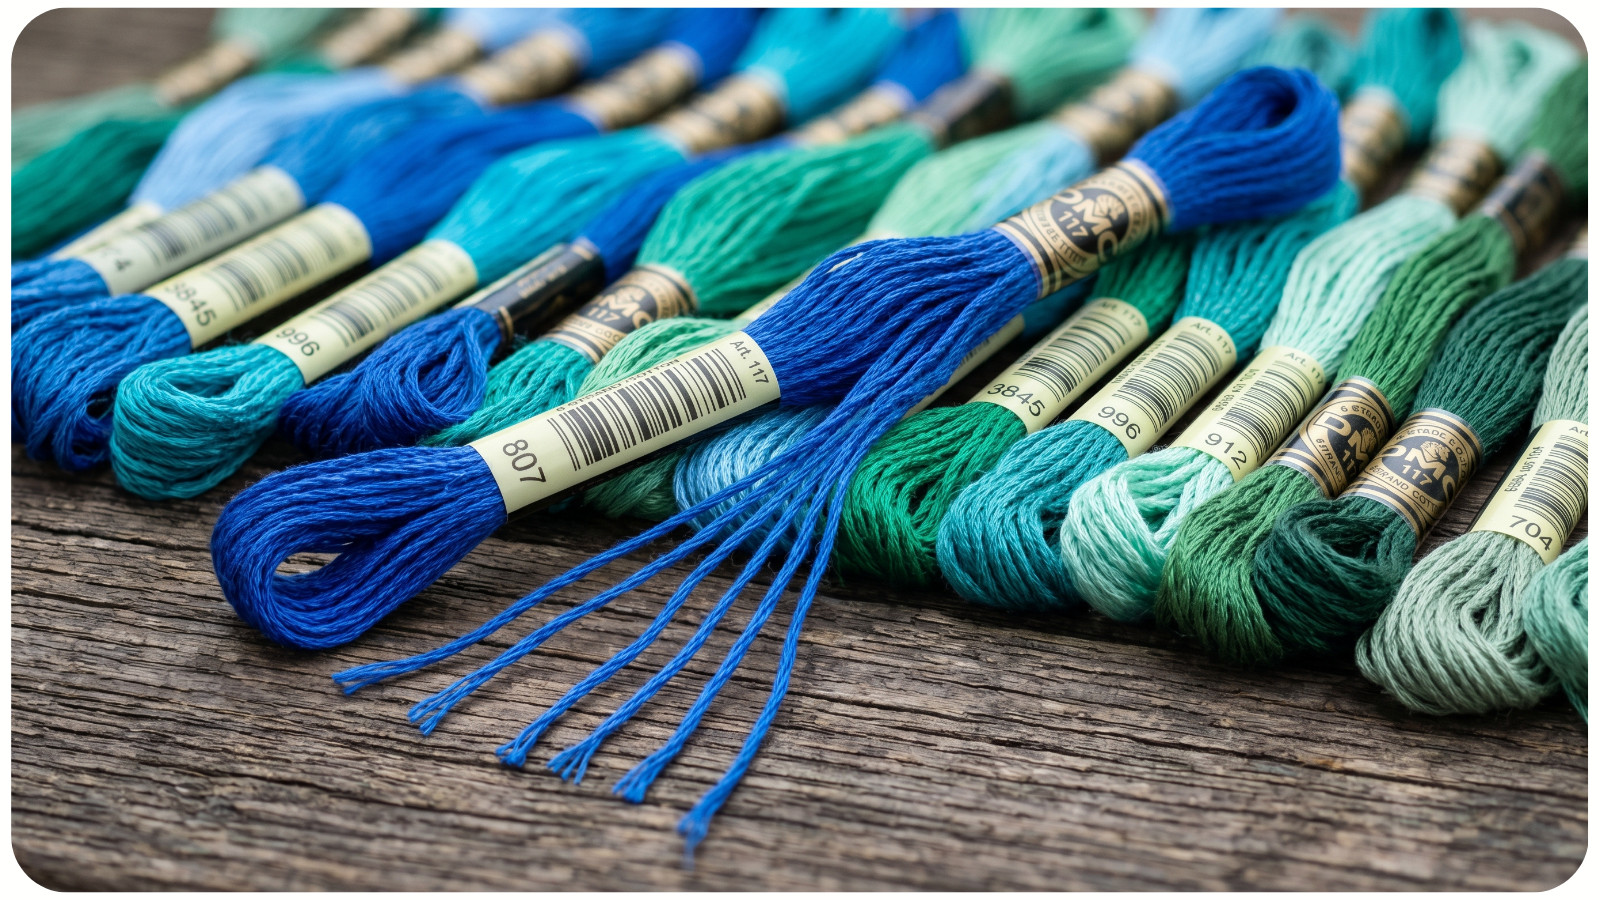
One strand creates fine lines and delicate shading. Two or three strands are ideal for most outlines and fills. All six strands create bold, textured effects.
For accurate color work, keep floss labels or organize colors by number. This is especially helpful when working from Awesome Pattern Studio embroidery patterns, where color planning helps the final design look intentional and balanced.
4. Fabric. Fabric affects stitch quality more than many beginners realize. A stable, tightly woven fabric supports stitches better than stretchy or loose fabric.
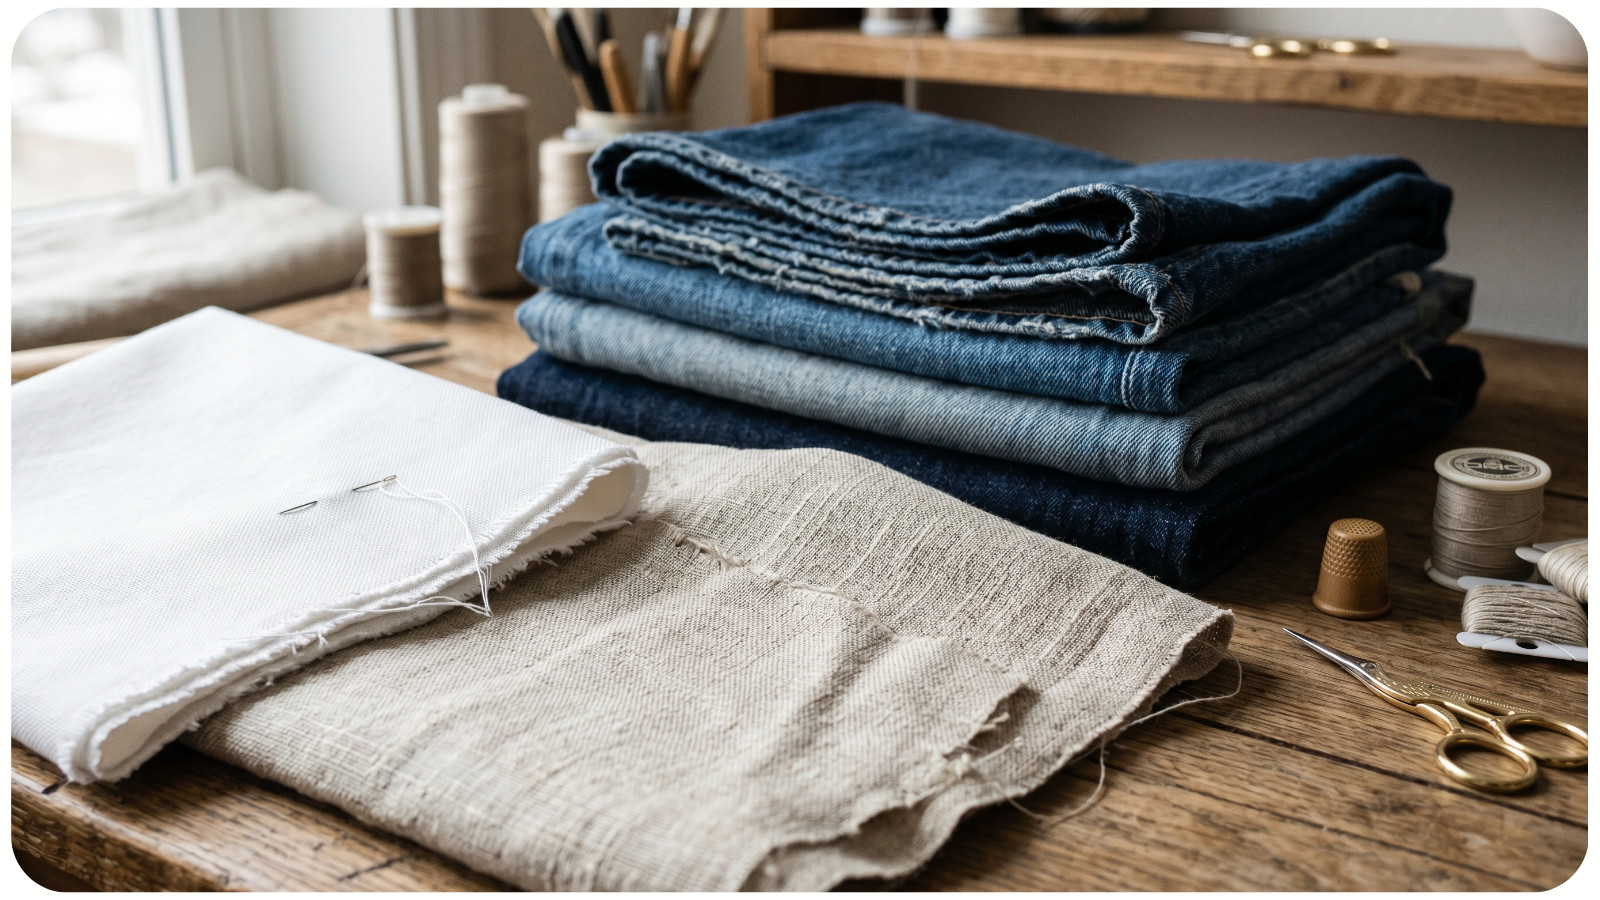
Good beginner choices include cotton, linen-cotton blends, and evenweave fabric. Avoid very thin or slippery fabrics until you are comfortable controlling tension.
For clothing customization, denim, canvas, and medium-weight cotton are excellent options. Stretchy T-shirts require stabilizer so the fabric does not distort while stitching.
5. Small Sharp Scissors. Embroidery scissors should be small, sharp, and precise. Clean thread cuts prevent fraying and make the back of your work neater.
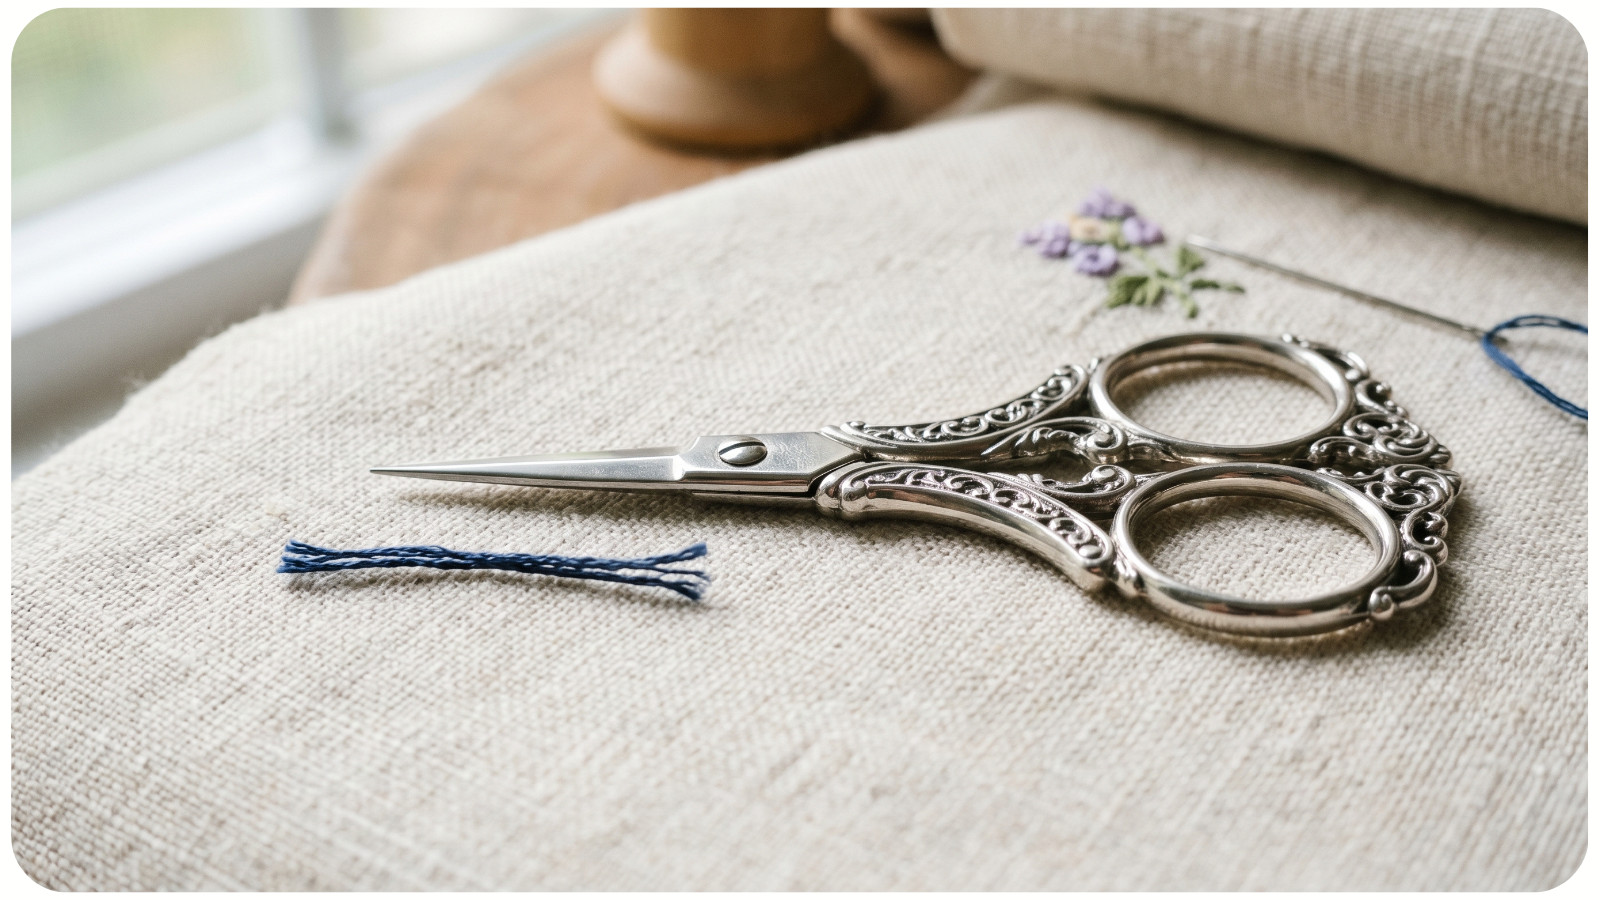
Curved or fine-tip scissors are especially helpful when trimming close to the fabric. Do not use dull household scissors for floss; they can crush the fibers instead of cutting them cleanly.
HELPFUL TOOLS THAT IMPROVE ACCURACY
1. Transfer Tools. Before stitching, you need a way to place the design on fabric. Common transfer tools include water-soluble pens, heat-erasable pens, transfer paper, and printable stabilizer.
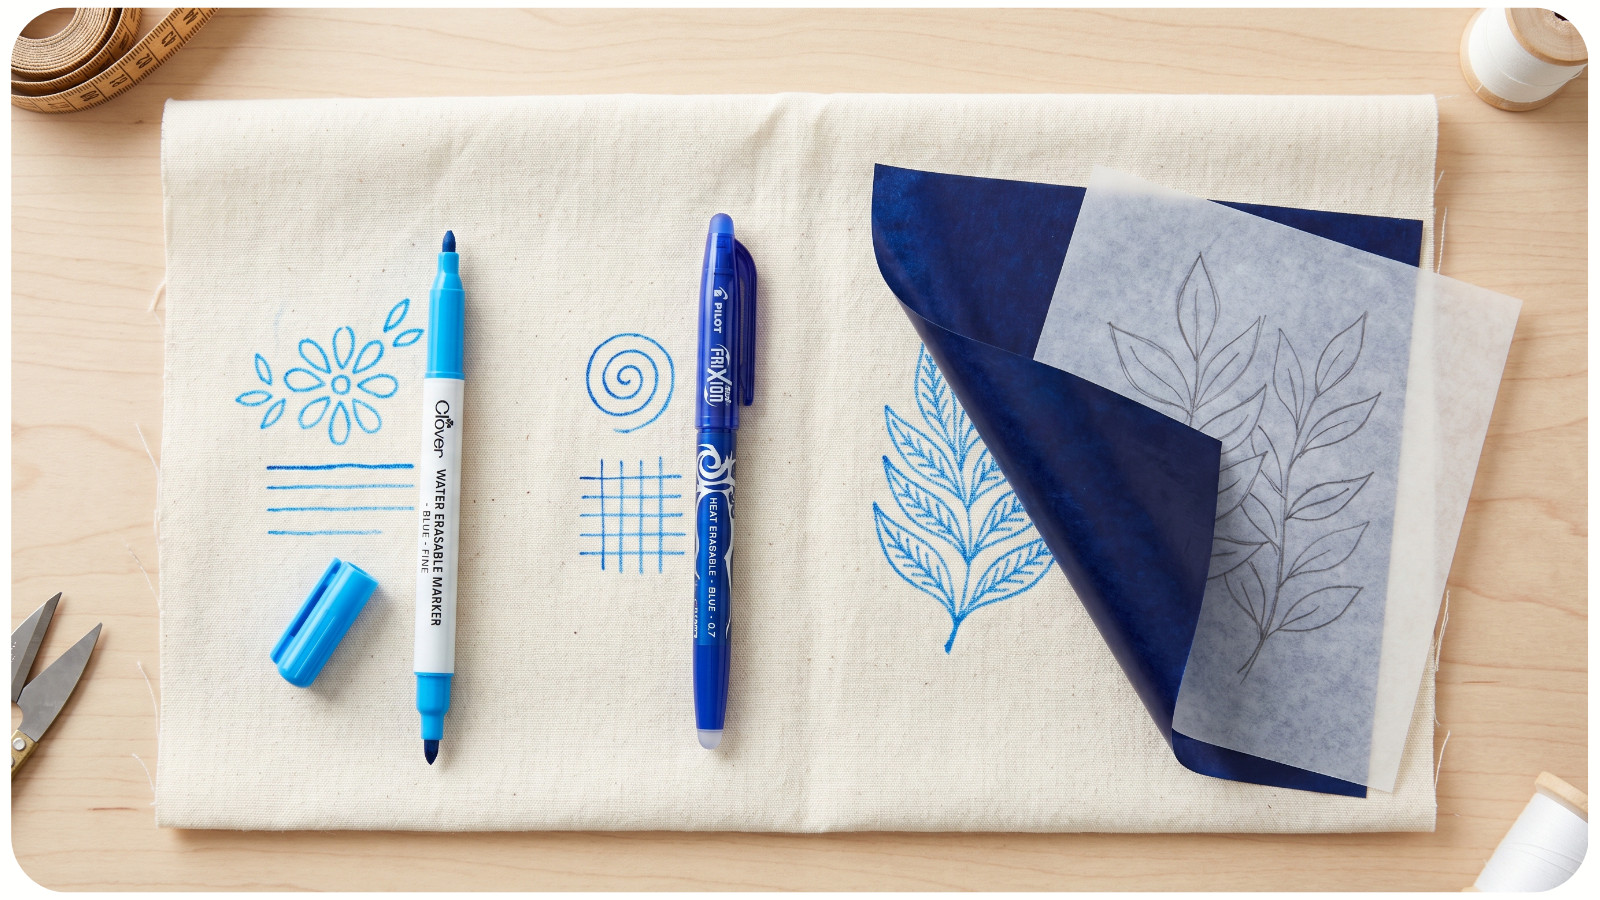
Water-soluble pens are useful for light fabrics, but always test first. Heat-erasable pens disappear with heat, but marks may return in cold conditions. Transfer paper works well for darker fabrics, while printable stabilizer is excellent for detailed designs.
Accuracy during transfer helps your needle follow clean curves, balanced lettering, and symmetrical shapes.
2. Stabilizer. Stabilizer supports fabric while you stitch. It is especially important for clothing, stretchy fabric, thin cotton, and dense stitches.
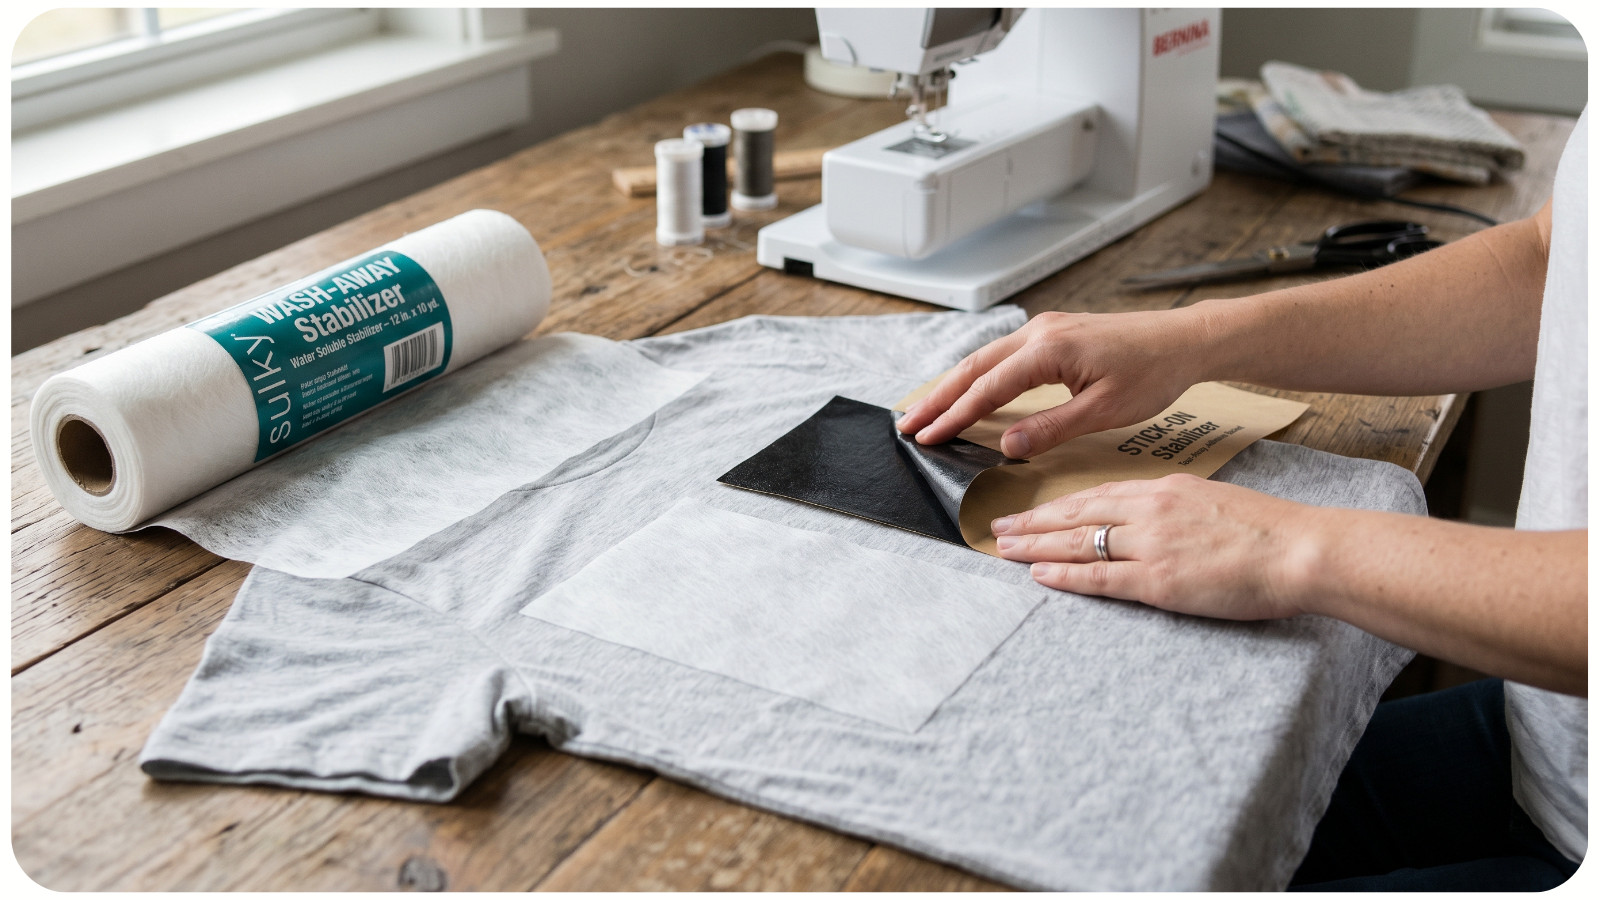
There are several types: tear-away, cut-away, wash-away, and stick-on stabilizer. Wash-away stabilizer is popular for hand embroidery because it disappears after soaking, leaving only the stitches behind.
Use stabilizer when stitching satin stitch fills, dense florals, or textured areas with french knots. It helps prevent puckering and keeps the fabric surface smooth.
3. Needle Threader. A needle threader is not mandatory, but it can save time and reduce frustration. It is especially useful when working with multiple strands of floss or smaller needle eyes.
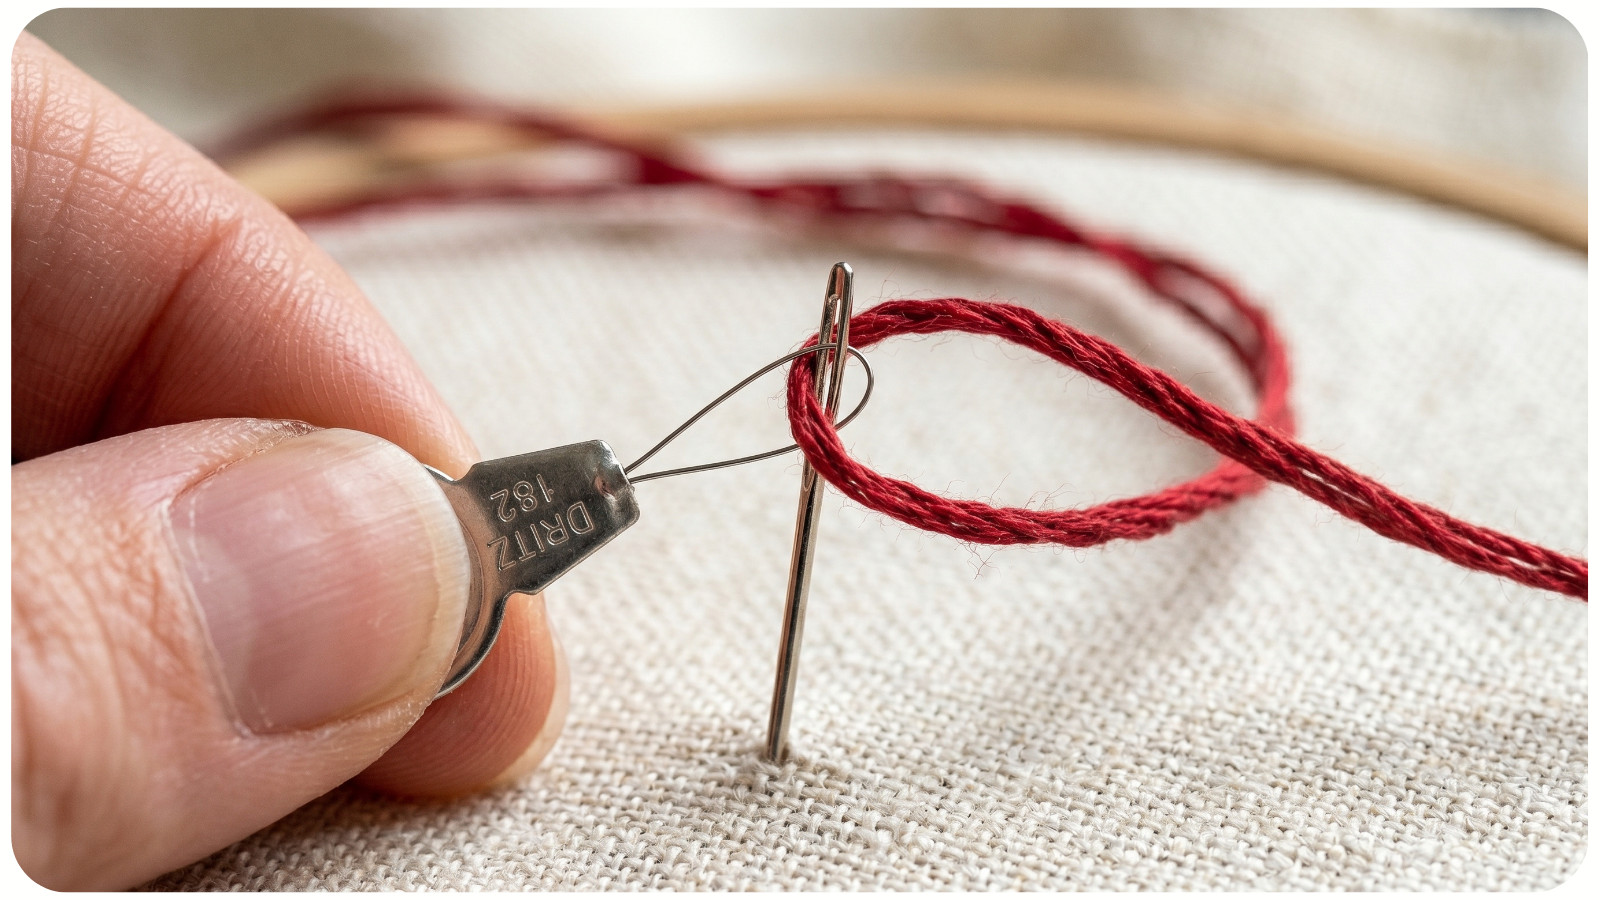
Choose a sturdy threader if you stitch often. Thin wire threaders can break easily when pulled through tight needle eyes.
TOOLS FOR COMFORT AND ORGANIZATION
1. Good Lighting. Accurate embroidery depends on visibility. Poor lighting can make it difficult to see weave direction, thread placement, and tiny stitch gaps.
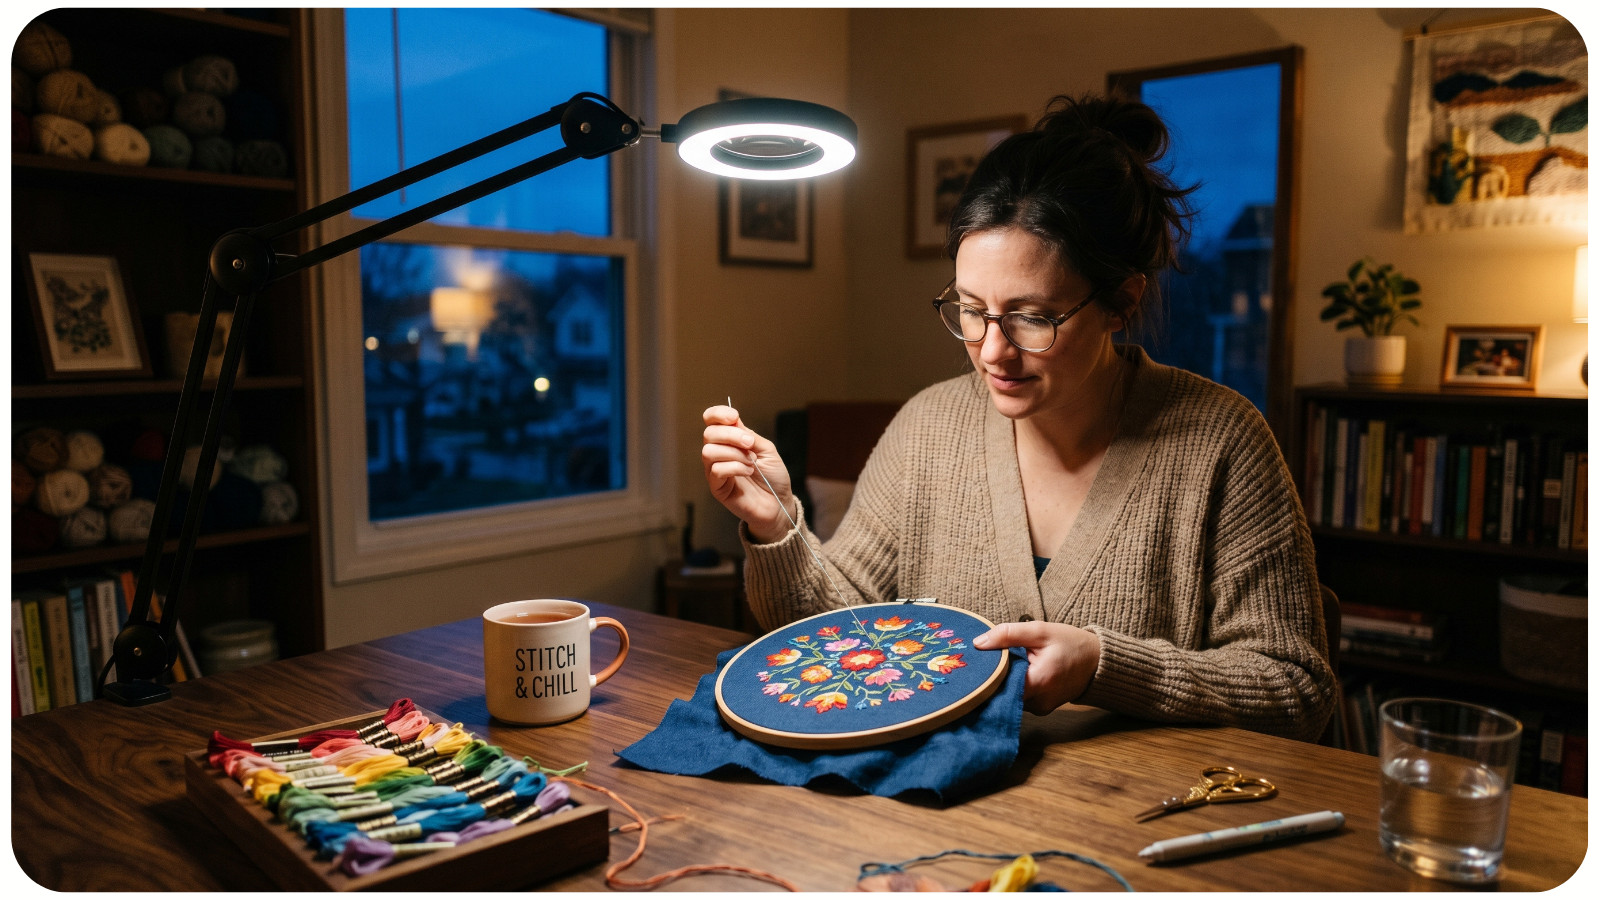
A daylight lamp is a worthwhile upgrade if you stitch in the evening. It helps you judge colors more accurately and reduces eye strain.
2. Thread Organizer. Loose floss becomes tangled quickly. A simple organizer, bobbins, floss cards, or labeled bags can keep colors clean and easy to find.
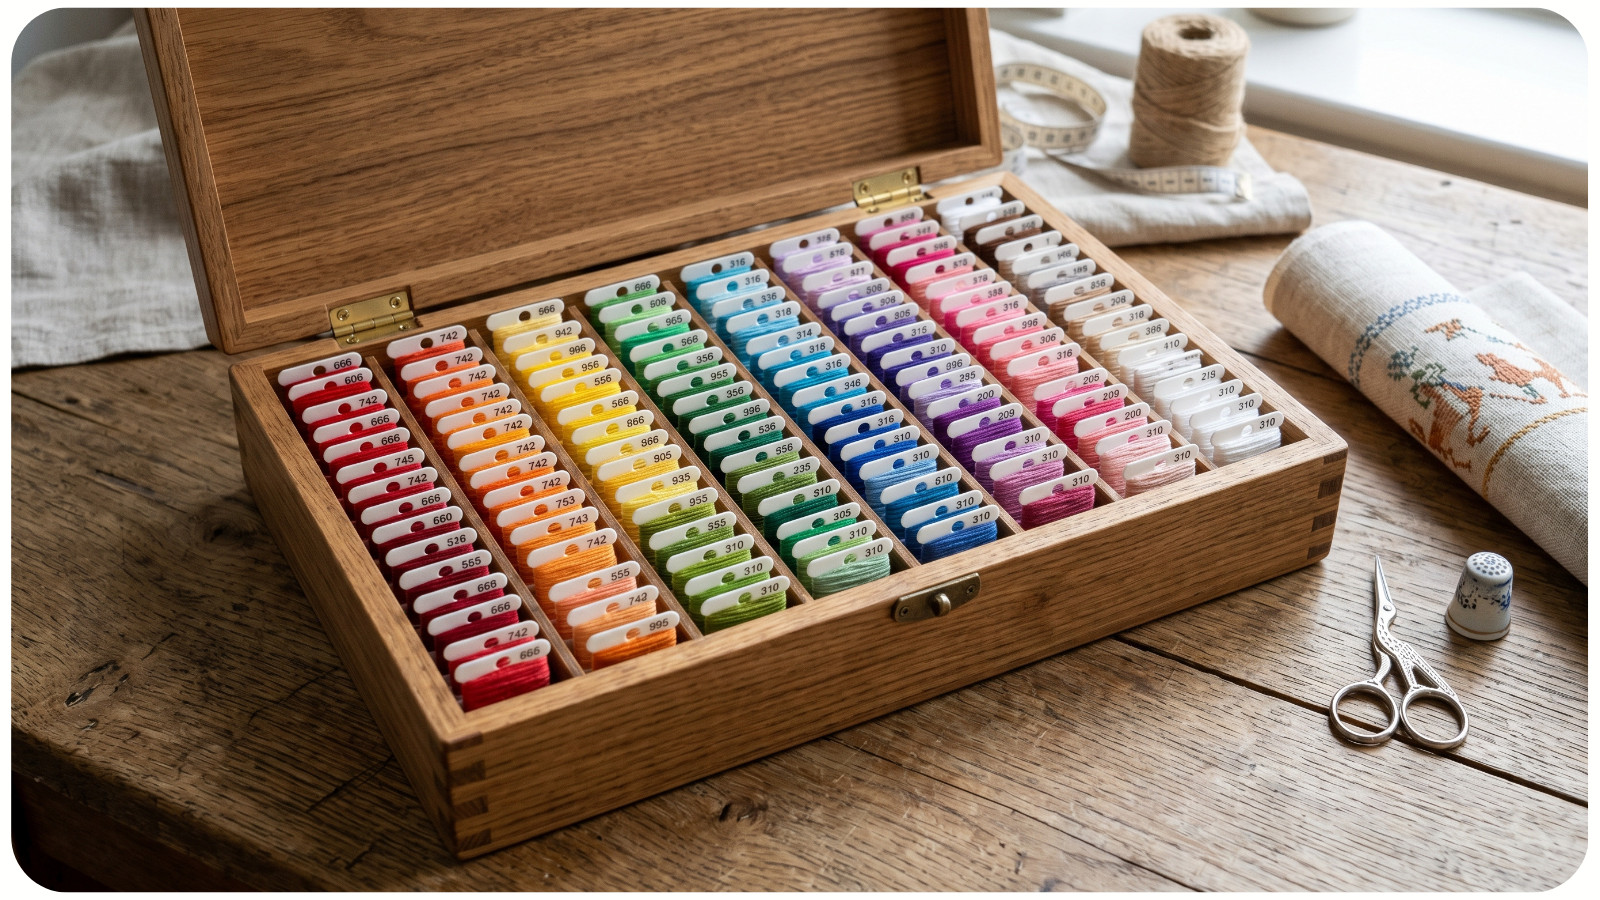
Organization is especially useful for multi-color projects, floral designs, and detailed hoop art. It also makes your stitching sessions more relaxing because you spend less time searching and more time creating.
3. Needle Minder. A needle minder is a magnetic holder that keeps your needle safely attached to your fabric or hoop when you pause. It prevents lost needles and protects your work area.
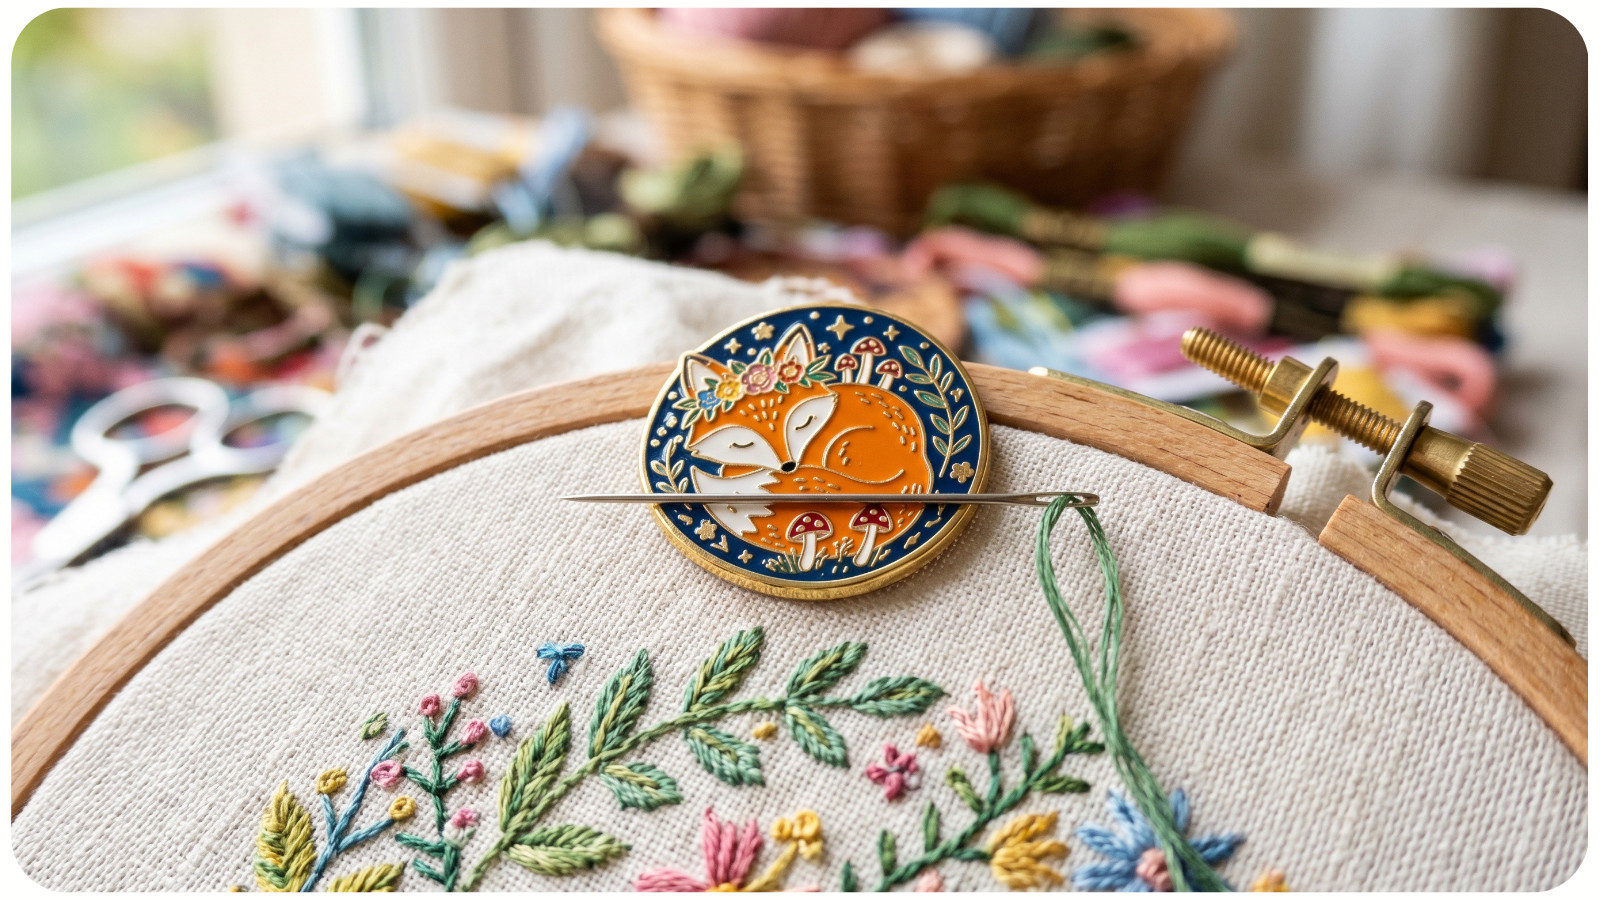
It is optional, but once you use one, it becomes hard to go back.
PRO-TIP: MATCH THE TOOL TO THE STITCH
For clean embroidery, think about the stitch before choosing your tools.
1. For satin stitch, use smooth fabric, proper hoop tension, and fewer floss strands for a flatter finish. Move the needle from one edge of the shape to the other in close, parallel lines, letting each stitch lie neatly beside the last.
2. For french knots, use a needle that allows the wrapped floss to pass through the fabric without forcing. Wrap the thread around the needle, hold the working thread gently taut, then guide the needle back down close to the entry point – not in the same hole.
3. For backstitch lettering, use one or two strands and a fine needle. Bring the needle up ahead of the previous stitch, then move it backward into the end of the last stitch to create a smooth, continuous line.
WHAT YOU DO NOT NEED RIGHT AWAY
Beginners do not need every specialty tool. You can wait before buying expensive stands, advanced lighting systems, large thread collections, specialty hoops, or dozens of needle types.
Start with quality basics: fabric, hoop, needles, floss, scissors, and a transfer method. Add tools only when your projects require them.
CONCLUSION
Embroidery becomes easier, cleaner, and more enjoyable when your tools support your technique. The right needle protects your floss. The right hoop controls tension. The right fabric and stabilizer keep stitches smooth. The right transfer method gives you confidence before the first stitch begins.
With a thoughtful starter kit and a beautiful design from Awesome Pattern Studio, you can focus less on guessing and more on creating textured, colorful embroidery you are proud to display.