


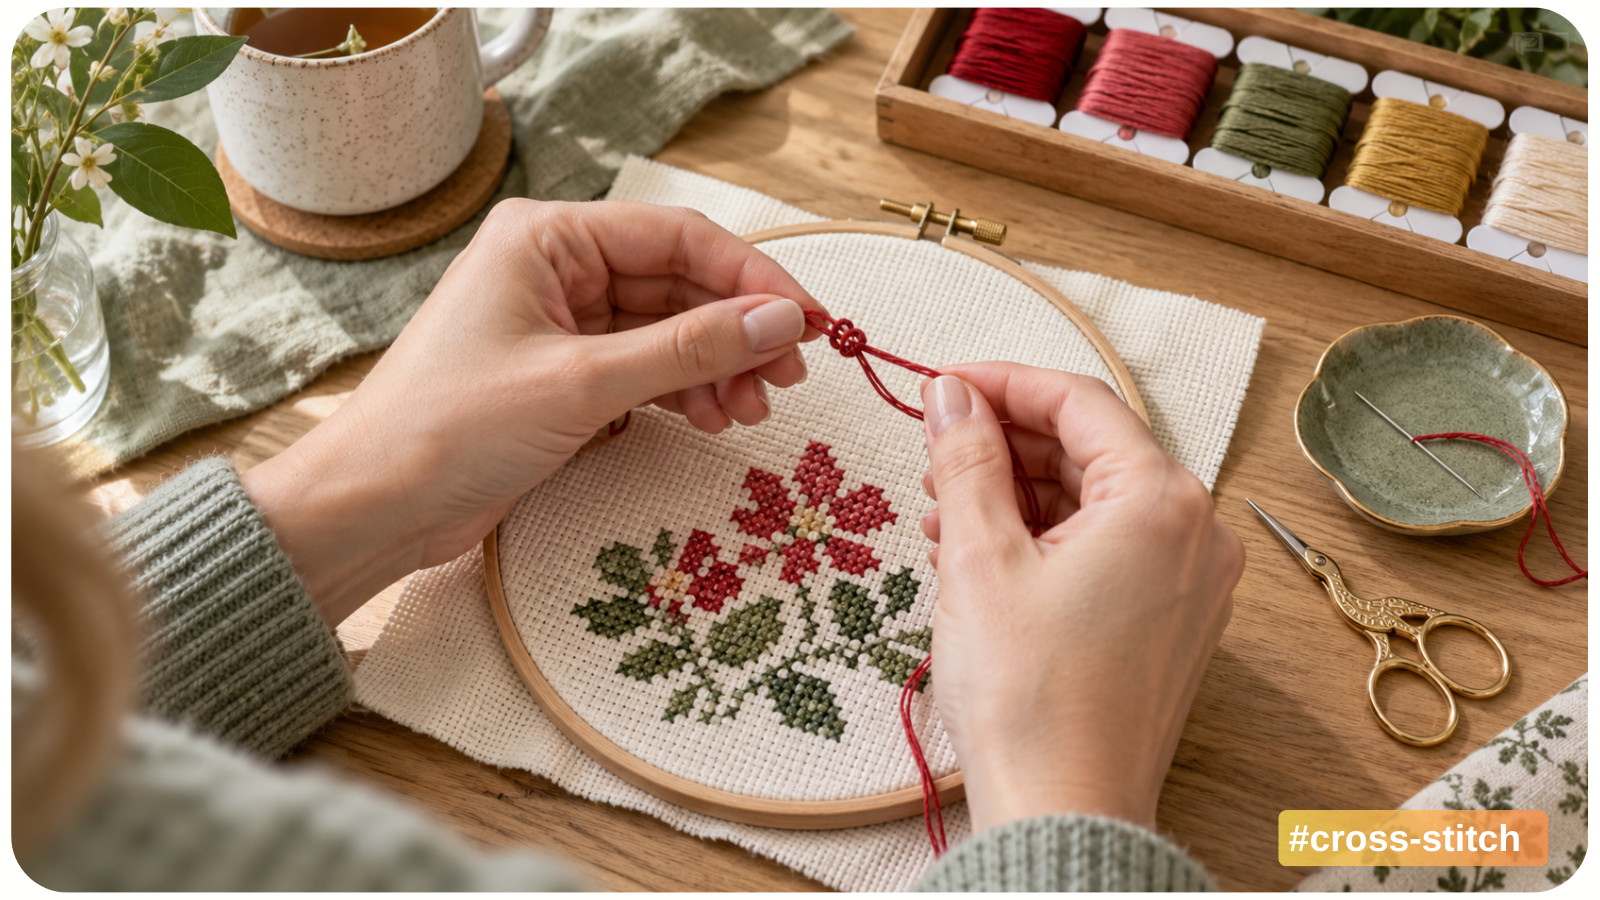
You pull the needle through the fabric, feel sudden resistance, and discover a tiny knot hiding on the back. It may look as if the floss tied itself out of spite, but cross-stitch knots are rarely random. Most develop when twist, slack, friction, or damaged fibers build up unnoticed.
Once you recognize what is happening, you can stop many knots before they tighten and fix the rest without disturbing the front of your work.
First, Identify What Kind of Problem You Have
Not every tangle has the same cause. Before changing your technique, look at the symptom.
What you notice | Most likely cause | First thing to try |
|---|---|---|
Small loops form on the back | The thread is pulled through before all the slack clears | Slow the final part of each pull and watch or feel the back |
The floss coils around itself | Twist is accumulating as the needle rotates | Let the needle hang freely and untwist |
Knots appear near the end of every strand | The working thread is too long or worn | Start with a shorter length and replace fuzzy floss |
The thread catches in the same area | A loose tail, existing knot, or dense stitch path is snagging it | Inspect the back and trim or secure loose ends |
Floss frays near the needle eye | The needle may be too small, damaged, or rough | Use a smooth tapestry needle that comfortably accommodates the thread |
Pulling harder treats none of these causes. It turns a loose, reversible tangle into a tight knot.
Cause 1: Your Working Thread Is Too Long
A long strand seems efficient because it means fewer stops to rethread the needle. In practice, it passes through the fabric many more times. Each pass adds friction and handling, making the floss fuzzy, weak, and more willing to cling to itself.
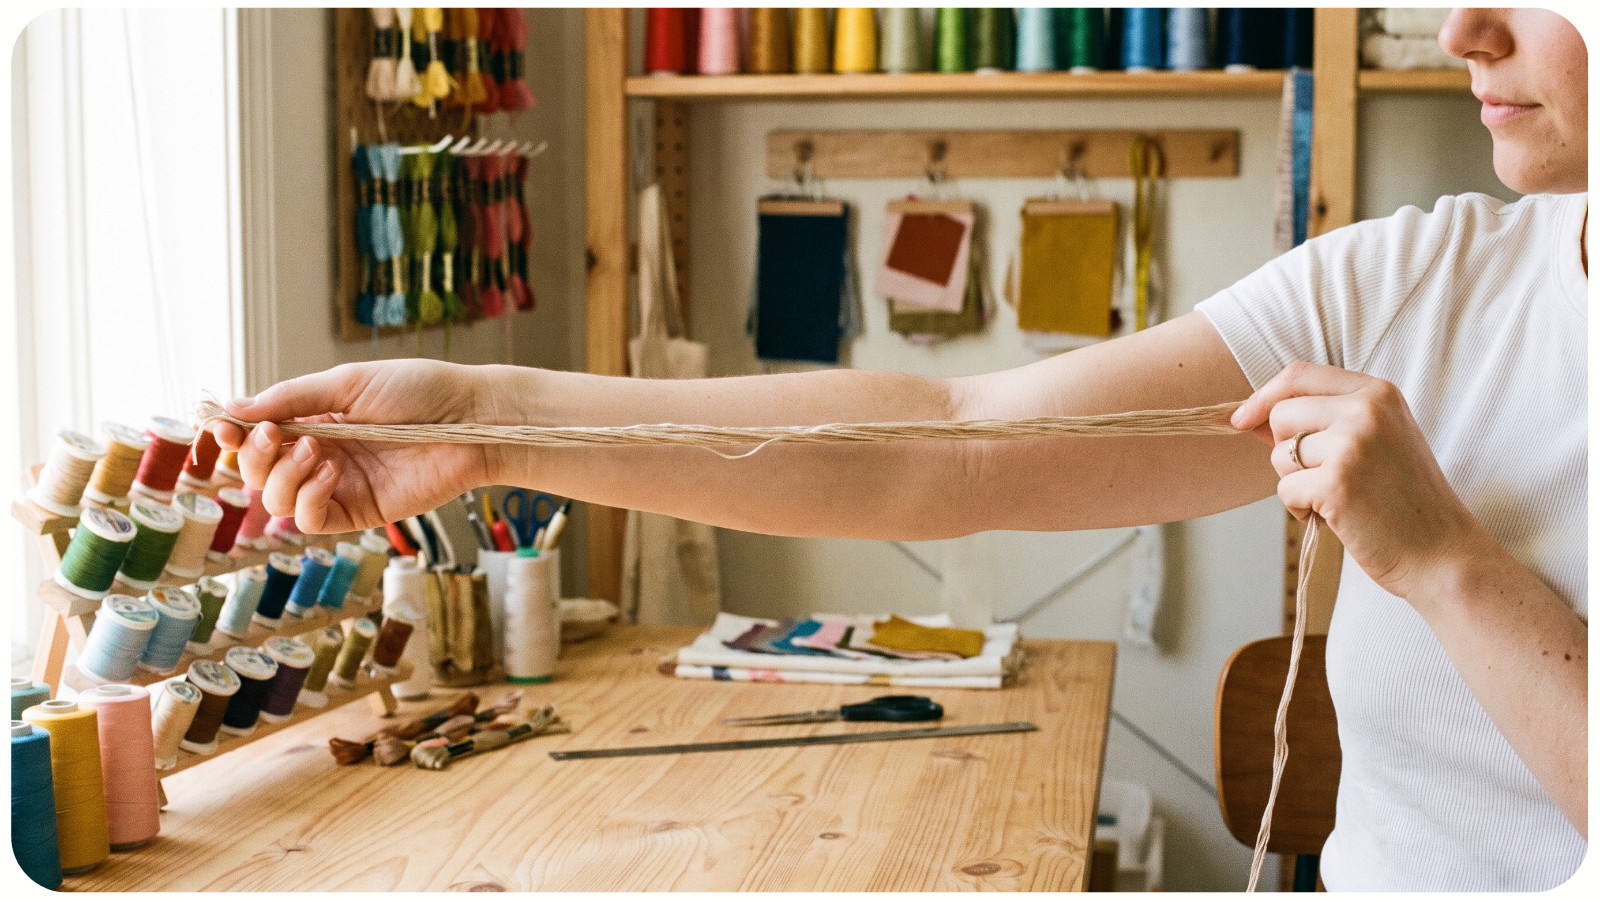
For standard stranded cotton, a working length of about 18 inches is a practical starting point - roughly the distance from your fingertips to your elbow. Treat that as a guideline rather than a rule. Use a shorter length for metallic floss, rough fabric, dense stitched areas, or any thread that frays easily.
If a strand begins to look dull or fuzzy, replace it even if some length remains. Saving six inches of tired floss is rarely worth unpicking a knot buried beneath a dozen stitches.
Cause 2: The Needle Keeps Adding Twist
Every time you pick up and turn the needle, you may rotate it slightly. Repeat that movement through several stitches and the strands begin wrapping around each other. Twisted strands are less likely to lie flat and more likely to form a loop that tightens into a knot.
Watch for the warning signs: the thread curls when relaxed, the strands resemble a tiny rope, or the floss tries to double back on itself.
The simplest fix is the dangle method. Hold the fabric securely and let the threaded needle hang below it for a moment. The needle will spin as the stored twist releases. Do this whenever the floss starts to coil rather than waiting for a knot.
You can also rotate the needle gently in the opposite direction as you stitch, although this takes more attention and depends on how you hold the needle. Letting it dangle is easier to learn and gives you a visible result: relaxed strands that hang more freely.
Cause 3: The Strands Were Separated as a Group
Six-strand embroidery floss is designed to be divided. When you pull two strands away from the bundle together, they often twist around each other and drag the remaining strands into a tangle. If you are still getting comfortable with floss types, this guide to choosing cross-stitch threads explains the basic options.
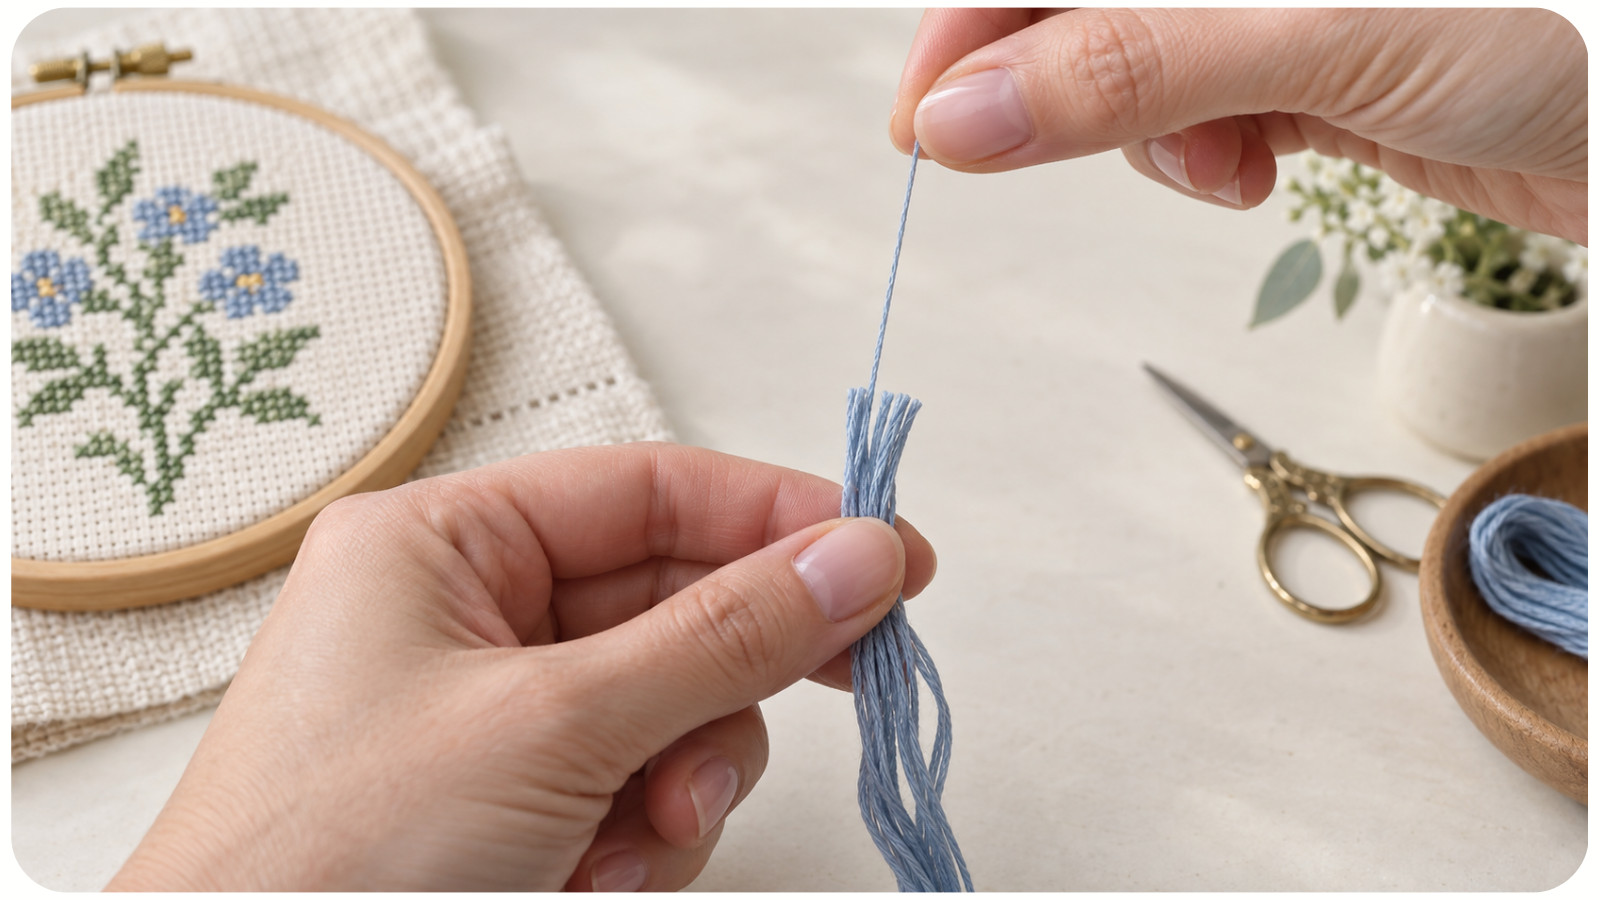
Instead, cut the length you need, hold it loosely, and pull out one strand at a time. Draw that single strand straight up while allowing the rest of the bundle to gather below your fingers. Then repeat and recombine the number of strands required by the pattern.
Individually separated strands settle beside one another more cleanly and are easier to align before threading the needle.
One important exception: pearl cotton and other non-divisible threads are meant to be used as manufactured. Do not try to split them as if they were standard six-strand cotton.
Cause 4: A Loop Is Tightening on the Back
Many “mystery knots” begin as ordinary slack. As the needle comes through the fabric, a loop remains on the back. The working thread passes through that loop, and your next pull turns it into a knot.
This happens more often when you stitch quickly, pull sideways instead of smoothly through the hole, or catch the working thread on a loose starting tail.
As you pull, slow down near the end and feel whether the thread is traveling freely. If the stitch stops short or the tension suddenly changes, pause immediately. You do not need to turn the project over every time.
Keep starting and ending tails neatly secured under existing stitches, using the method appropriate for your project. Avoid leaving long loose ends where the working thread can catch them.
Cause 5: The Needle Is Increasing Friction
For counted cross-stitch, a blunt tapestry needle should pass through the fabric holes without piercing threads unnecessarily. Its eye must also be large enough to carry the selected number and type of floss strands without scraping them on every pass. Our cross-stitch terminology guide covers tapestry needles and other common terms.
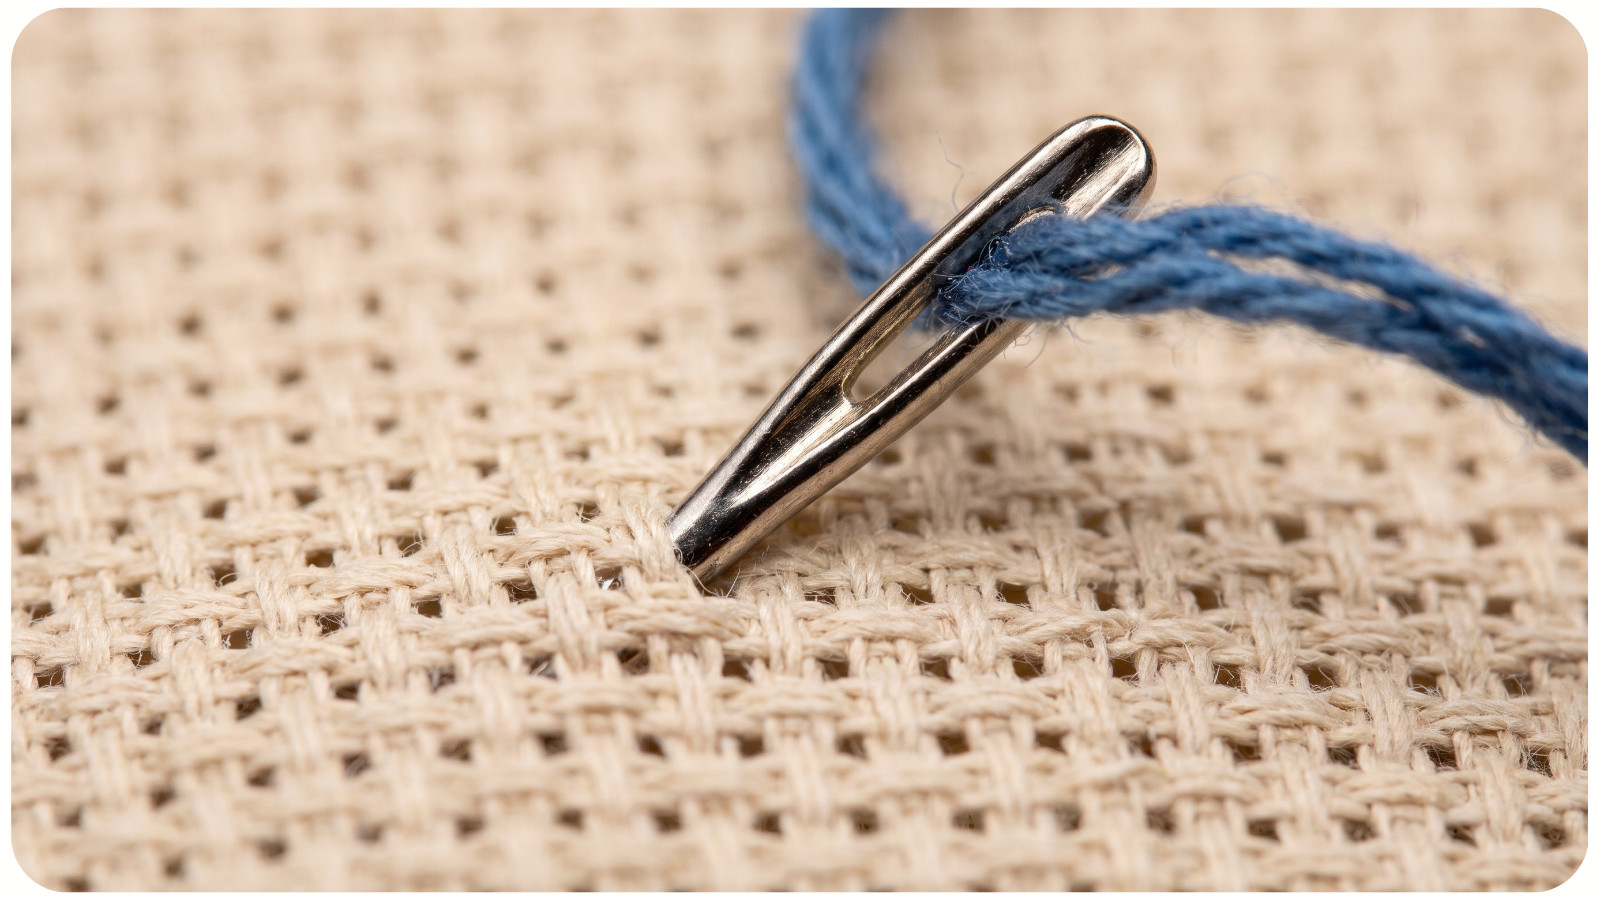
If the eye is too small, the floss may fray near the needle. A burr, corrosion, or rough inner eye can damage the thread even when the needle is technically the correct size. Run a fresh strand through the eye and pull it back and forth gently. If it repeatedly catches or becomes fuzzy in the same place, retire the needle.
A larger needle is not automatically better: it should move comfortably without forcing the fabric hole open. Use size charts as a starting point, then judge the drag in your project. You can compare suitable cross-stitch supplies when replacing worn tools or materials.
Cause 6: The Working Thread Is Catching on the Project
A thread can snag on more than the fabric. Check for split stitches, hidden knots, rough frame hardware, jewelry, dry skin, and parked threads from other colors.
In dense sections, take the needle through a clear fabric hole rather than forcing it through existing stitches. If you use the sewing method, try the stab method for a while, taking the needle straight down and back up. Its controlled path makes slack loops easier to notice.
How to Undo a Knot Without Damaging the Stitching
When you feel resistance, stop while the knot is still loose.
1. Turn the work over and place it on a clean, well-lit surface.
2. Give the working thread a little slack. Do not keep pulling from the front.
3. Use the blunt tip of your tapestry needle - or a second needle - to open the loop gently.
4. Trace which segment passed through the loop, then ease it backward until the knot releases.
5. Smooth the floss and check for fuzzing before you continue.
If the knot has tightened, work the needle tip into its center from different angles. Tiny movements are safer than one forceful pull. Keep sharp scissors away unless you have clearly isolated the working thread.
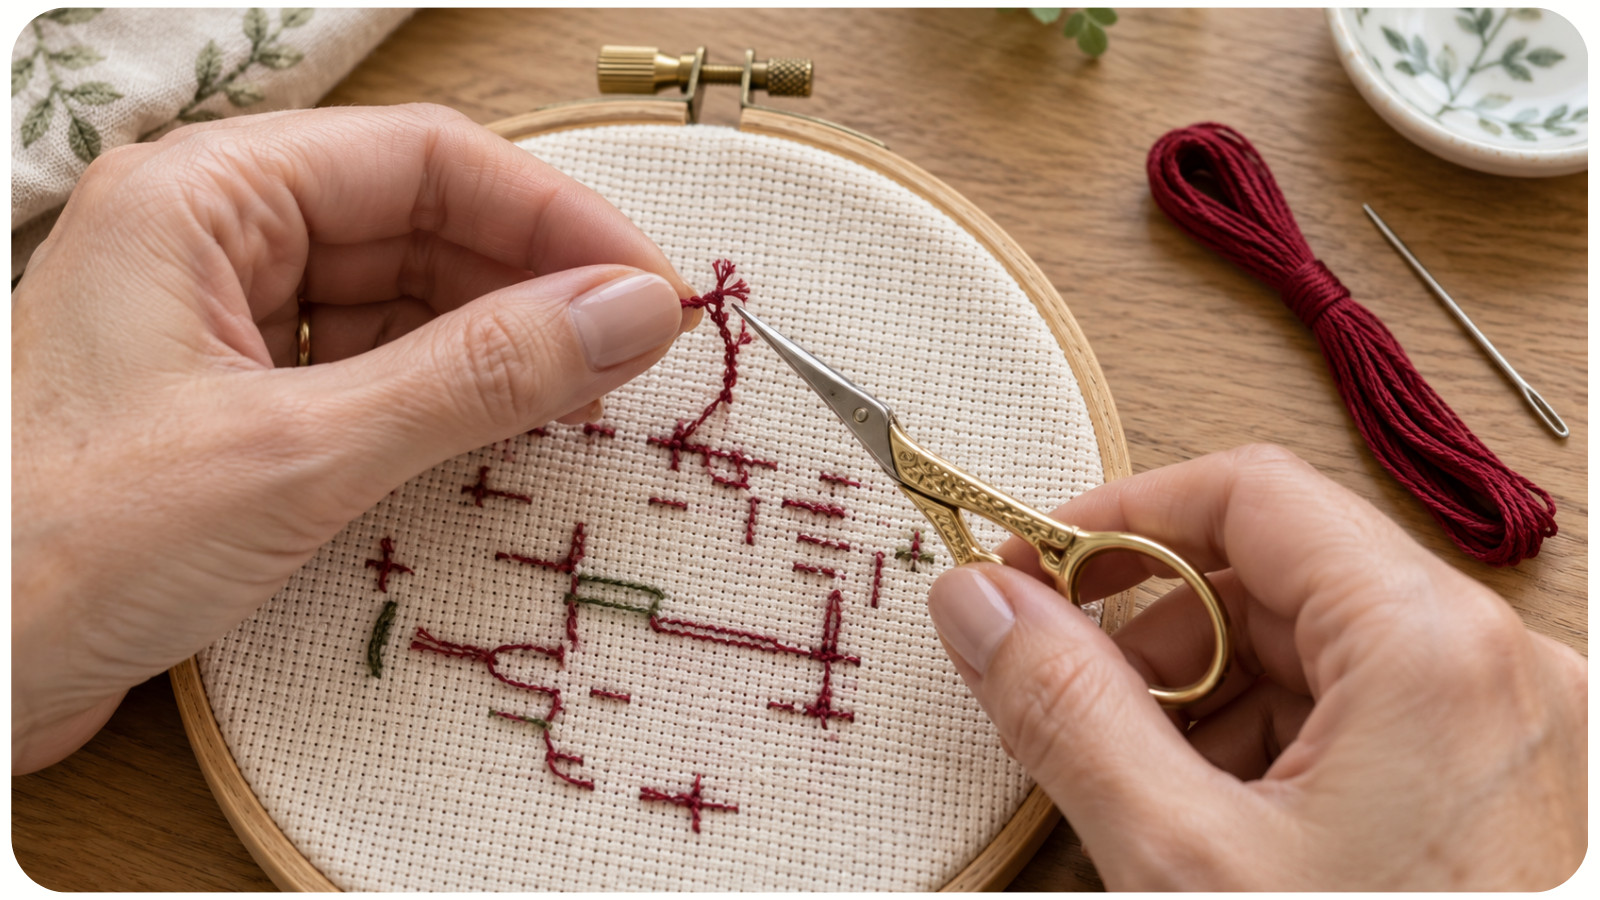
Sometimes cutting is the correct fix. If the knot is buried under stitches, the floss is badly frayed, or loosening it would distort the fabric, cut only the affected working thread. Remove the damaged section, secure the usable tail beneath neighboring stitches, and restart with fresh floss. A clean restart is better than a bulky knot that changes the tension or shows through to the front.
What About Thread Conditioner?
Thread conditioner can reduce static or tame some specialty threads, but it should not be the first response to knotting cotton floss. First correct thread length, twist, strand separation, and needle friction.
If you choose to use a conditioner, follow its instructions and test it on a spare piece of the same thread and fabric. A product can alter the feel, sheen, or behavior of a thread, and not every coating is appropriate for every fiber or for pieces that will later be washed.
A Simple Anti-Knot Routine
Before you begin, cut a manageable length, separate strands one at a time, recombine them neatly, and use a clean tapestry needle with a smooth eye. While stitching, pull steadily rather than sharply. Pause when you feel resistance, let the needle dangle whenever the floss starts to coil, and replace fuzzy thread instead of trying to use every last inch.
If you are preparing for a new project, explore these cross-stitch patterns for beginners to start with a design that matches your experience level.
This routine removes the conditions that turn normal thread movement into repeated knots. The goal is not to stitch more forcefully - it is to notice twist, slack, and wear before they tighten.