


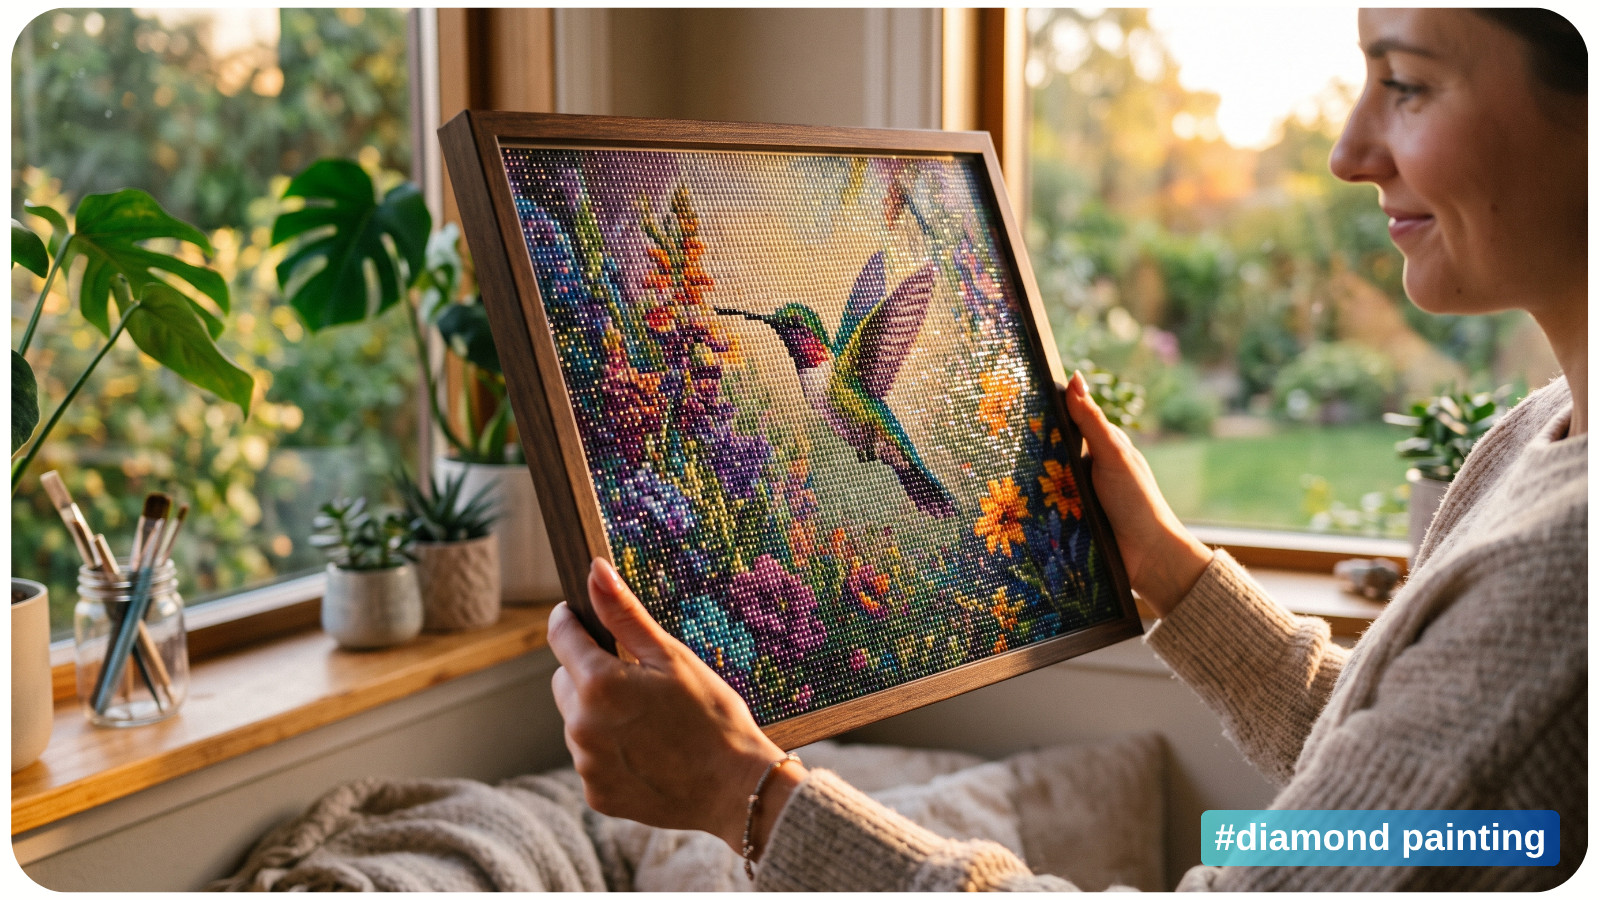
You press a drill into place, move to the next row, and then hear a tiny click as the first one lifts again. Why do diamond painting drills keep popping off? The usual causes are weak or dirty adhesive, drills with uneven bottoms, crowded square drills, crooked placement, light pressure, or a canvas that keeps bending.
Do not reach for sealer right away. First, find out whether the problem is the drill, the row, or the adhesive. A small correction is often enough.
Why Diamond Painting Drills Keep Popping Off
A popping drill is a resin or acrylic piece that lifts, tilts, or comes off the adhesive canvas after placement. The problem may affect one drill, a row, or a larger area.
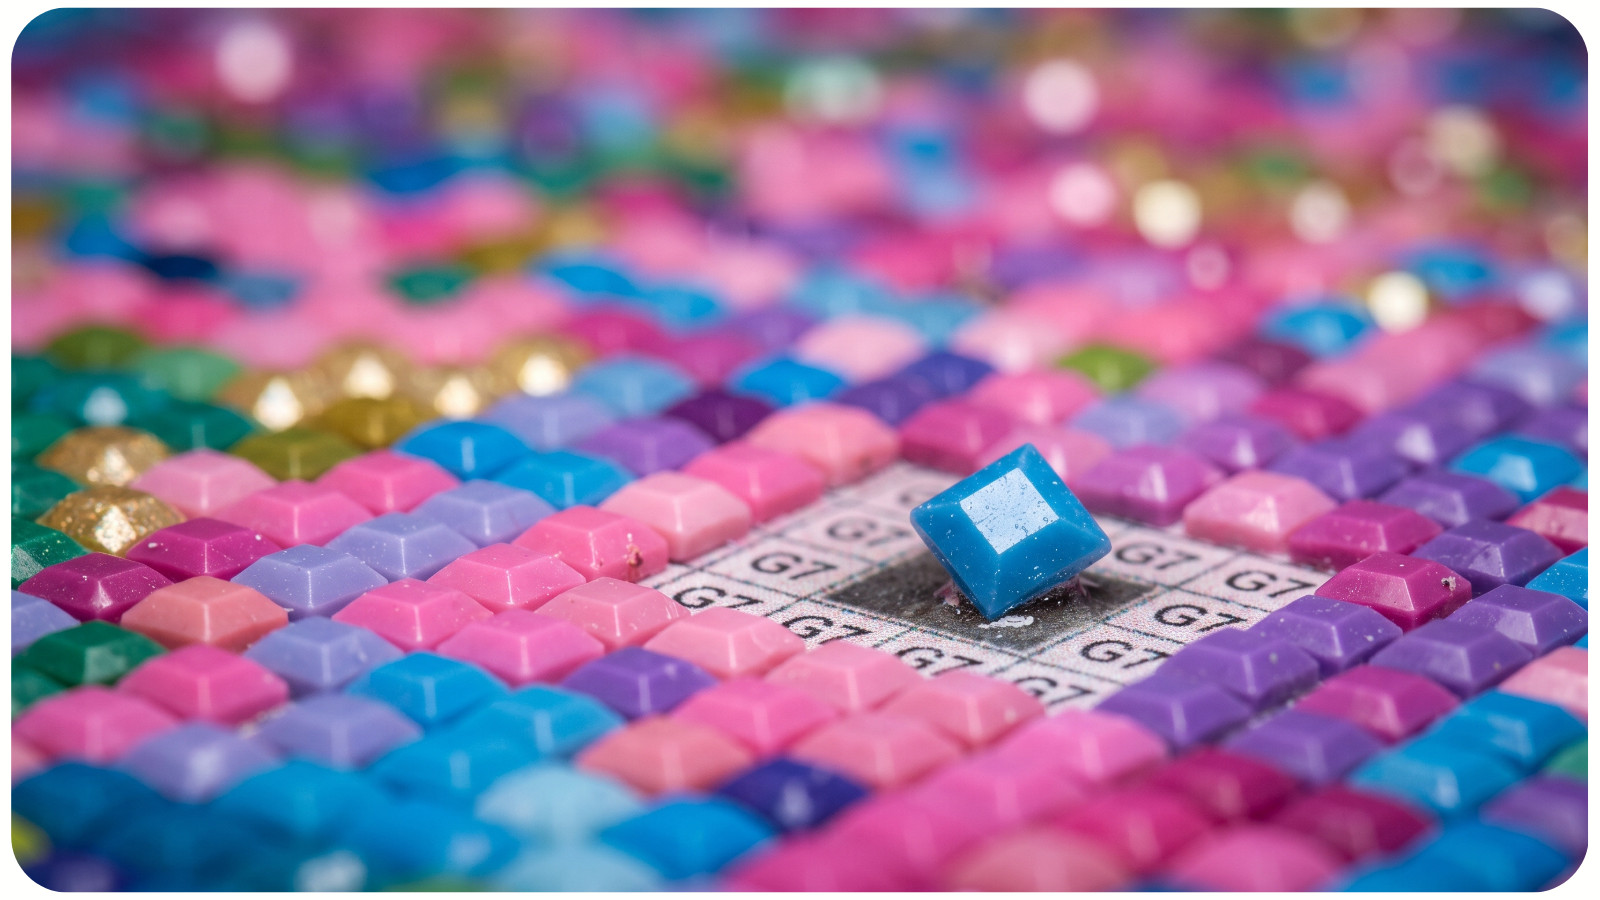
Drills stay in place when their flat bottoms meet a clean, tacky surface. A hollow bottom, dust, or pressure from nearby drills can break that contact.
Quick Diagnosis: Find the Cause Before You Add Glue
Where and how the drills lift usually tells you what is wrong.
Popping drill symptom checker | ||
What you see | Likely cause | First thing to try |
|---|---|---|
One drill keeps lifting | Uneven or hollow drill bottom | Replace it with a spare drill |
Several drills in one small patch are loose | Weak, damaged, or dirty adhesive | Inspect and repair only that patch |
A row of square drills rises like a ridge | Crowded or crooked placement | Lift and realign part of the row |
Drills lift after the canvas is rolled | Canvas flex and pressure between drills | Let the canvas rest flat |
Many colors lift across a large area | Canvas or adhesive problem | Pause and contact the kit seller |
Drills move when touched but do not rise | They may not be fully seated | Use a diamond painting roller gently |
Check one loose drill and the canvas beneath it before adding glue.
7 Reasons Diamond Painting Drills Pop Off
Begin with the drill itself and make the smallest possible correction before changing the adhesive.
1. The Adhesive Is Weak, Damaged, or Dirty
Dust, lint, pet hair, skin oils, or wax residue can weaken contact with the adhesive. This often happens when too much of the protective cover is removed at once.
How to check: Lift one problem drill with tweezers. Try a clean, flat spare drill in the same spot using light pressure. If it also fails to stay in place, or you can see debris on the canvas, the adhesive is probably the cause.
How to fix it: Remove loose debris with clean tweezers. Do not scrub or soak the sticky area. If the spot still has no grip and the kit maker allows adhesive repair, apply a very thin layer of a product made for diamond painting. Follow its label and keep the repair inside the affected symbol.
If a large section arrived without enough adhesive, stop before making a full-canvas repair. Take clear photos and contact the seller. A widespread defect is harder to correct evenly at home. For more help with a weak sticky layer, read what to do when a diamond painting canvas is not sticky.
2. The Drill Has an Uneven Bottom
Both round and square drills need a flat underside. A concave bottom, raised edge, extra plastic, or dried debris can stop one drill from making full contact.
How to fix it: Use a spare from the same color bag. Check it from the side before placing it. If many drills in one color have the same flaw, photograph several examples and ask the seller for replacements. Replacing a badly shaped drill is better than burying it in extra glue.
3. Square Drills Are Packed Too Tightly
Square drills sit edge to edge with little open space. A few crooked or slightly oversized drills can push against their neighbors. When the canvas flexes, that pressure may force drills upward.
How to fix crowded square drills: Do not force a drill into a space that is too small. Lift the last few drills and place them again, using the printed boxes as your guide. A straightening tool or pointed tweezers can help, but use light pressure.
For a large block of one color, try the checkerboard method. Place every other drill first, then fill the open spaces. The first set acts as a guide and can keep rows from drifting. You can also compare the placement needs of round and square diamond drills.
4. The Drills Were Placed Crooked or Dragged Across the Canvas
A tilted drill may touch the adhesive on only part of its base. Dragging drills can also collect dust or shift a straight row, especially with square drills.
Lower each drill straight onto its symbol and release it with gentle, even pressure. If you use a multiplacer, check the first few rows before filling a large area. A slightly angled multiplacer can repeat the same error many times.
For a detailed placement routine, see how to place diamond painting drills accurately. If a row has already shifted, follow these steps for fixing misplaced or crooked drills.
5. The Drills Were Not Fully Pressed Into the Adhesive
An aligned drill may still lack full contact with the glue, especially after fast multiplacing or work on a soft surface.
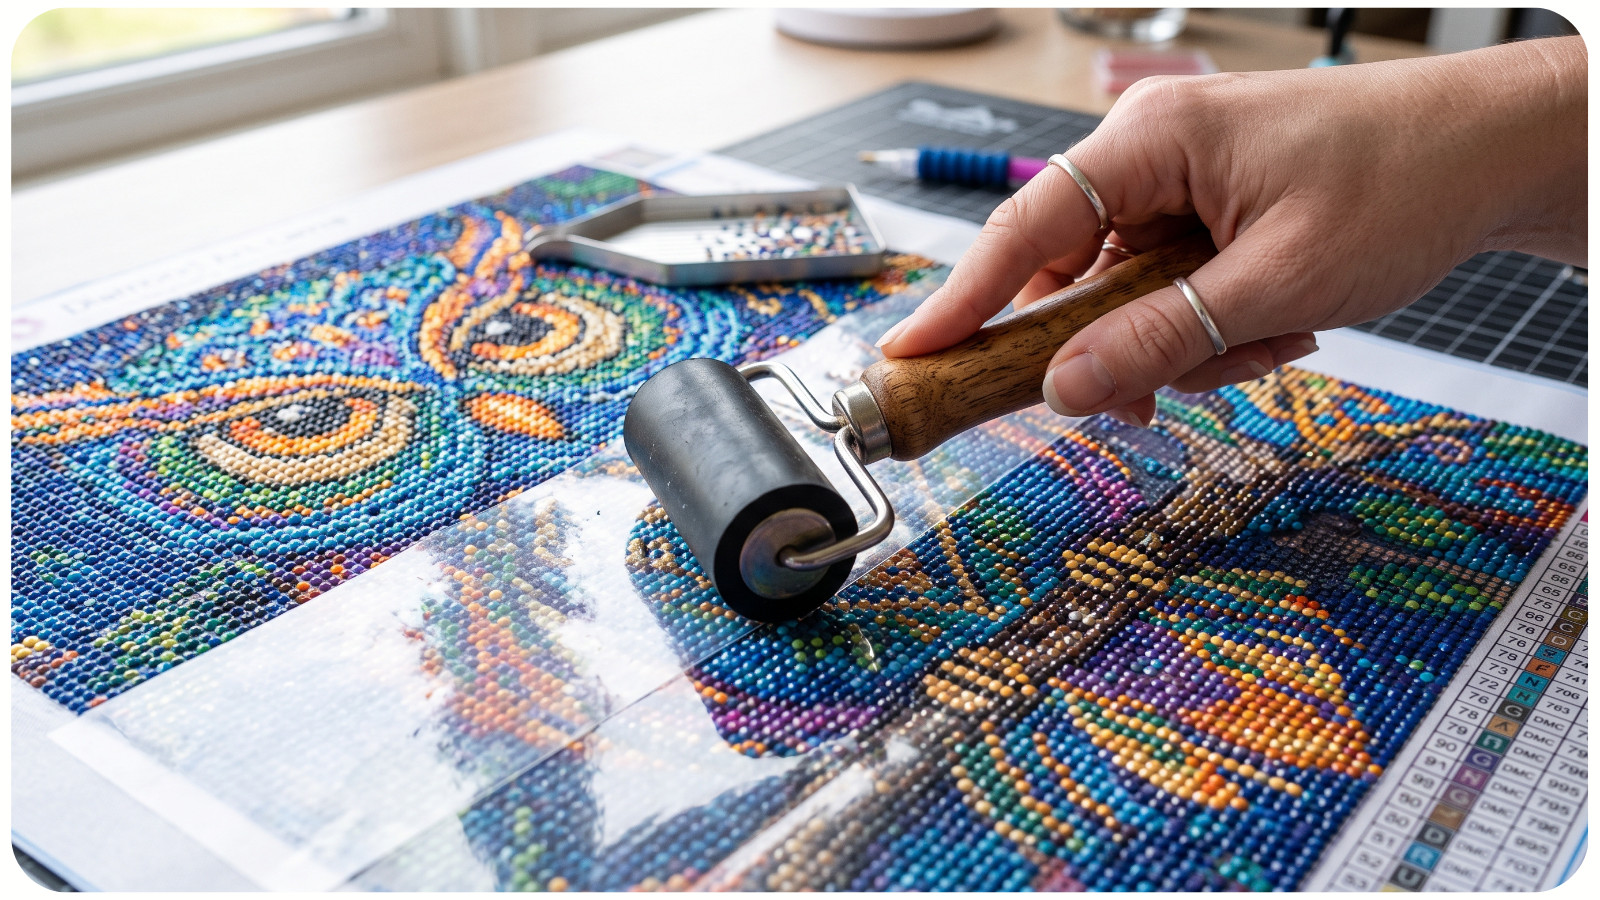
Cover the section with a clean release sheet that is compatible with your canvas. Pass a diamond painting roller over it with light, even pressure. One or two slow passes should seat the drills without crushing them or pushing rows sideways.
Check the area again after it has rested flat. If the same drills rise, pressing harder is not the answer. Return to the adhesive, drill shape, and crowding checks.
6. The Canvas Is Curled, Folded, or Rolled Too Tightly
When a canvas bends, square drills can press against one another and poorly attached drills may lift.
Keep a work in progress flat whenever possible. For transport, protect the drill surface and avoid a tight roll. Follow the kit maker's storage instructions, since canvas and adhesive types vary. Never fold through a completed area.
After transport, place the canvas on a clean, flat surface and let it relax before resetting loose drills.
7. The Canvas or Drill Batch Is Defective
Repeated popping across several colors and sections can point to a larger material problem. The adhesive may have been applied unevenly, or a batch of drills may be the wrong size for the printed grid.
Stop if each repair creates another lifted row. Take photos from above and from the side, keep the drill labels, and contact the seller. Include the kit name, affected color codes, and what you already tried.
How to Fix Popping Drills Step by Step
Use this order so each step stays small and reversible:
1. Photograph or mark the problem area.
2. Remove one loose drill and inspect its bottom.
3. Check whether the exposed canvas is clean and tacky.
4. Replace the drill, or realign the row if it looks crowded.
5. Add compatible diamond painting adhesive only if the canvas lacks grip.
6. Cover the area, roll gently, and let the canvas rest flat before checking it again.
Should You Seal a Diamond Painting With Popping Drills?
Sealing can help protect a finished diamond painting, but it is not always needed. A good adhesive may hold properly without a topcoat, and some kit makers advise against sealing their canvases. Check the brand's care instructions before applying anything.
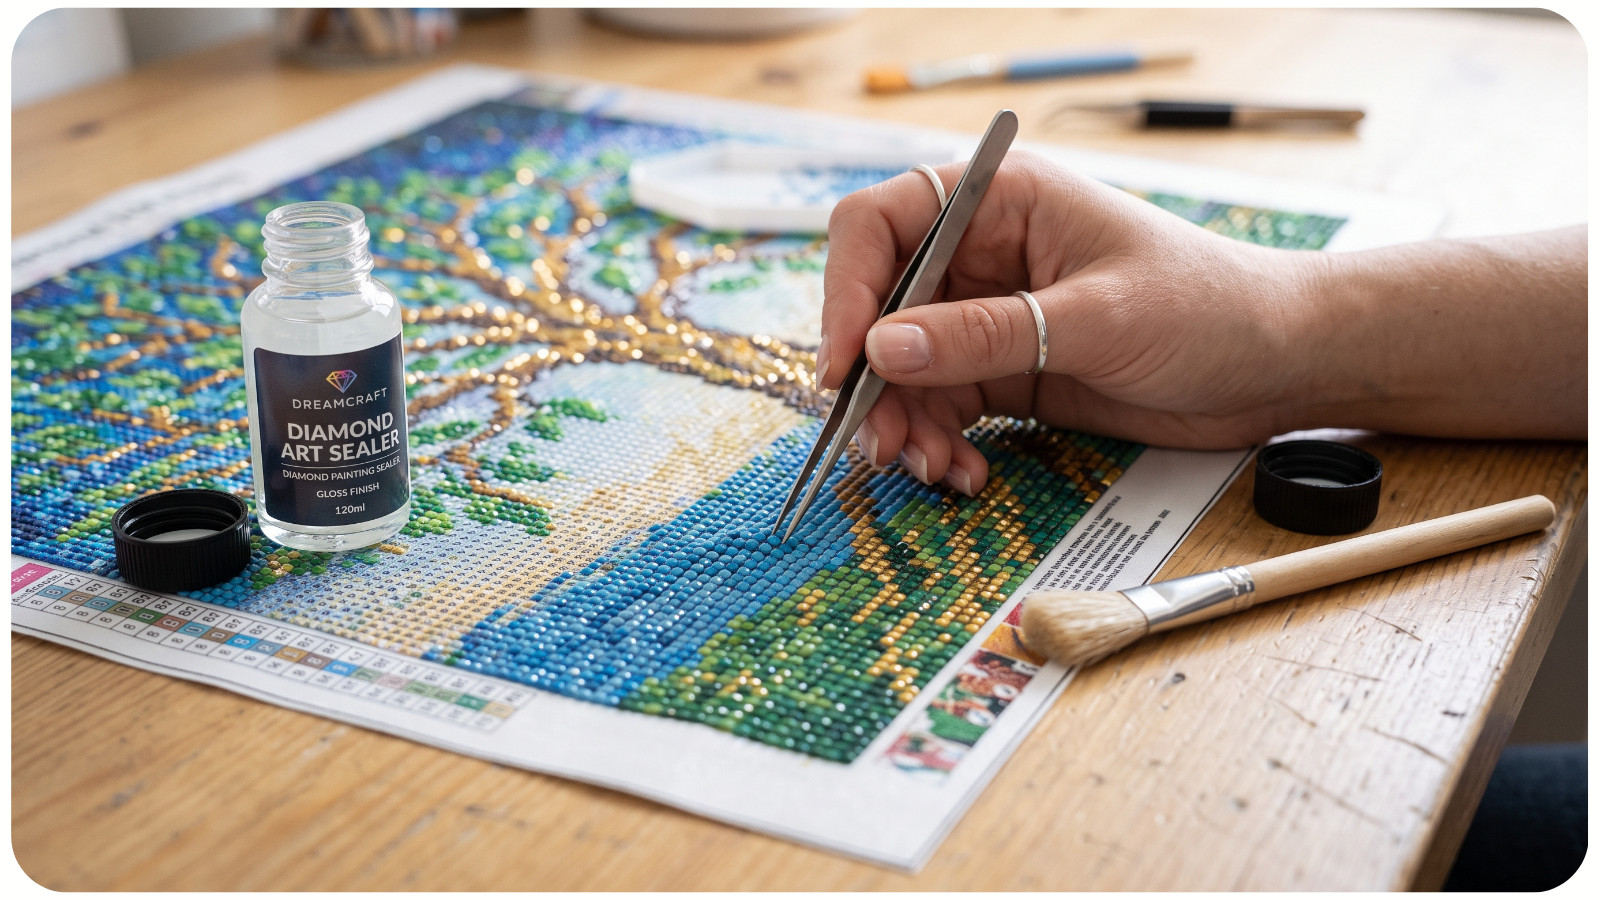
If you seal the project, fix crooked, crowded, and loose drills first. Choose a clear product labeled for diamond art, test it in a small area, and follow its drying and curing directions. A heavy or unsuitable coating can collect between facets, change the gloss, or stiffen the canvas. Before choosing a finish, compare the pros and cons of glossy and matte diamond painting sealers.
Sealer should protect a stable surface. It should not be used to hide a row that is still under pressure or a large patch with failed adhesive.
How to Prevent Diamond Painting Drills From Popping Off
• Work on a flat, firm surface.
• Uncover only the section you are ready to complete.
• Keep fingers, sleeves, food, dust, and pet hair away from exposed adhesive.
• Replace drills with rough edges or hollow bottoms instead of forcing them to work.
• Place drills straight down and check multiplaced rows early.
• Realign crowded square drills before adding more.
• Press completed sections gently with a diamond painting roller.
• Store the canvas flat and protected whenever possible.
• Check the full surface before framing or sealing.
Frequently Asked Questions
Why do square diamond painting drills sometimes pop up in rows?
Square drills fit closely edge to edge. Crooked placement, size differences, or canvas flex can create pressure between neighboring drills, which may lift part of a row. This does not mean every square-drill kit will have popping problems.
Will a roller stop drills from popping off?
A roller helps when drills are correctly placed but not fully seated. It will not fix weak adhesive, a hollow drill bottom, or an overcrowded row.
Can I glue one loose diamond back onto the canvas?
Yes, if one small spot has lost tack. Use a tiny amount of adhesive made or approved for diamond painting. Avoid hot glue, nail polish, hairspray, and untested household products because they can create bumps or damage the finish.
Do all finished diamond paintings need sealer?
No. Follow the kit maker's instructions and consider how the piece will be displayed or handled. Repair all loose drills before using a compatible sealer.
A Simple Final Check
Work from the smallest cause to the largest: replace the drill, straighten the row, test the adhesive, then consider a local repair. Let the canvas rest flat before sealing or framing. The lasting fix addresses the source of pressure or poor contact, not only the first drill that lifted.