


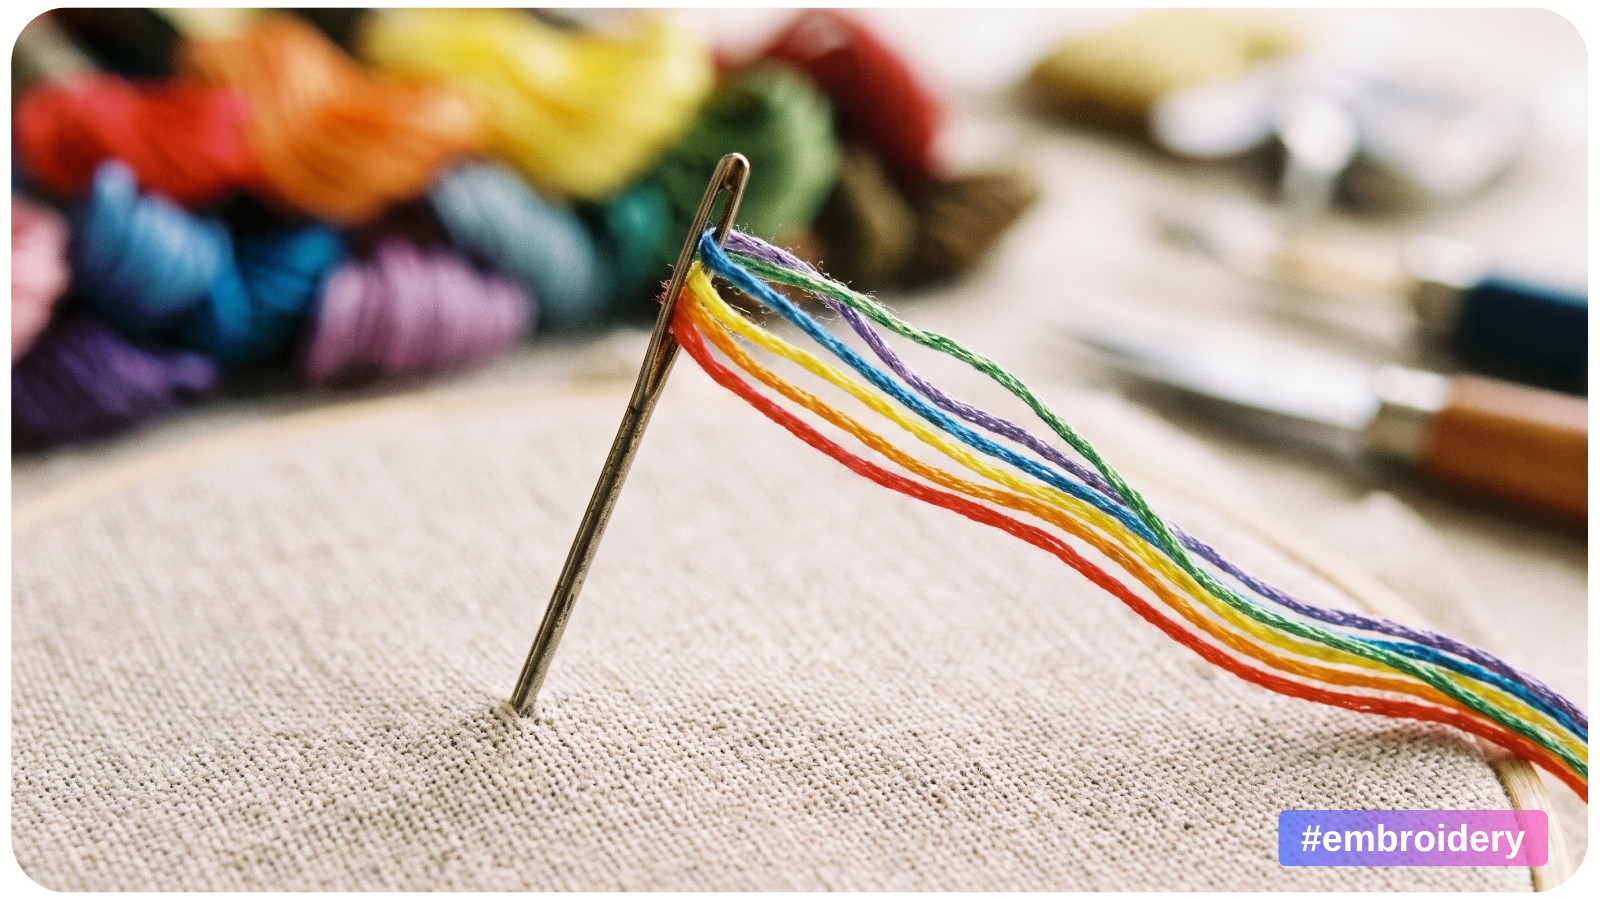
Few things interrupt a peaceful embroidery session faster than that tiny tug behind the hoop. You turn the work over and find a knot - as if a tiny thread gremlin tied it while you were not looking.
The good news is that most tangles are not random. They come from a predictable mix of excess length, built-up twist, friction, and uneven movement through fabric. Identify the cause, and you can prevent most knots without avoiding the embroidery patterns you really want to make.
Why Embroidery Thread Forms Knots
A working thread is constantly changing as you stitch. It travels through the fabric, rubs against the fibers, bends through the needle's eye, and follows every small rotation of your hand. If a loose loop crosses over itself, the next pull can tighten that crossing into a knot.

The finished knot may look the same every time, but the underlying cause can be different. Pay attention to what the thread was doing just before the problem appeared.
The Thread Is Too Long
A long thread feels efficient because it reduces rethreading. In practice, every extra inch passes through the fabric repeatedly, creating more chances to twist, loop, brush the hoop, or catch on the back.
Repeated passes also make stranded cotton fuzzy and can fray delicate threads. For ordinary stranded cotton, about 18 inches is a useful starting point. Go shorter for dense stitching, multiple strands, or specialty threads. The best length is one you can control before the area near the needle becomes worn.
The Strands Were Not Separated First
Six-strand embroidery floss is designed to be divided so you can choose the thickness needed for a design. If a pattern calls for three strands, it is tempting to split the bundle into two groups of three and thread one group immediately.
That shortcut leaves the individual strands wrapped around one another as they sat in the skein. They may bunch, twist, and settle into the stitch at unequal tension.
Instead, remove one strand at a time from the cut length, then bring together the number you need. Hold the bundle loosely near one end, isolate one strand, and pull it straight out while allowing the remaining floss to gather temporarily in your hand. Release the bundle so it can relax, then repeat. Align the separated strands gently without twisting them back into a cord.
The Needle Rotates While You Stitch
Most stitchers rotate the needle slightly between their fingers without noticing. After enough stitches, that repeated motion adds twist to the thread. The strands may start forming a tight little rope instead of lying beside one another, and small loops may curl up on the surface.
This does not mean your hand position is wrong; some stitches naturally add more twist. During long rows or repetitive filling, let the threaded needle hang freely below the work every few stitches. It will spin as the thread relaxes. If the floss is corkscrewing, let it unwind before continuing.
The Needle Is Too Small for the Thread
The needle's eye and shaft must comfortably accommodate the thread. When several strands are squeezed through a very small eye, the floss rubs against both the needle and fabric. If the needle does not open a sufficient path, the thread scrapes through the fabric and the strands can bunch.
Choose an eye large enough to thread without flattening the floss. The needle should pass without a hard pull but leave no unnecessarily large hole. Because size depends on the fabric, thread, and technique, smooth passage is a better test than a universal needle number. You can compare basic materials in the APS embroidery and cross-stitch supplies section.
The Thread Is Catching on the Work
Sometimes the issue is not twist inside the thread at all. The working length may be circling the hoop screw, snagging on a rough fingernail, or catching beneath loose thread tails on the back.
Check the thread's path whenever you feel unexpected resistance. Keep the back reasonably tidy, trim secured tails, and position the hoop hardware where the floss is less likely to wrap around it. Pull each stitch in a controlled direction instead of sweeping a large loop across the back of the hoop.
A Simple Routine That Prevents Most Tangles
Good thread handling should feel like part of stitching, not a separate ceremony. This routine takes only a few seconds and prevents most tangles before they get a chance to play tug-of-war with your fabric.
1. Cut a manageable length. Start near 18 inches and shorten it if the thread is delicate, the stitching is dense, or tangles continue.
2. Separate stranded floss one strand at a time. Recombine only the number your pattern or technique requires.
3. Match the needle to the thread and fabric. The floss should move through the eye and fabric without scraping or requiring force.
4. Smooth the strands before threading. Align them gently, but do not wind them tightly together.
5. Pull with a steady, controlled movement. Watch that the loop on the back has cleared before tightening the stitch.
6. Pause when the thread begins to coil. Let the needle dangle until it stops spinning, then continue.
7. Replace worn thread. If the area near the needle looks fuzzy, thin, or dull, end it before it breaks.
What to Do When a Tangle Has Already Formed
The most important rule is simple: stop pulling. A loose tangle is usually easy to release; a knot tightened by force can become nearly impossible to undo.
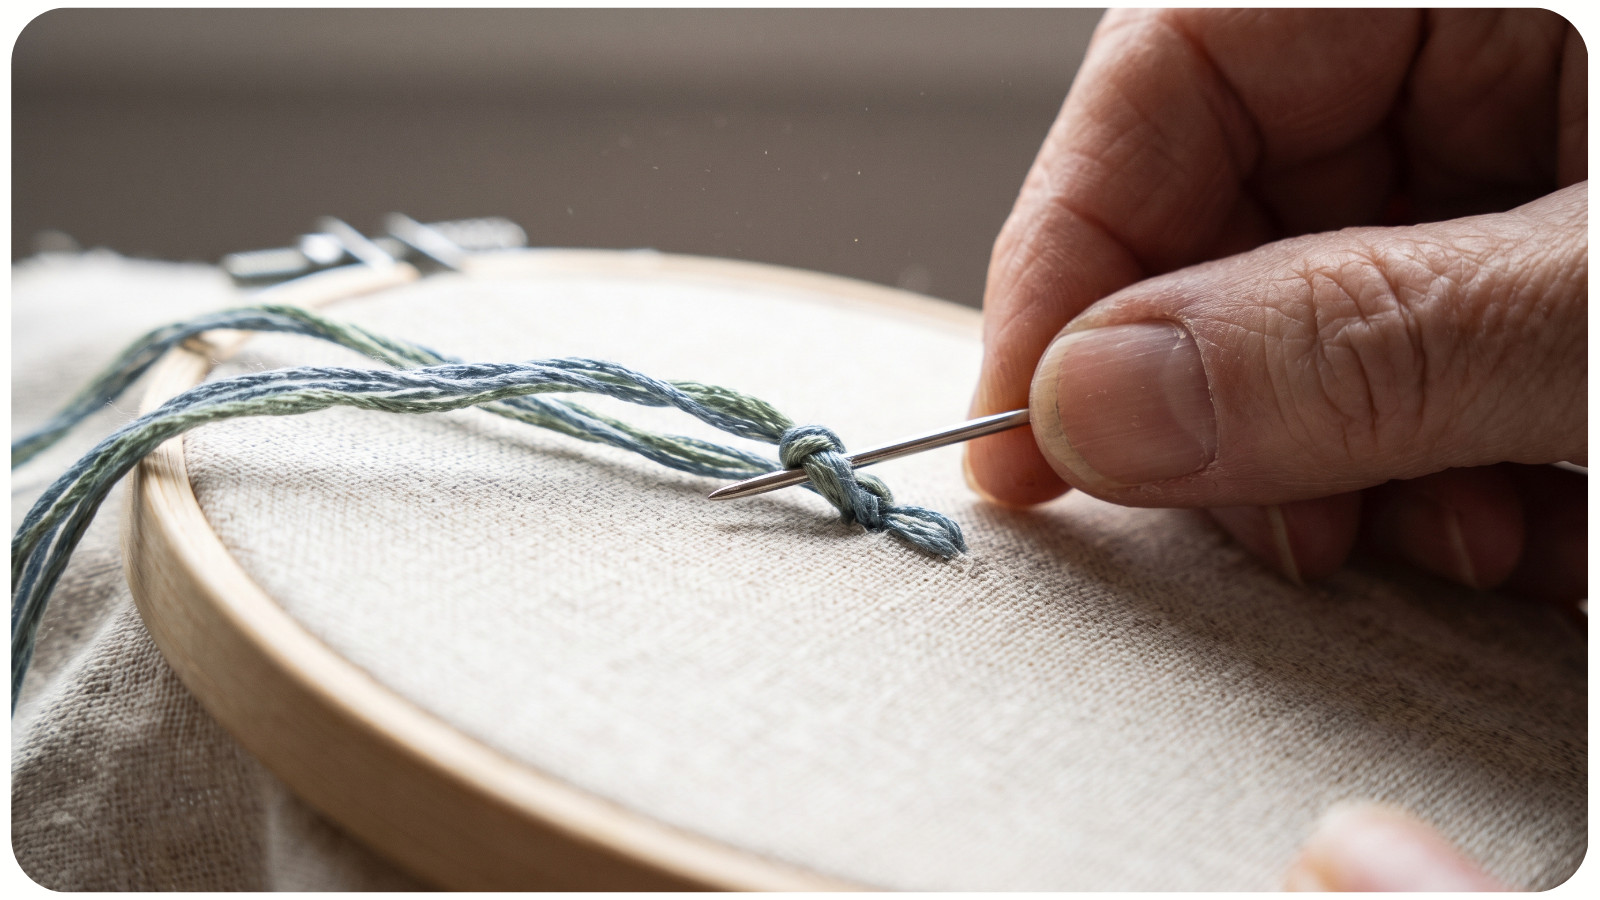
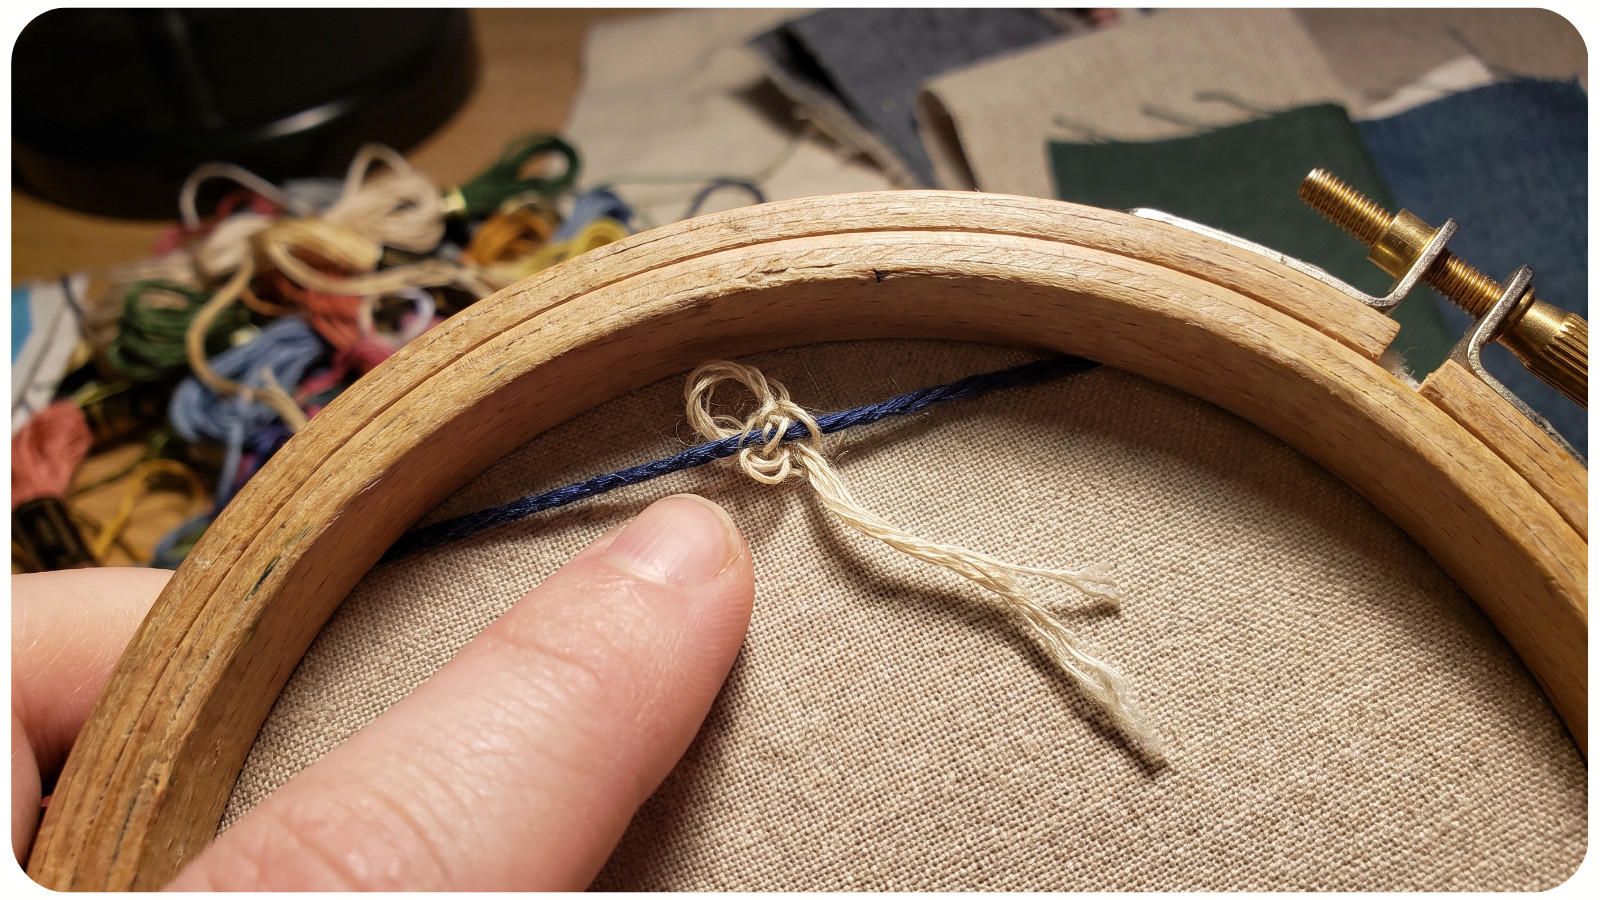
Turn the hoop over and place it on a clean surface without crushing any raised stitches. Find the largest visible loop and gently test different sections to see which one moves. Often the “knot” is simply a loop caught around the working thread, and a light pull in the correct direction will open it.
If it does not release, use the blunt end of another needle or a small tapestry needle to tease the crossing apart. Work at the outside loop rather than poking into the center and pulling harder. Once it loosens, draw the thread through slowly and let the needle hang to remove the remaining twist.
If the knot is tight and the floss has become frayed, do not spend ten minutes trying to rescue the final few inches. Remove only the affected stitches if necessary, secure the usable thread on the back, and restart with a fresh length. Cutting is a last resort, but it is safer than pulling hard enough to distort the fabric or nearby stitches.
When Thread Conditioner Helps - and When It Does Not
Thread conditioner can reduce static or make certain difficult threads easier to control, but it is not the first fix for ordinary cotton floss. It cannot correct an overly long thread, accumulated twist, a crowded needle eye, or a loop snagged behind the hoop.
Coatings can change a thread's feel or sheen. Check that the product suits the thread and finished item's care requirements, then test it on matching scrap fabric. For most stranded-cotton projects, shorter lengths, separated strands, a suitable needle, and regular untwisting solve the problem without another product.
Diagnose the Pattern, Not Just the Knot
If tangles keep returning, notice exactly when they happen. The timing and appearance of the problem usually point toward the cause.
• Knots form mostly near the end of a strand: the thread may be too long or too worn.
• The floss resembles a small rope: twist is accumulating, so let the needle hang more often.
• Several strands bunch together: separate them individually and check that the needle eye is large enough.
• Resistance appears at the same point on the hoop: inspect the back for loose tails, dense stitching, or snagging hardware.
• The thread becomes fuzzy quickly: shorten it and check for a rough needle eye, a needle that is too small, or excessive fabric friction.
• Loops remain on the back: slow the final pull and confirm that the entire working thread has passed through before forming the next stitch.
A tangle is information, not a reason to blame the floss - or yourself. It points to excess twist, resistance, or an uncontrolled thread path.
A Smoother Way to Stitch
You do not need perfectly behaved thread to make beautiful embroidery. You only need to catch the early warnings: a strand starting to coil, a stitch that suddenly resists, or a loop that has not cleared the back.
Use a shorter length, separate the strands properly, choose a needle that lets the thread pass smoothly, and allow the needle to unwind before twist becomes a knot. These small habits protect the thread's surface, keep the stitches more even, and make embroidery feel calm again - which is exactly how it should feel.
Ready to keep learning? Browse more practical advice in the APS embroidery guides, or learn how to transfer an embroidery pattern onto dark fabric before starting your next project.