



Black Aida can make a pale moon, bright flowers, or a colorful bird look especially vivid. Yet the first few stitches may feel slow: the holes blend into the cloth, and it is easy to count one square twice. Better visibility can make the work easier than leaning closer and squinting.
Here is a practical setup for cross-stitching on black, navy, and other dark fabrics. Start with the changes that cost nothing, then add a tool only if it makes your own stitching more comfortable.
Why Is Dark Aida Harder to See?
Counted cross-stitch depends on finding the same four corner holes for each X. On pale Aida, the shadows between the woven blocks often make those holes easy to spot. On dark Aida, both the blocks and the shadows look dark, especially in a dim room. Dark floss on dark fabric can also make completed stitches harder to track.
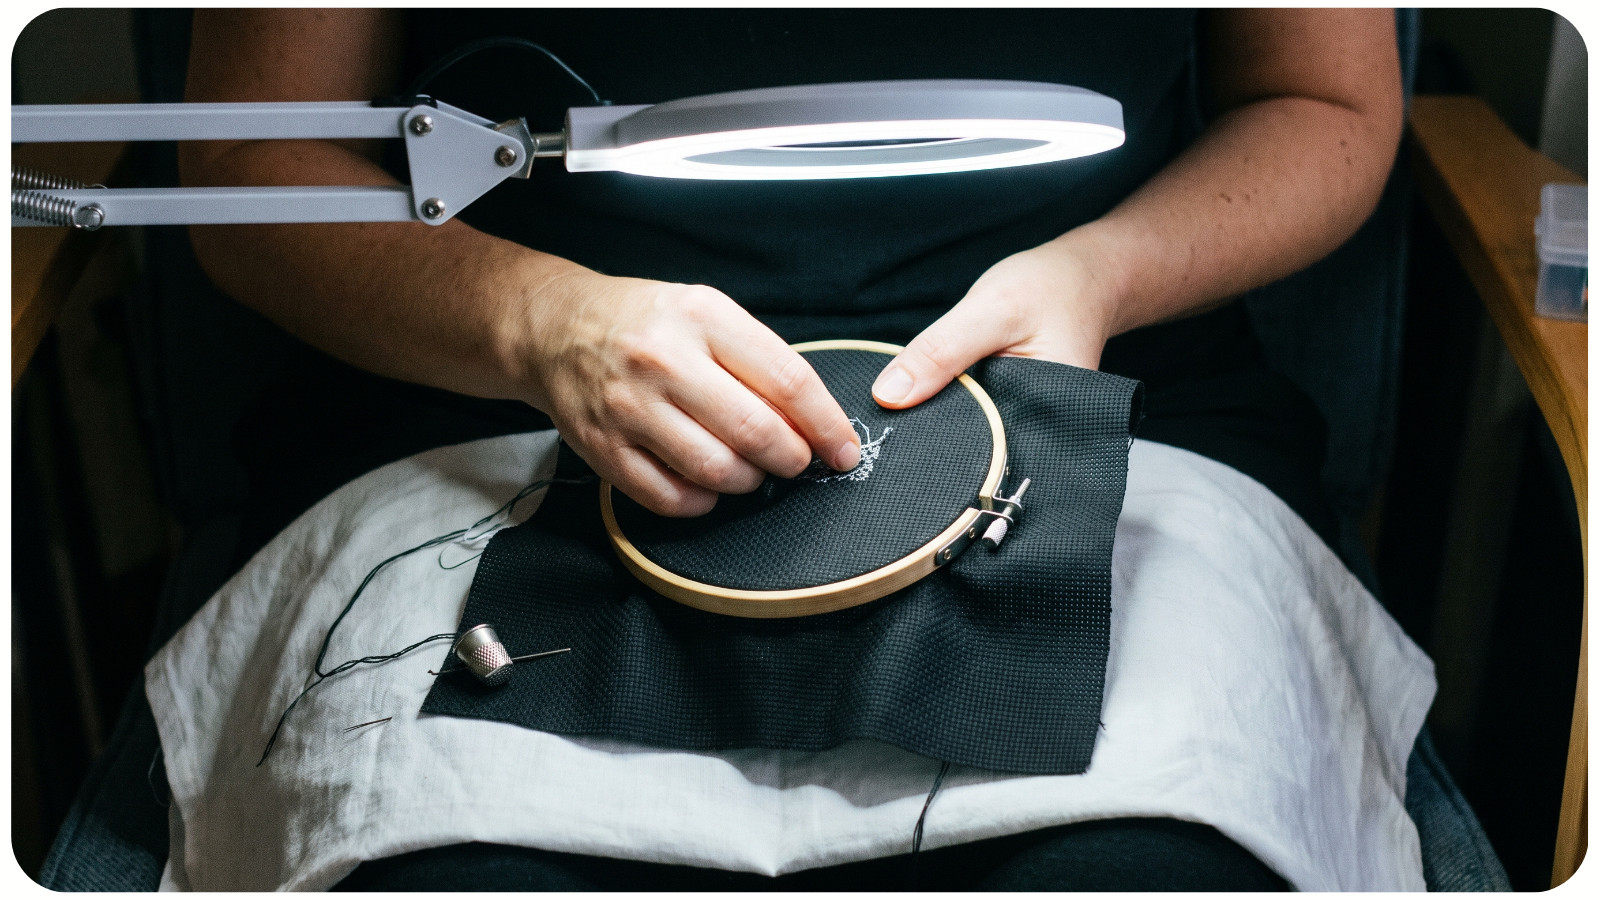
It helps to see two different things: the holes before your needle goes through, and the thread after it lands. A pale background or gentle light behind the cloth helps outline the holes. A movable lamp above the work helps you see the surface and check your stitches. You may need both, but begin with the simpler change.
Set Up Your Light Before You Thread the Needle
Sit where the whole hoop receives steady room light, then aim a task lamp at the fabric from above and slightly to one side. Move it until you can see the texture without a harsh reflection in your eyes. A lamp that you can reposition is more useful here than a fixed beam aimed straight at your face.
Place a white pillowcase, light towel, or sheet of plain paper on your lap or worktable behind the fabric. Look at an unstitched area of the hoop. If the holes become clearer, keep the pale background in place while you work. This simple approach is also recommended by stitch suppliers who work with black Aida. If your table, clothes, or chair are already pale, you may have enough contrast without adding anything. Stitched Modern describes the white pillowcase method; Studio Koekoek discusses lighting dark cloth from behind.
If the holes are still hard to locate, try a small light pad or another diffused light source beneath the work. Use a comfortable brightness and move the light until the holes stand out without making the fabric surface disappear. Backlighting is a visibility aid, not a requirement. Some stitchers prefer the gentler contrast of a white cloth.
Quick check: Hold the needle above an empty square. Can you identify its four corner holes without leaning close? If not, adjust the light or background before starting the next row.
Choose a Fabric You Can Count Comfortably
If you are picking fabric for a new project, try dark Aida before a finer dark evenweave or linen. Aida has clear woven blocks, so it offers an easier grid for a first dark-fabric project. Aida's count is the number of stitches per inch: a higher count makes each stitch smaller. Compare fabric samples in the light where you actually plan to stitch, rather than assuming one count suits everyone. DMC explains the differences between cross-stitch fabrics. For sizing a new project, APS also has a fabric-size guide.
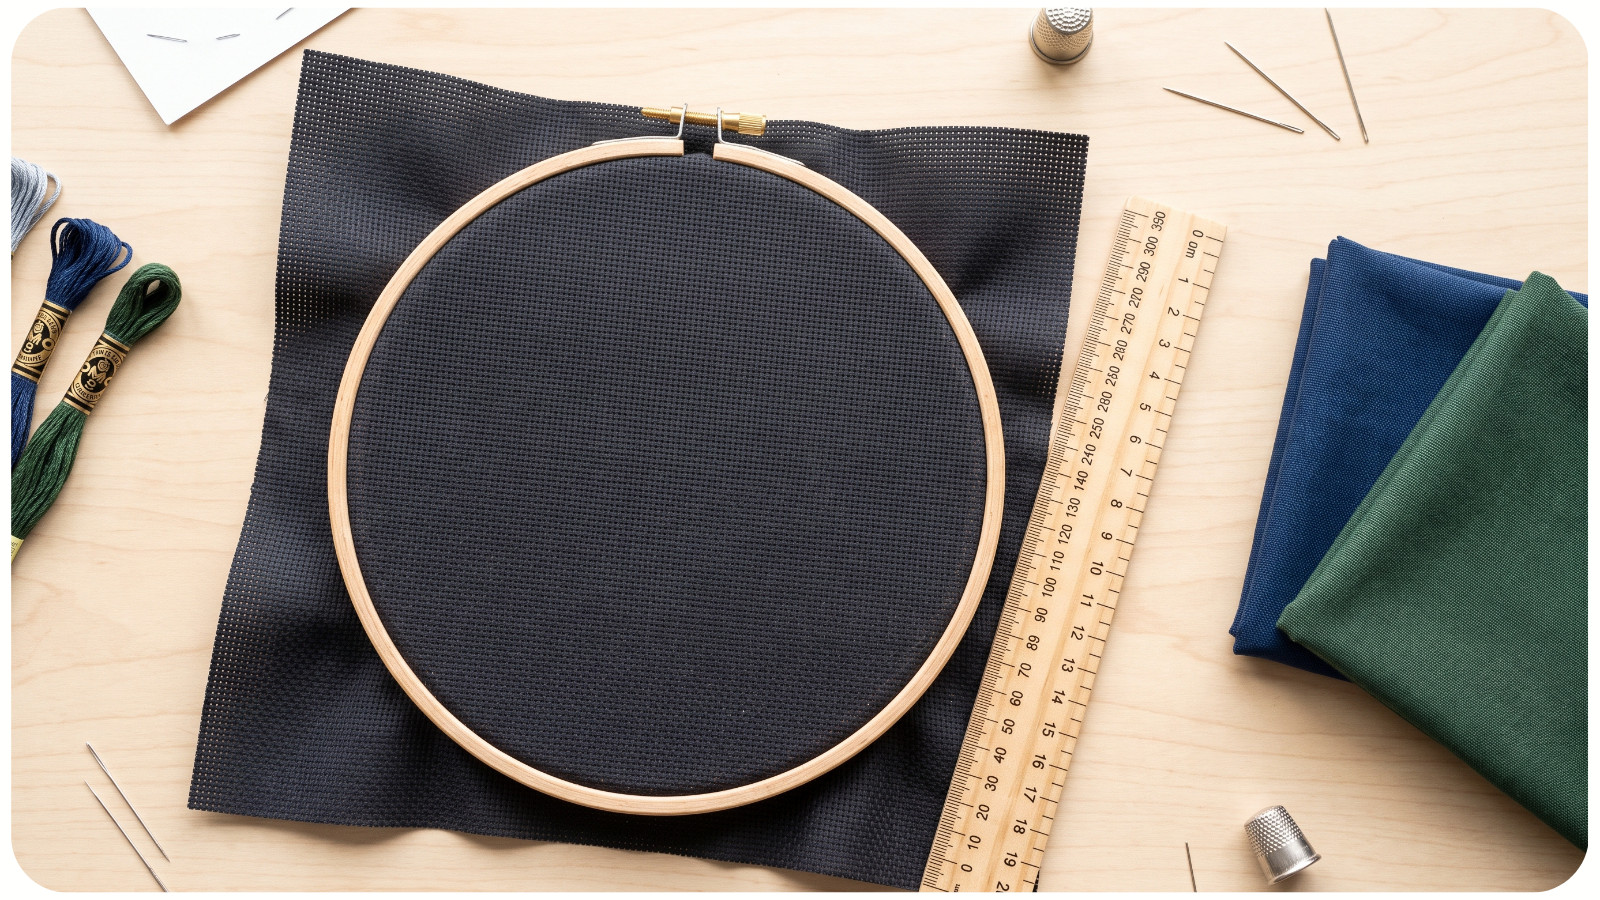
Keep the fabric evenly supported in a hoop or frame, snug enough to make the grid easy to follow without pulling it out of shape. If your chart allows a choice of background, a dark charcoal or deep blue may feel easier to read than true black in your lighting. Test the actual fabric first; weave and finish matter as much as the color name.
If you have already started on fabric that is difficult to see, there is no need to restart immediately. Change the background and lamp position first. Check whether those adjustments help before buying another tool.
Make Counting Less Demanding
Find a clear starting point on the chart and fabric, then count in short, verifiable stretches. Work a small group of stitches, compare it with the chart, and mark the completed symbols on a working copy or in your pattern app. DMC also suggests highlighting completed chart areas to help keep your place. DMC's chart-reading guide explains this approach.
Use a consistent direction for the top leg of your crosses. That habit makes finished rows easier to inspect and helps you notice a skipped hole. When moving to a new area, count from a known stitched point rather than from a distant fabric edge. If a section no longer matches the chart, stop at the last point you know is correct and recount before adding more stitches.
For a large design, temporary guide lines can divide the chart into manageable sections. First confirm that your chosen marking method suits the particular dyed fabric and can be removed as directed. A contrasting sewing thread used as a temporary guide is another option. Avoid stitching through the guide thread so you can remove it later. You do not need to grid a small design if short counts work well for you.
Check Thread Coverage in Your Own Lighting
Bright floss can look different against black cloth than it does against white cloth. Before committing to a large area, stitch a small sample with the fabric, strand count, and colors specified for your project. Look at it from your normal stitching distance and again from display distance. This tells you whether the dark ground showing between stitches is part of the look you want.
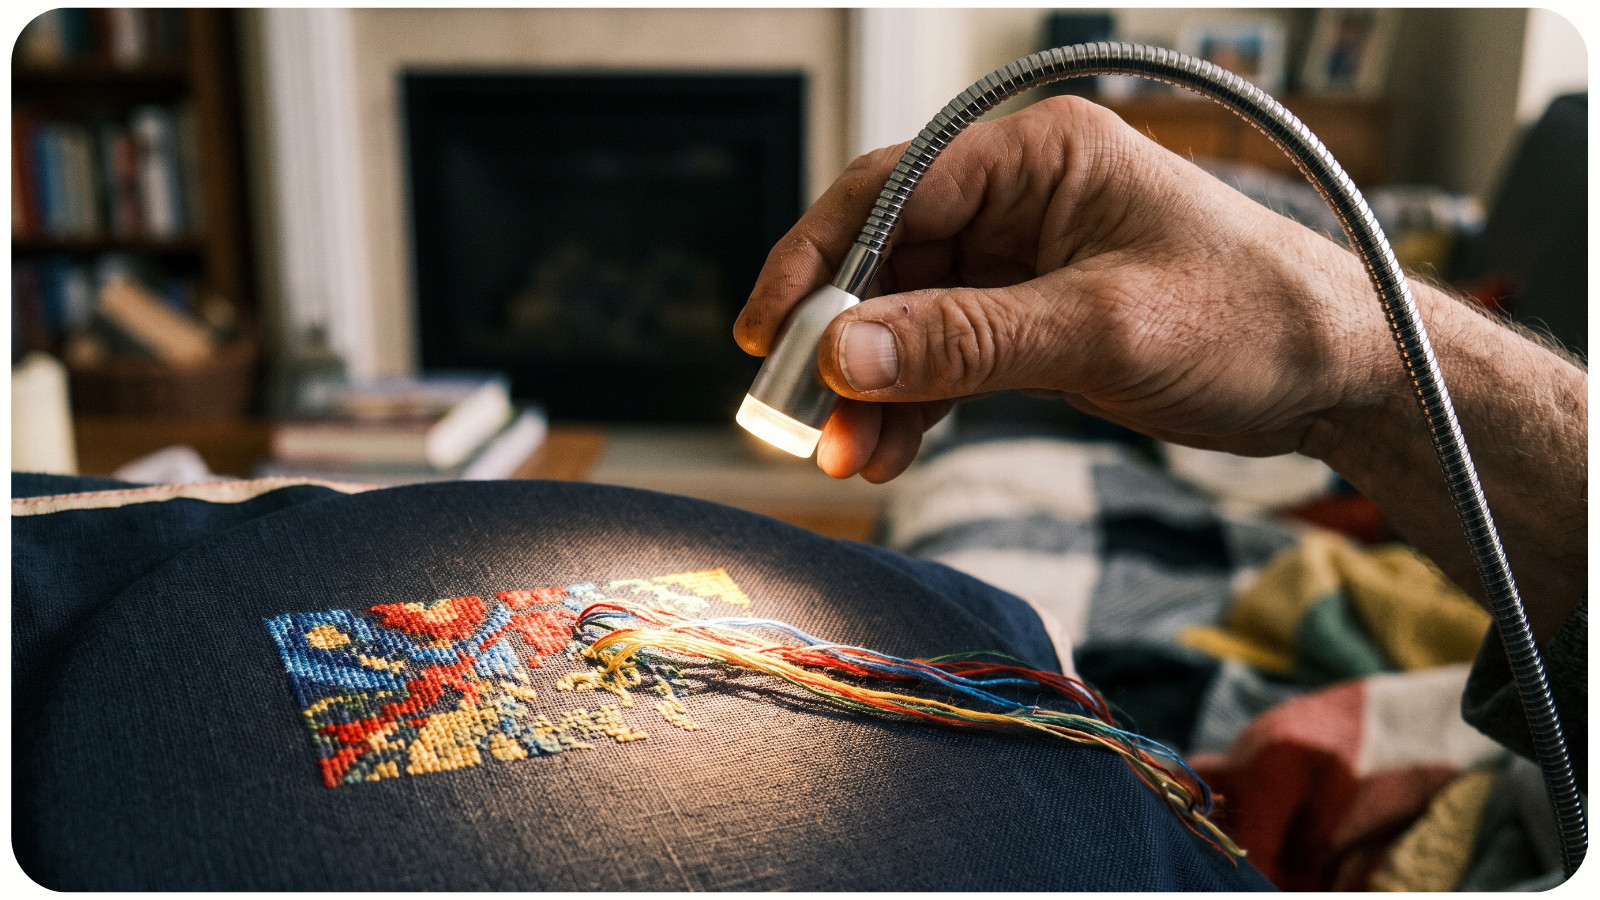
If you prefer fuller coverage, test a different strand count on a spare piece of the same fabric. More strands are a visual choice, not a universal fix: too much thread can crowd the holes and make stitching less pleasant. Follow a kit's or designer's instructions first when color and coverage are important to the intended result.
When you stitch with dark floss, a light beneath the fabric may show empty holes but will not always make the floss on the front easy to see. Switch your attention between the backlight for placement and the top lamp for checking the finished Xs.
Give Your Eyes a Break From Close Work
Even with a good setup, long periods of close focus can feel tiring. Look away from the hoop regularly, blink, and change position. The American Academy of Ophthalmology recommends the 20-20-20 break for screen work: every 20 minutes, look about 20 feet away for 20 seconds. You can use the same timing as a reminder to pause while stitching, but the cited guidance concerns screen use, not a proven treatment for stitching discomfort. If discomfort or blurry vision keeps returning or persists after you stop, speak with an eye care professional.
Avoid trying to finish one more dark-on-dark section after the holes have become hard to distinguish. Set it down and return when the light is better. A break may save you from unpicking a row counted in poor light.
Troubleshooting: What If I Still Cannot See the Holes?
The holes disappear under the lamp. Move the overhead light to the side and add a pale surface behind the fabric. Strong front light alone can flatten the texture without helping you see through the holes.
The backlight feels too bright. Dim it, move it farther from the fabric, or go back to a white cloth. You only need enough contrast to locate the next corner hole.
I keep losing my place on the chart. Work in smaller groups, mark completed stitches on a copy, and recount from a nearby finished point. Pause before carrying an error into another row.
The crosses look uneven or crowded. Check whether your fabric has shifted in the hoop and whether your test strand count is too dense for that fabric. Keep the floss relaxed rather than pulling harder to hide the background.
For the next stitching session, try this short routine: light the surface, place something pale behind the fabric, locate four empty corner holes, and stitch a small section. If you can check the crosses without leaning in or guessing, the setup is doing its job. When you are ready for another project, browse APS cross-stitch patterns and check whether the design and instructions suit your chosen fabric. A dark background can become a beautiful part of the finished piece.