



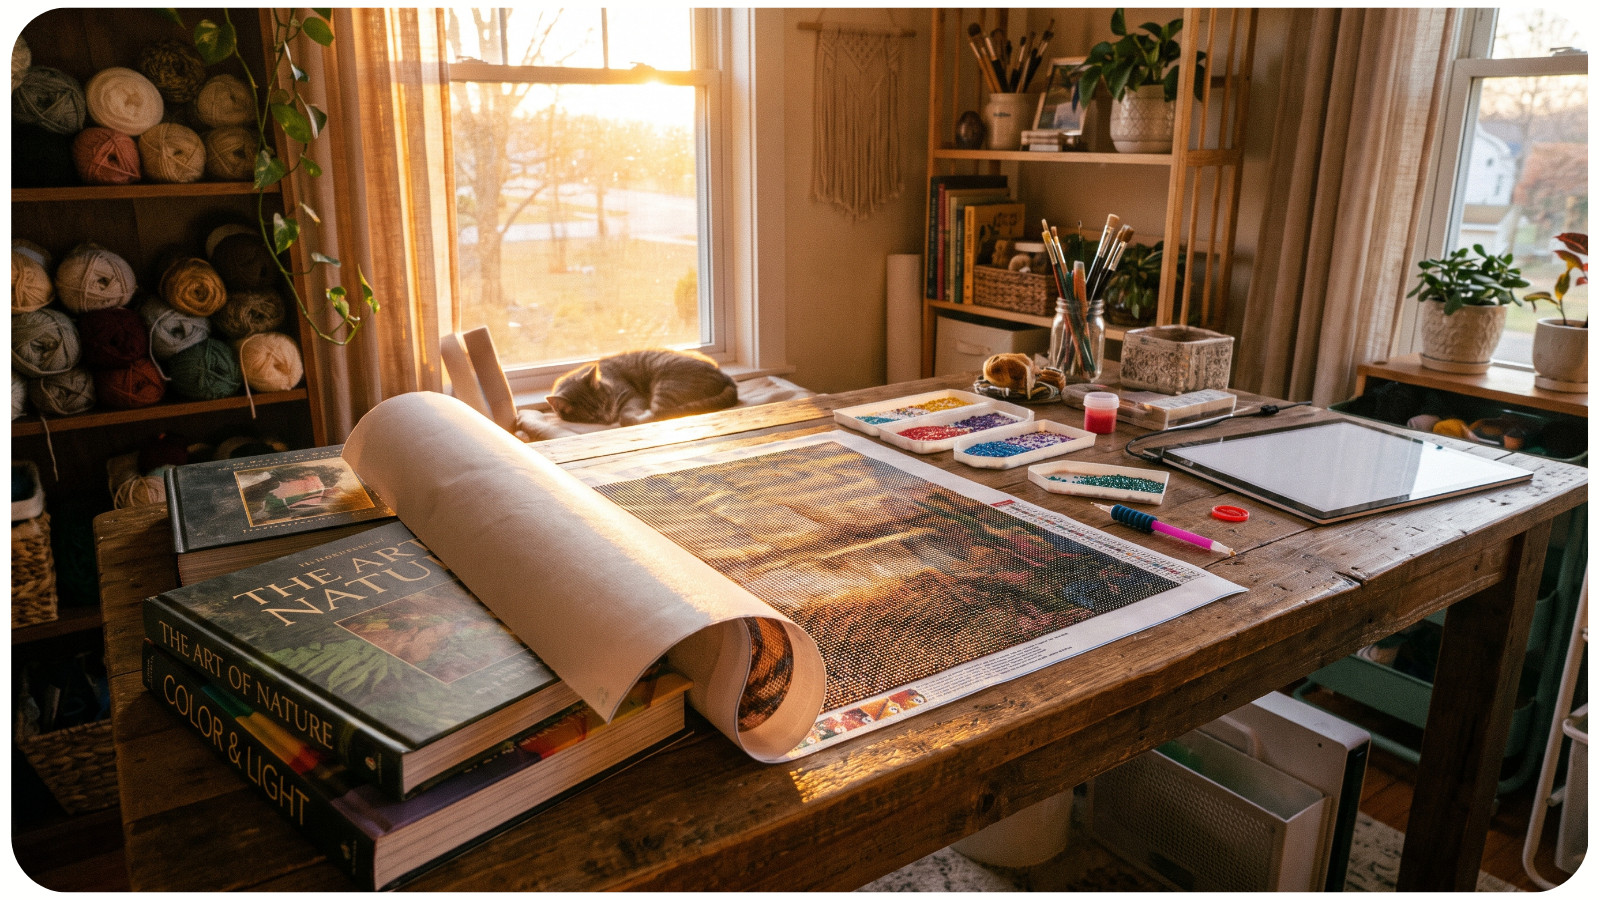
You unroll a new diamond painting project, set it on the table, and the edges spring back up. Start with the gentlest fix: support the entire sheet on a clean, flat surface and give it time to settle. If it still curls, spread light weight evenly over it. Before doing anything else, check whether the bend is in the base, the protective cover, or an adhesive layer.
The word canvas covers several materials in diamond painting. Some kits use flexible fabric with a sticky coating under a film. Others use a stiffer printed base, and the glue may be supplied separately. A method that is harmless for one kit can leave a lasting crease in another. This guide starts with steps that suit most unworked projects and explains when to stop.
First, Identify What Is Curling
Place the project on a smooth, dry table large enough to support it from edge to edge. Look across it from the side in good light. If there is a protective film over adhesive, leave it in place while you inspect.
• The entire sheet curves upward: This is often a storage curl. Try flat resting, followed by even weight if needed.
• Only a loose clear cover has waves: Check whether the printed surface beneath is smooth. The cover may need to be laid down again; the base may already be flat.
• A sharp fold runs through the printed grid: This is a crease in the base, not a simple curl. Do not force it flat.
• A ridge stays in a sticky layer: The adhesive may be raised or wrinkled. Books alone may not repair it, so contact the kit seller before placing drills there.
Check the instructions and material description that came with your kit. For example, APS describes the printed base of its Vilnius diamond painting kit as thick paper with lamination. Treat a stiff laminated base more carefully than flexible fabric. Do not reverse roll it or try to stretch a crease out of the printed grid.
How to Flatten a Rolled Diamond Painting Canvas Without Heat
The first method needs only a clean table and patience. It works best before you attach any drills.
1. Protect the working surface. Leave any factory-applied protective cover over the adhesive. If your kit has a printed base and separate glue, follow its instructions and keep the print clean and dry.
2. Lay it flat, printed side up. Support all four edges. Gently guide a curling corner toward the table without pulling the printed grid out of shape.
3. Let it rest. Leave it undisturbed for a few hours, then check how it sits when nothing holds the corners. Stiffer or more tightly packed materials may take longer; there is no guaranteed time.
4. Check the area where you will place drills. It should stay steady enough for accurate placement. A slight lift in an unused margin may be manageable even if the entire sheet is not perfectly flat.
If the base springs back up, use the book method below. Avoid bending it back and forth in search of a quick fix.
Flatten the Unworked Project With Books
Put a clean, smooth, rigid board or protective sheet over the project, then arrange books across the board so the pressure is spread out. If the kit has a covered sticky surface, make sure the cover fully separates it from the board. Nothing should touch exposed glue. Do not place a textured book cover, a sharp edge, or a clip directly on the printed area.
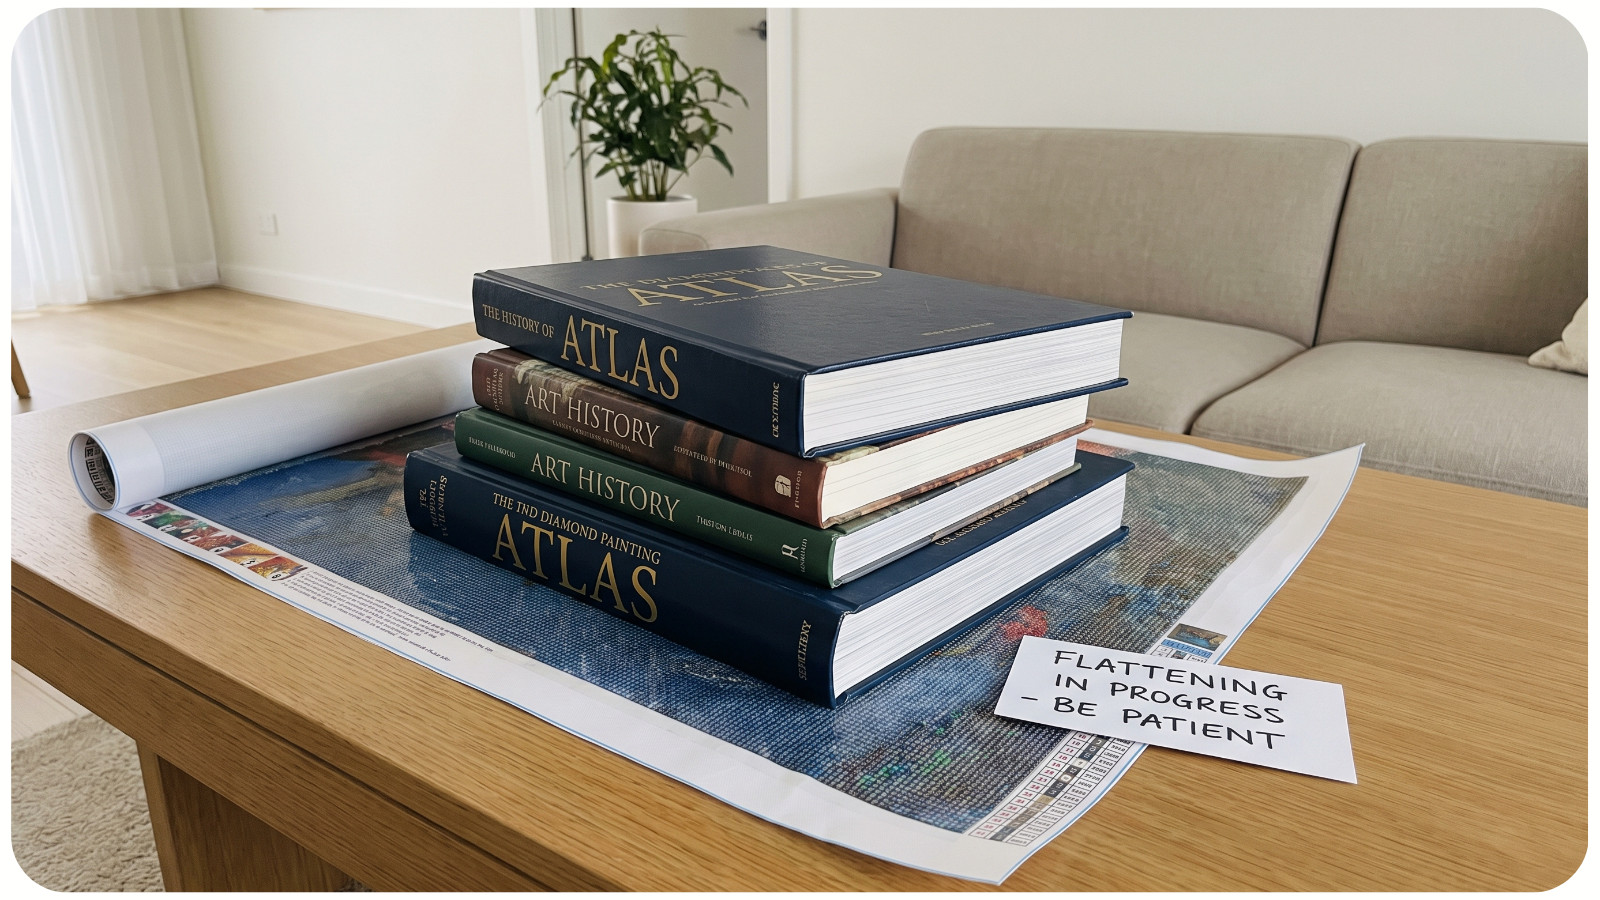
Check after a few hours. If the base has relaxed but still curls when you remove the books, leave the even weight in place longer and check again. Use enough weight to hold the sheet flat, not enough to dent it. This is a gradual process; it cannot promise to erase a hard fold.
Do this before placing drills. Books pressing on raised drills can apply uneven force, shift them, or mark the work.
If the Clear Cover Is Wrinkled
This step applies only to a kit with a removable protective film over a sticky coating. Lift a small affected section, then gently lay it back down from the center toward the edge. Do not peel the entire cover away just to fix one ripple. Keep track of the side that originally faced the adhesive, since some covers have a release side that behaves differently.
If there is no pre-applied sticky coating or removable film, skip this step. Never press ordinary paper or a towel onto exposed adhesive. If a ridge remains under a smooth cover, the problem may be in the adhesive rather than the film.
Should You Reverse Roll It?
Some makers suggest a gentle reverse roll for their flexible fabric canvases. That advice does not apply automatically to stiff paper, laminated prints, a canvas with a sharp fold, or a project with drills already attached. APS product pages describe a laminated printed base, so a tight reverse roll is especially unsuitable for an APS kit.
If your own kit maker recommends reverse rolling for its flexible, unworked canvas, keep its protective cover secure and form only a broad, loose curve. Stop if the cover lifts, a fold forms, or you feel resistance. Then lay it flat again. If resting and books are working, there is no reason to add this step.
Can You Iron a Diamond Painting Canvas?
Do not use an iron as a general fix. Heat can affect printing, film, adhesive, or the base, and those materials differ among brands. Never place a hot iron on the printed or sticky front, and never iron a project after drills have been placed.
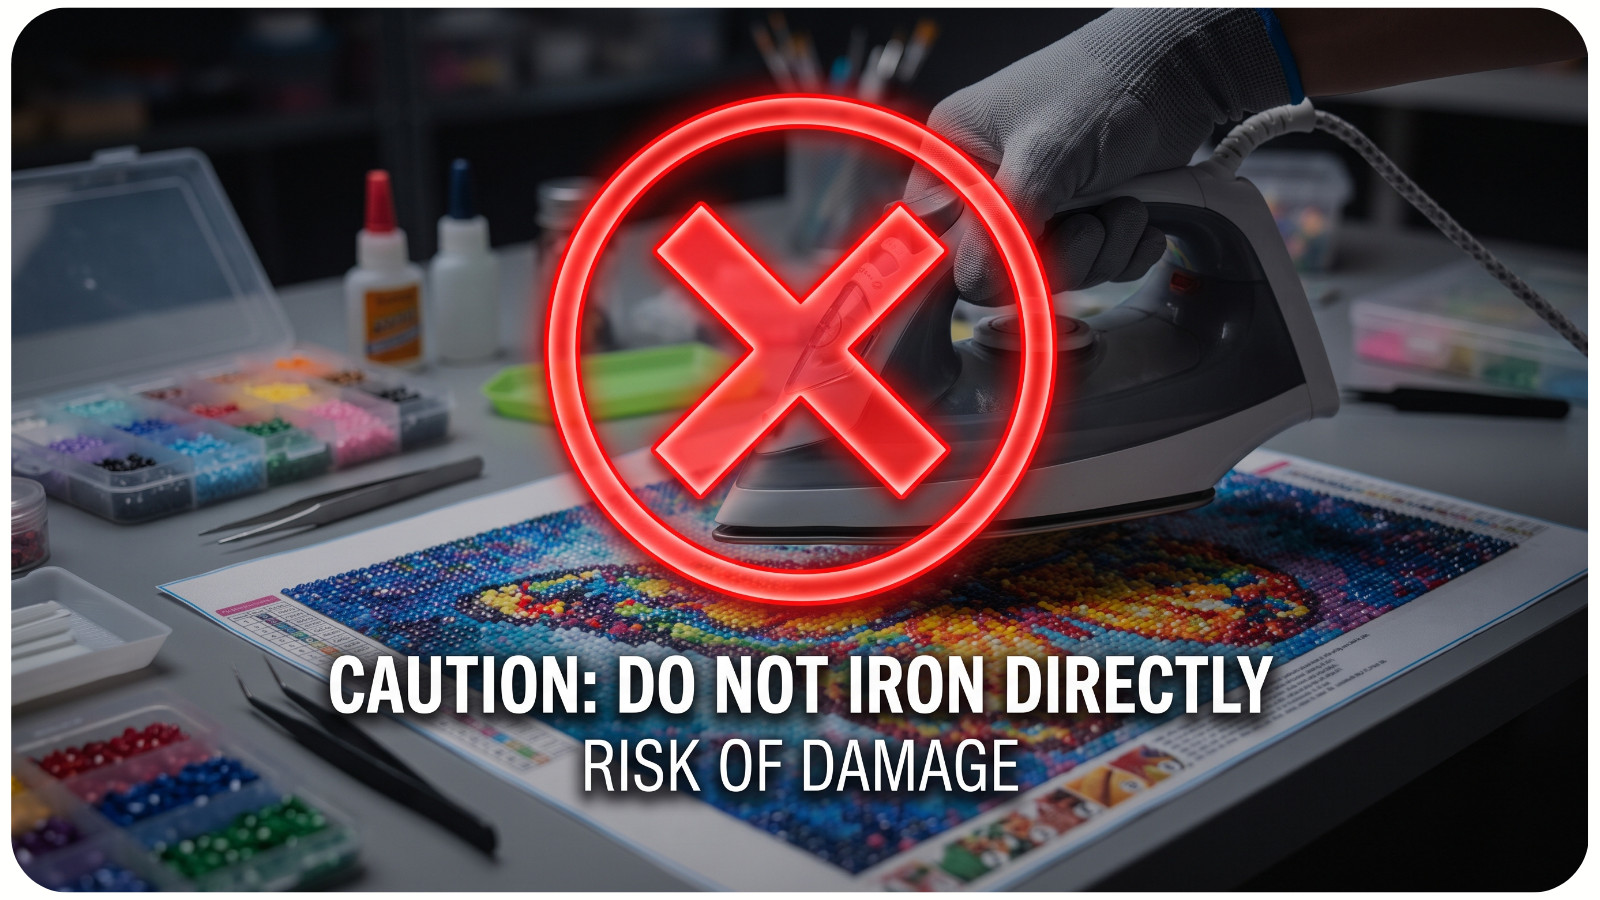
One canvas manufacturer gives a carefully controlled low-heat method for its own unworked product, including a protective layer and a spot test. That instruction cannot be assumed safe for other kits. In particular, do not apply it to a laminated printed base unless its maker explicitly approves it. Avoid steam, a hair dryer, wrinkle spray, and water as default fixes, too.
If the project arrived with a deep crease or a raised adhesive ridge, photograph it before attempting a repair and ask the seller for material-specific advice.
What if You Have Already Started Placing Drills?
Keep unfinished adhesive covered and support the active area on a flat work board. If needed, hold down only a blank border with small, gentle weights that cannot slide into the drills or sticky area. Move the work carefully so an edge does not pull at finished rows.
Do not put books over the beaded design or reverse roll a partly finished project. Do not iron it. The goal now is to make the working section stable without putting pressure on raised drills.
Once it lies steady, continue by placing drills on their matching symbols. If reading the grid is the next challenge, see our guide to diamond painting symbols and charts.
When Should You Contact the Seller?
Pause if a hard crease distorts the printed grid, a laminated layer separates, or a raised adhesive strip crosses the area where drills belong. A ripple in the cover may be harmless, but a defect beneath it can affect placement. Send the seller clear photos from above and from a low side angle, along with the kit name.
Do not cut into the sticky layer to release a bubble. Advice about trimming a removable film should never be treated as permission to cut the adhesive or printed base. For a new kit, ask about an approved repair or replacement before making an irreversible change.
Frequently Asked Questions
How long should I leave a diamond painting canvas under books?
Start with a few hours, remove the books, and check whether the working area stays flat. If it still curls, leave the evenly spread weight in place longer. Material and packing vary, so no fixed number of hours works for every kit.
Can I put it under a mattress?
A rigid board and books are easier to control. A mattress can move and press unevenly, especially if someone uses it while the project is underneath. Choose a stable surface where you can inspect the edges and cover.
Are wrinkles in the protective plastic a problem?
Not always. Carefully lift a small part of the film and check whether the base beneath it is smooth. Re-seat the cover without exposing more adhesive than needed. If the ridge stays in the adhesive, ask the seller before placing drills there.
Will the drills flatten a curled canvas?
Do not depend on them to fix the base. Flatten and support the unworked project first. A steady surface makes it easier to place drills where the symbols show, especially along straight rows.
The Simple Rule
Identify the material, rest the unworked project flat, and use even weight if it still curls. Treat a flexible cloth canvas and a laminated printed base differently. Leave heat and sharp bends out of the routine unless the instructions for your exact kit say otherwise.